How-To Install Ford Mustang Leather Interior
A Ford Mustang interior installation project must be handled delicately in order to ensure that you properly set up the new leather interior. Failure to do this in the correct manner will result in a sloppy or shoddy looking interior for your Mustang. You may also cause permanent damage to the seats or to the seat covers. Follow the instructions in this guide in order to have a professional looking and complete leather interior installation project for your Ford Mustang.
Step 1 — Gather Your Materials
In order to install a leather interior for your Ford Mustang, you’ll need to gather up the following materials before you begin:
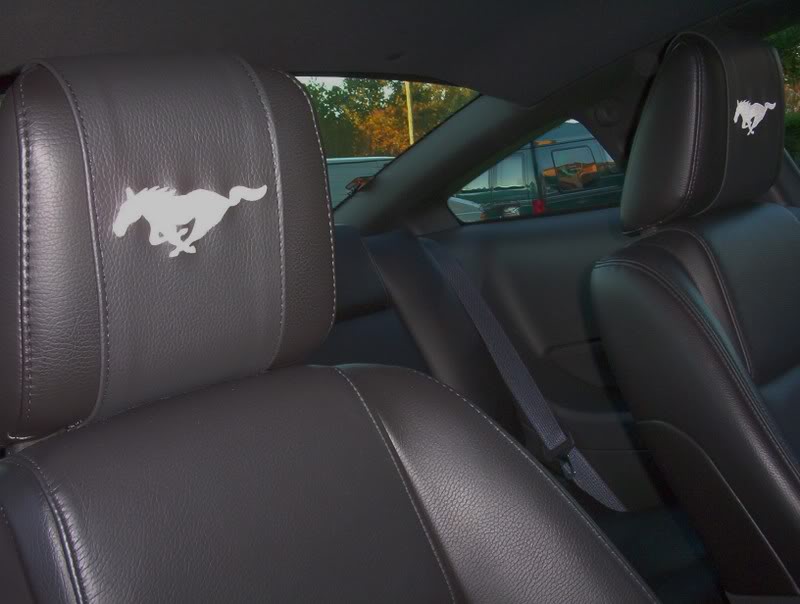
- Leather interior seat covers
- Leather interior side wall covers
- Screwdrivers of various types and sizes
- Adhesive that is suitable for use with leather
Step 2 — Remove the Seats
The first step in the actual replacement of the interior pieces is to remove the seats. It’s easiest if you replace the interior side wall coverings with the custom made leather interiors before you continue. Use a screwdriver to remove the bolts that hold the seats in place. With the help of at least one other person, carefully remove the front seats through the car doors. Next, detach and remove the rear seat as well. Be very careful not to scratch or damage the seats or the floor or walls of the car as you do so.
Step 3 — Replace the Covering on the Interior
The interior pieces that you have should be split into different sections. For the best results, begin with the rear of the car. Carefully remove the covering on the interior rear walls of the car. You may need to remove the screws that hold the covering into place. There should be several for each section. Next, fix the back of each leather interior piece with adhesive and carefully attach it in place where the previous cover was connected to the door. Reattach the screws and ensure that there are no bubbles or irregularities in the covering.
Step 4 — Replace the Covering on the Seats
With the help of another worker, remove the current coverings on the seats for the Mustang. The process will likely be very similar to that which you’ve already done for the beginning of the project. After that, Replace the covering with the leather covering that you have used previously. The method for doing so is the same as the previous step; be sure to include adhesive on the inside of the leather section for this portion as well. Allow the covering to dry completely before you continue with the project.
Step 5 — Reinstall the Seats
Carefully replace the seats in the Ford Mustang as they were before. Be sure not to damage the covering or the floor or roof of the car as you reinstall them; use a second worker to help you with this part of the procedure to be sure.