Painting (Small) Parts Yourself in a Confined Space...
 09-06-2010, 04:55 PM
#11
2nd Gear Member
Join Date: Mar 2010
Location: In.
Posts: 154
You can buy empty aerosol containers that are usually glass for the container with a rattle can type of spray nozzle and aerosol built into the lid. Just go to an automotive paint store and have them mix a pint of your color and they might even have the sprayer as well. I think they are only a few dollars, so you could buy two of them, the other one being for your clear. I have done this before for small parts and model cars that I wanted to replicate a factory color with very satisfactory results. An airbrush with a small hobby compressor would even be better.
 09-07-2010, 02:58 PM
#12
5th Gear Member
Thread Starter
Join Date: Jun 2006
Location: Eureka, Mo
Posts: 4,355
You can buy empty aerosol containers that are usually glass for the container with a rattle can type of spray nozzle and aerosol built into the lid. Just go to an automotive paint store and have them mix a pint of your color and they might even have the sprayer as well. I think they are only a few dollars, so you could buy two of them, the other one being for your clear. I have done this before for small parts and model cars that I wanted to replicate a factory color with very satisfactory results. An airbrush with a small hobby compressor would even be better.
It is encouraging that you had good success with the glass jar/aerosol can gun, the idea seemed a bit hokey to me and I was a little worried.
I got my A47 mirrors in the other day and am still waiting for the red paint. An email from the company said it could be as long as 7 days before it shipped, so I'm still waiting. I'm anxious to give it a shot.
09-17-2010, 03:39 PM
#13
5th Gear Member
Thread Starter
Join Date: Jun 2006
Location: Eureka, Mo
Posts: 4,355
Allright, I finally got the torch red paint.
I did a thorough sand/wet sand, used adhesion promoter, primer, did a very light wet sand, sprayed the torch, then clear. Most of the mirror (Only one is in torch right now) looks AWESOME. Great finish, color and the clear coat looks very good. But, there are parts of the torch that did the spider web effect, where the paint bubbled up. It's not a lot, but it's more than I'll settle for.
What's the cause? I'm positive the mirror was clean, no wax or oil or anything. Is the primer reacting with the red paint??
Last edited by BleedinBlue; 09-17-2010 at 03:54 PM.
09-19-2010, 04:16 PM
#14
5th Gear Member
Thread Starter
Join Date: Jun 2006
Location: Eureka, Mo
Posts: 4,355
I went ahead and put them on. After hitting them with a few coats of clear, they turned out pretty well. They aren't perfect, and have some spider veins, but overall I think they look really good.
The car is dirty, it's been raining for the past two days....
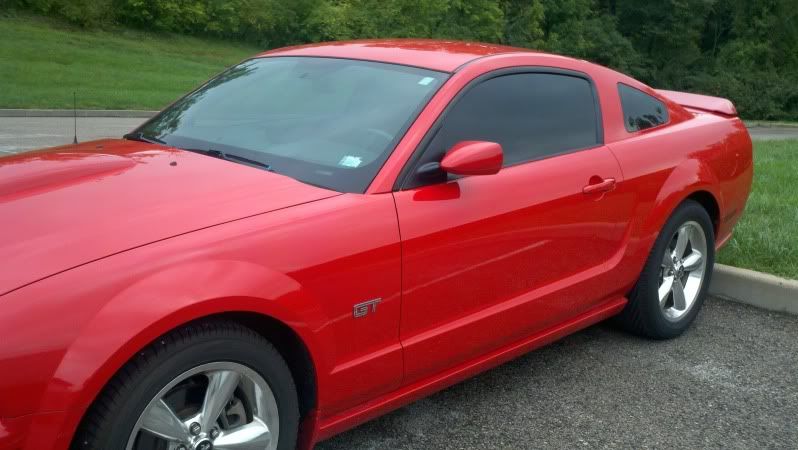
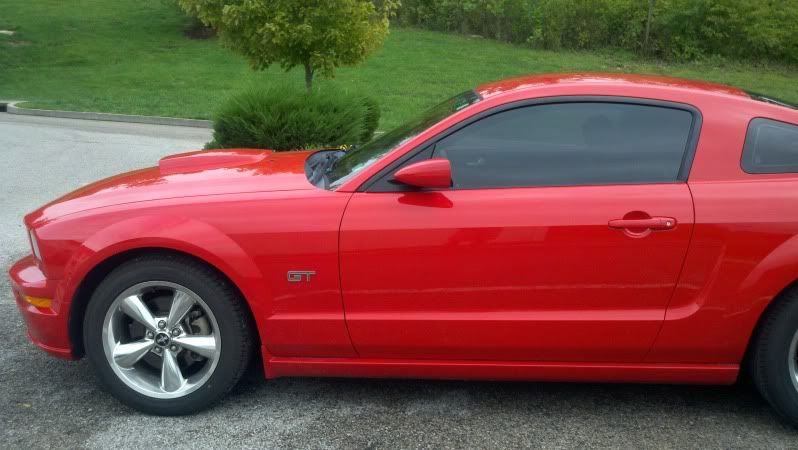
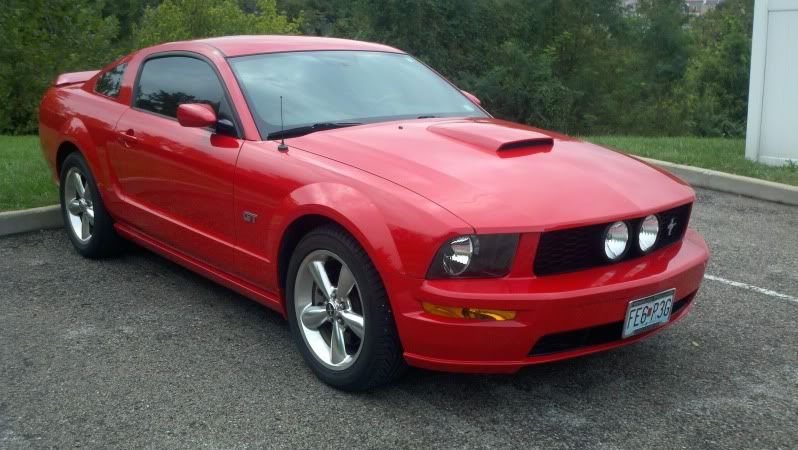
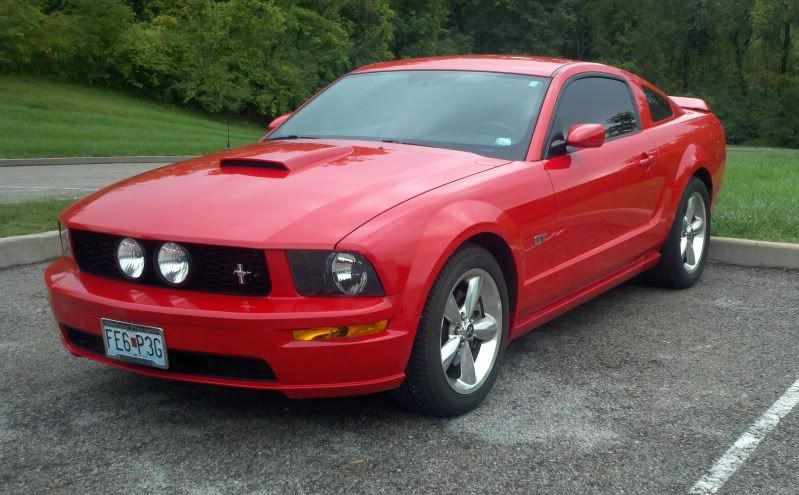
Not bad for nothing but rattle cans. I'll figure out how I caused the veins, and when I fix that I'll be set.
The car is dirty, it's been raining for the past two days....
Not bad for nothing but rattle cans. I'll figure out how I caused the veins, and when I fix that I'll be set.
09-19-2010, 09:37 PM
#17
5th Gear Member
Thread Starter
Join Date: Jun 2006
Location: Eureka, Mo
Posts: 4,355
I actually ended up not even using the Preval. When I went to get supplies, the only clearcoat they had was "Ready to spray" and $25. I figured the ready to spray clear was the same that was in a spray can, so I just got a $5 can of spray.
Thanks Shella!
Thanks Shella!
 09-20-2010, 04:03 PM
#20
S197 Section Modder-ator
Join Date: Sep 2007
Location: Orlando FL
Posts: 13,373
Since you were using rattle cans and therefore, had no hardener (catalyst) in it, my guess is that you laid the paint too wet and/or didn't wait long enough between coats...
When you get a coat too wet with materials that have no hardener in it, it melts back (liquefy) the previous coats and you have a big mess when you apply the clear.
For future references, before applying another coat with non-catalyzed materials, you should be able to touch the paint without leaving a finger print.
Once you have a reaction under the clear, buffing won't do squat for you.
None the less, it looks great in the pictures...