
Driveshaft Pinion Flange Install (w/pics)
 02-27-2008, 11:31 AM
#1
2nd Gear Member
Thread Starter
Join Date: Jun 2006
Location:
Posts: 415
This install was performed ona friend's2007 GT, 5-spd Manual.
This is the alternate (or primary, depending what view you have) method when installing a 1-pc driveshaft.
A 3.5" Shaftmasters 1-pc aluminum driveshaft with a replacement pinion flange was used for this installation.
This 'How-To' will only cover the removal and installation of the pinion flange only. The entire driveshaft install can be found here.
Note: This is how we performed the installation and is not meant to replace the Manufacturer's installation instructions or the Ford Service Manual, it is meant for reference only.
Tools required:
27mm socket (6-pt impact preferred)
1/2" drive ratchet
Impact gun
Harmonic balancer/gear puller
Threadlocker, red - High Strength
Torque wrench (up to 140 lbs-ft)
Apply penetrating oil on the pinion nut and let soak for a few minutes (we used PB Blaster).
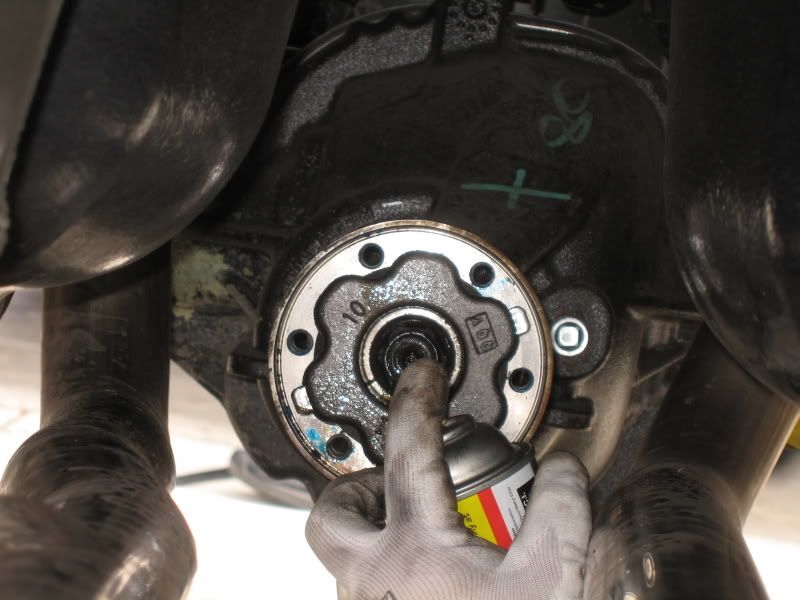
Set e-brake.
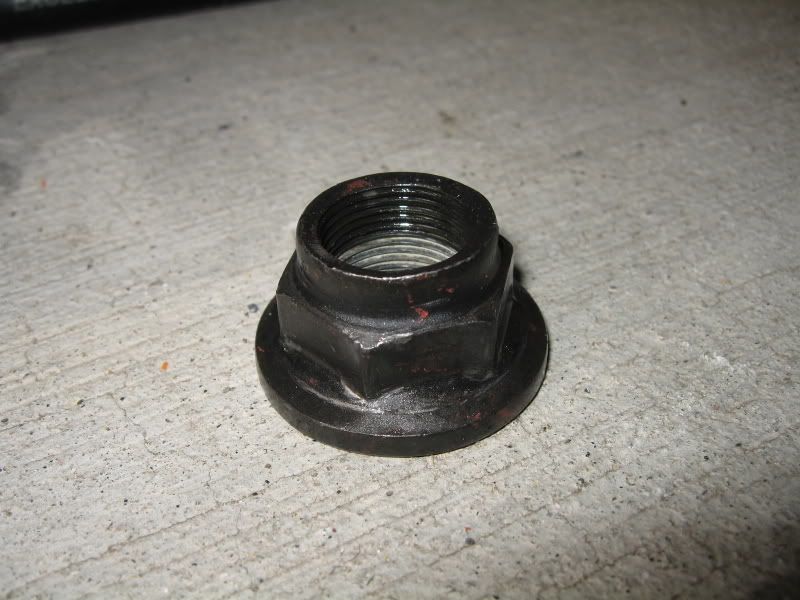
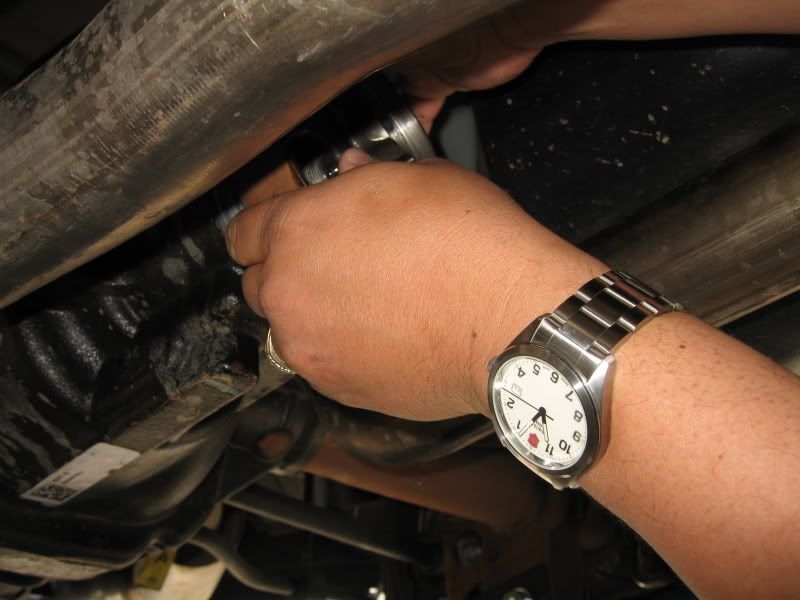
Using the impact gun with the 27mm socket, remove the pinion nut.
Pinion nut removed. Set aside, will be re-used.
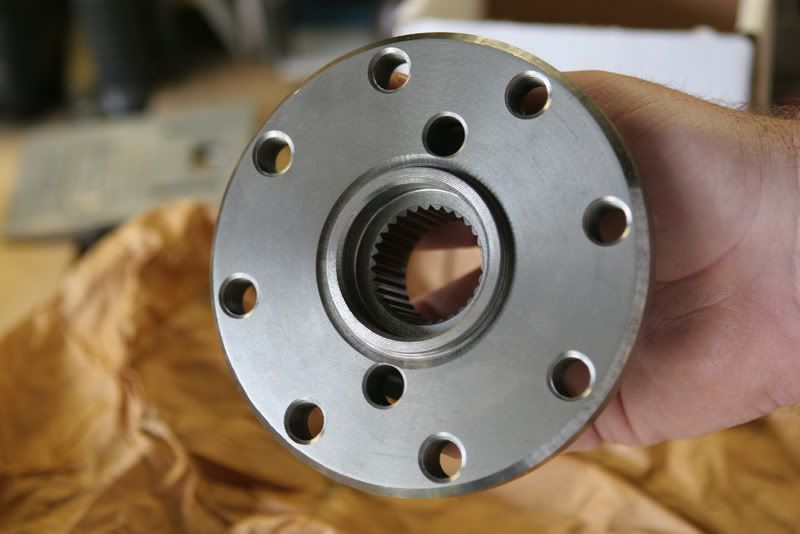
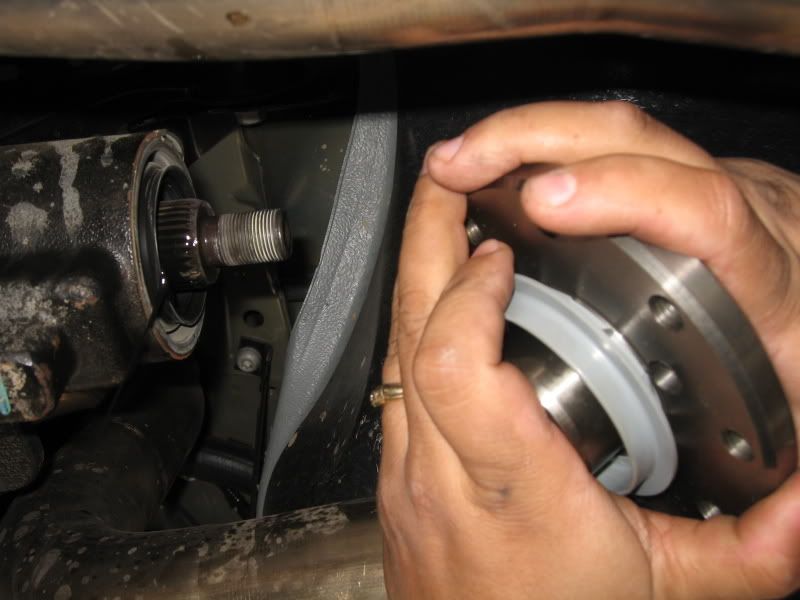
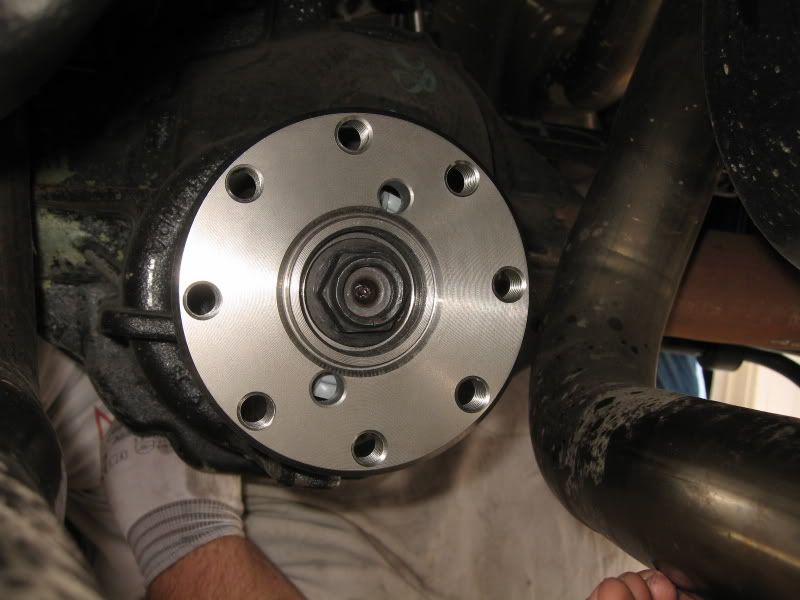
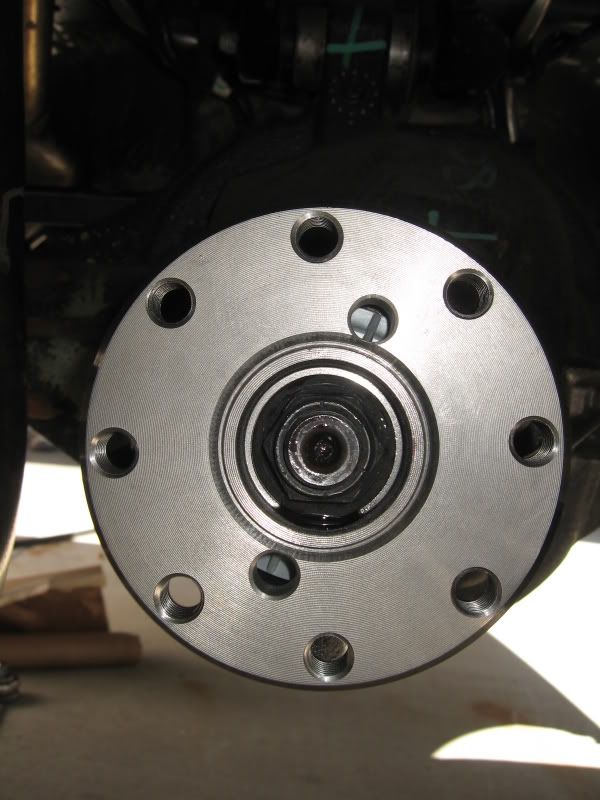
Get the new replacement pinion flange ready to install.

If you're fortunate, the stock pinion flange may simply pull out. No harm in giving this a quick try. If it does pull out, have the new flange ready to go.
The goal is to minimize gear oil loss when the stock flange is pulled out to when the new flange is installed.
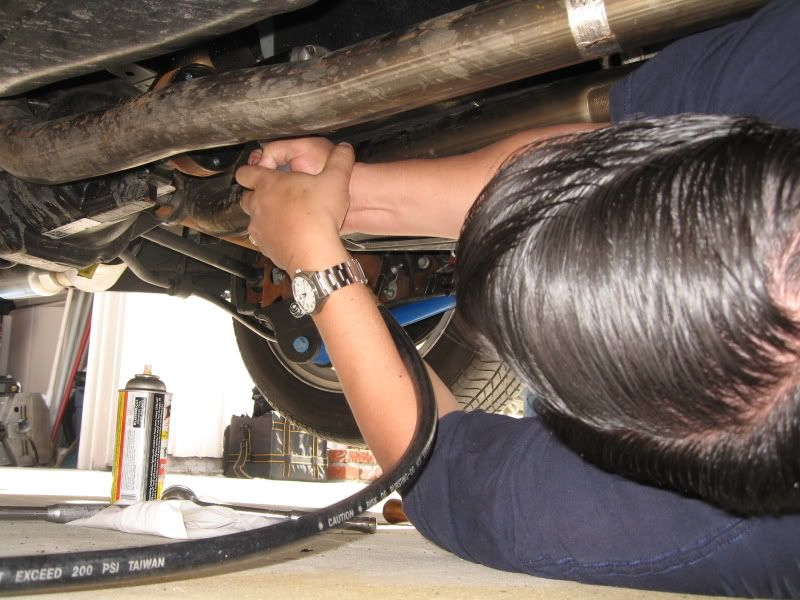
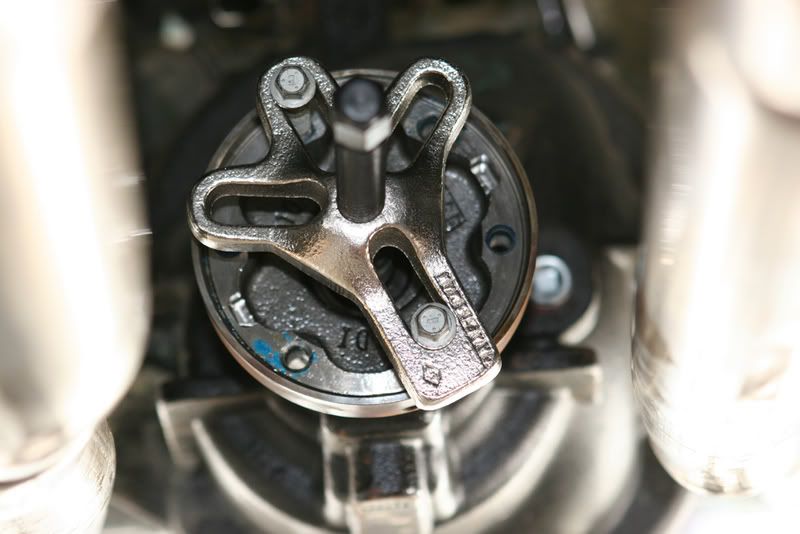
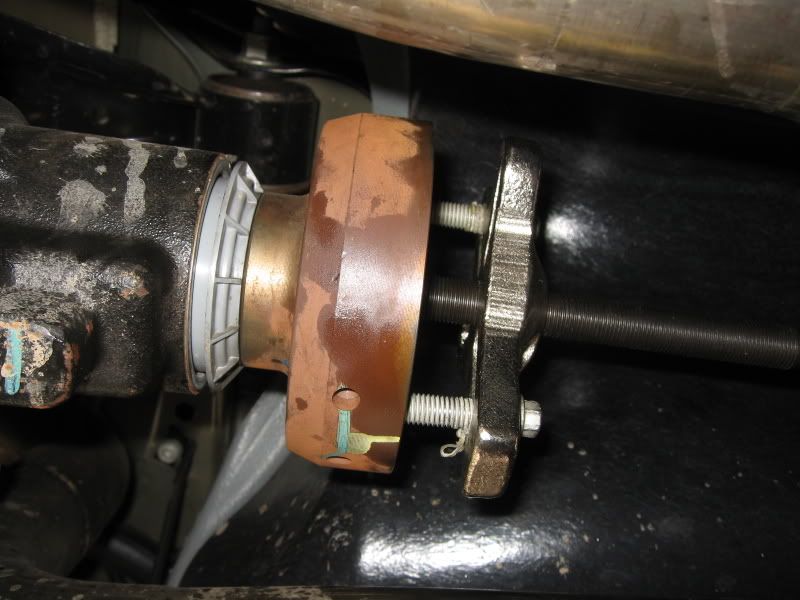
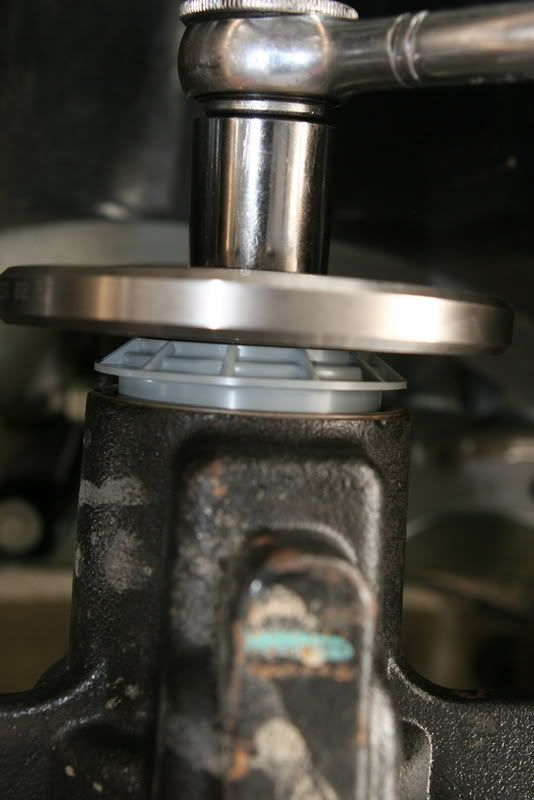
If you need the assist of a gear puller, install it at this point.
Pictured is one type of puller which utilizes the factory driveshaft to flange bolts. The 3-jaw puller should work just as easliy.
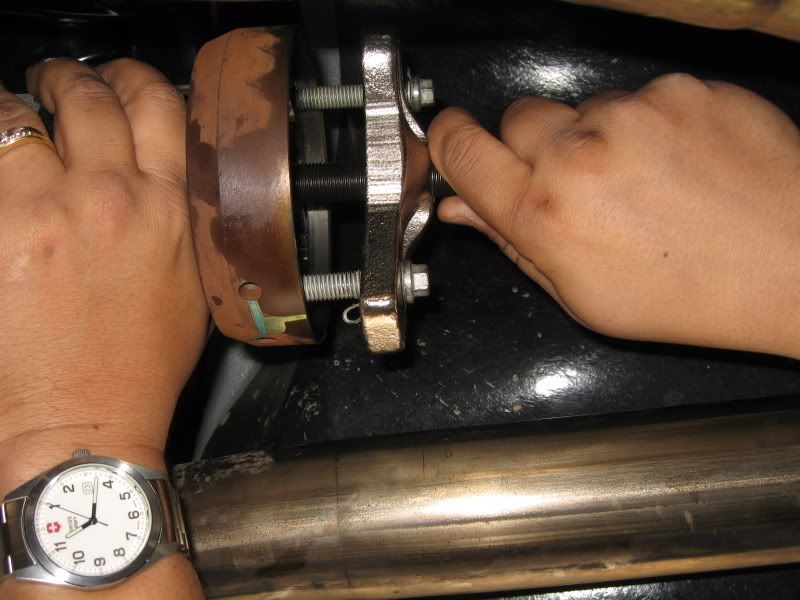
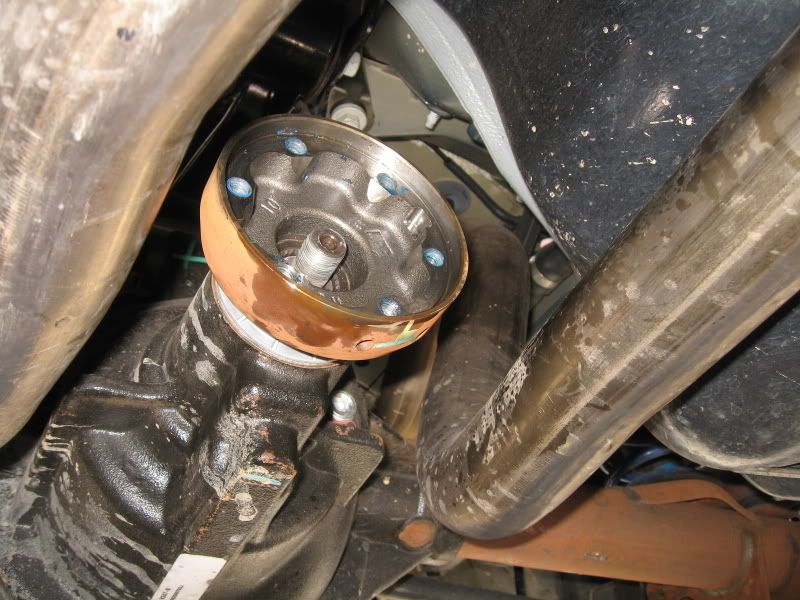
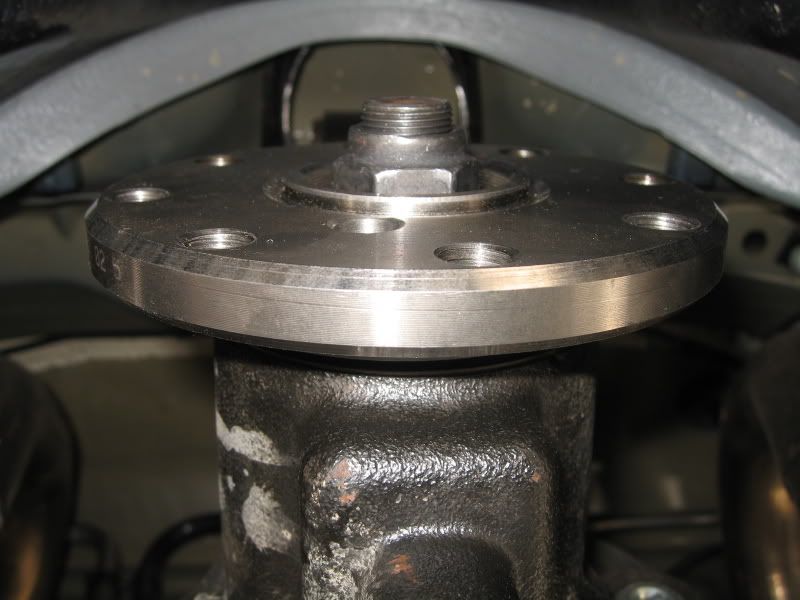
Once the stock flange is loose and ready to come out, get the replacement flange ready to minimize oil loss.
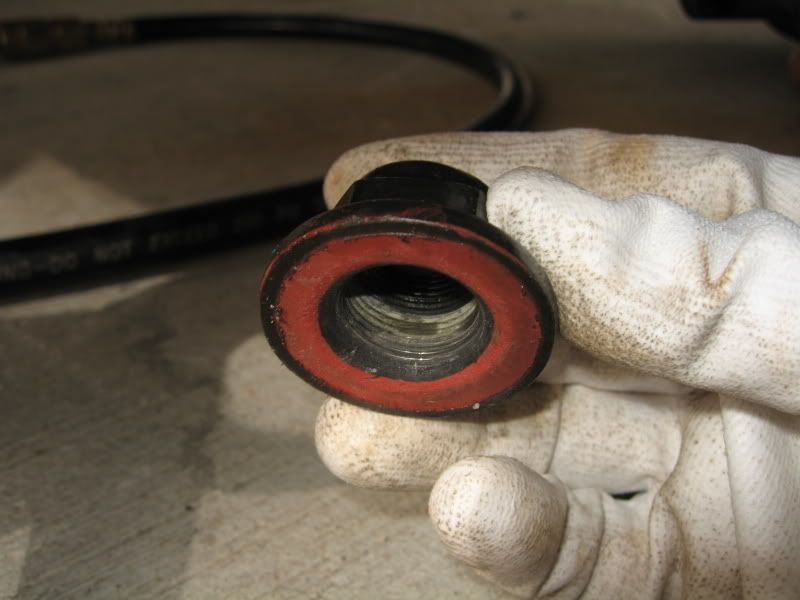
Once the drive pinion seal is pressed into the case, no more oil should leak out.

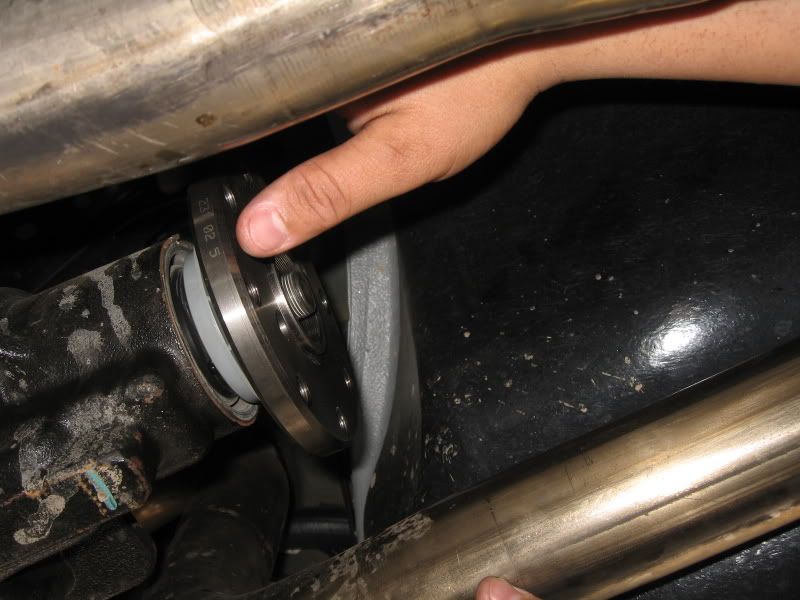
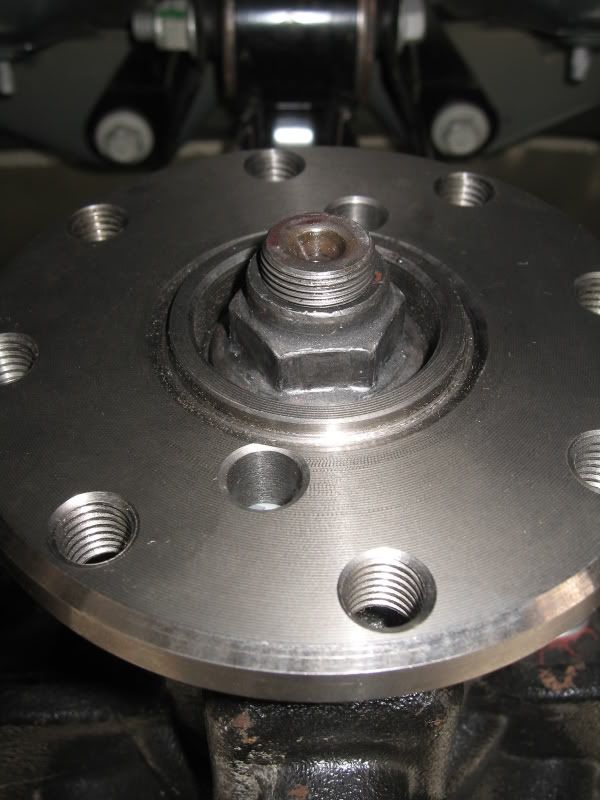
Re-install the pinion nut and run down with a ratched to seat the pinion flange and drive pinion seal.
Note: Do not apply thread locker at this time.
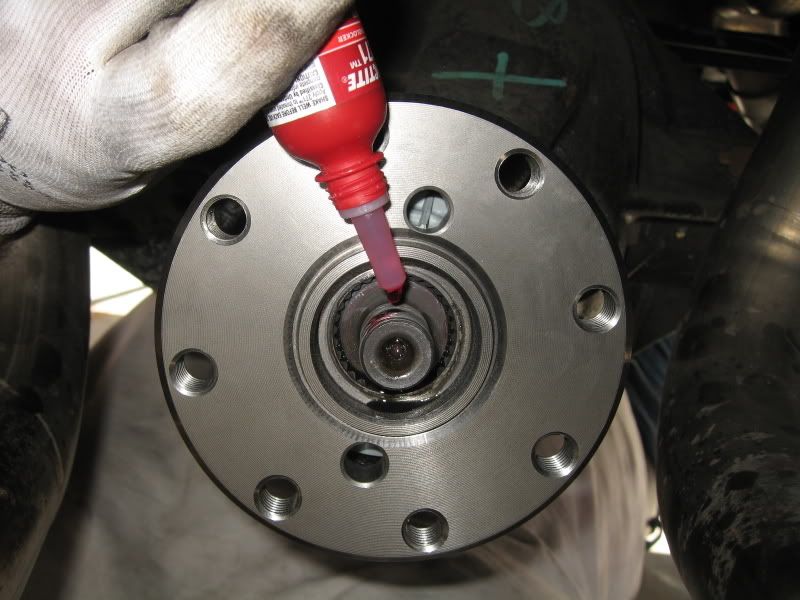
Once seated, back off and remove the pinion nut and apply thread locker to the pinion thread, then re-install nut until tight.
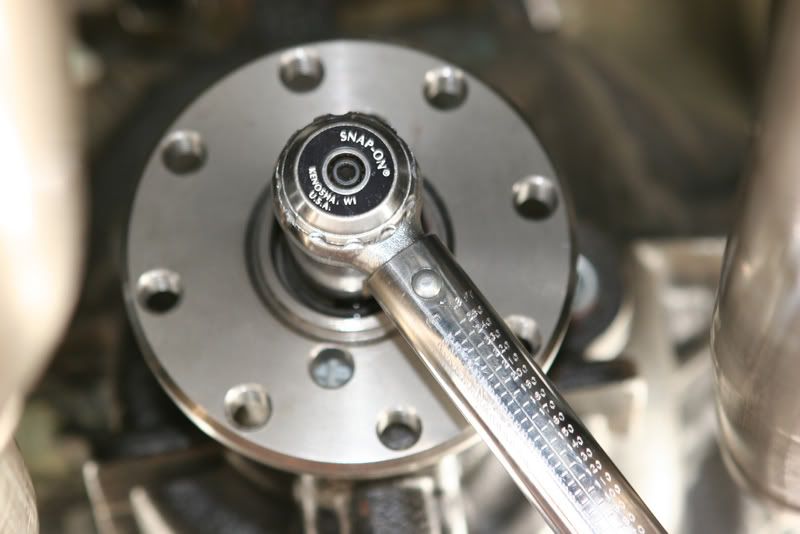
Set torque wrench to 140 lbs-ft and torque the pinion nut.
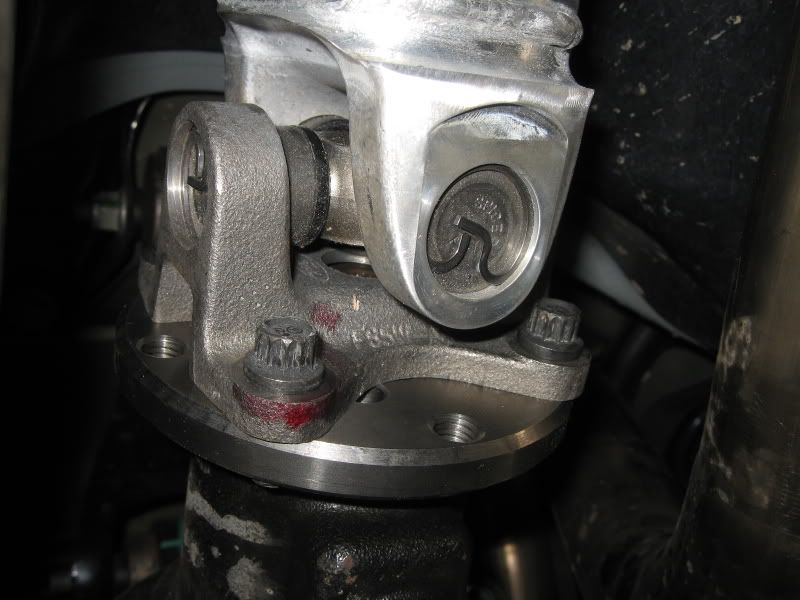
Installation complete.
This is the alternate (or primary, depending what view you have) method when installing a 1-pc driveshaft.
A 3.5" Shaftmasters 1-pc aluminum driveshaft with a replacement pinion flange was used for this installation.
This 'How-To' will only cover the removal and installation of the pinion flange only. The entire driveshaft install can be found here.
Note: This is how we performed the installation and is not meant to replace the Manufacturer's installation instructions or the Ford Service Manual, it is meant for reference only.
Tools required:
27mm socket (6-pt impact preferred)
1/2" drive ratchet
Impact gun
Harmonic balancer/gear puller
Threadlocker, red - High Strength
Torque wrench (up to 140 lbs-ft)
Apply penetrating oil on the pinion nut and let soak for a few minutes (we used PB Blaster).
Set e-brake.
Using the impact gun with the 27mm socket, remove the pinion nut.
Pinion nut removed. Set aside, will be re-used.
Get the new replacement pinion flange ready to install.
If you're fortunate, the stock pinion flange may simply pull out. No harm in giving this a quick try. If it does pull out, have the new flange ready to go.
The goal is to minimize gear oil loss when the stock flange is pulled out to when the new flange is installed.
If you need the assist of a gear puller, install it at this point.
Pictured is one type of puller which utilizes the factory driveshaft to flange bolts. The 3-jaw puller should work just as easliy.
Once the stock flange is loose and ready to come out, get the replacement flange ready to minimize oil loss.
Once the drive pinion seal is pressed into the case, no more oil should leak out.
Re-install the pinion nut and run down with a ratched to seat the pinion flange and drive pinion seal.
Note: Do not apply thread locker at this time.
Once seated, back off and remove the pinion nut and apply thread locker to the pinion thread, then re-install nut until tight.
Set torque wrench to 140 lbs-ft and torque the pinion nut.
Installation complete.


 05-05-2008, 05:44 AM
#10
5th Gear Member
Join Date: Jul 2006
Location: New Orleans
Posts: 4,491
ORIGINAL: tayl04
you forgot to check preloadand change the crush sleeve and check preload
you forgot to check preloadand change the crush sleeve and check preload