
How to re-stitch your Steering wheel
 02-04-2012, 10:13 PM
#1
3rd Gear Member
Thread Starter
Join Date: Jan 2008
Location: NC
Posts: 903
"Moderators, Might want to add this one to the how to thread for easy reference"
Ok, so I've seen lots of guys do it on the forum but not one posted a how to on it. So after a while of pondering if I should do it or not, I said oh what the heck. And in the mean time took pics to help others on the forums with their decision. So enjoy..
First, tools you will need.
Thread: Closest to the OEM size is 138. I bought the thread from here.
http://www.thethreadexchange.com/miv...hread-size-138
They have colors galore. Pick your own. I picked Scarlet.
You will want to buy polyester thread. Holds longer, UV resistant ( so it doesn't fade ) and it stays cleaner longer.
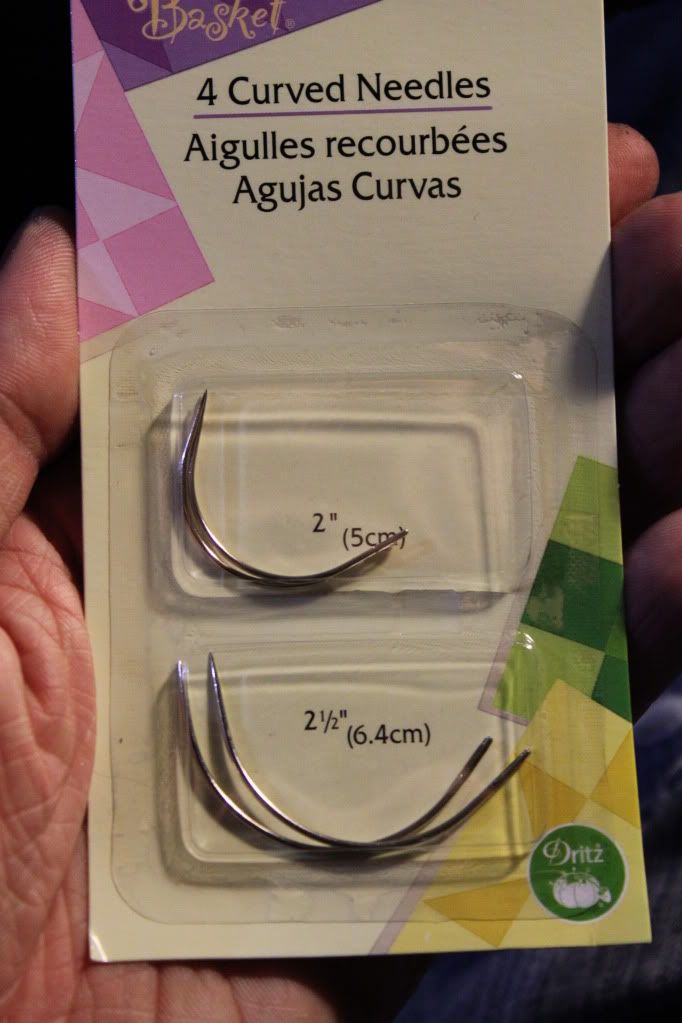
Next you need some needles for the job. A quick run to wally world ( Wal-mart ) and $2 and got these
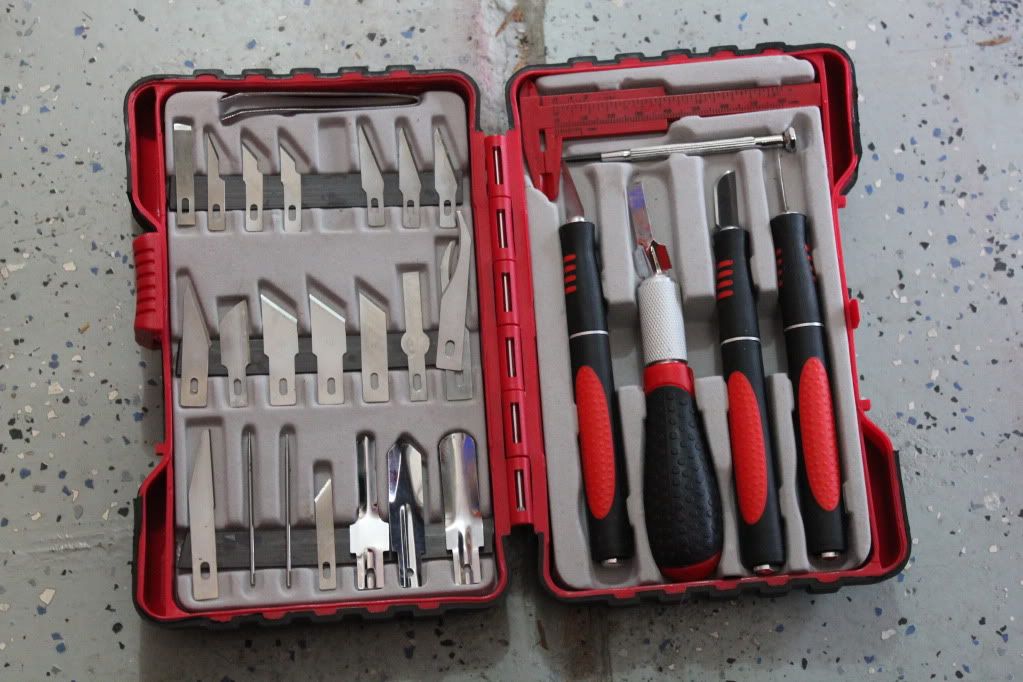
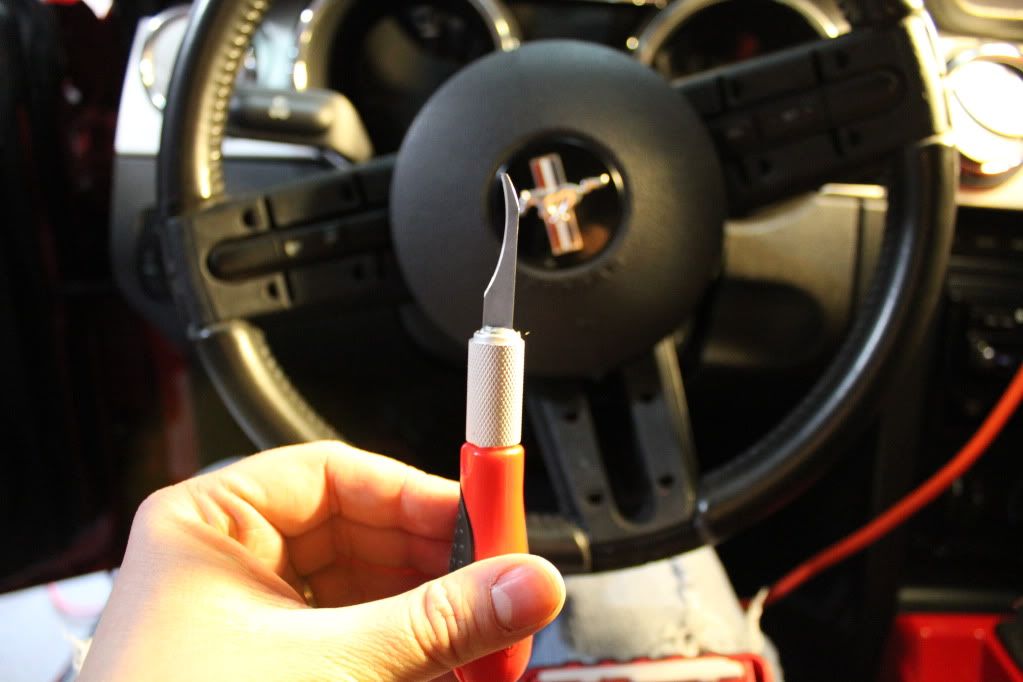
Next, I went to harbor freight and bought me a set of exacto knives, although any sharp blade will do for this job. I liked this kit because it serves me for multiple jobs.
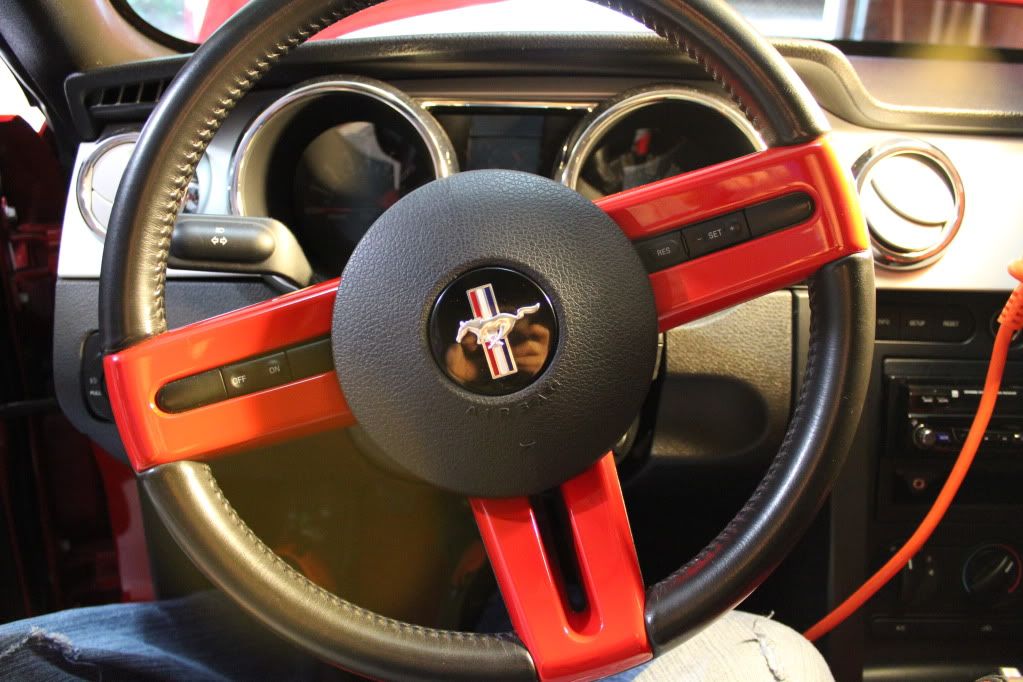
So first I removed the spokes off my steering wheel. Just shove your fingernails in the outside edge and pull up. They come right off.
Before
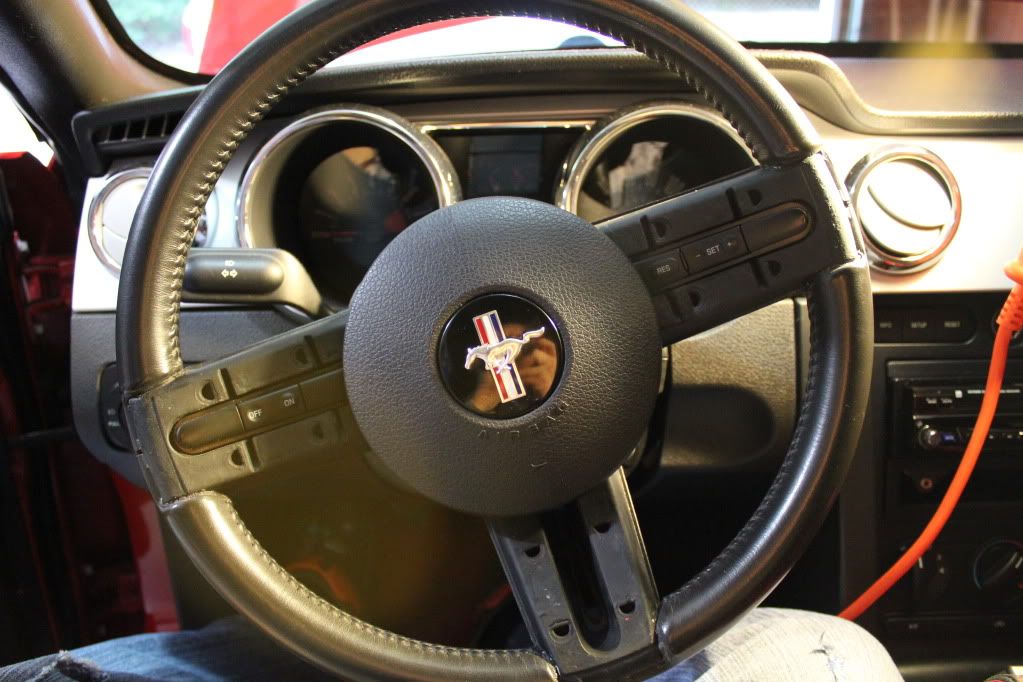
After
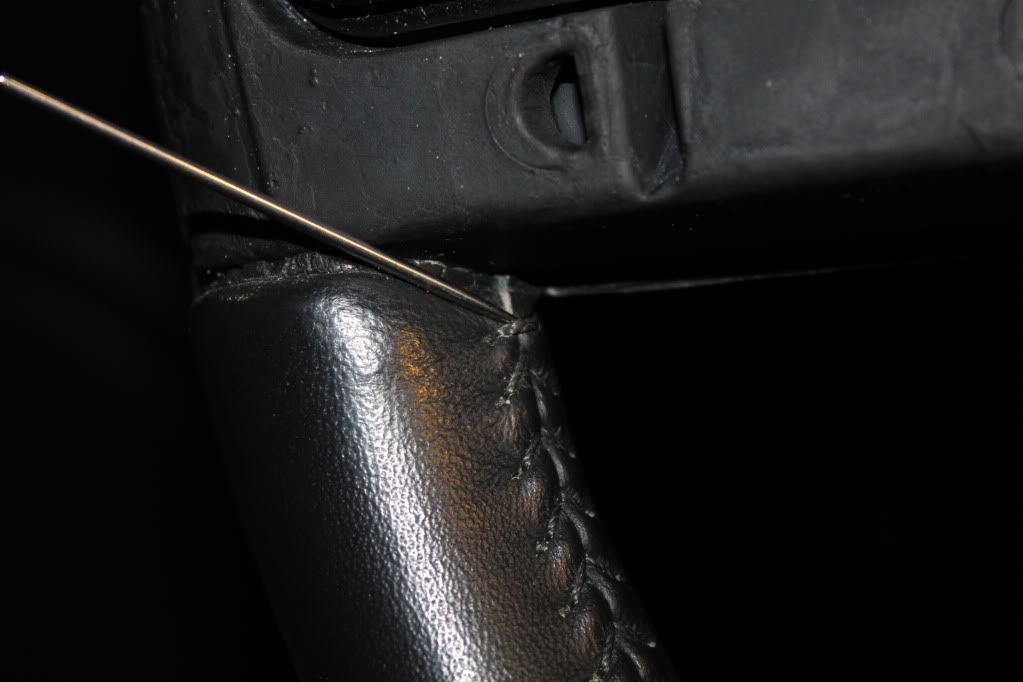
Next I took a thick needle and pulled on the OEM thread at the edge, and once I pulled it up I cut it with my exacto knife.
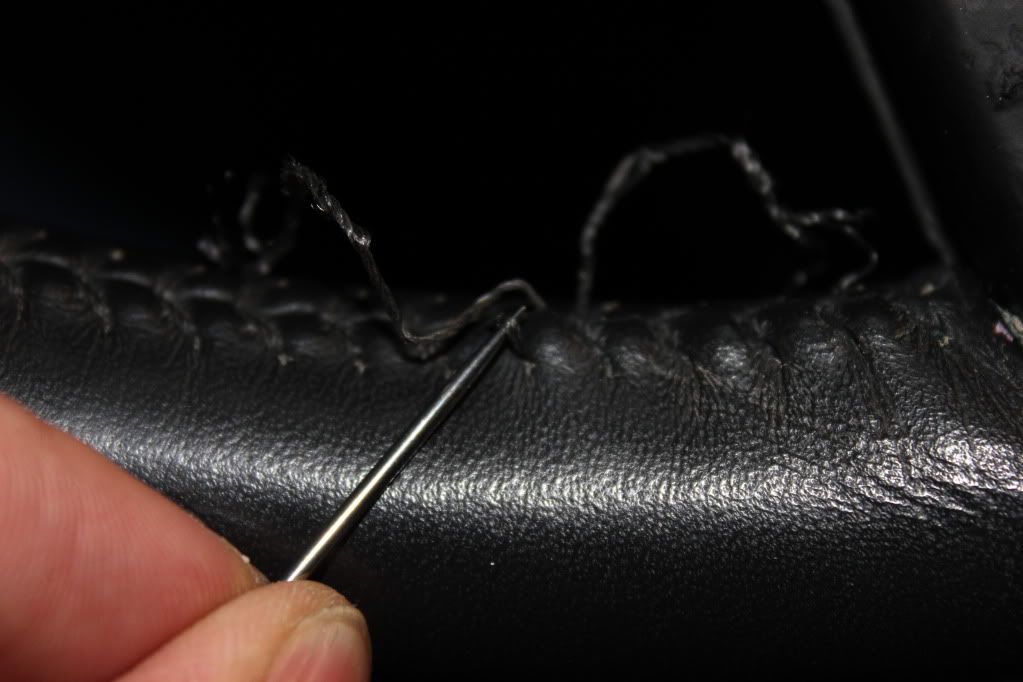
Next step is easy. Just use the thick needle and undo the strand one loop hole at a time. Be careful not to stick the leather when you do this.
Once the thread has been removed, I threaded my curved needles with about 2 feet worth of thread each and tied them together at the other end, thus forming one continuous thread.
I introduce each one from the underside of the leather towards the outside and threaded down about 3-4 holes each, just to hold the leather tight at the edge.
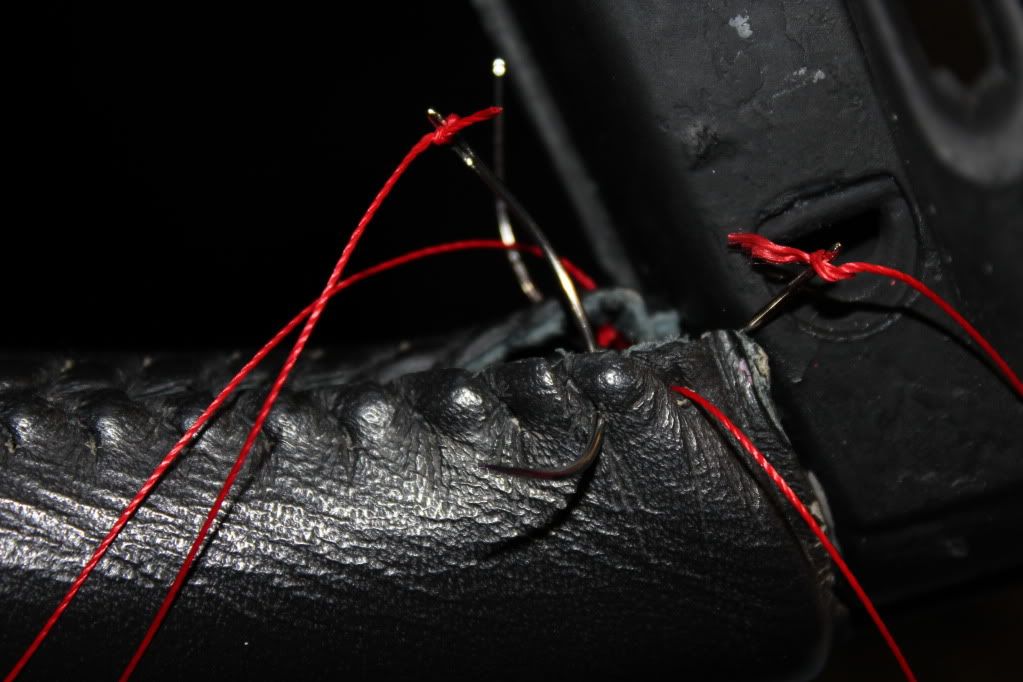
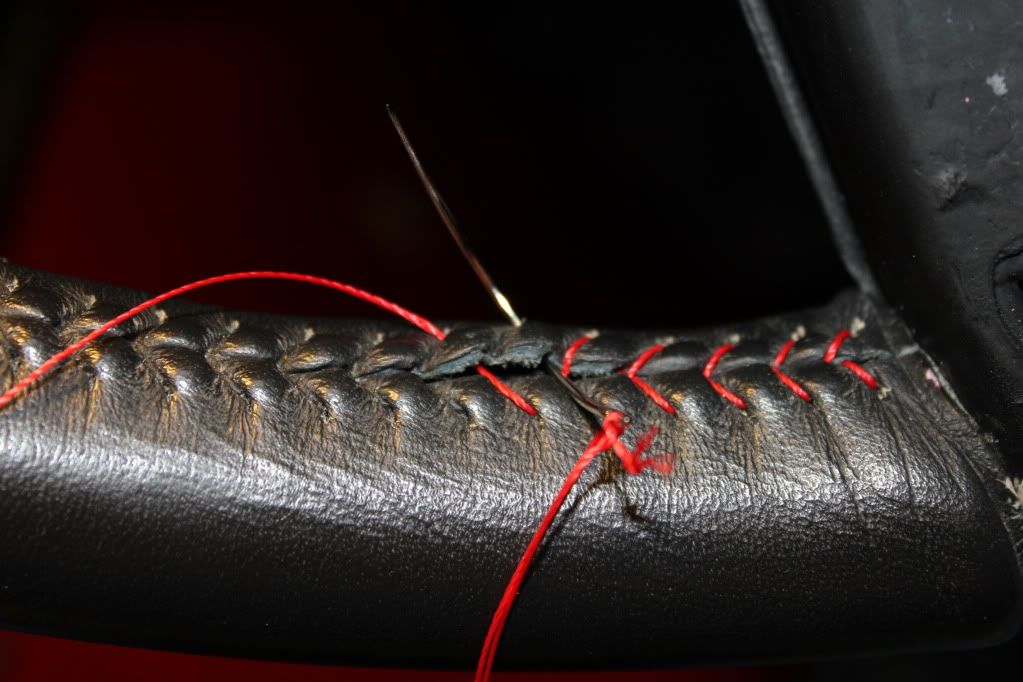
Then I parked one needle and used just one to go all the way down to the other end. Just follow the old pattern. It’s VERY easy. ( Thanks to the curved needle )
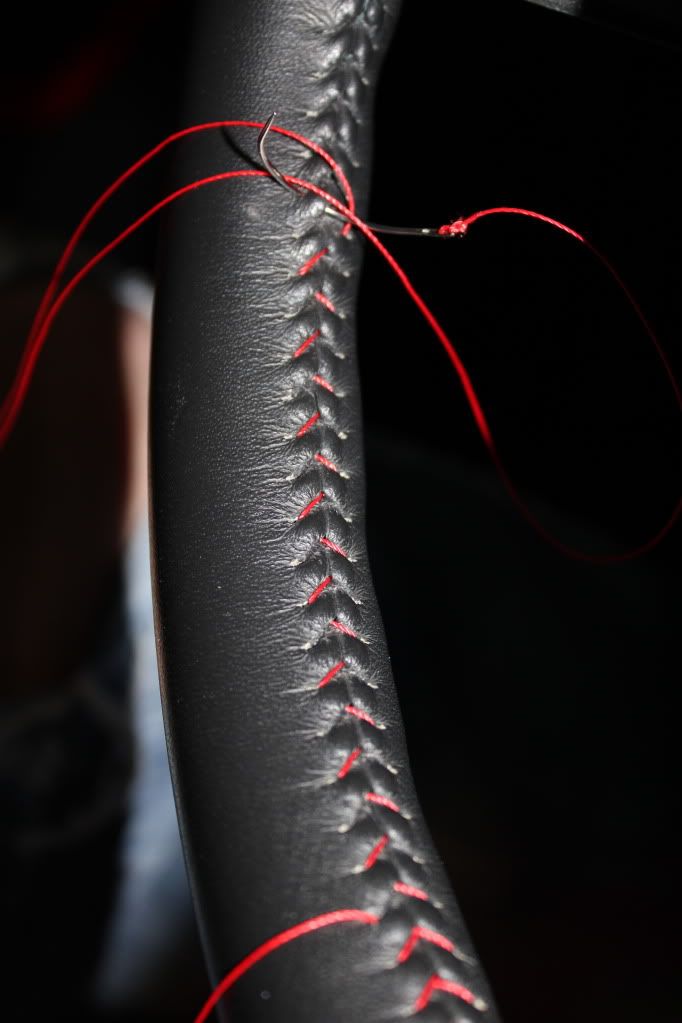
Then just bring the other needle into action and follow the old pattern. I just threaded this thread over the old thread so I have uniformity. ( pay attention or it may look odd if you are OCD like me about projects lol )
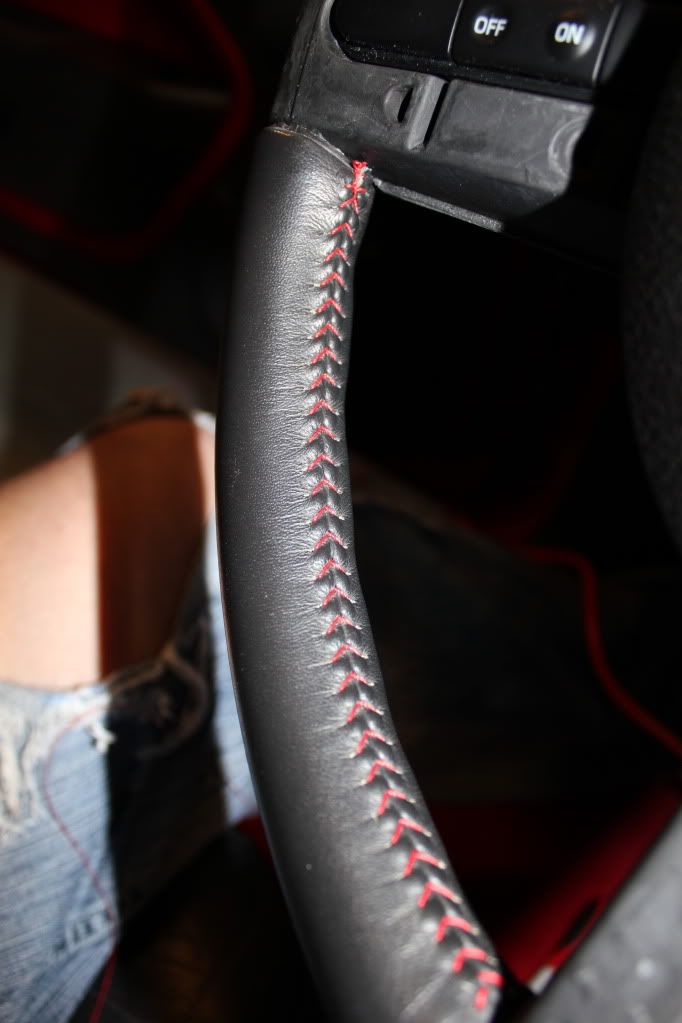
Once you get to the other end tie a knot with the needles under the leather. Sounds more complicated than it is. It will be covered by the spokes anyways, so no worries if your knot is not pretty.
Then turn the wheel and do it all over again. There are going to be a total of 3 sections. The top is the most tedious due to the length.
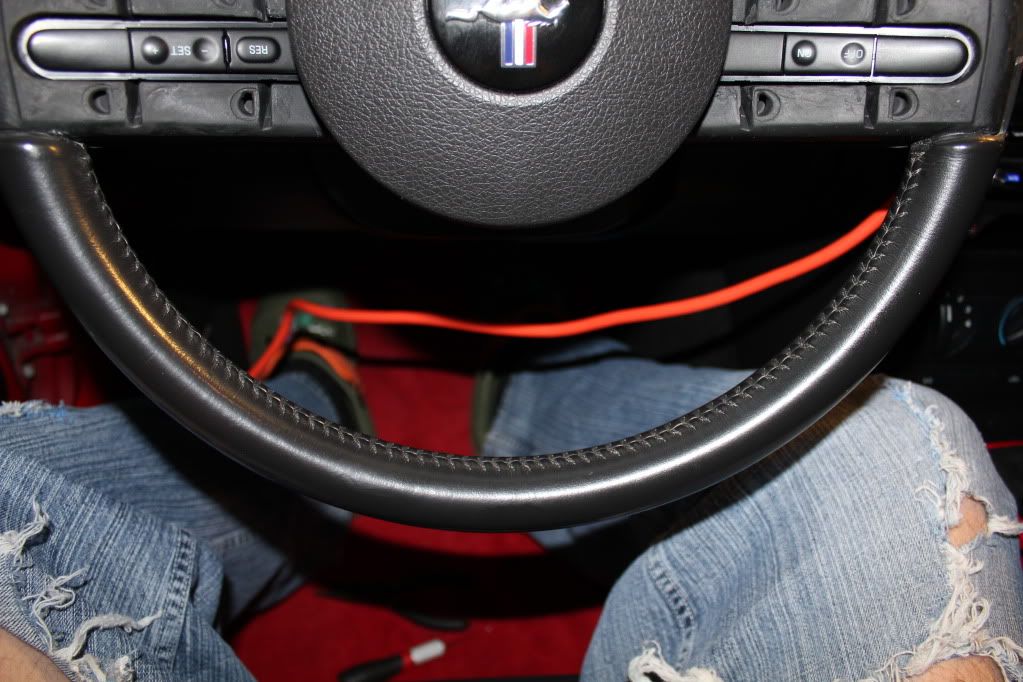
When it's all said and done, pop the wheel spokes back on and enjoy the refreshed look.
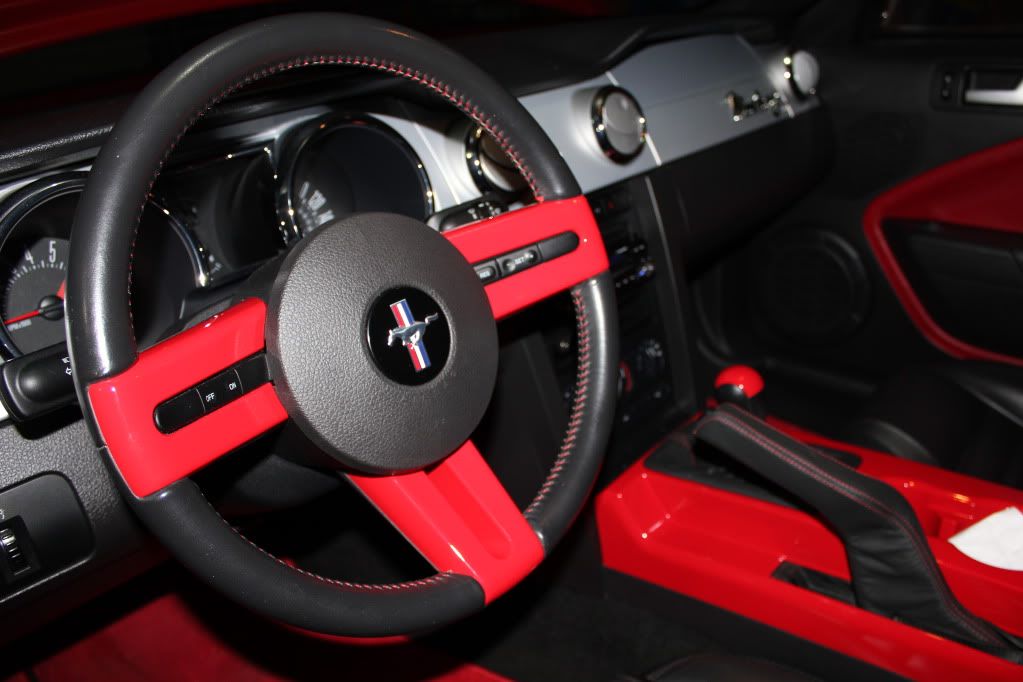
Don't forget to use whatever thread color you want. Blue, yellow, etc.
Ok, so I've seen lots of guys do it on the forum but not one posted a how to on it. So after a while of pondering if I should do it or not, I said oh what the heck. And in the mean time took pics to help others on the forums with their decision. So enjoy..
First, tools you will need.
Thread: Closest to the OEM size is 138. I bought the thread from here.
http://www.thethreadexchange.com/miv...hread-size-138
They have colors galore. Pick your own. I picked Scarlet.
You will want to buy polyester thread. Holds longer, UV resistant ( so it doesn't fade ) and it stays cleaner longer.
Next you need some needles for the job. A quick run to wally world ( Wal-mart ) and $2 and got these
Next, I went to harbor freight and bought me a set of exacto knives, although any sharp blade will do for this job. I liked this kit because it serves me for multiple jobs.
So first I removed the spokes off my steering wheel. Just shove your fingernails in the outside edge and pull up. They come right off.
Before
After
Next I took a thick needle and pulled on the OEM thread at the edge, and once I pulled it up I cut it with my exacto knife.
Next step is easy. Just use the thick needle and undo the strand one loop hole at a time. Be careful not to stick the leather when you do this.
Once the thread has been removed, I threaded my curved needles with about 2 feet worth of thread each and tied them together at the other end, thus forming one continuous thread.
I introduce each one from the underside of the leather towards the outside and threaded down about 3-4 holes each, just to hold the leather tight at the edge.
Then I parked one needle and used just one to go all the way down to the other end. Just follow the old pattern. It’s VERY easy. ( Thanks to the curved needle )
Then just bring the other needle into action and follow the old pattern. I just threaded this thread over the old thread so I have uniformity. ( pay attention or it may look odd if you are OCD like me about projects lol )
Once you get to the other end tie a knot with the needles under the leather. Sounds more complicated than it is. It will be covered by the spokes anyways, so no worries if your knot is not pretty.
Then turn the wheel and do it all over again. There are going to be a total of 3 sections. The top is the most tedious due to the length.
When it's all said and done, pop the wheel spokes back on and enjoy the refreshed look.
Don't forget to use whatever thread color you want. Blue, yellow, etc.
Last edited by eddypython; 02-04-2012 at 10:19 PM.

 02-05-2012, 07:09 AM
#6
3rd Gear Member
Thread Starter
Join Date: Jan 2008
Location: NC
Posts: 903
Thx. Glad I could help. It's simple and everyone who wants to do it should. Yes the leather is from amustangrocks. Best place to buy custom boots, armrest covers and e-brake boots. In my opinion, best place on the market for this stuff bar none. I wouldnt even waste my money elsewhere.

