
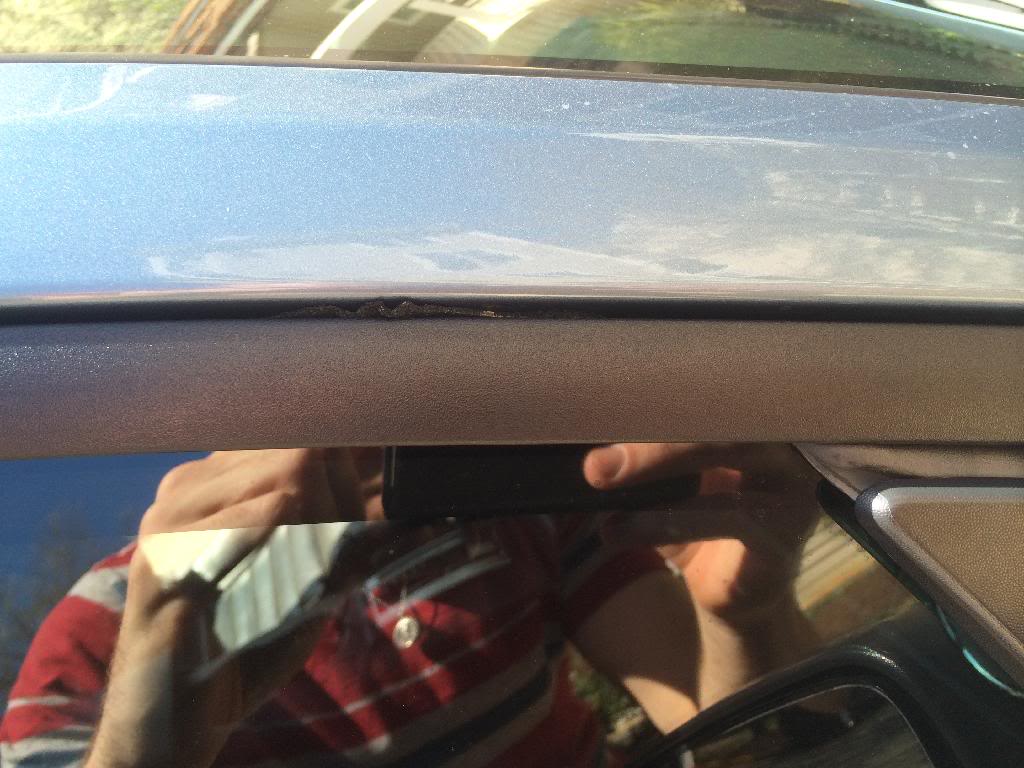
what is this sticking out my weather stripping?
 01-23-2014, 09:11 PM
#11
part number #51238 screws into the roofline. The seal goes between this part and the roofline.
Part #20708 is the rubber gasket that seals around the window
This is all covered by the interior A-Pillar IIRC. Remove that and you will have access to pull everything else apart. It's pretty straight forward from there...
 01-24-2014, 09:40 AM
#13
Cut & Paste Expert
Join Date: May 2007
Location: NW Arkansas
Posts: 13,322
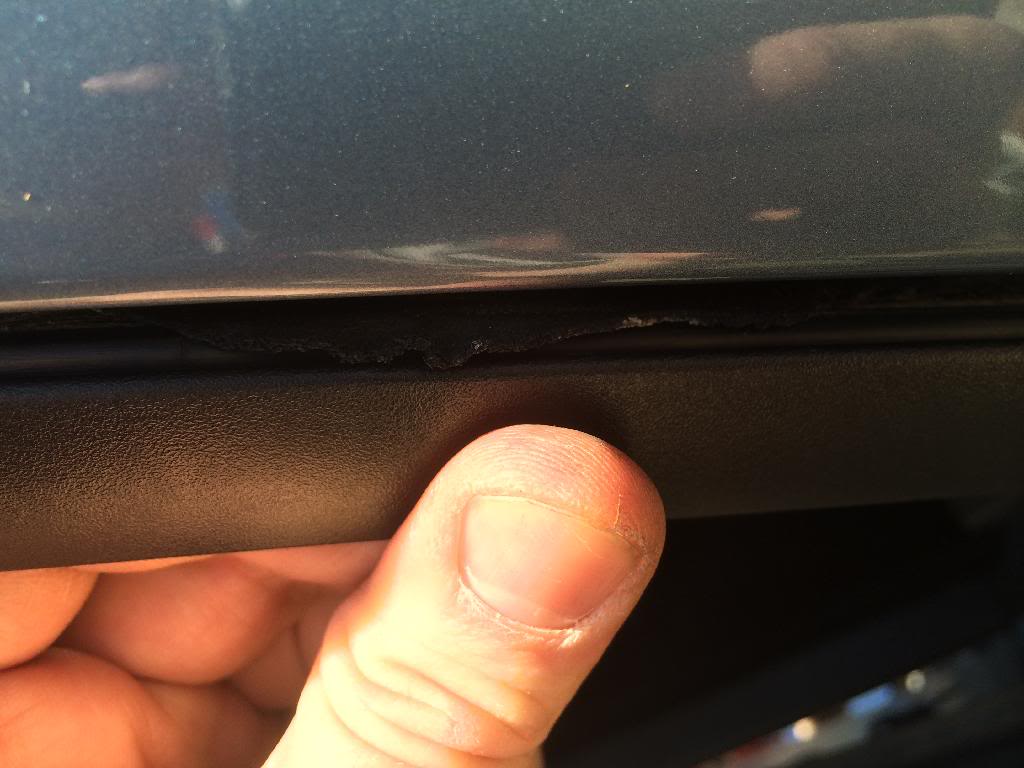
That is the foam that is suppose to be sealing
the clips that hold the plastic trim piece in place.
There is a TSB out on that associated with the
dreaded water leak TSB.
I occasionally push mine back in with a credit card.
I would nick my paint with an eXacto knife then I
would have a rust problem down the road...
The TSB PDF is enclosed...
the clips that hold the plastic trim piece in place.
There is a TSB out on that associated with the
dreaded water leak TSB.
I occasionally push mine back in with a credit card.
I would nick my paint with an eXacto knife then I
would have a rust problem down the road...
The TSB PDF is enclosed...
Last edited by 157dB; 01-24-2014 at 09:43 AM.
 04-15-2014, 12:39 AM
#16
2nd Gear Member
Thread Starter
Join Date: Nov 2010
Location: VA
Posts: 308
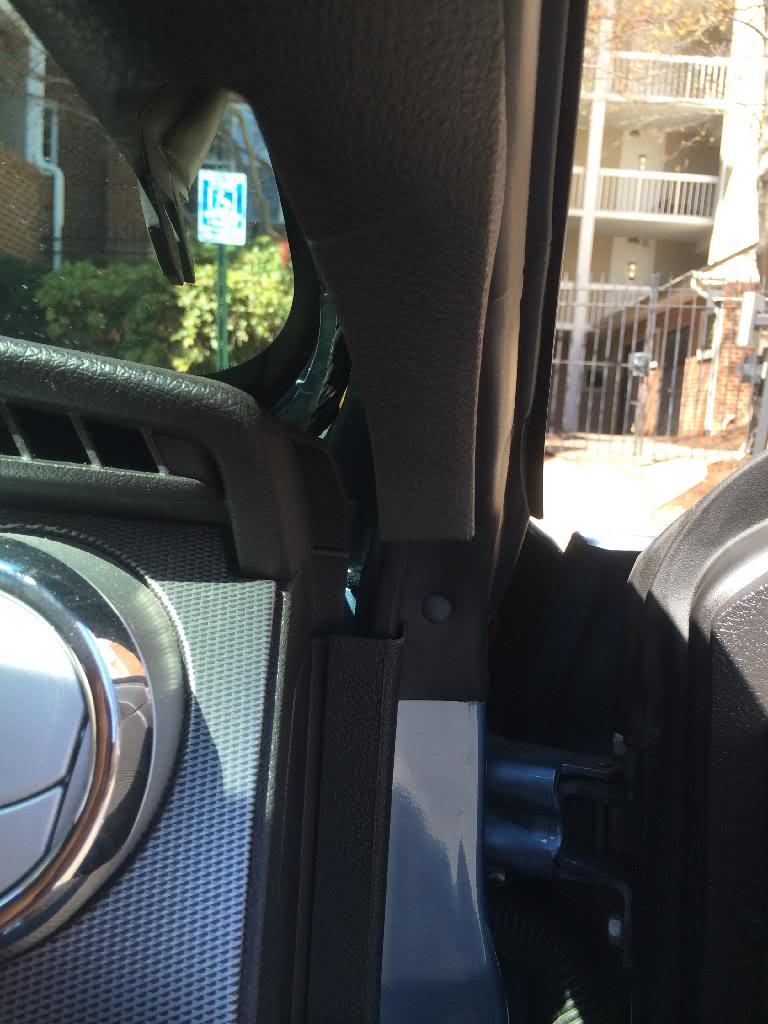
i finally got around to doing this, and took some pictures. thanks for all the inputs.
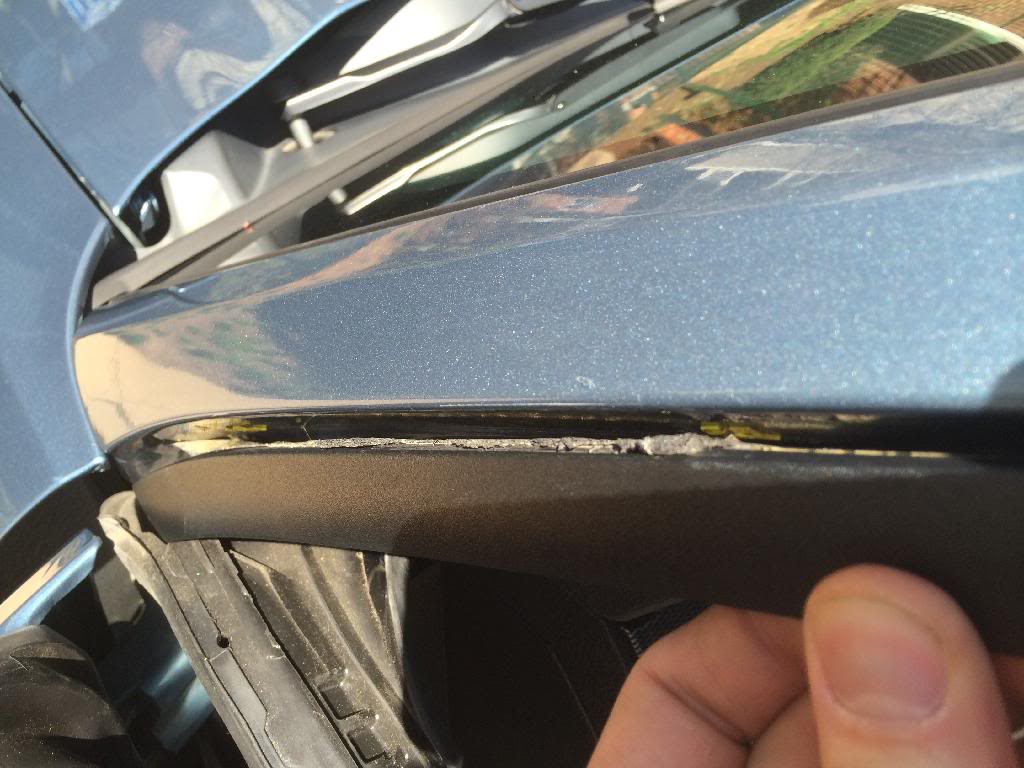
First, the before pictures:
Now, removing the A-Pillar. Pulling down starting from the back end, then pulling the front end up and towards you.
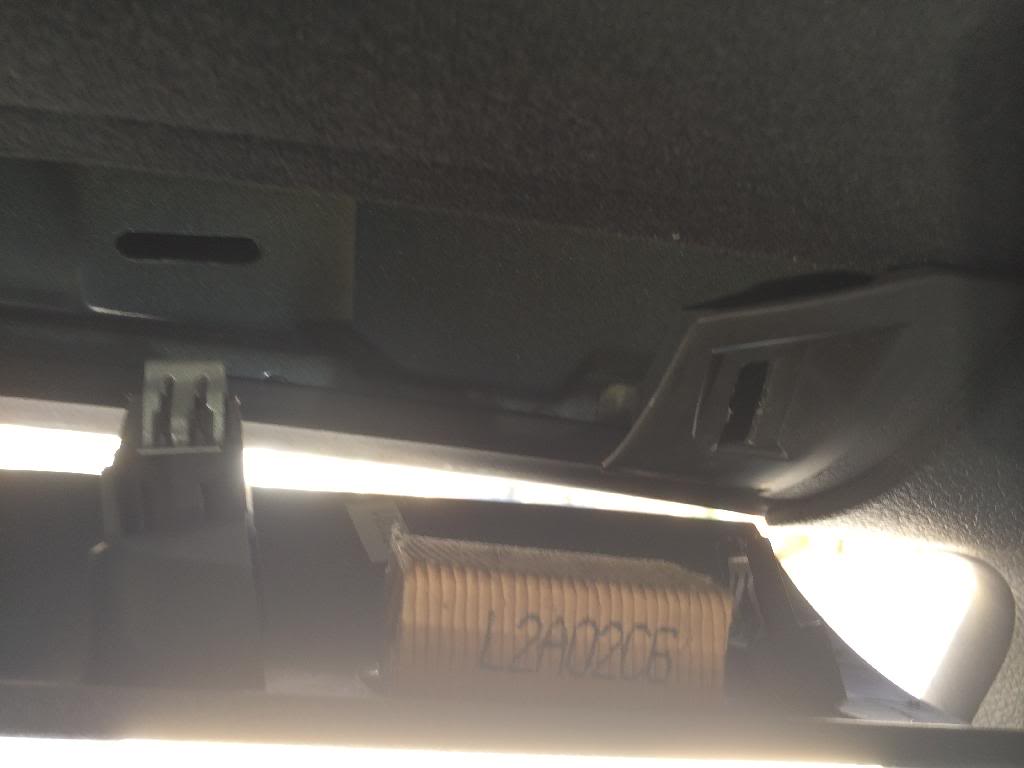
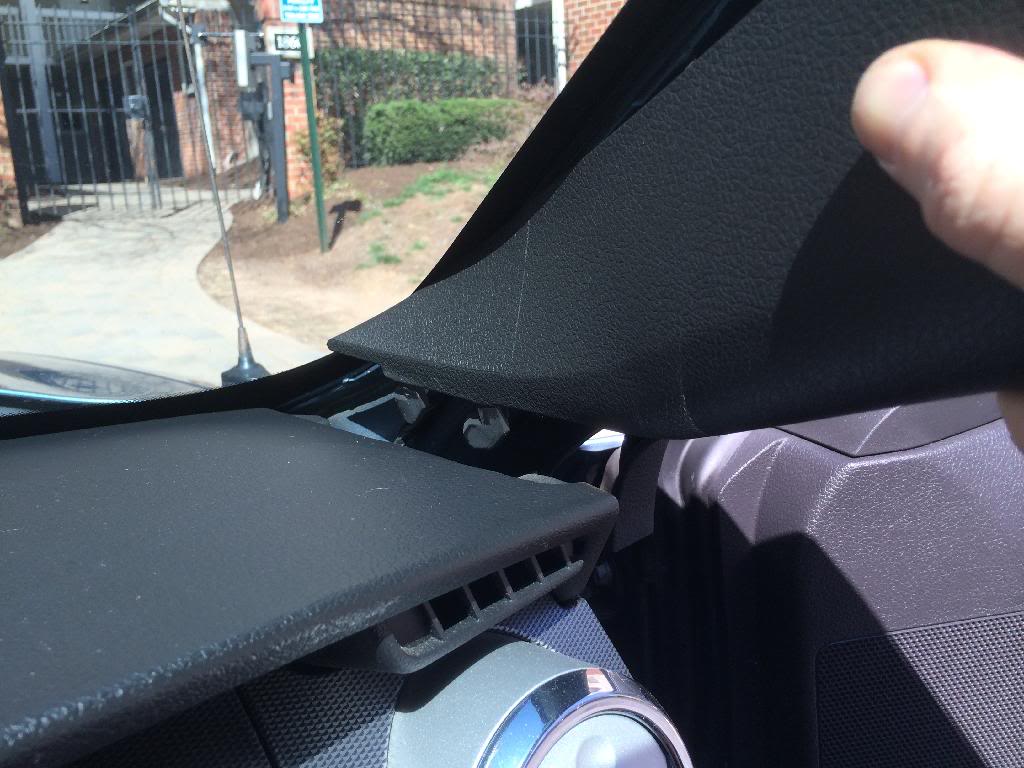
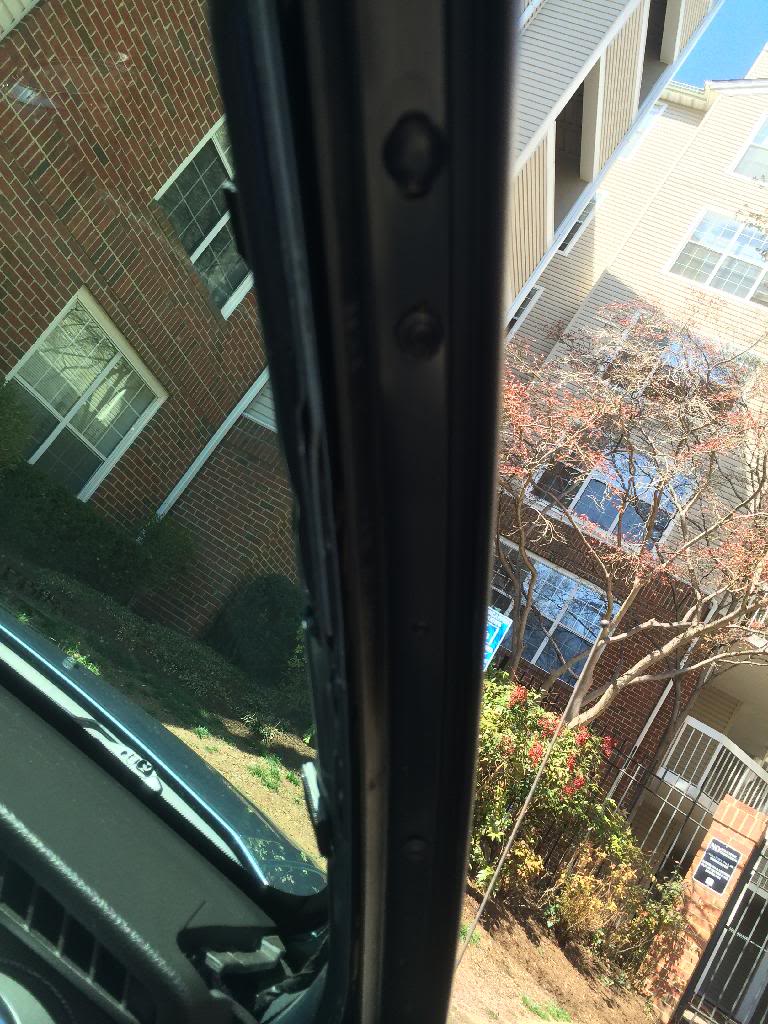
Only had to partially pull down the weather stripping to access a few of the torx screws in the problem area.

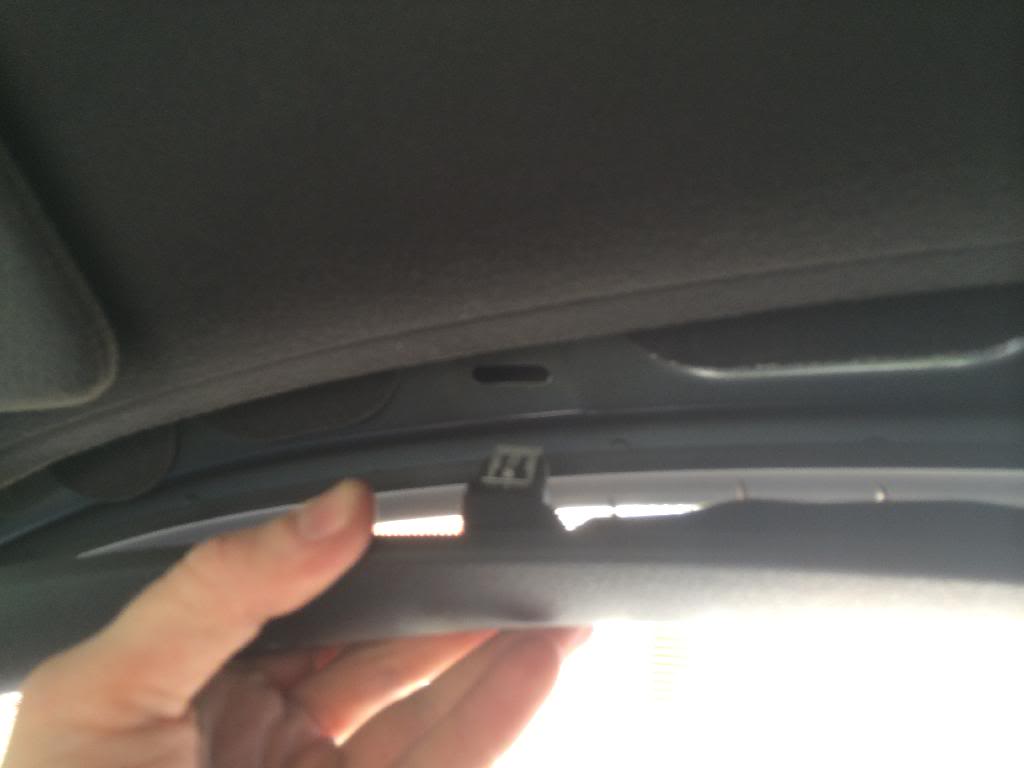
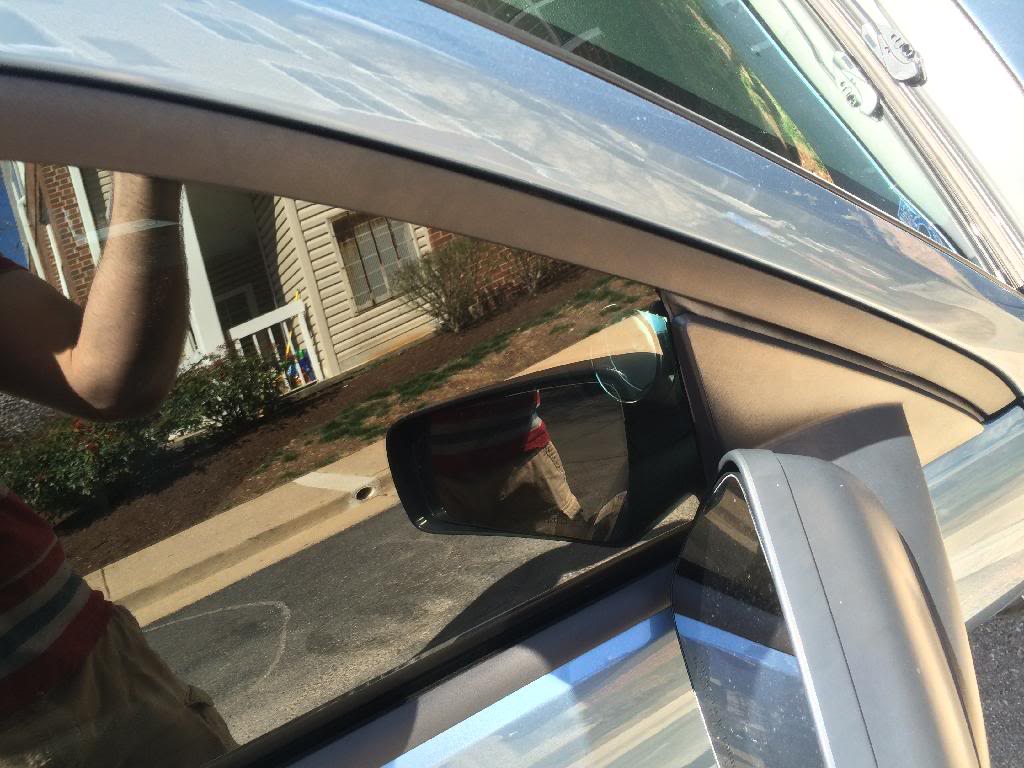
Was able to separate the two pieces just enough to get access with a knife and cut away the protrusion. Try to cut far enough back so that if you make any cut marks against the mating piece they will not be visible when things are back together.
When reattaching the A-pillar cover, remember the A-pillar cover has a tab where it meets the door that gets tucked into the mating dash piece. I had it on the outside at first.
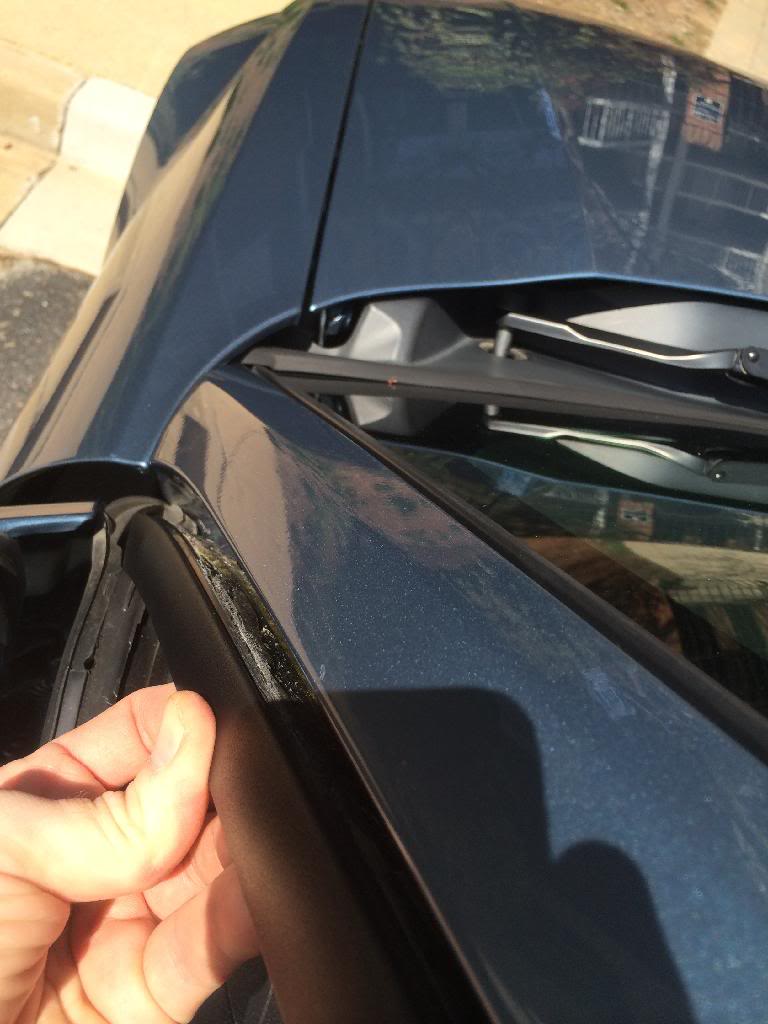
And afterwards:
First, the before pictures:


Now, removing the A-Pillar. Pulling down starting from the back end, then pulling the front end up and towards you.


Only had to partially pull down the weather stripping to access a few of the torx screws in the problem area.


Was able to separate the two pieces just enough to get access with a knife and cut away the protrusion. Try to cut far enough back so that if you make any cut marks against the mating piece they will not be visible when things are back together.


When reattaching the A-pillar cover, remember the A-pillar cover has a tab where it meets the door that gets tucked into the mating dash piece. I had it on the outside at first.

And afterwards:


Thread
Thread Starter
Forum
Replies
Last Post
BeatnikFink
New Member Area
6
10-01-2015 08:00 PM