2002 engine rebuild
 11-01-2014, 01:08 PM
#111
2nd Gear Member
Thread Starter

Join Date: Apr 2014
Location: IL
Posts: 335
I have used JB quick to fill this corrosion pitting on my Vortec 350. Let it set up and once it starts to firm up a sharp razor blade trim it flush. After it has 24 hours or so to set up 400 grit paper on a flat surface.
It works excellent and imo re-machining would take off to much material and weaken the part. This is caused by acid etching from the coolant and the silicone bead on the gasket.
It works excellent and imo re-machining would take off to much material and weaken the part. This is caused by acid etching from the coolant and the silicone bead on the gasket.
 11-06-2014, 01:26 AM
#112
2nd Gear Member
Thread Starter
Join Date: Apr 2014
Location: IL
Posts: 335
Got all 4 calipers in from Rock Auto the other day. These are rebuilt units by Wagner. We are going to install them with a full set of Centric rotors from LMR along with stainless braided lines front and rear. We already have Hawk ceramic pads for all four corners here. It's not a racing brake system but it will be better than stock. I plan to get some DOT 5.1 fluid and flush the brake system with it.
Water pump from LMR also came in. It's new and made by Gates. We should have the block back today or tomorrow after the cylinder repair by the machine shop.
Sent from my XT1080 using IB AutoGroup
Water pump from LMR also came in. It's new and made by Gates. We should have the block back today or tomorrow after the cylinder repair by the machine shop.
Sent from my XT1080 using IB AutoGroup
Last edited by VTX1800N1; 11-06-2014 at 09:33 PM.
11-06-2014, 08:35 PM
#113
Join Date: Oct 2007
Location: Ok
Posts: 10
Got the suspension and K-member removed today. As typical, the lower control arm to K-member bolts are a bitch to remove. I've got the nuts off, but the bolts are seized to the metal sleeve inside the bushing. I have them soaking with penetrating oil now. I still don't have the rods or pistons. Hopefully Monday...

That should make getting the engine back in much easier.
Some rust to clean up and paint. The entire engine bay is going to be POR 15 satin black. I think we are going to get a POR 15 engine paint kit in Ford corporate blue to paint the motor.


That should make getting the engine back in much easier.
Some rust to clean up and paint. The entire engine bay is going to be POR 15 satin black. I think we are going to get a POR 15 engine paint kit in Ford corporate blue to paint the motor.
11-09-2014, 03:07 PM
#114
2nd Gear Member
Thread Starter
Join Date: Apr 2014
Location: IL
Posts: 335
Made a video showing how to install the wire locks for the piston pins without tools. Unfortunately, after uploading to youtube, it isn't near as clear as the original video. Does anyone know of settings on Youtube that will improve this?
https://www.youtube.com/watch?v=vwVP...ature=youtu.be
EDIT: Actually, I had not "published" the video yet. After publishing it, the quality looks much better. Hope that helps someone down the road that was frustrated with the locks like I was.
https://www.youtube.com/watch?v=vwVP...ature=youtu.be
EDIT: Actually, I had not "published" the video yet. After publishing it, the quality looks much better. Hope that helps someone down the road that was frustrated with the locks like I was.
Last edited by VTX1800N1; 11-09-2014 at 03:22 PM.
11-12-2014, 03:00 AM
#117
2nd Gear Member
Thread Starter
Join Date: Apr 2014
Location: IL
Posts: 335
ATI balancer arrives today. New high torque starter and lots of other little parts arrive Friday. BBK full length headers and catted H pipe are next up on the order list.
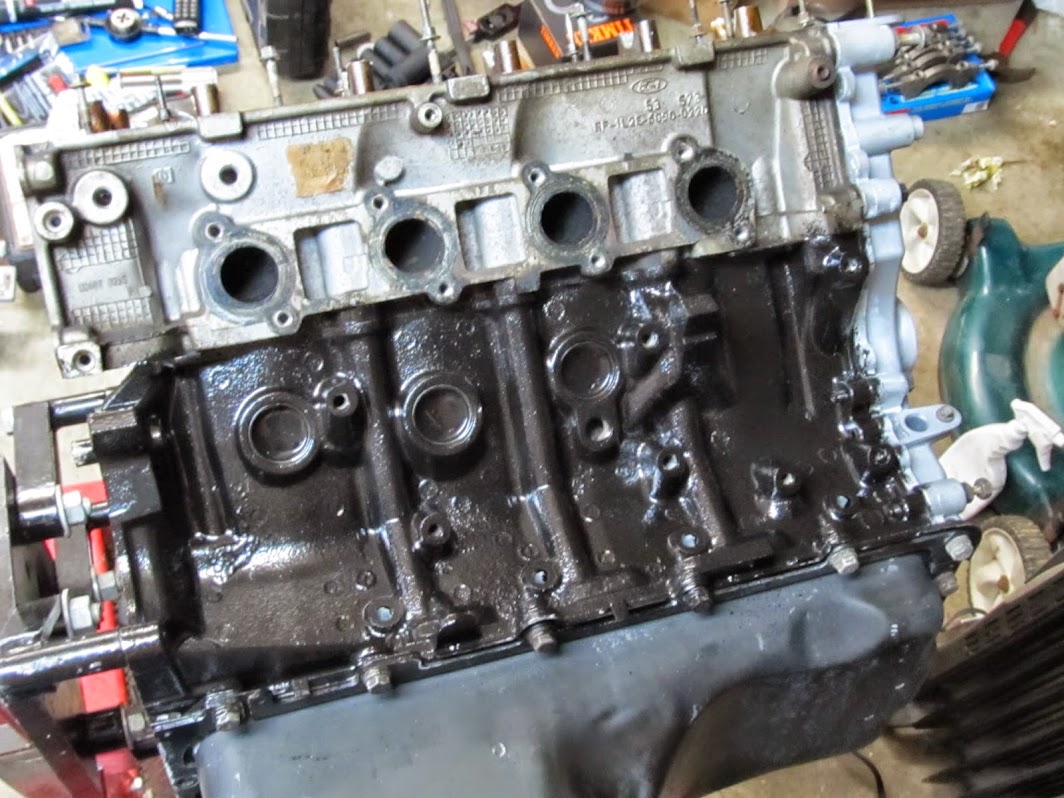
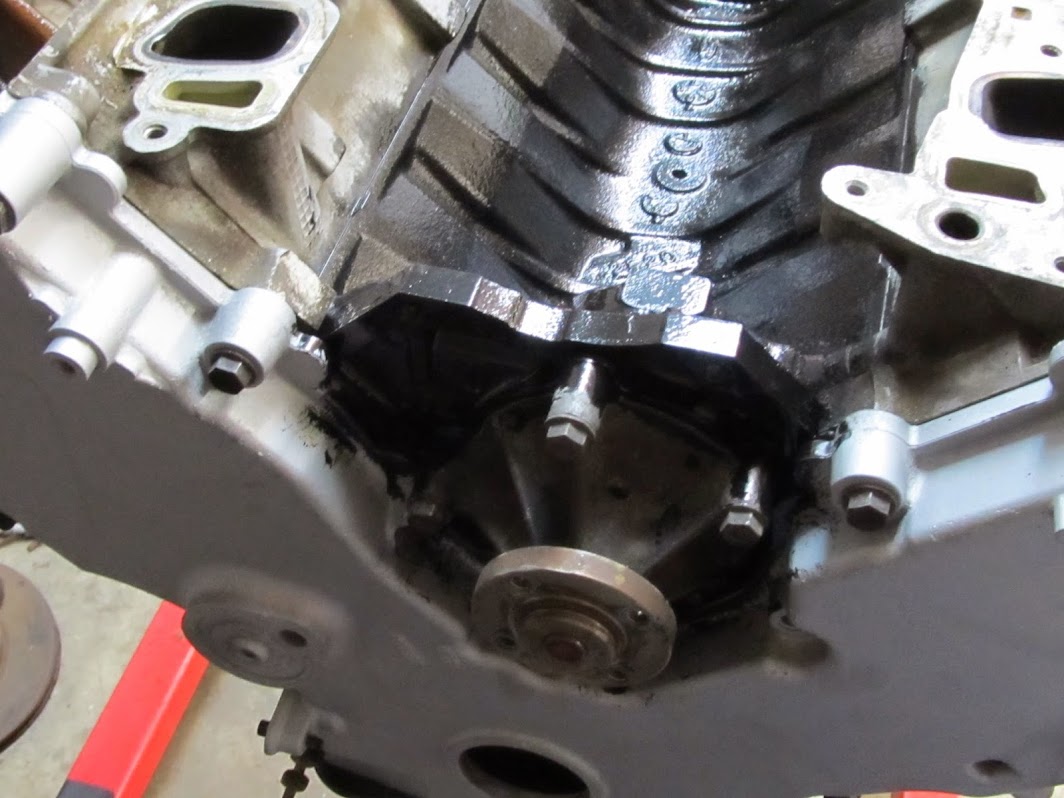
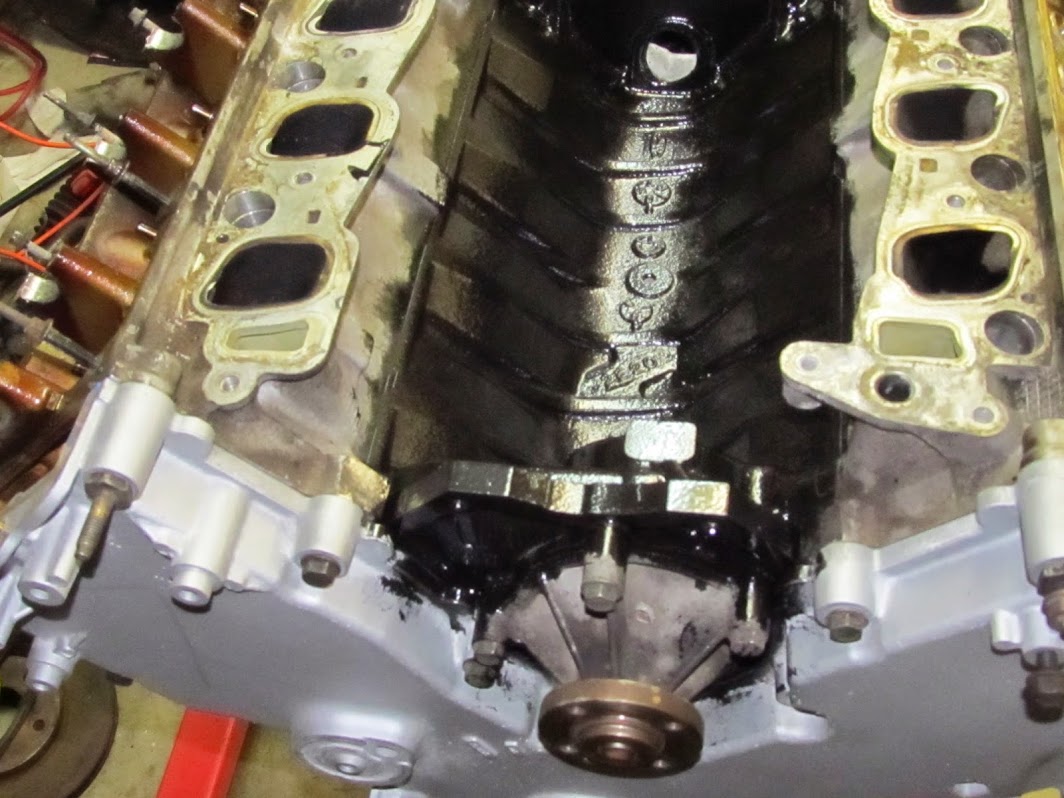
Got the block mounted on the stand, cleaned, and bolted the old water pump and heads, oil pan, and timing cover on it to serve as templates for painting the block. We have the POR15 engine paint kit and the color will be Ford blue.
Sent from my XT1080 using IB AutoGroup
Got the block mounted on the stand, cleaned, and bolted the old water pump and heads, oil pan, and timing cover on it to serve as templates for painting the block. We have the POR15 engine paint kit and the color will be Ford blue.
Sent from my XT1080 using IB AutoGroup
Last edited by VTX1800N1; 11-12-2014 at 03:03 AM.
11-12-2014, 03:05 AM
#118
2nd Gear Member
Thread Starter
Join Date: Apr 2014
Location: IL
Posts: 335
11-12-2014, 10:17 AM
#119
Join Date: Oct 2007
Location: Ok
Posts: 10
Made a video showing how to install the wire locks for the piston pins without tools. Unfortunately, after uploading to youtube, it isn't near as clear as the original video. Does anyone know of settings on Youtube that will improve this?
https://www.youtube.com/watch?v=vwVP...ature=youtu.be
EDIT: Actually, I had not "published" the video yet. After publishing it, the quality looks much better. Hope that helps someone down the road that was frustrated with the locks like I was.
https://www.youtube.com/watch?v=vwVP...ature=youtu.be
EDIT: Actually, I had not "published" the video yet. After publishing it, the quality looks much better. Hope that helps someone down the road that was frustrated with the locks like I was.