Rebuilding Rear Calipers
 10-02-2015, 06:09 PM
#1
3rd Gear Member
Thread Starter
Join Date: Feb 2013
Location: PA
Posts: 556
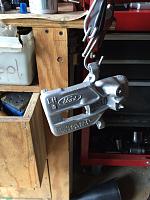
My calipers are painted red, but my car is black with silver pin stripe with silver wheels, so I wanted to paint the calipers silver as well.
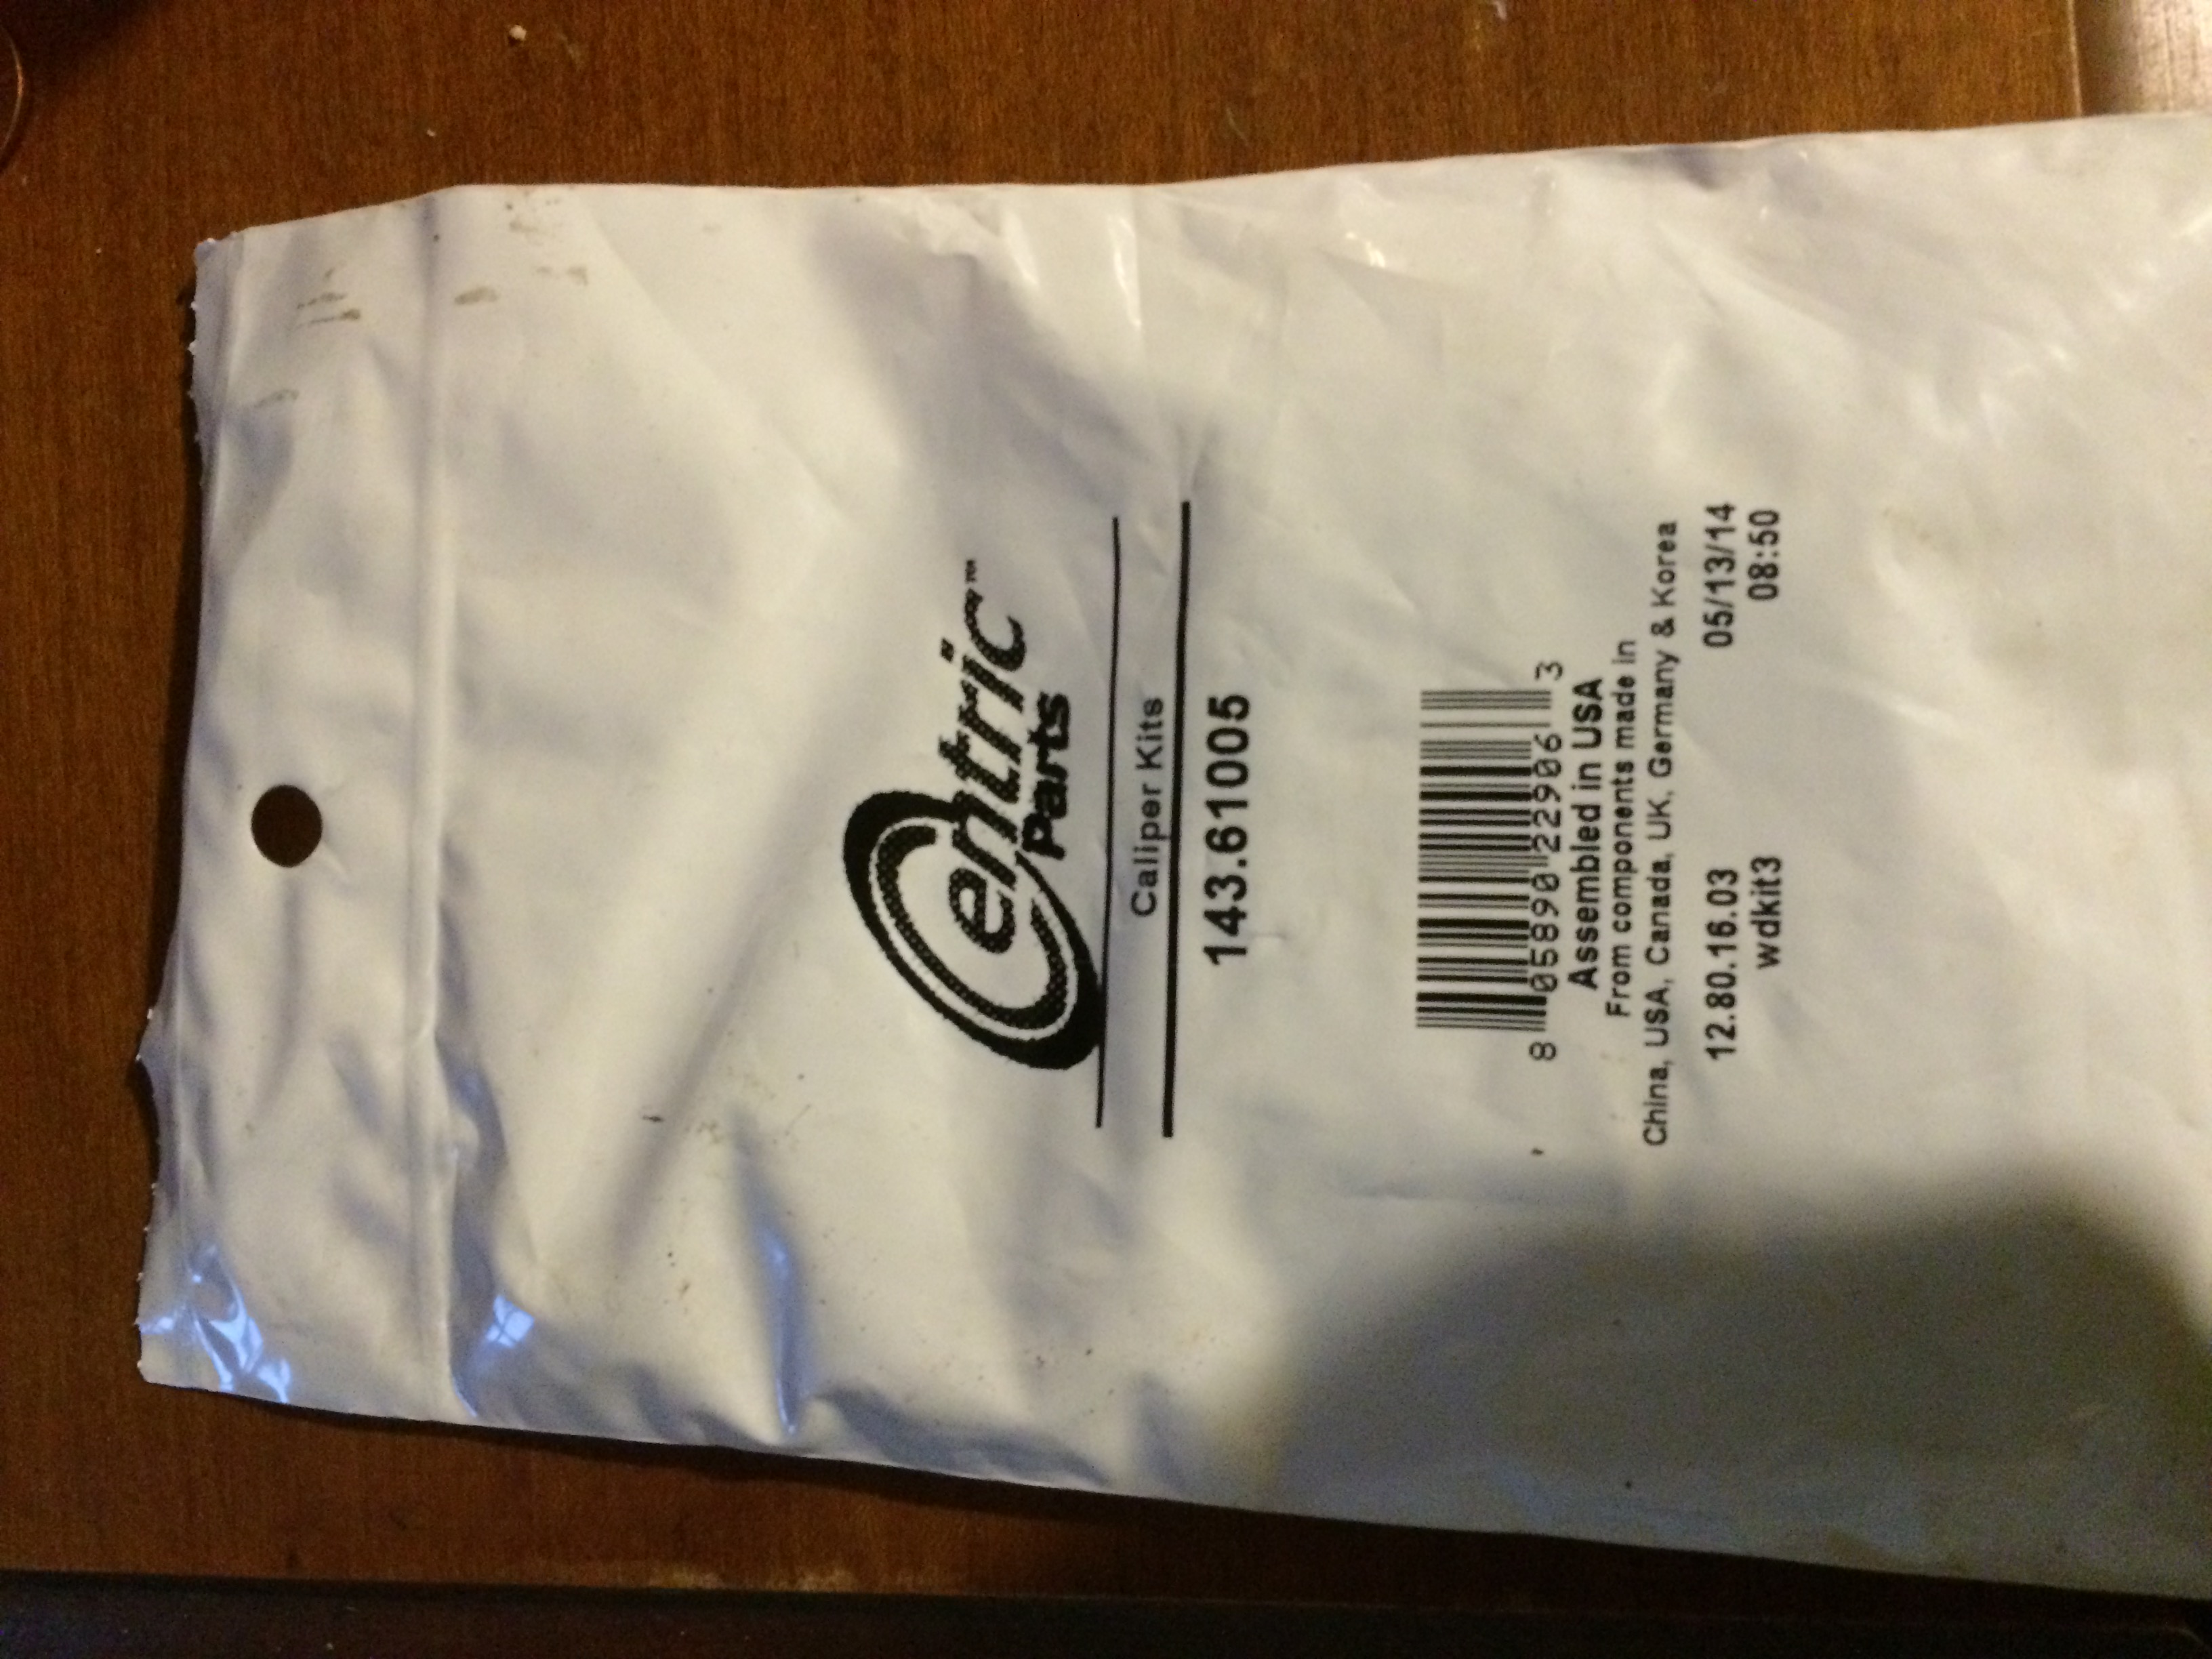
After taking it apart I found the left side rear caliper was leaking. I have always wondered how the integrated emergency brake worked, so I went and bought a rebuild kit. I compared the Raybestos kit $15.69 to the centric Kit $5.54 there was no obvious difference between them so I went with the Centric
I have always heard how difficult they were to work on, surprisingly they are not that difficult. After getting it off the car it took me about 5 minutes to completely disassemble the caliper
I have already reassembled it, twice in fact using the old parts I want to get everything painted before putting it together for the last time. I will follow with some pictures putting it back together, waiting for paint to dry if anyone is interested.
After taking it apart I found the left side rear caliper was leaking. I have always wondered how the integrated emergency brake worked, so I went and bought a rebuild kit. I compared the Raybestos kit $15.69 to the centric Kit $5.54 there was no obvious difference between them so I went with the Centric

I have always heard how difficult they were to work on, surprisingly they are not that difficult. After getting it off the car it took me about 5 minutes to completely disassemble the caliper

I have already reassembled it, twice in fact using the old parts I want to get everything painted before putting it together for the last time. I will follow with some pictures putting it back together, waiting for paint to dry if anyone is interested.
 10-05-2015, 07:55 PM
#2
3rd Gear Member
Thread Starter
Join Date: Feb 2013
Location: PA
Posts: 556
Although no one seems to be interested here�s a somewhat how to guide. I put the whole thing back together and started from the beginning to the complete reassembly.
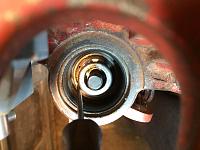
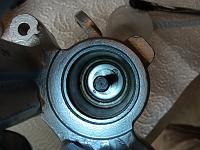
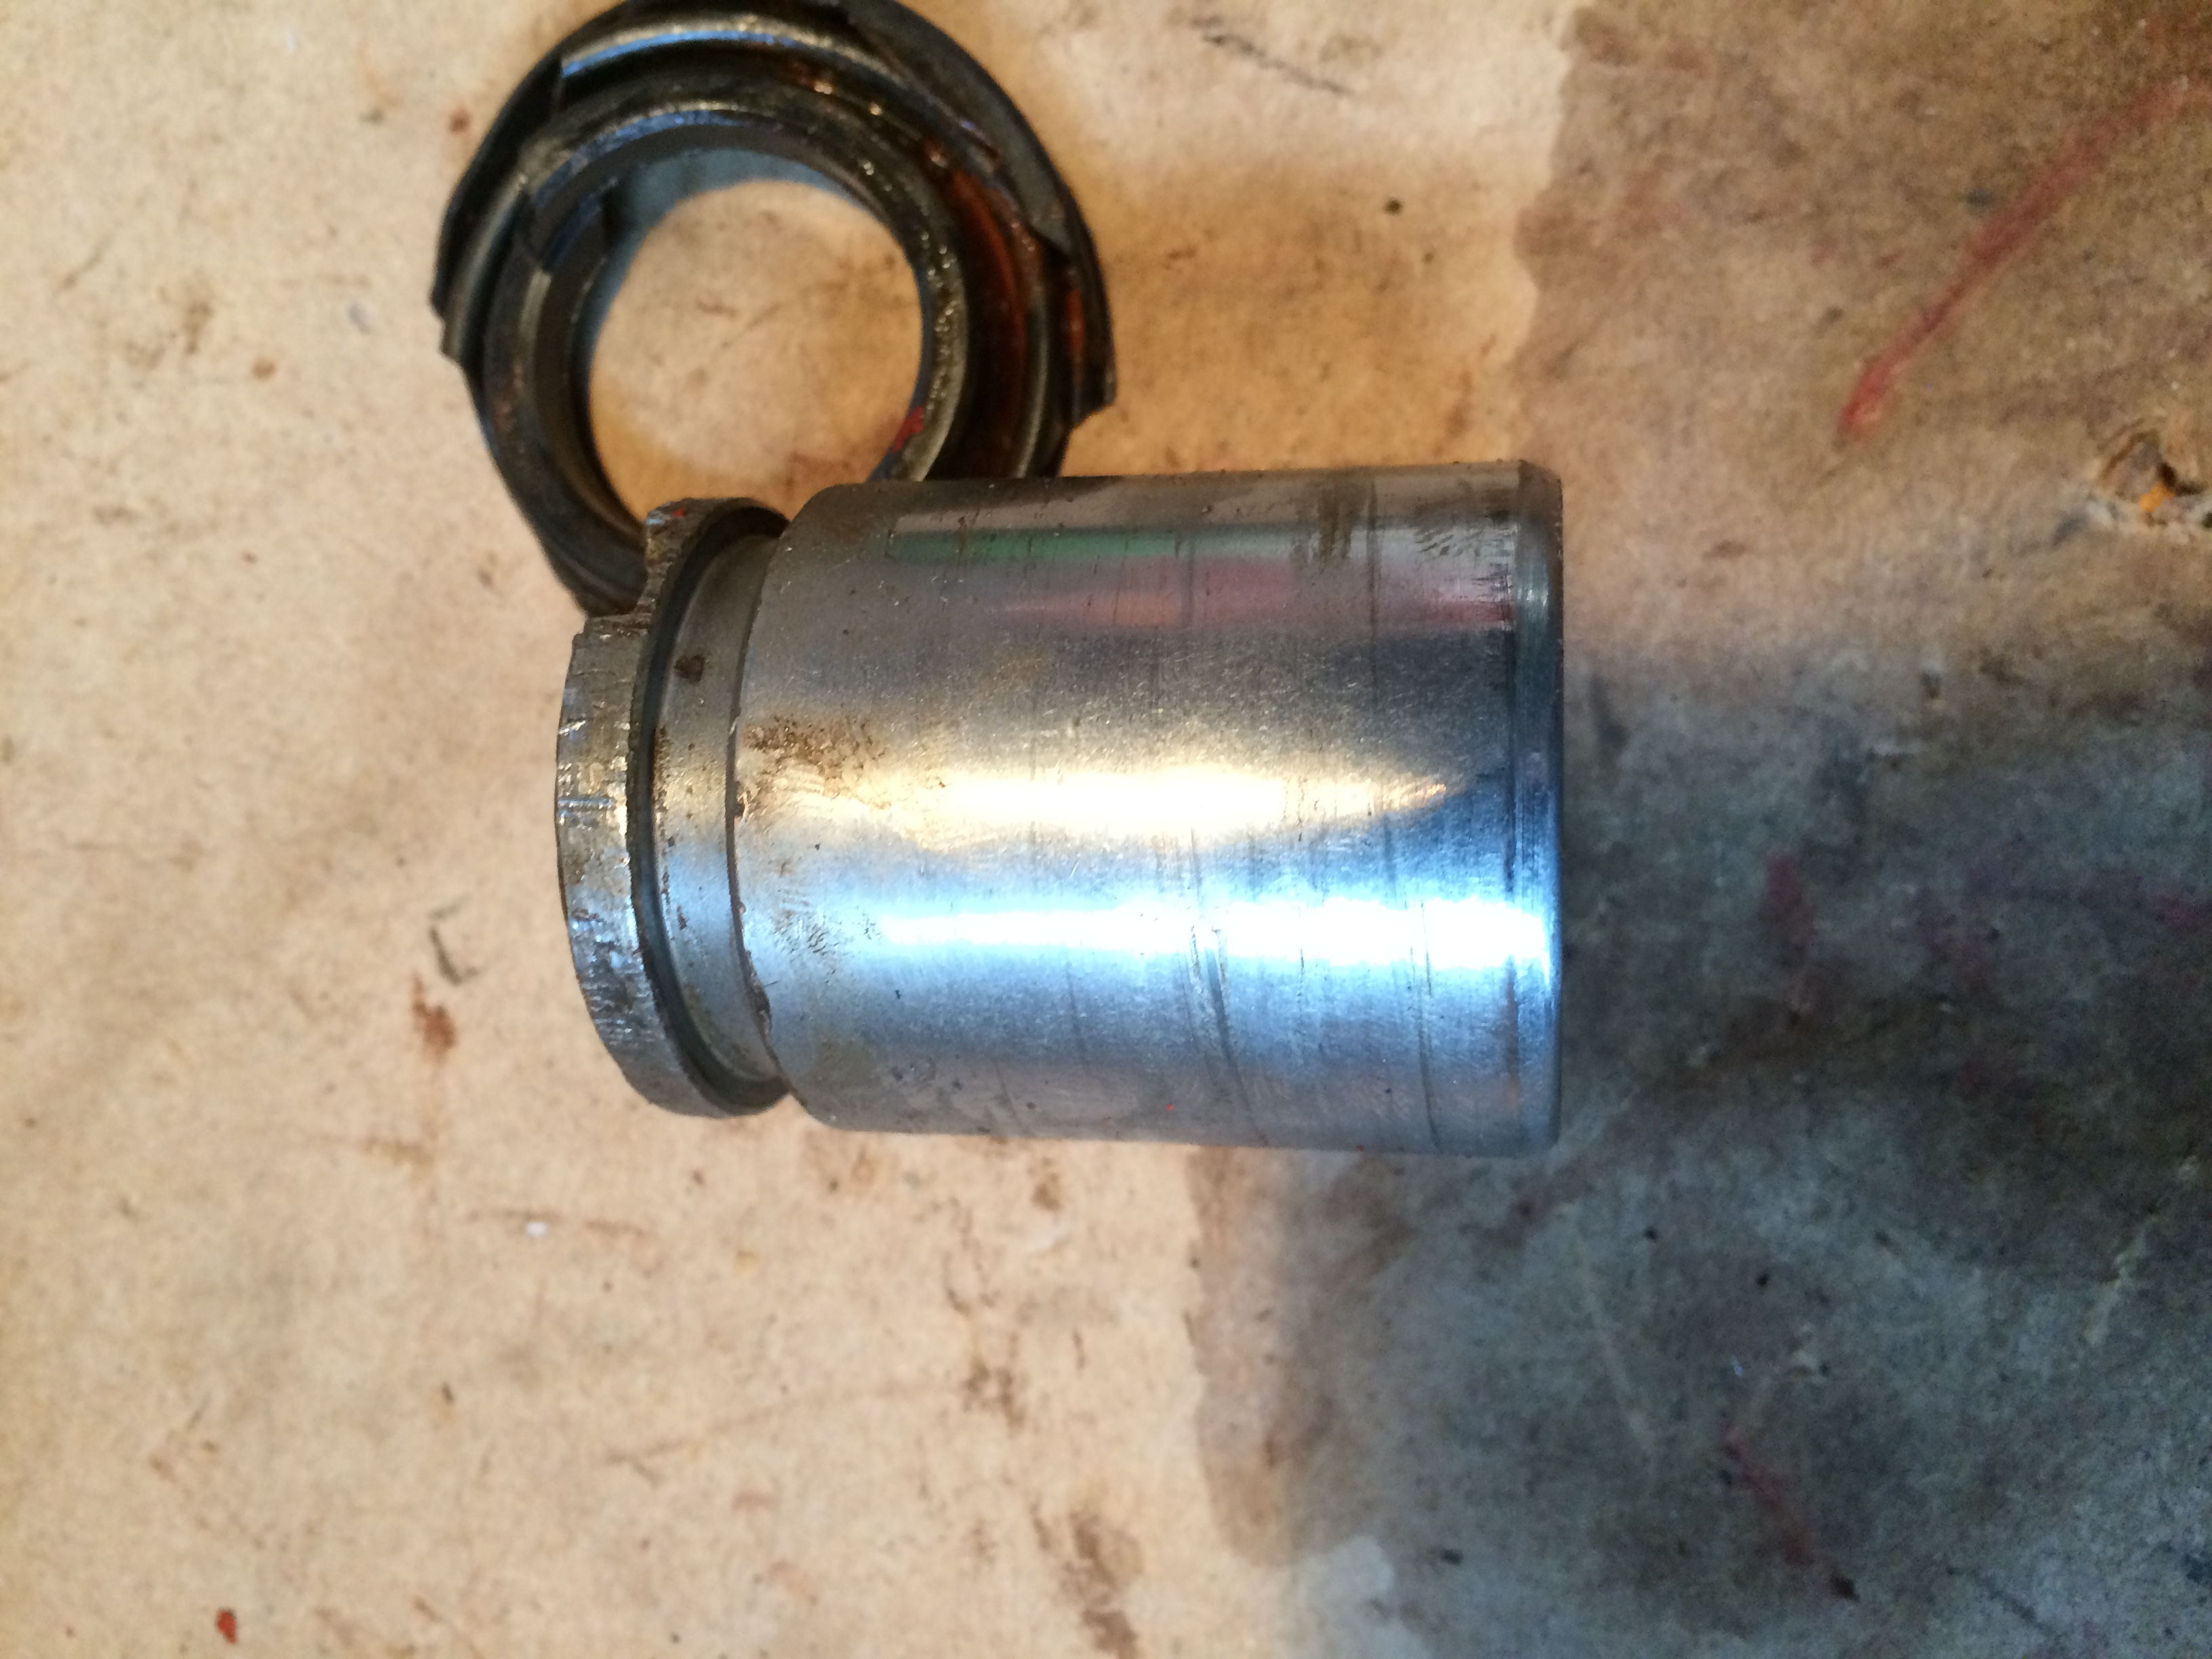
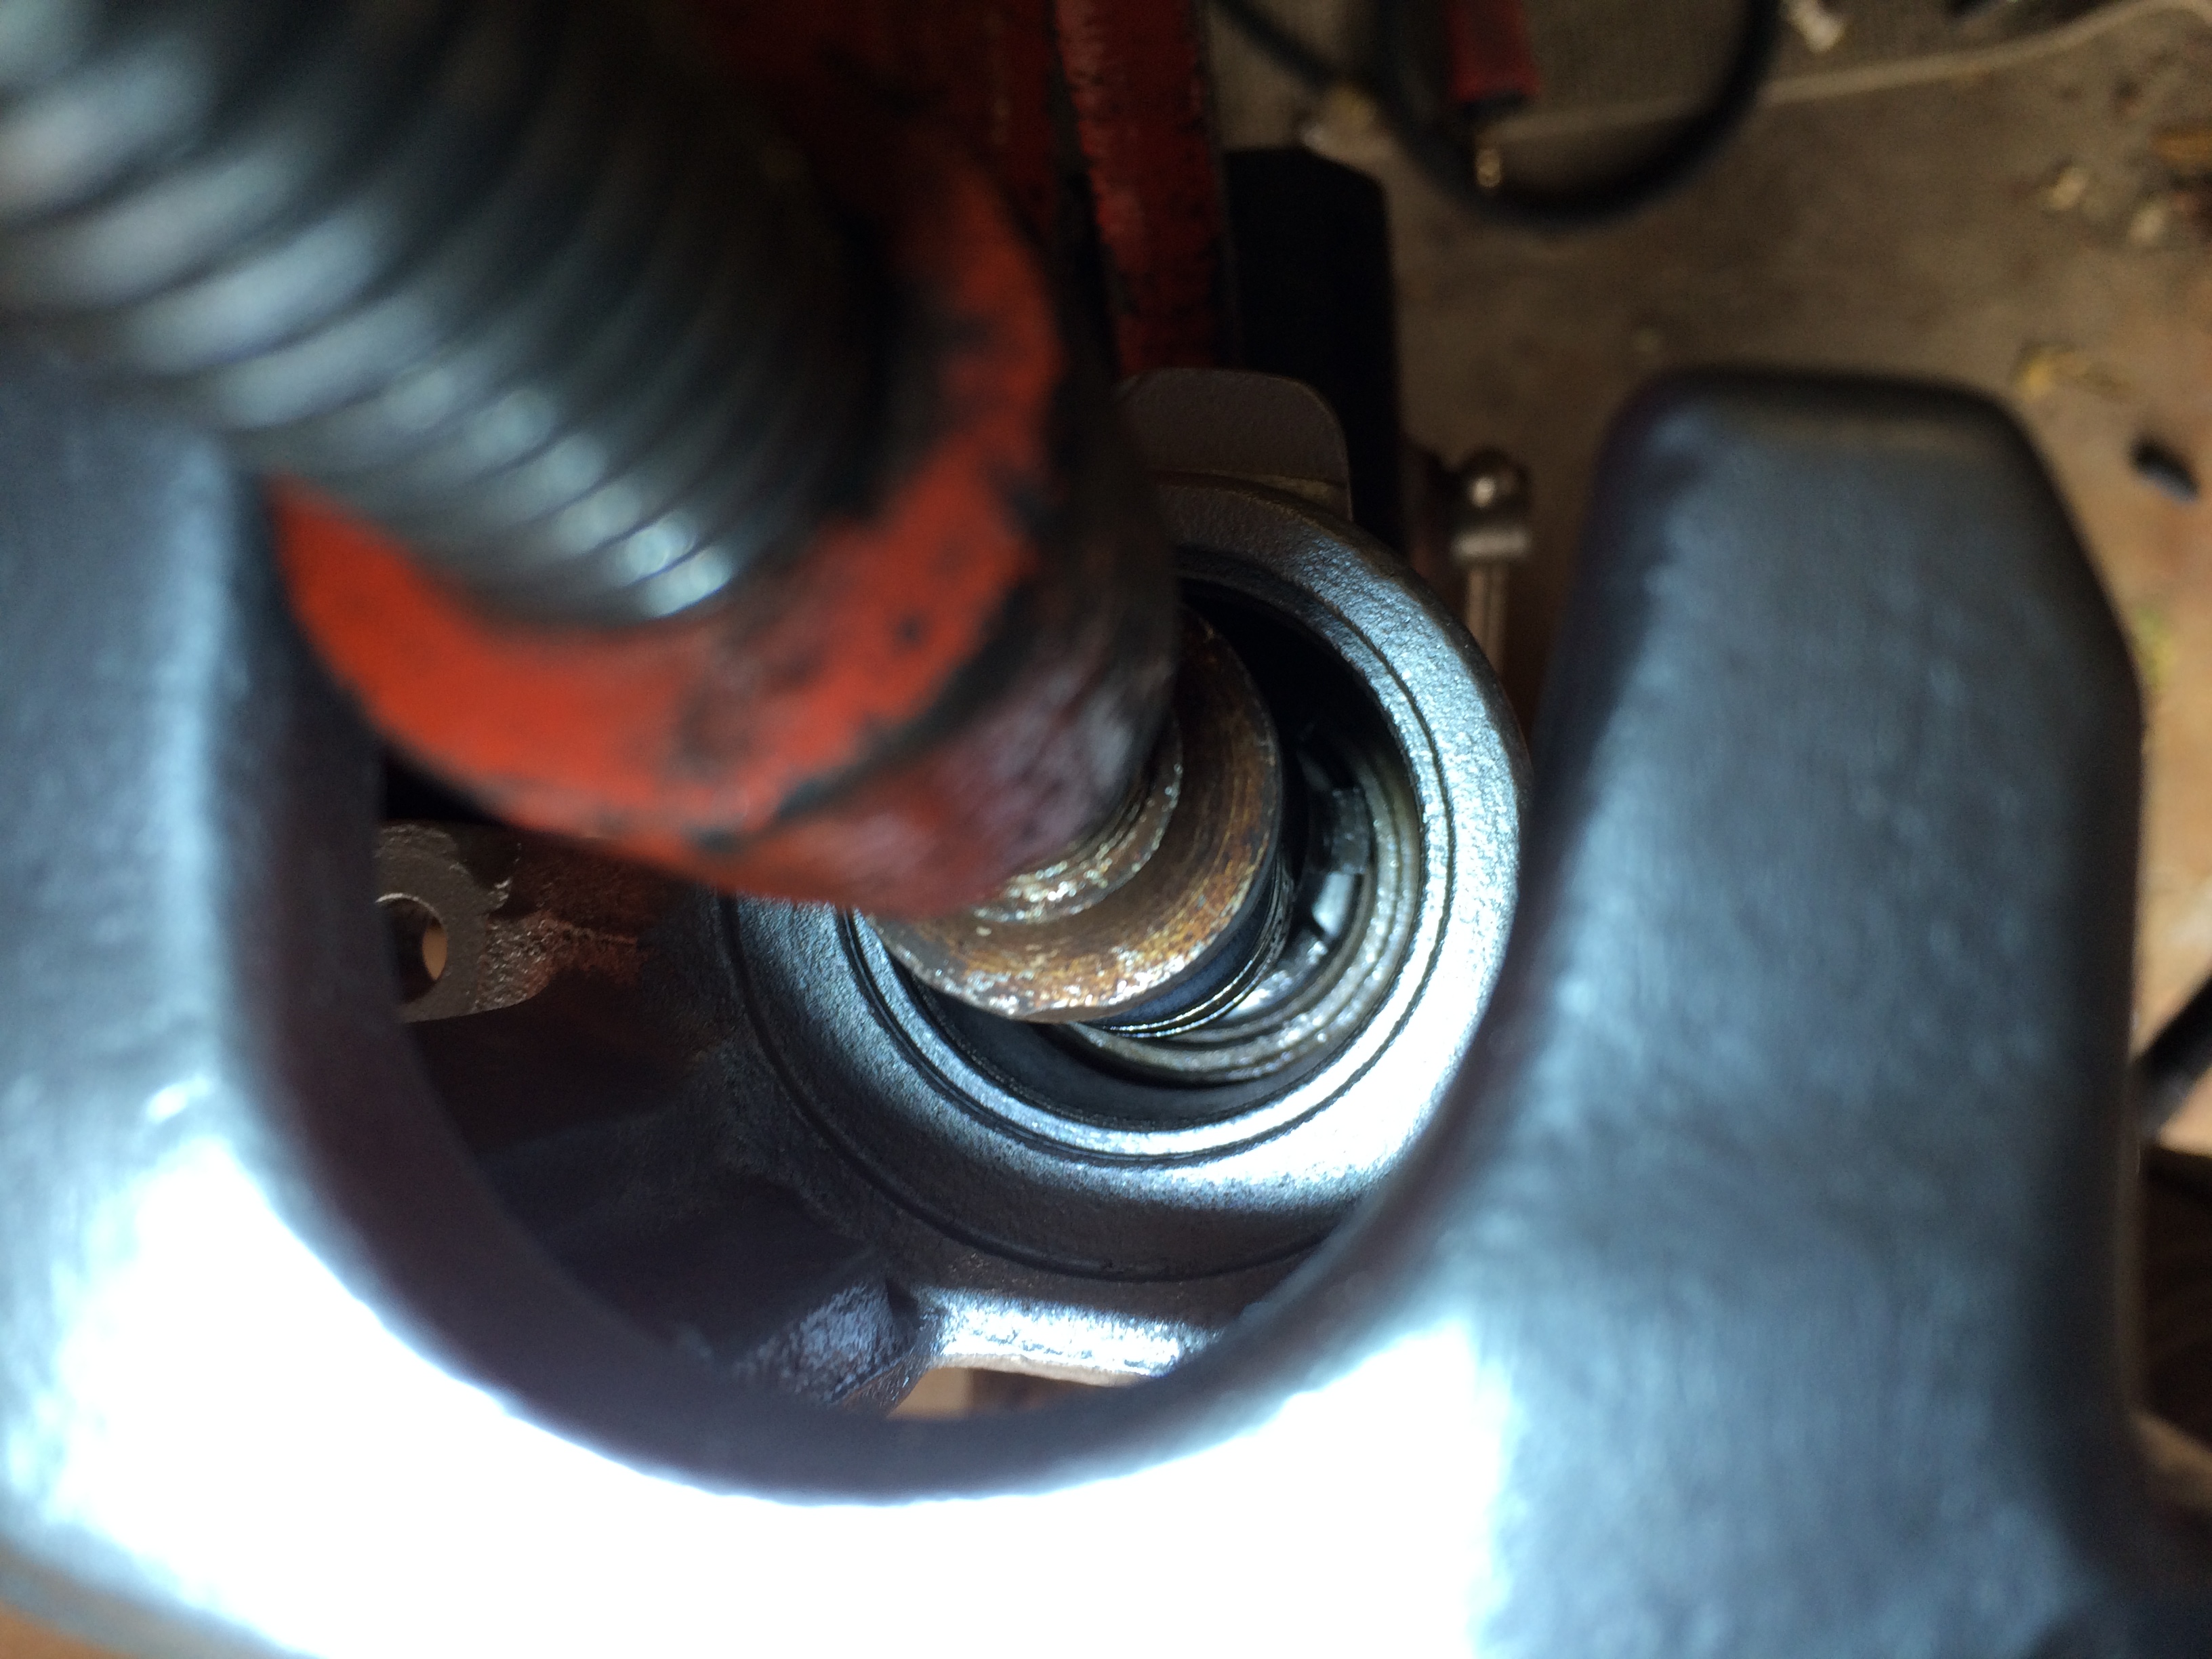
I just ripped the rubber boot off knowing I had a replacement, it made it easier to get the piston out.

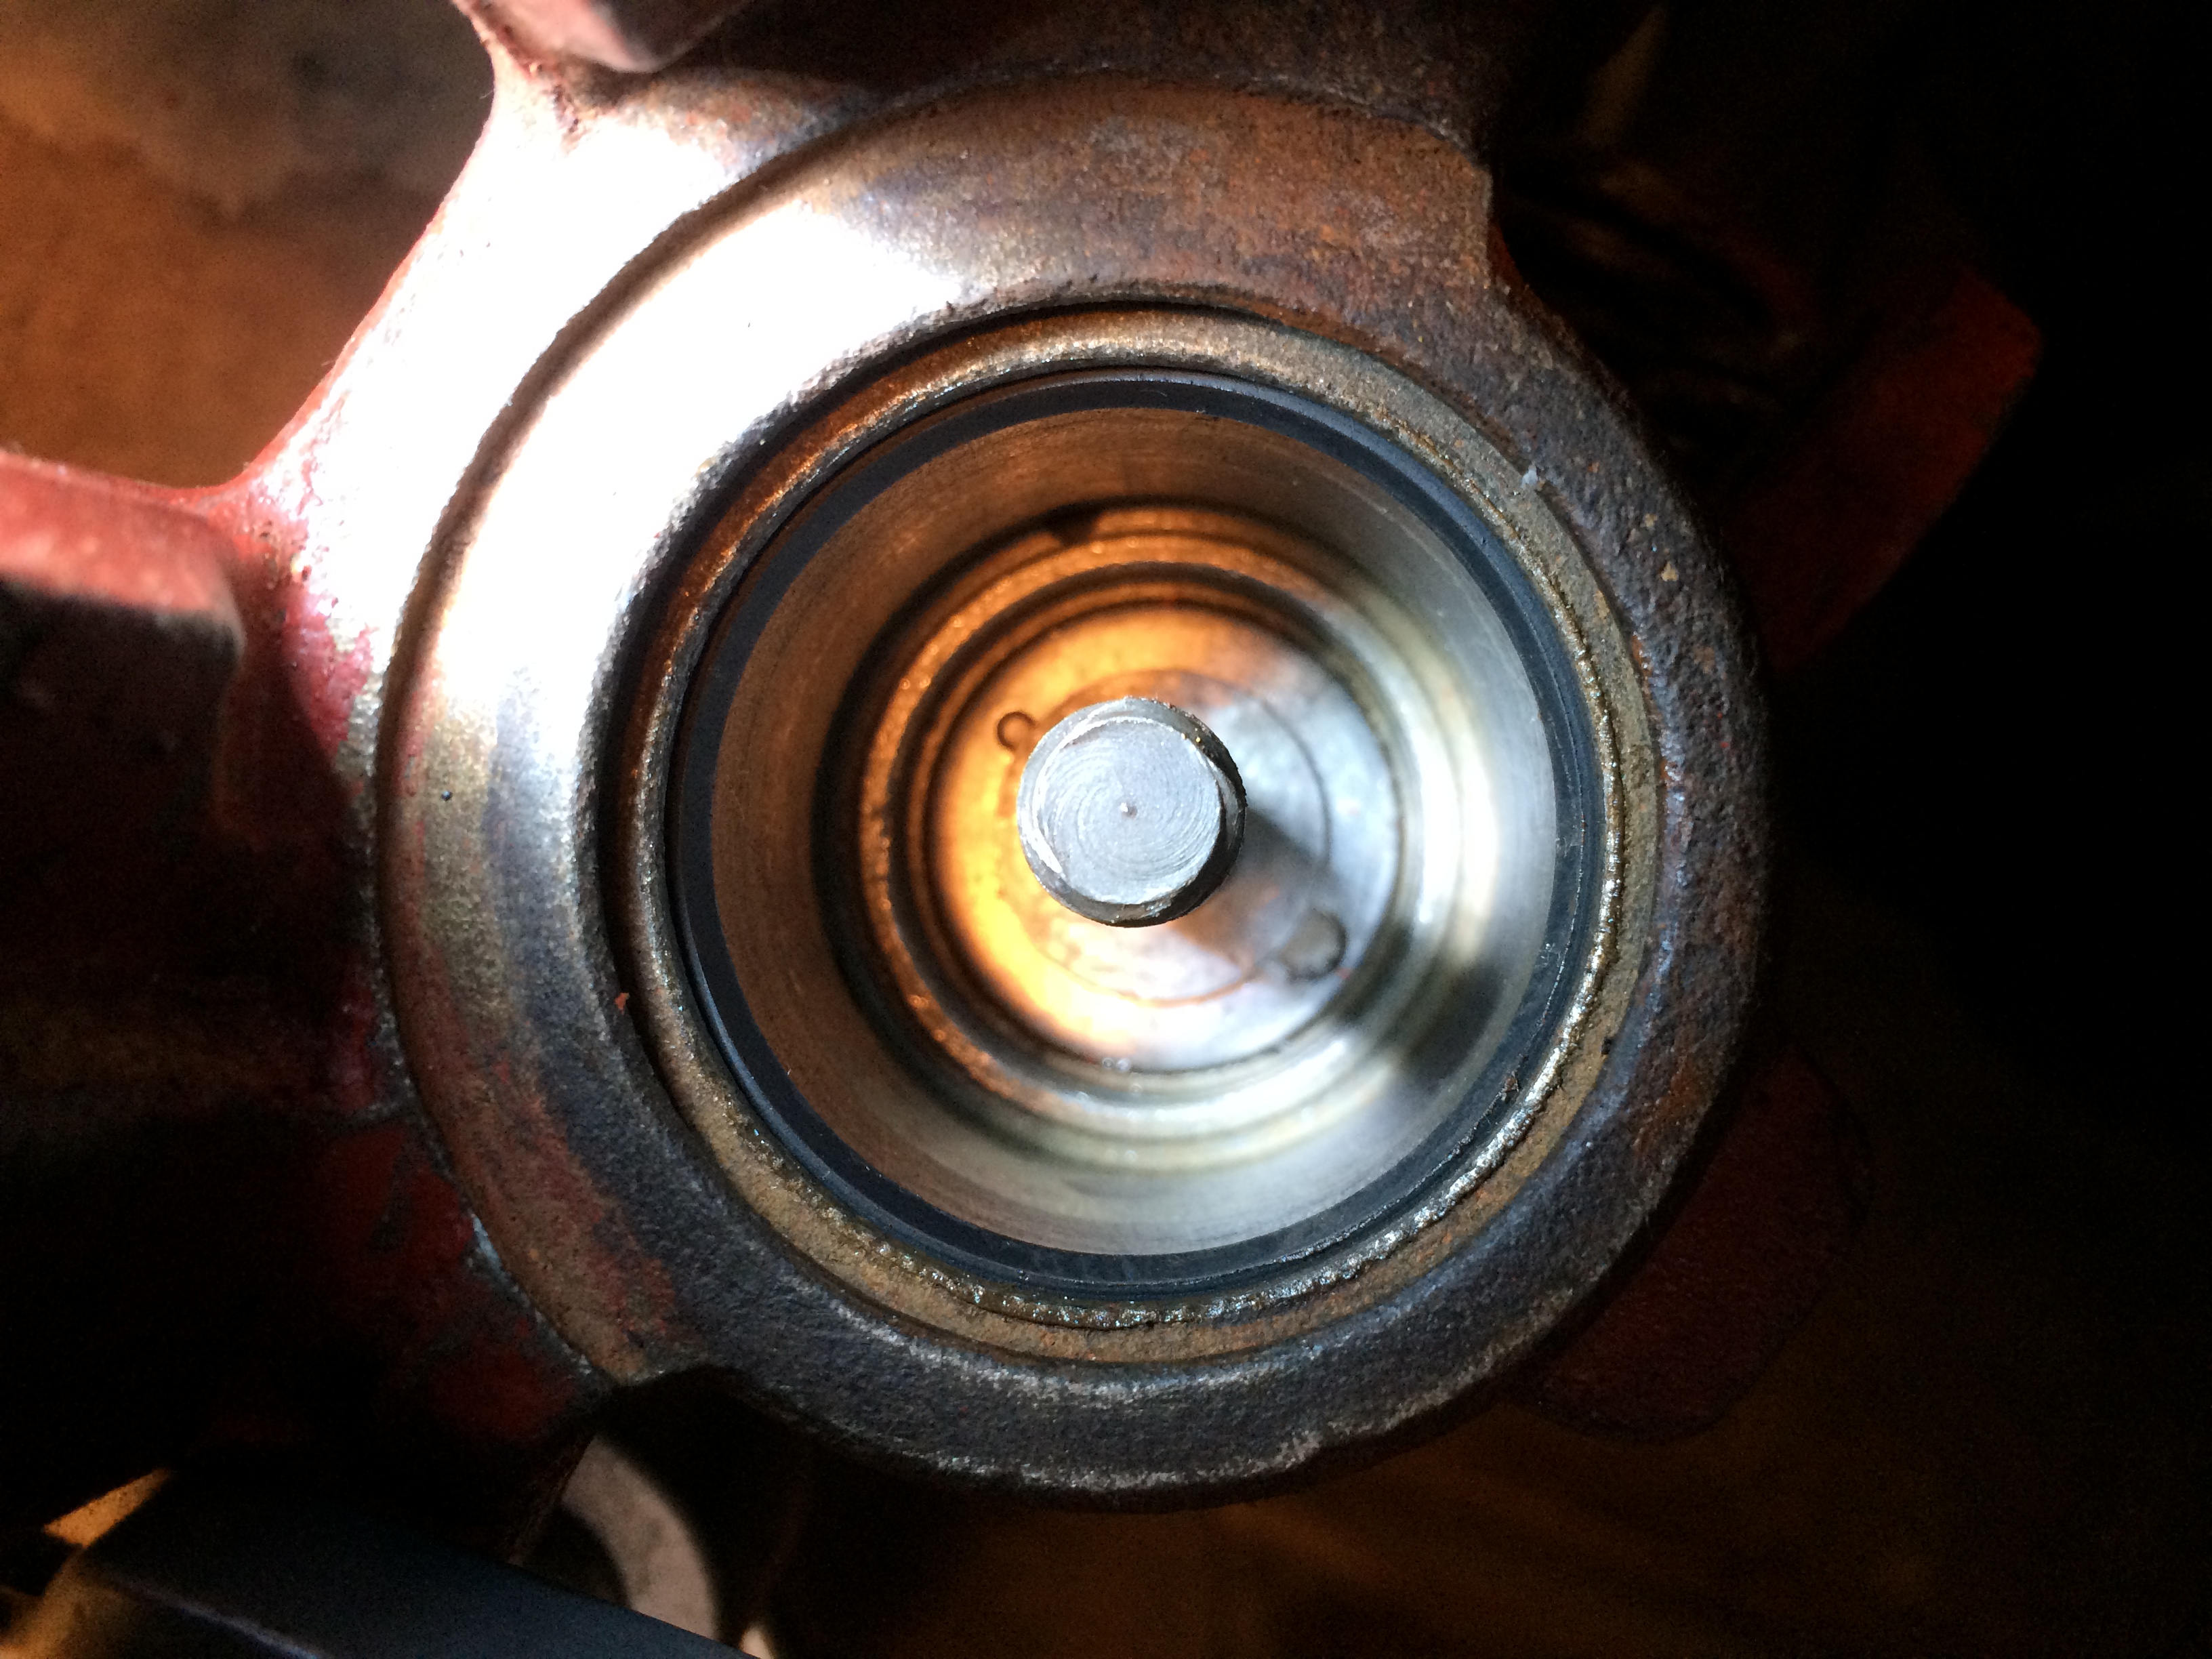
I removed the piston by turning it counter clockwise, once it gets to the end you will have to pull the piston out.
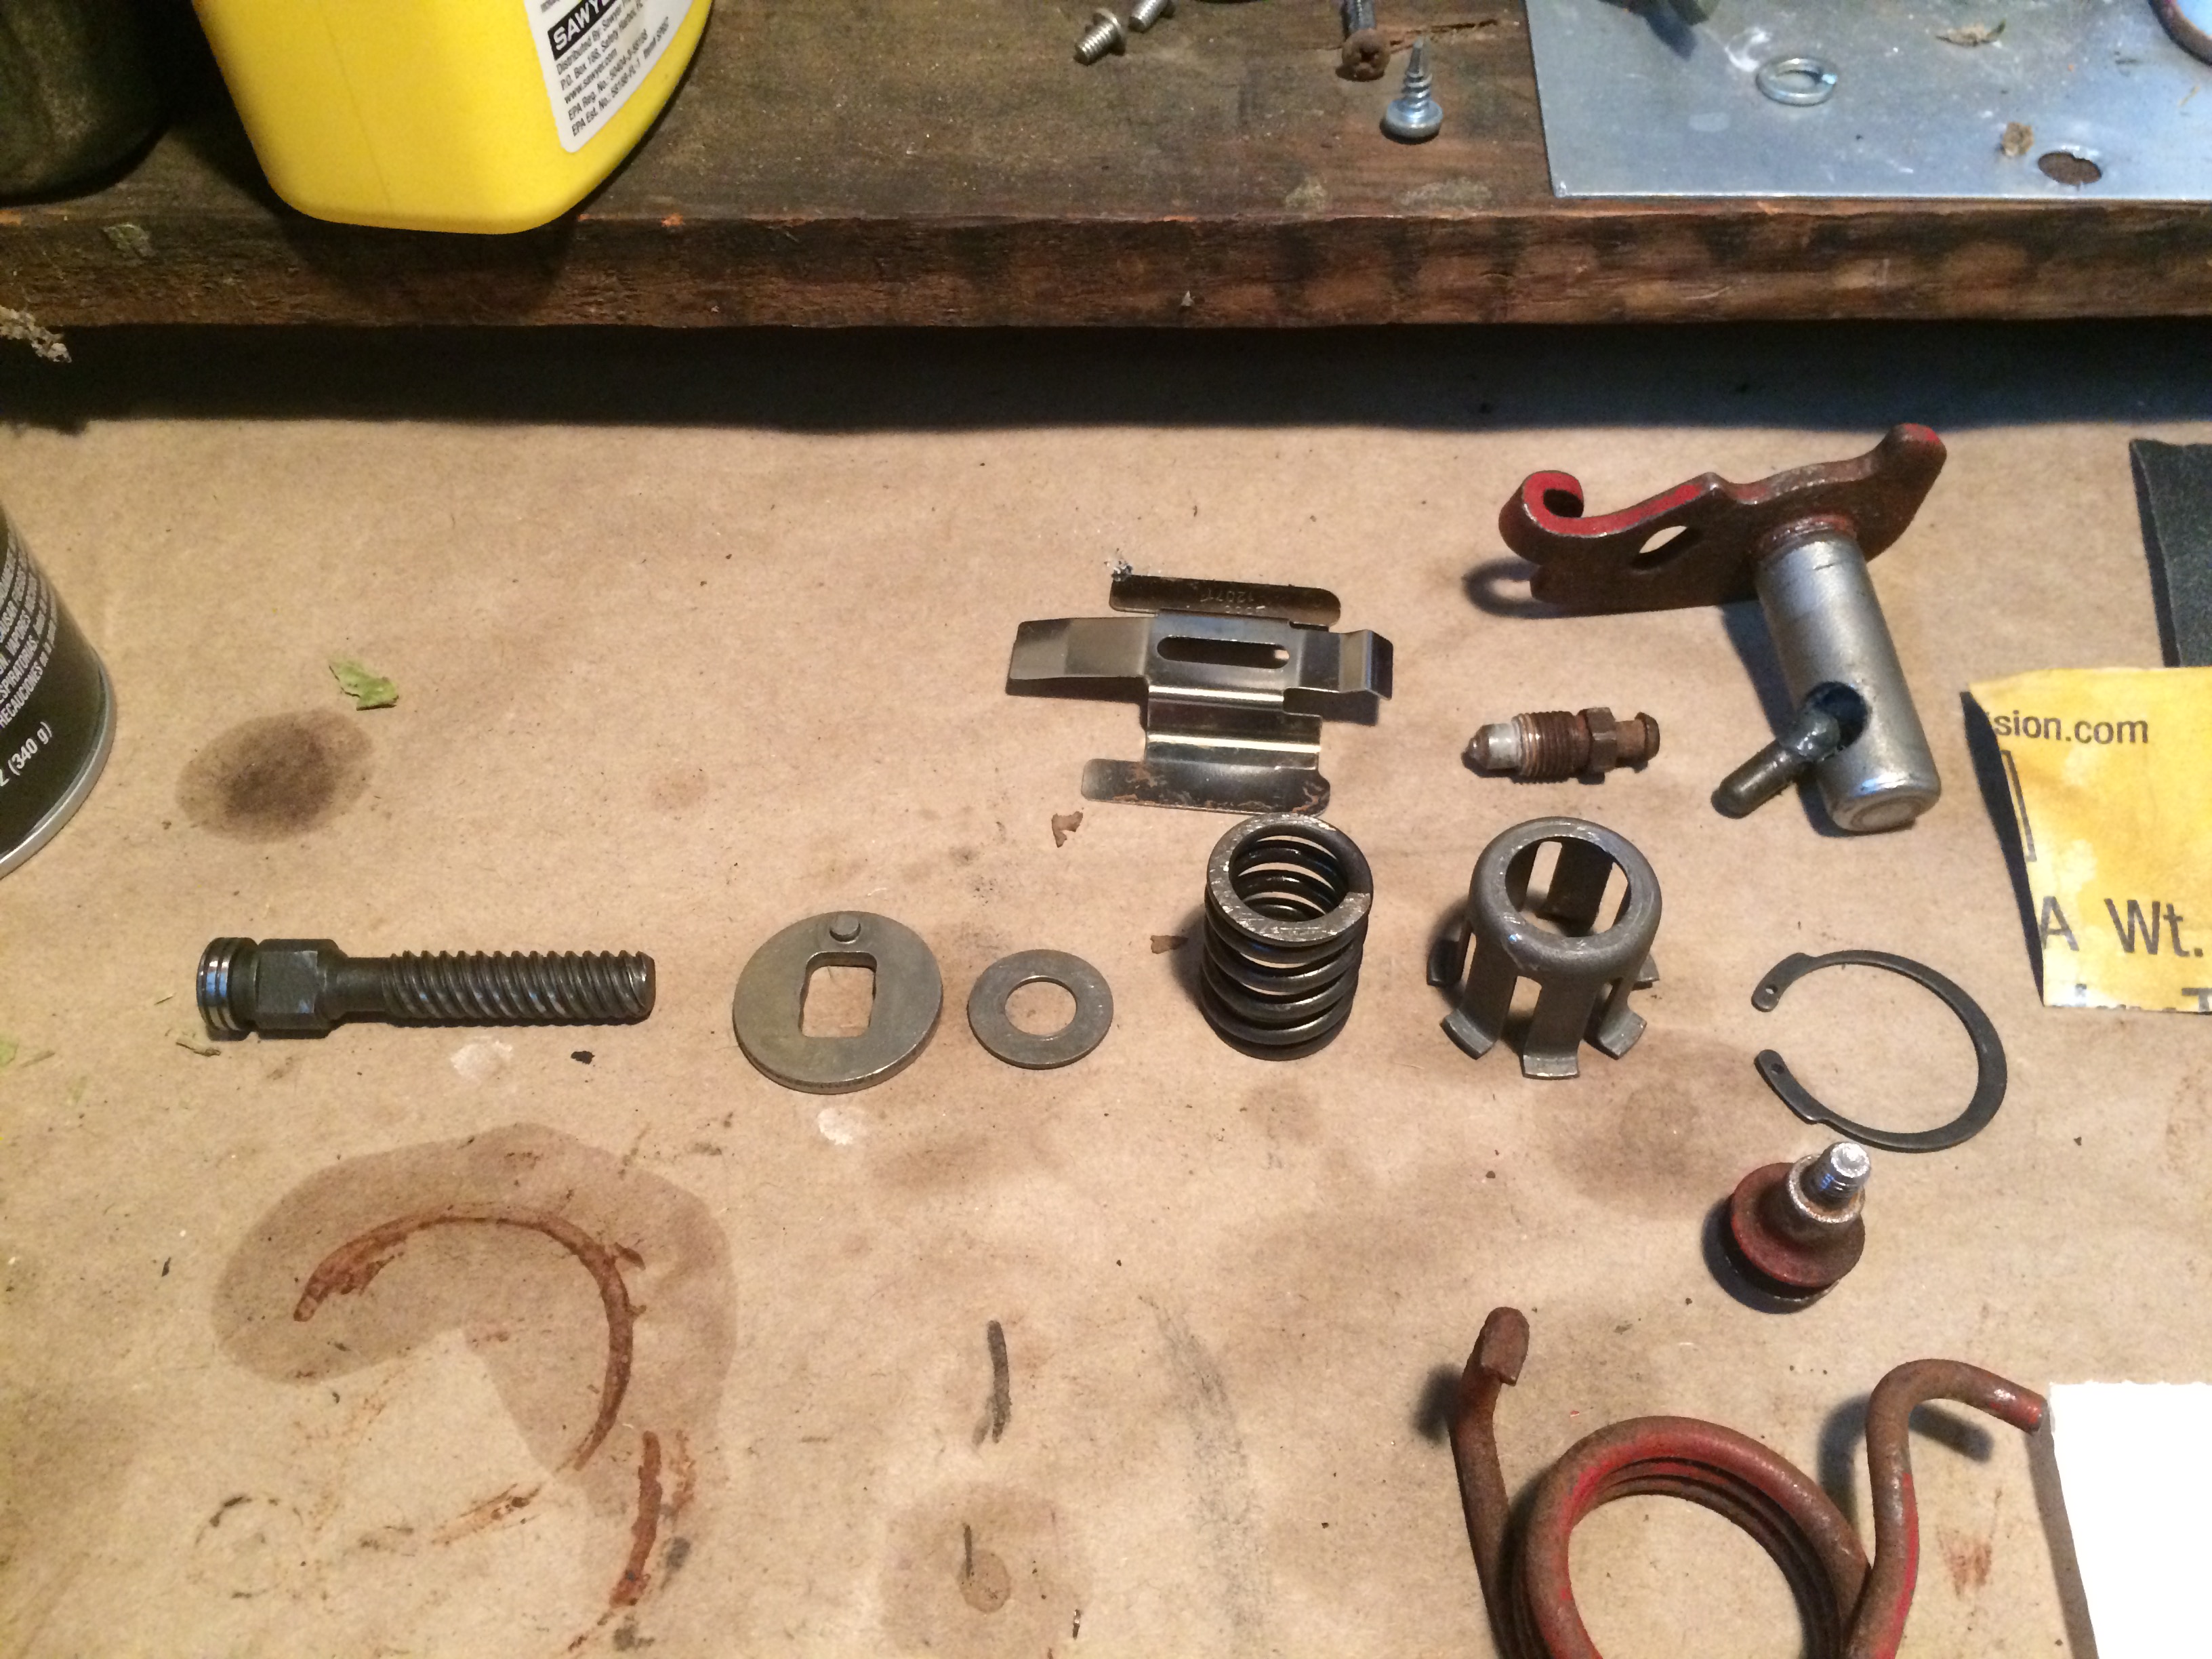
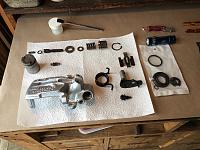
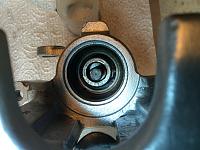
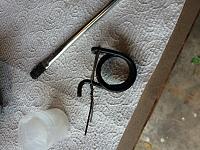
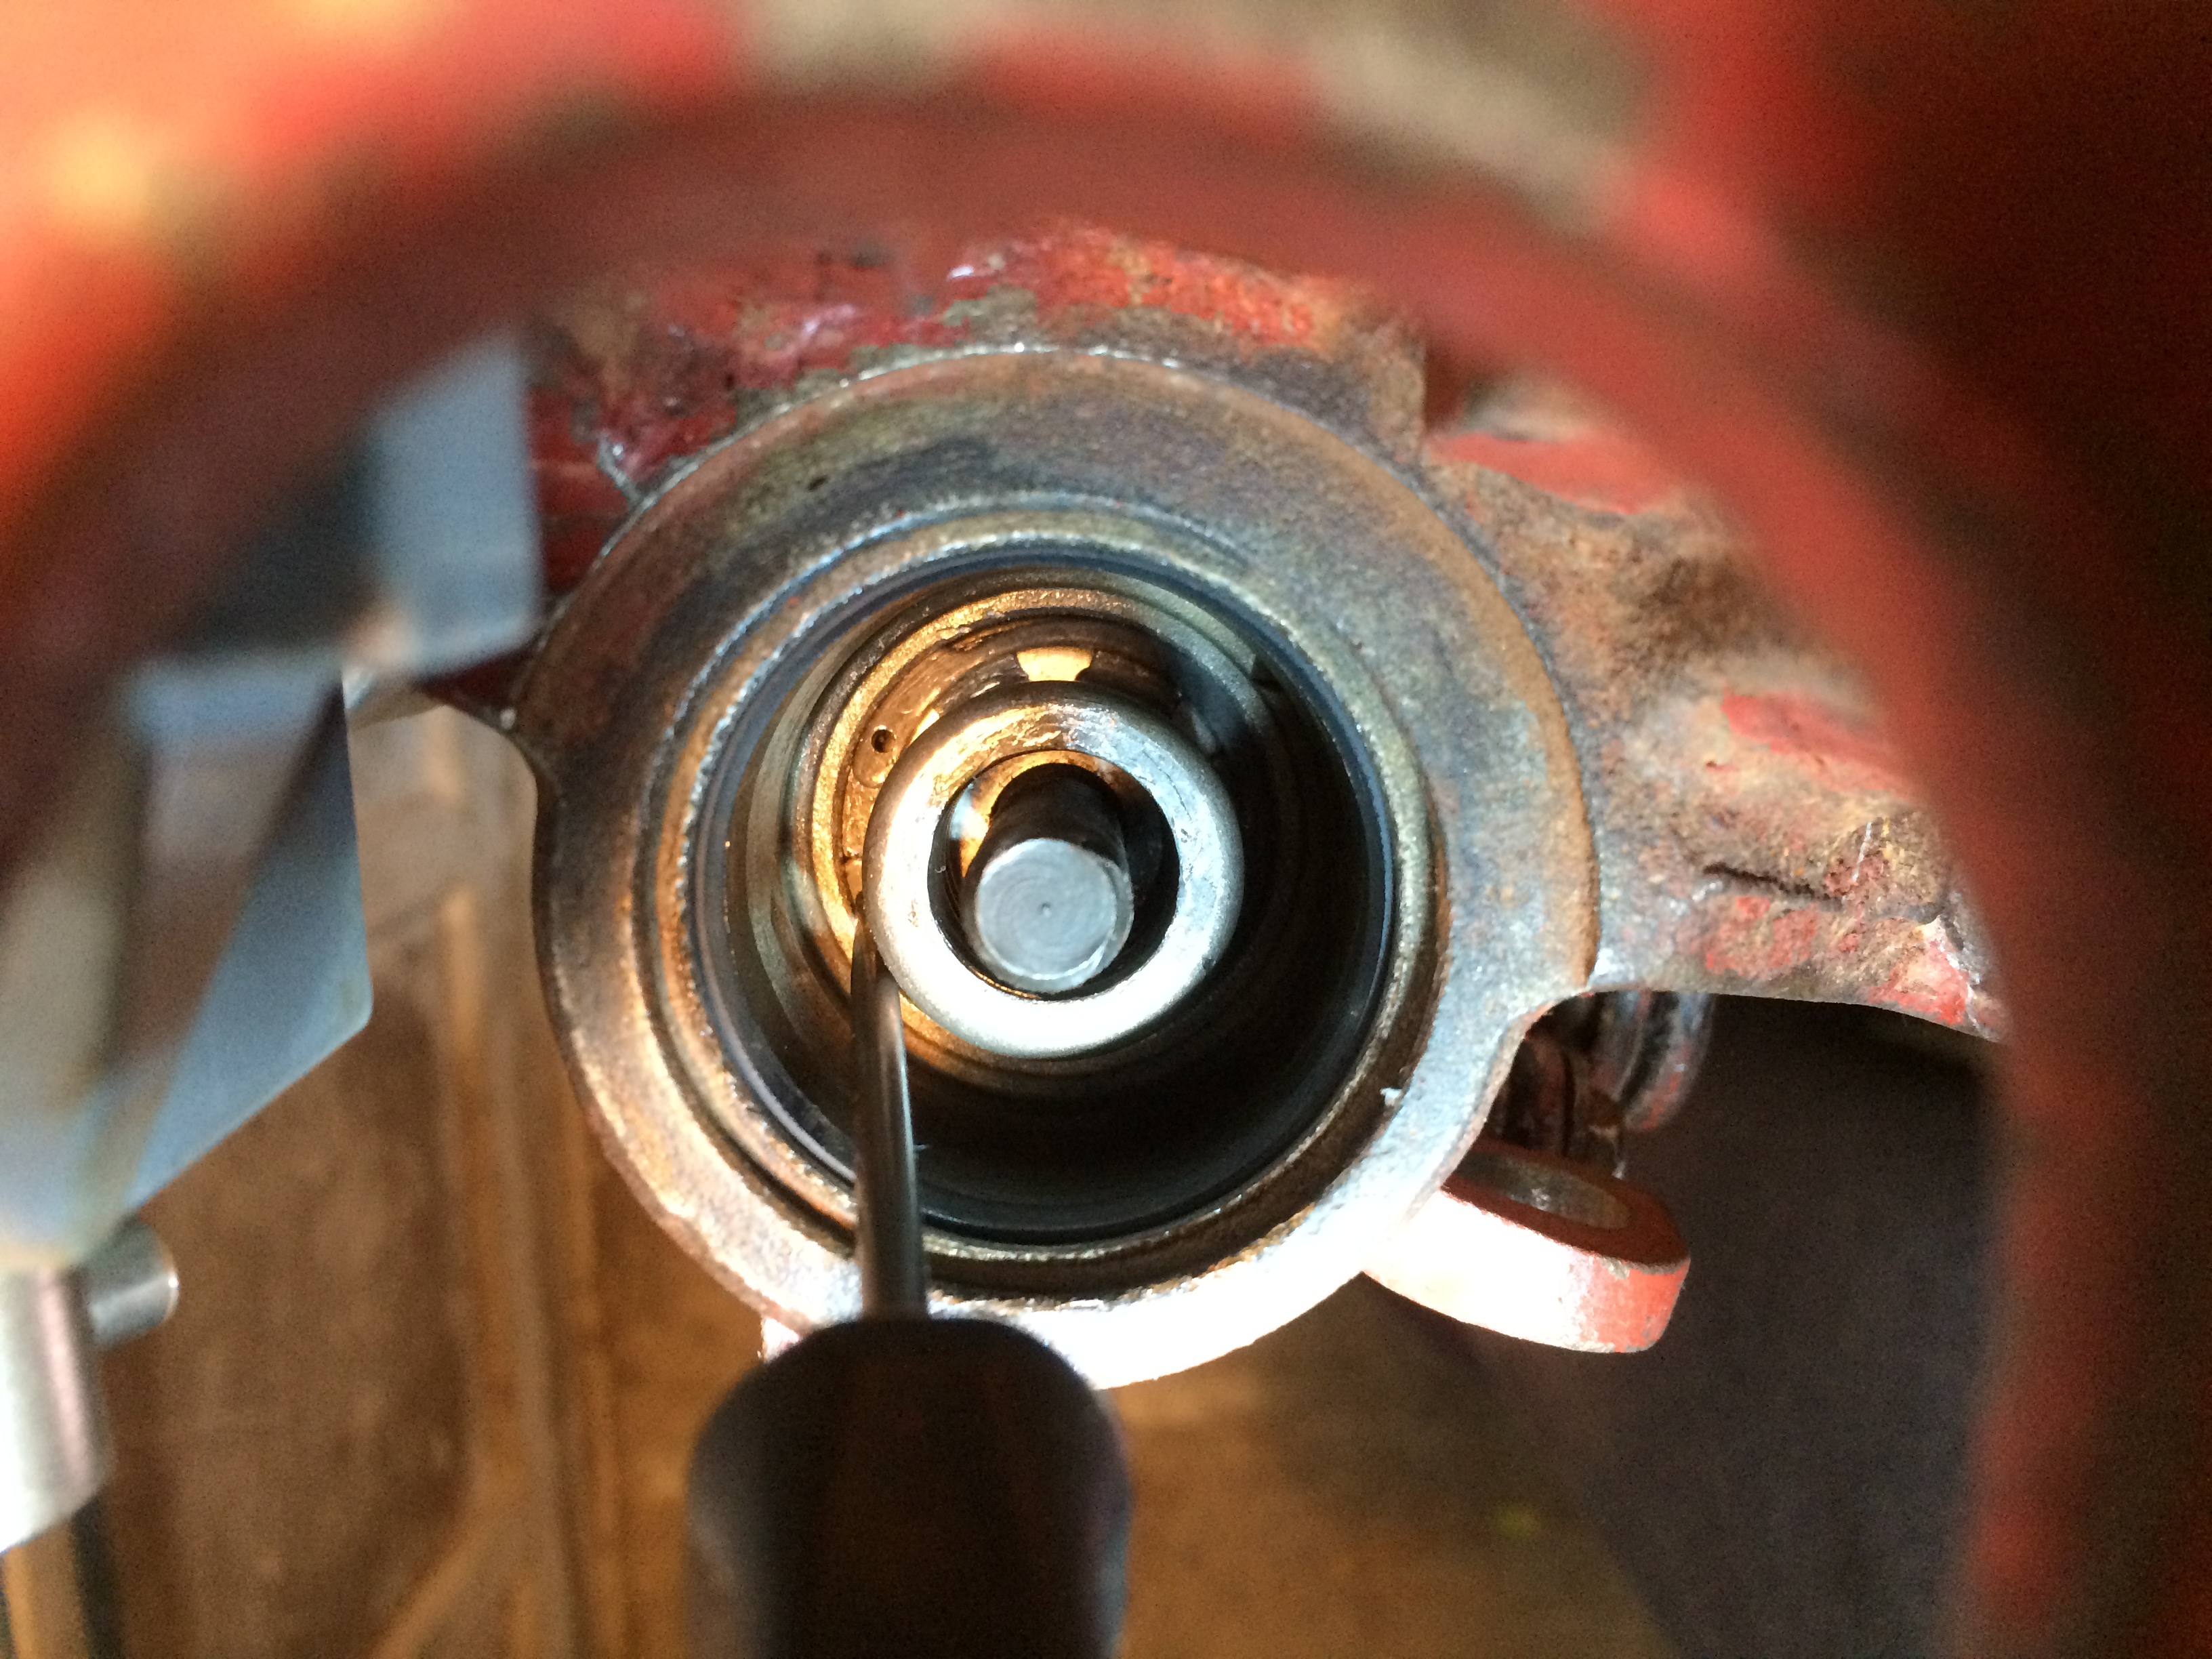
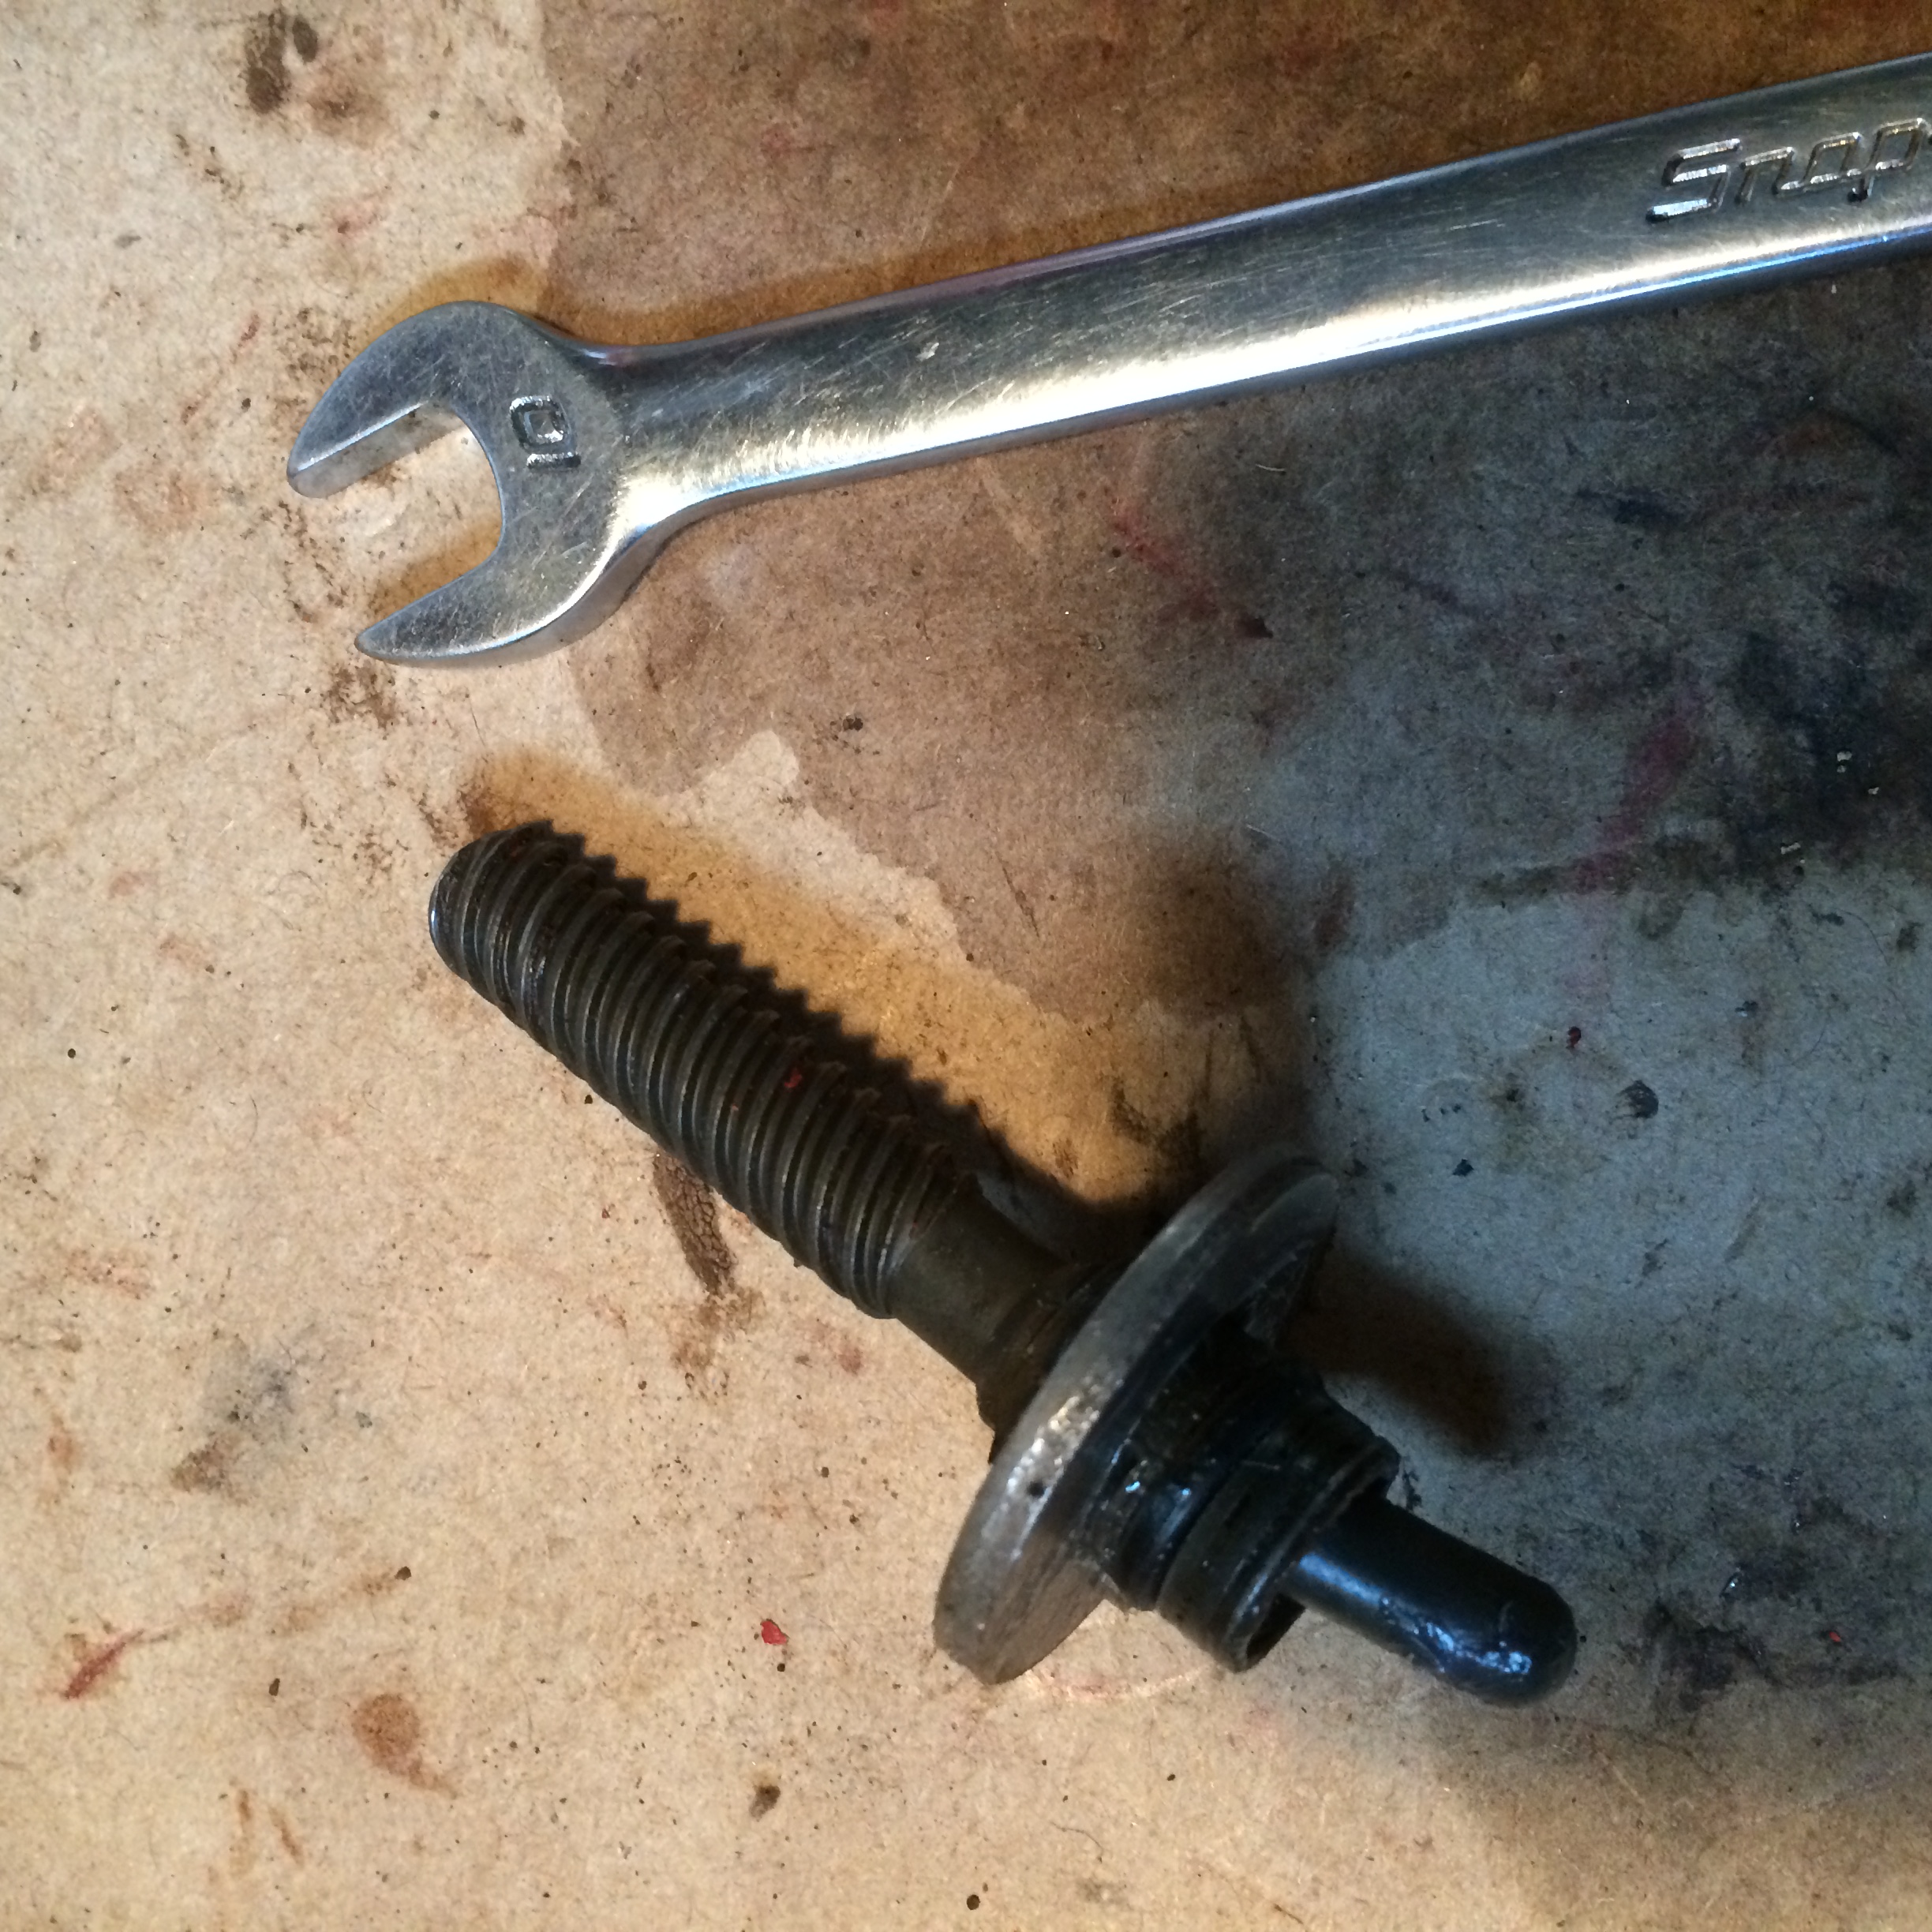
After removing the piston you can look down in the cylinder bore and see the snap ring. I used a pick to get the snap ring out, I just put it in the hole of the snap ring and pried outward and up, really just that easy.
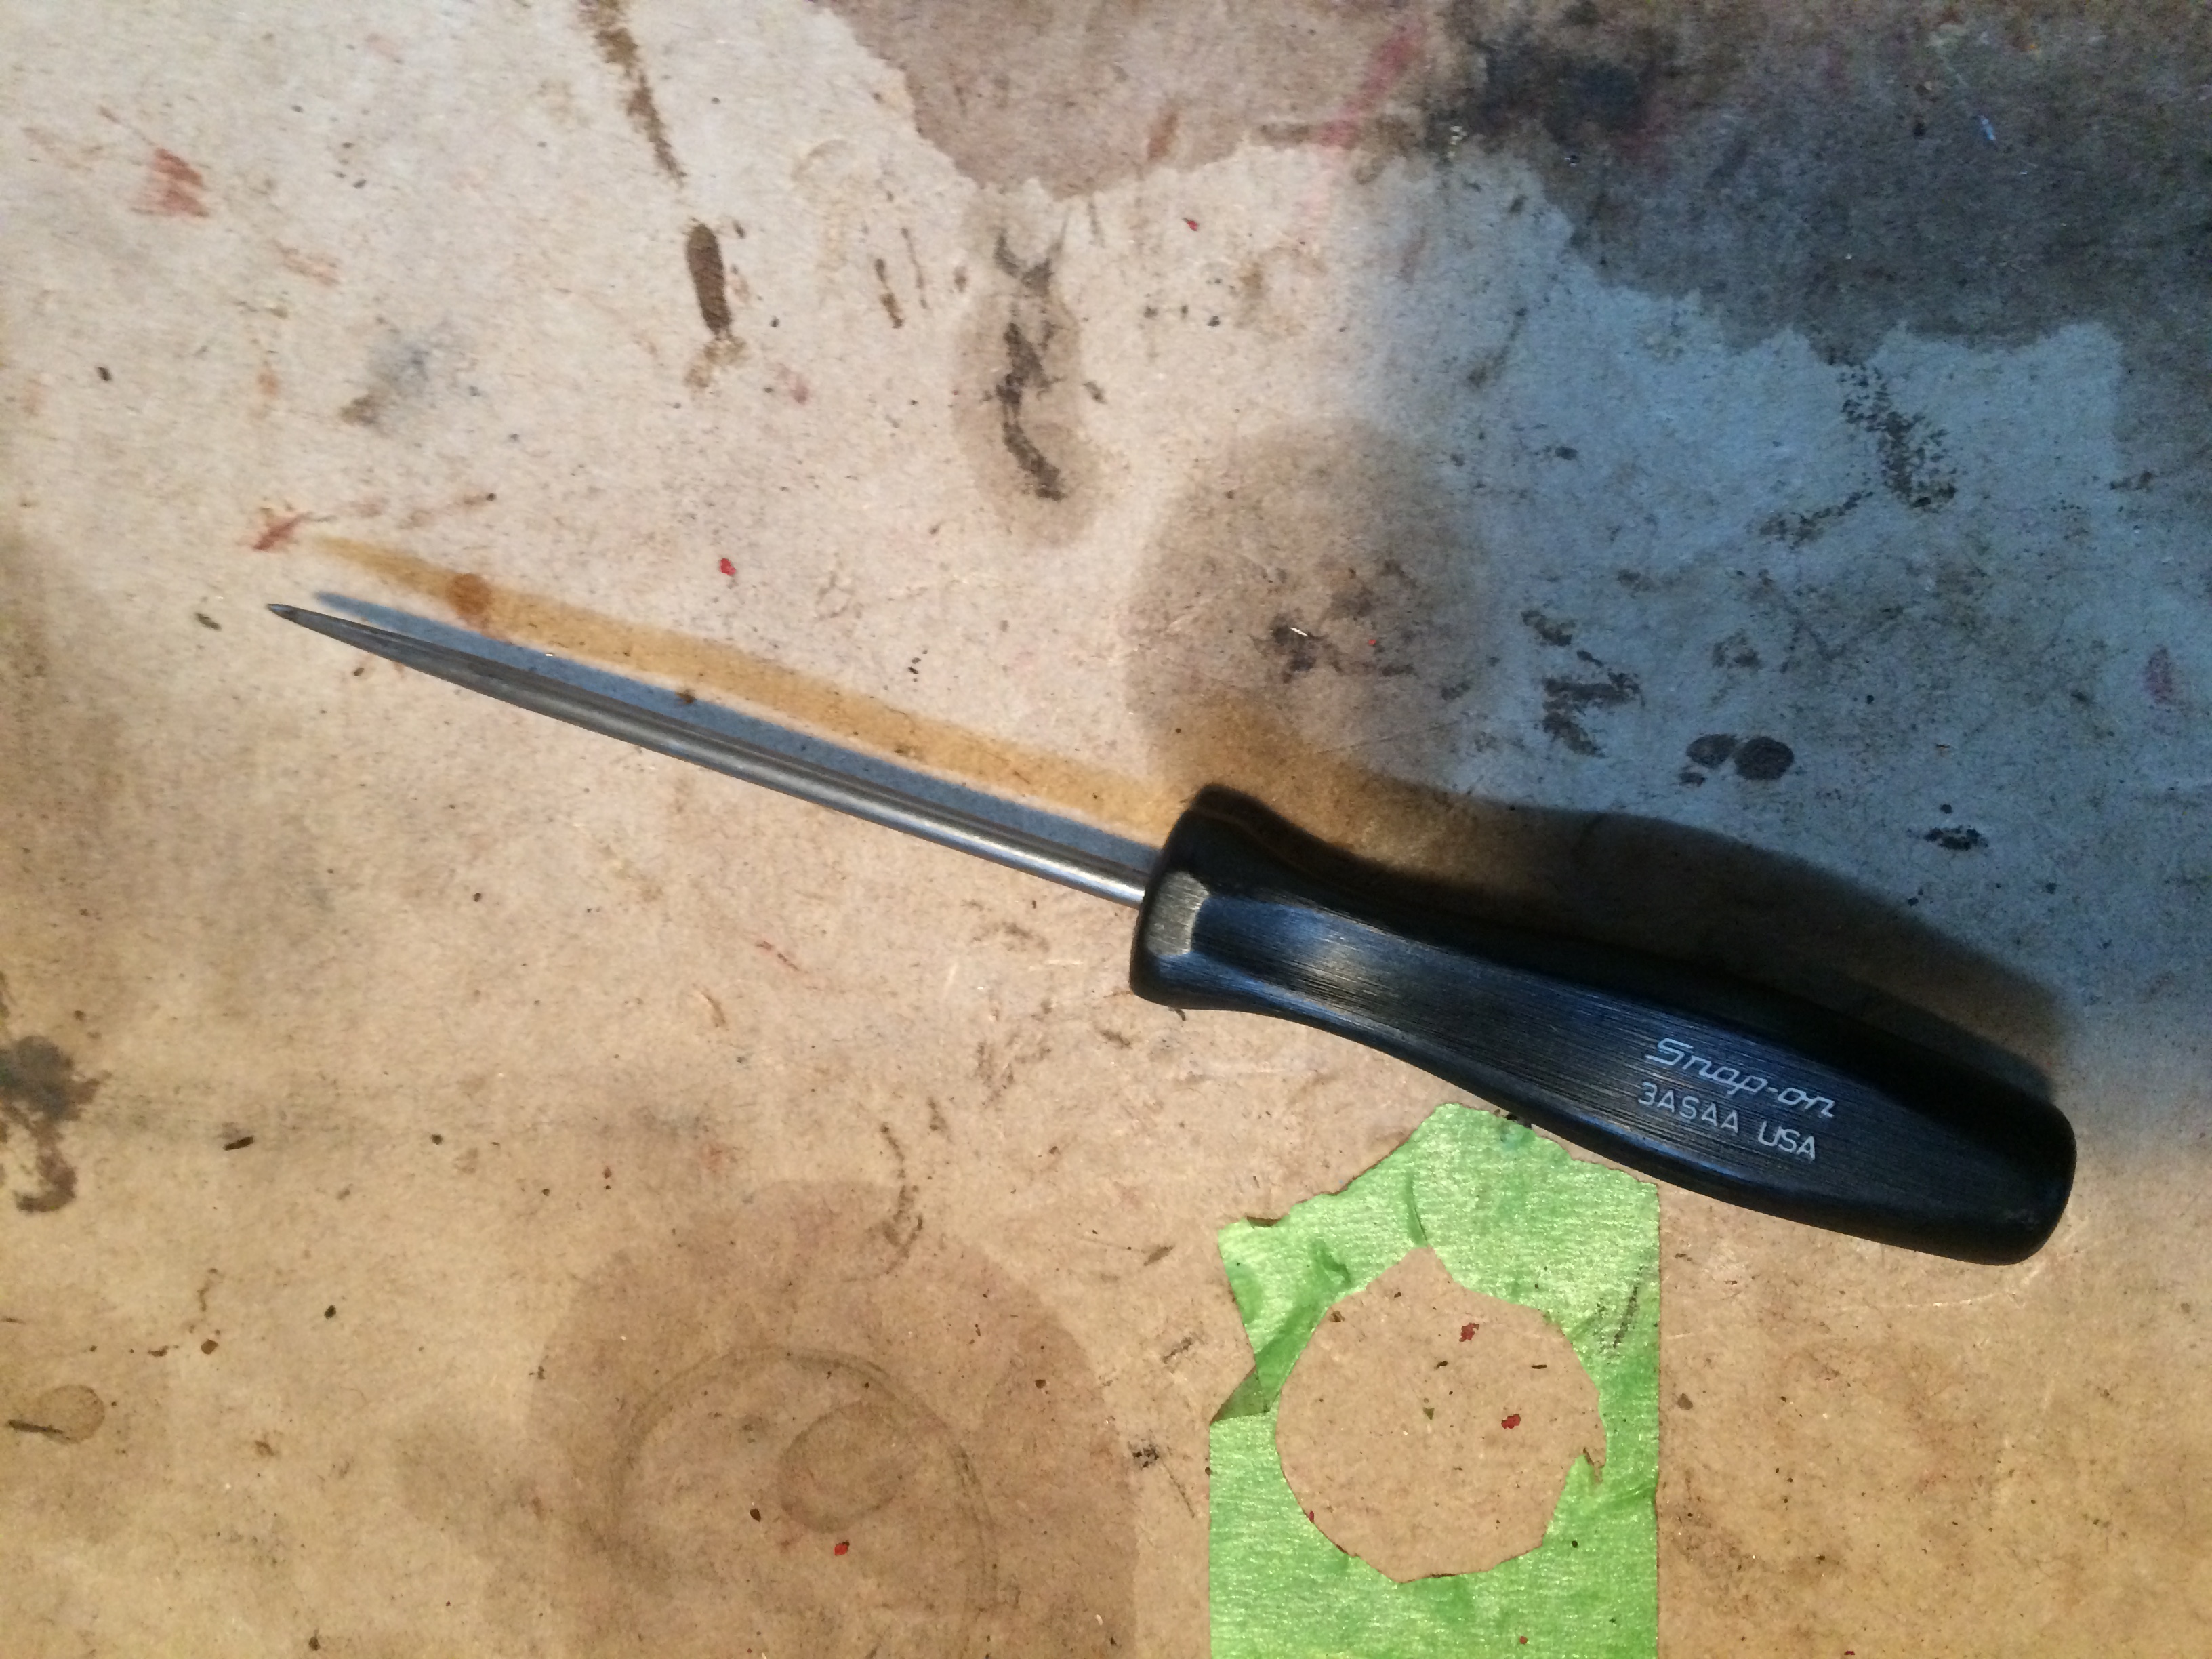
This is the pick I used.

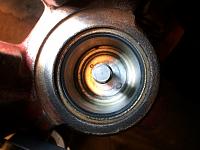
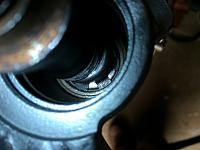
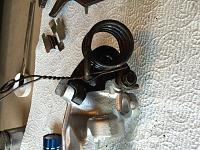
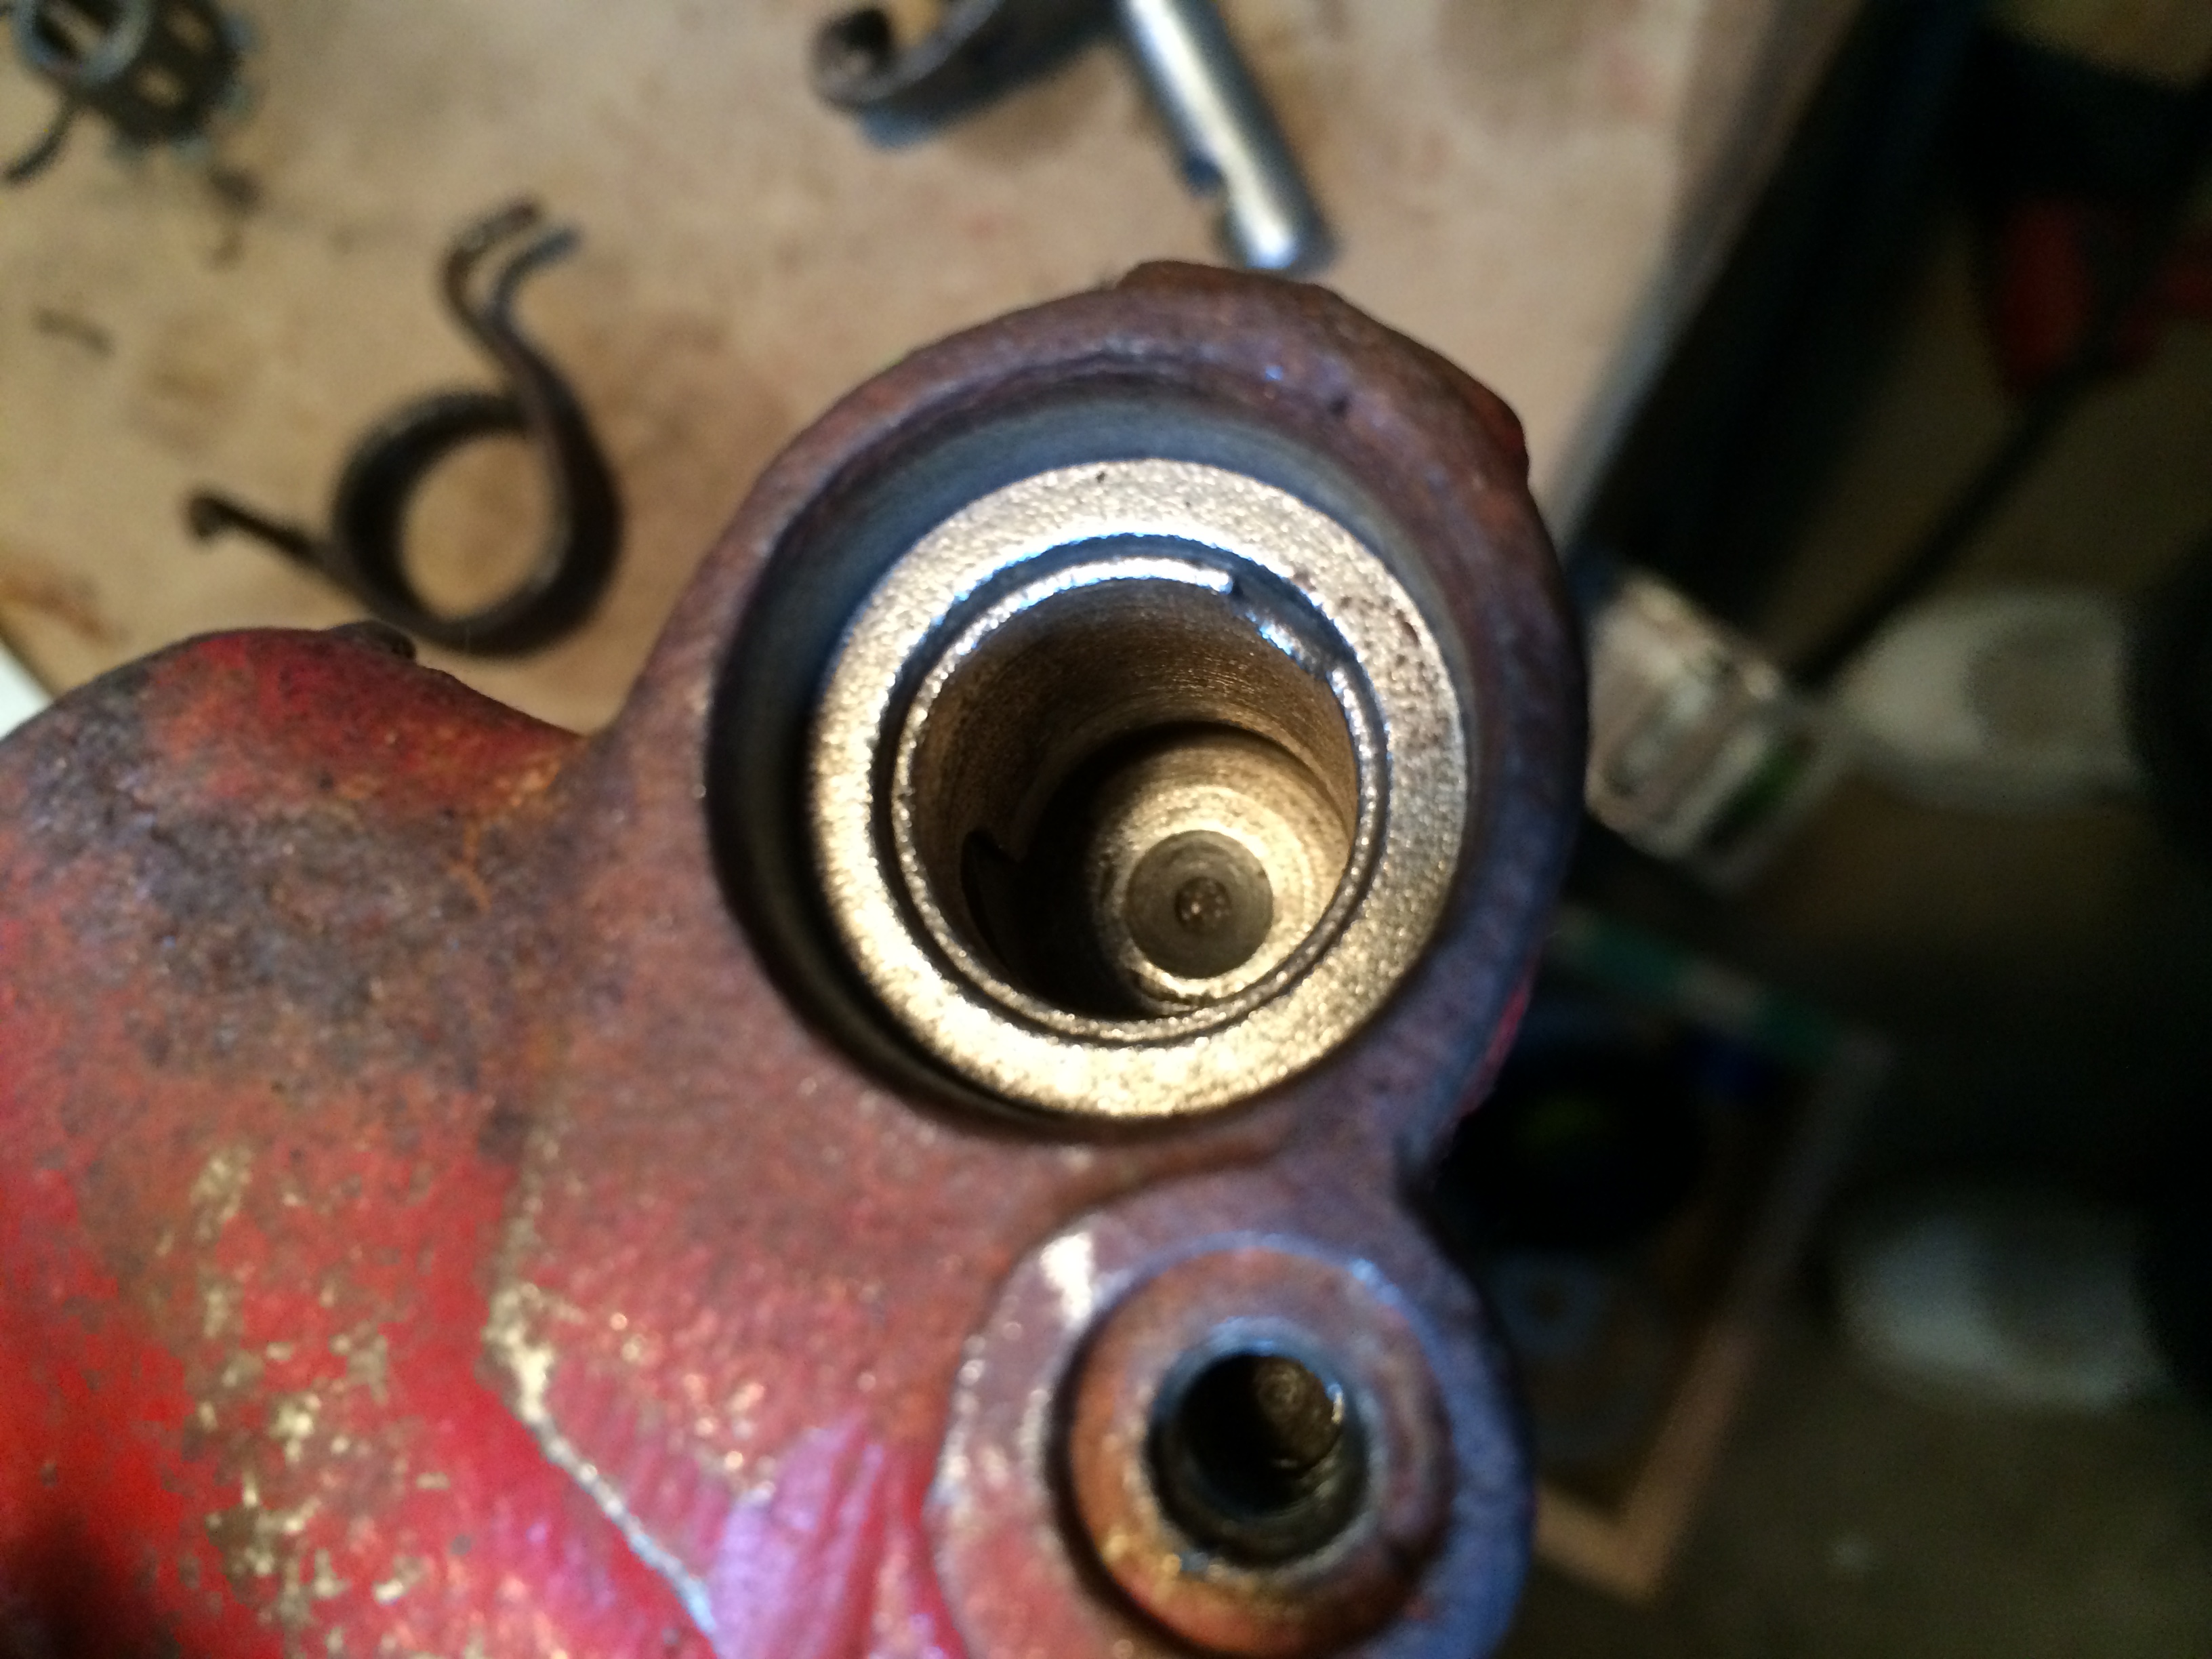
After releasing the snap ring you can pull the spring cage and spring out.


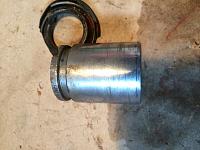
This is what the cylinder bore looks like with the spring and cage removed.
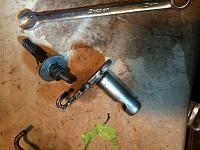
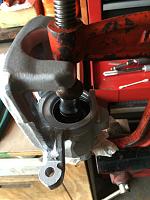
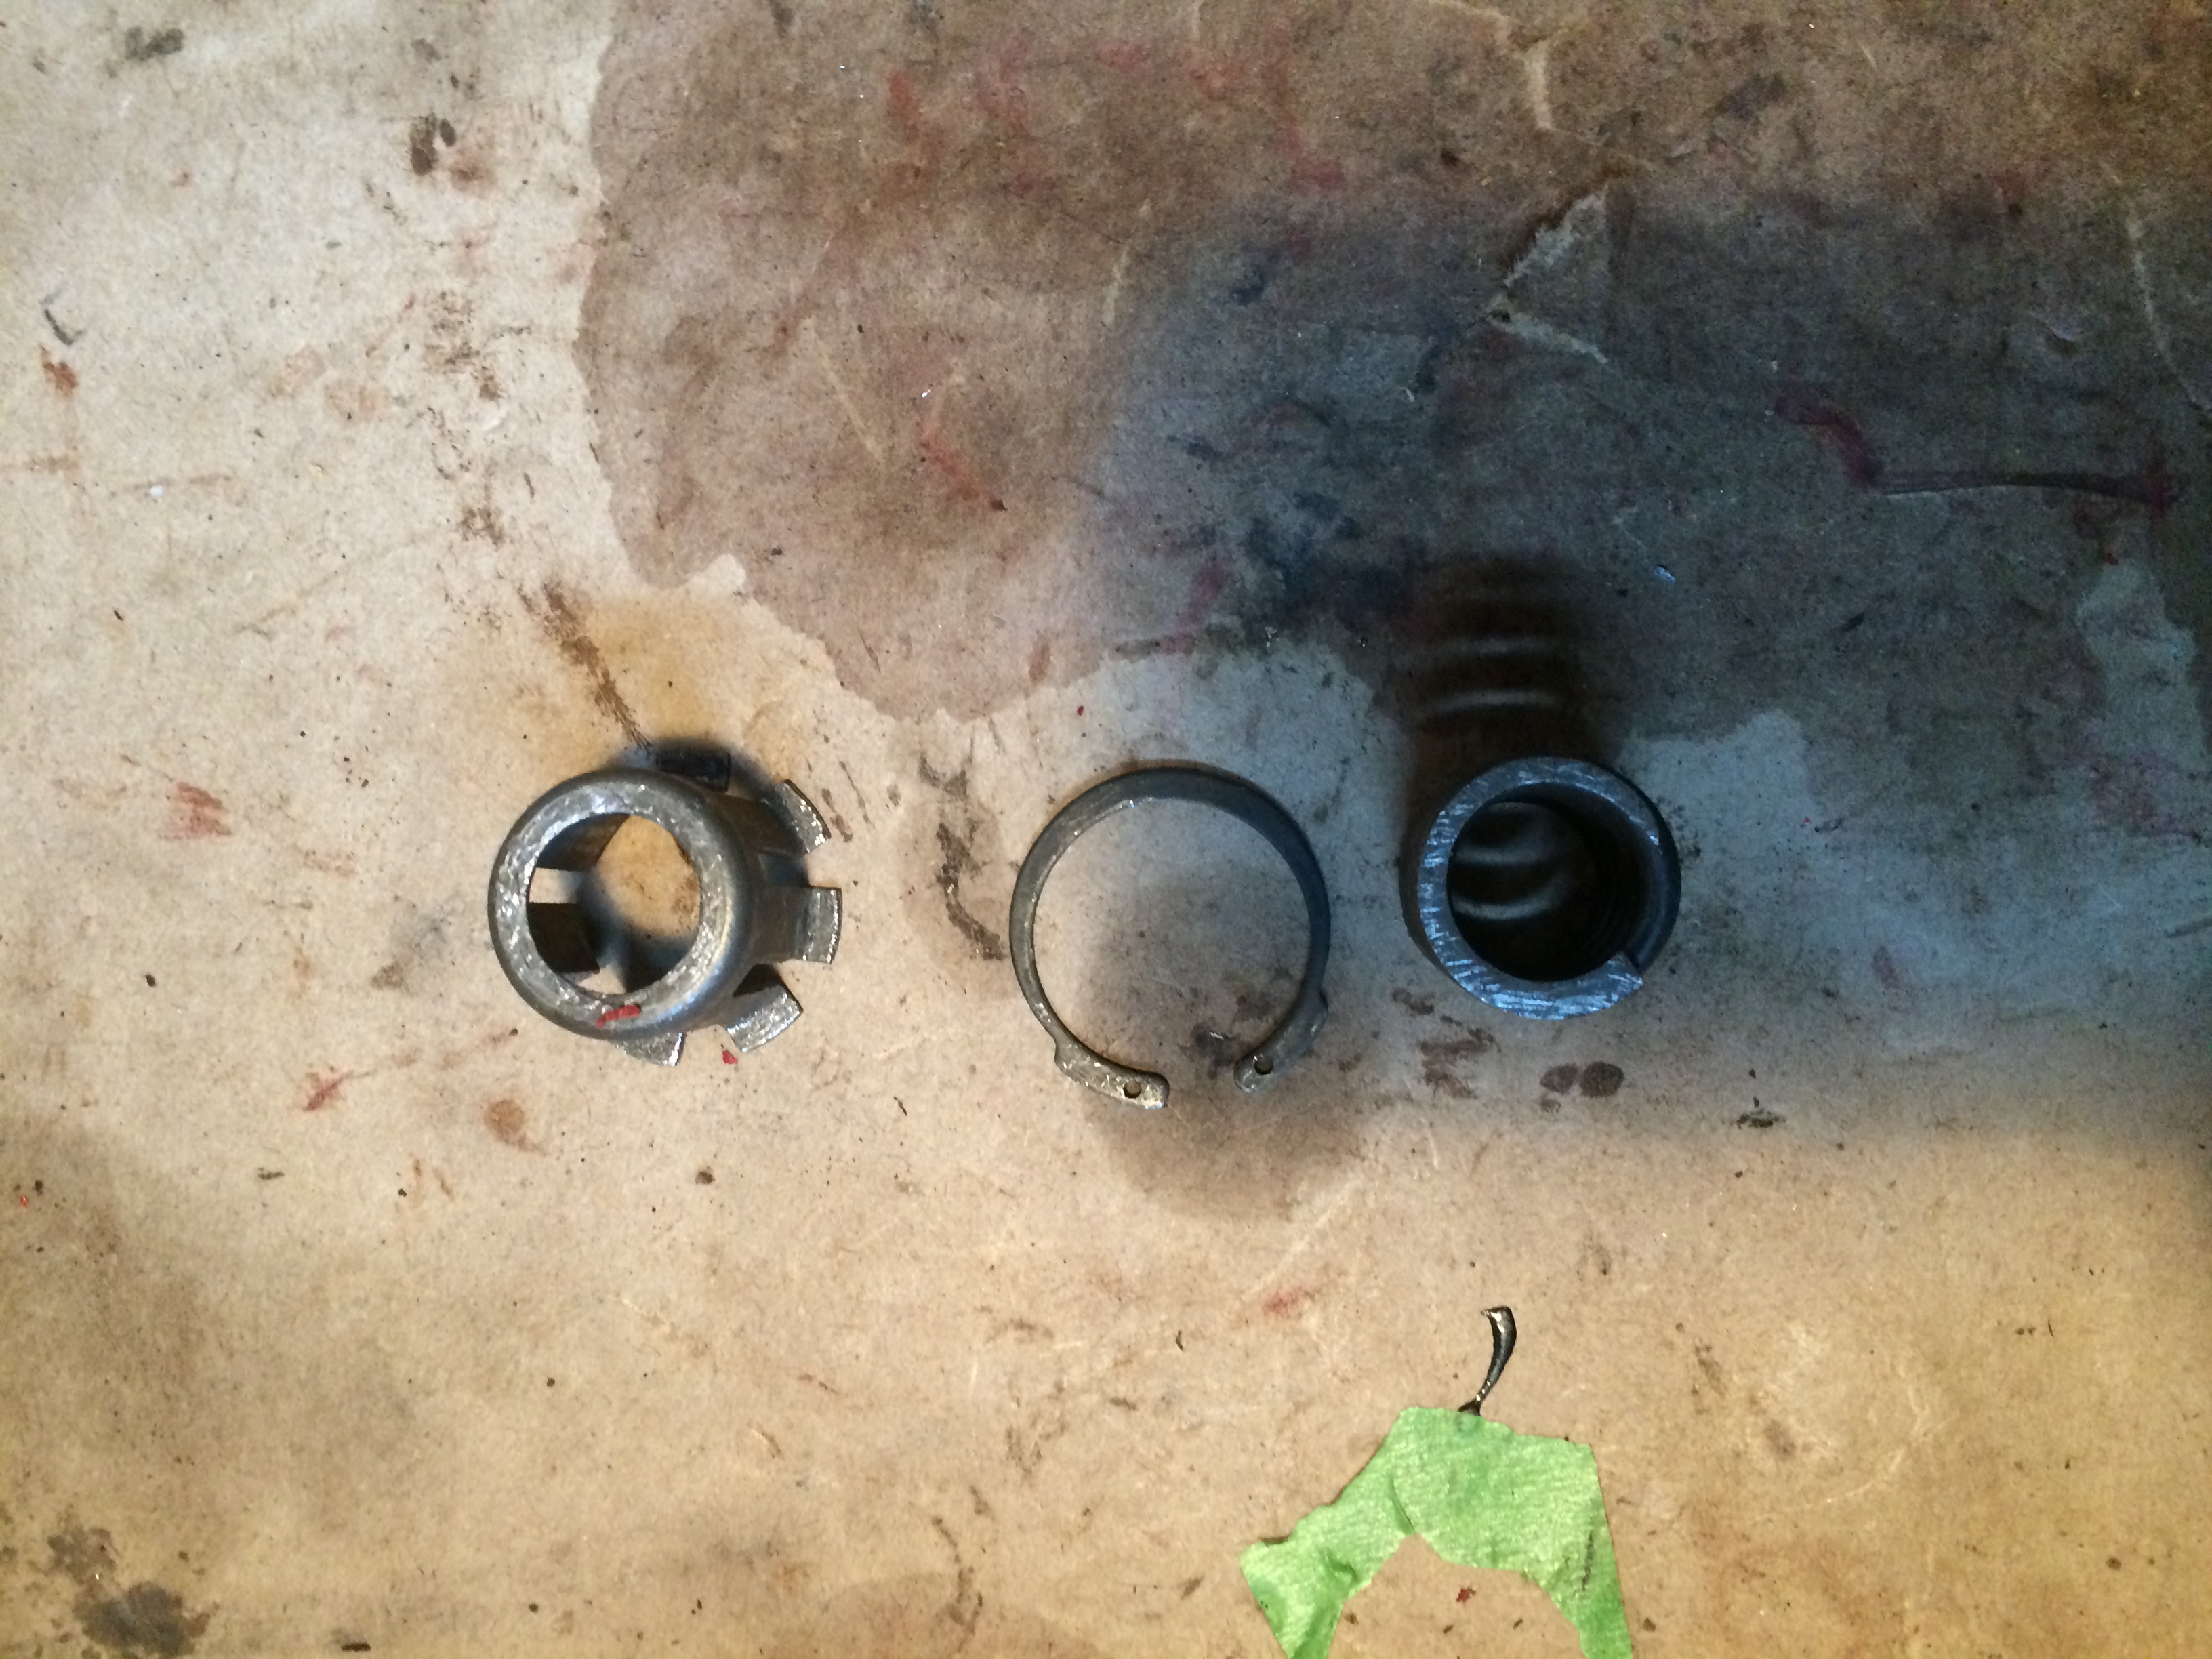
I just used a pair of channel locks to take the spring off the emergency brake lever.
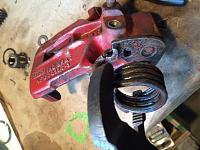
After taking the spring off I took the threaded road out of the bore. Then I removed the emergency brake lever and seal

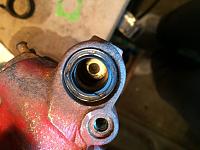

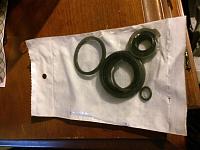
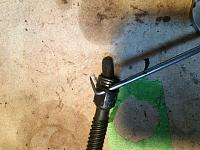
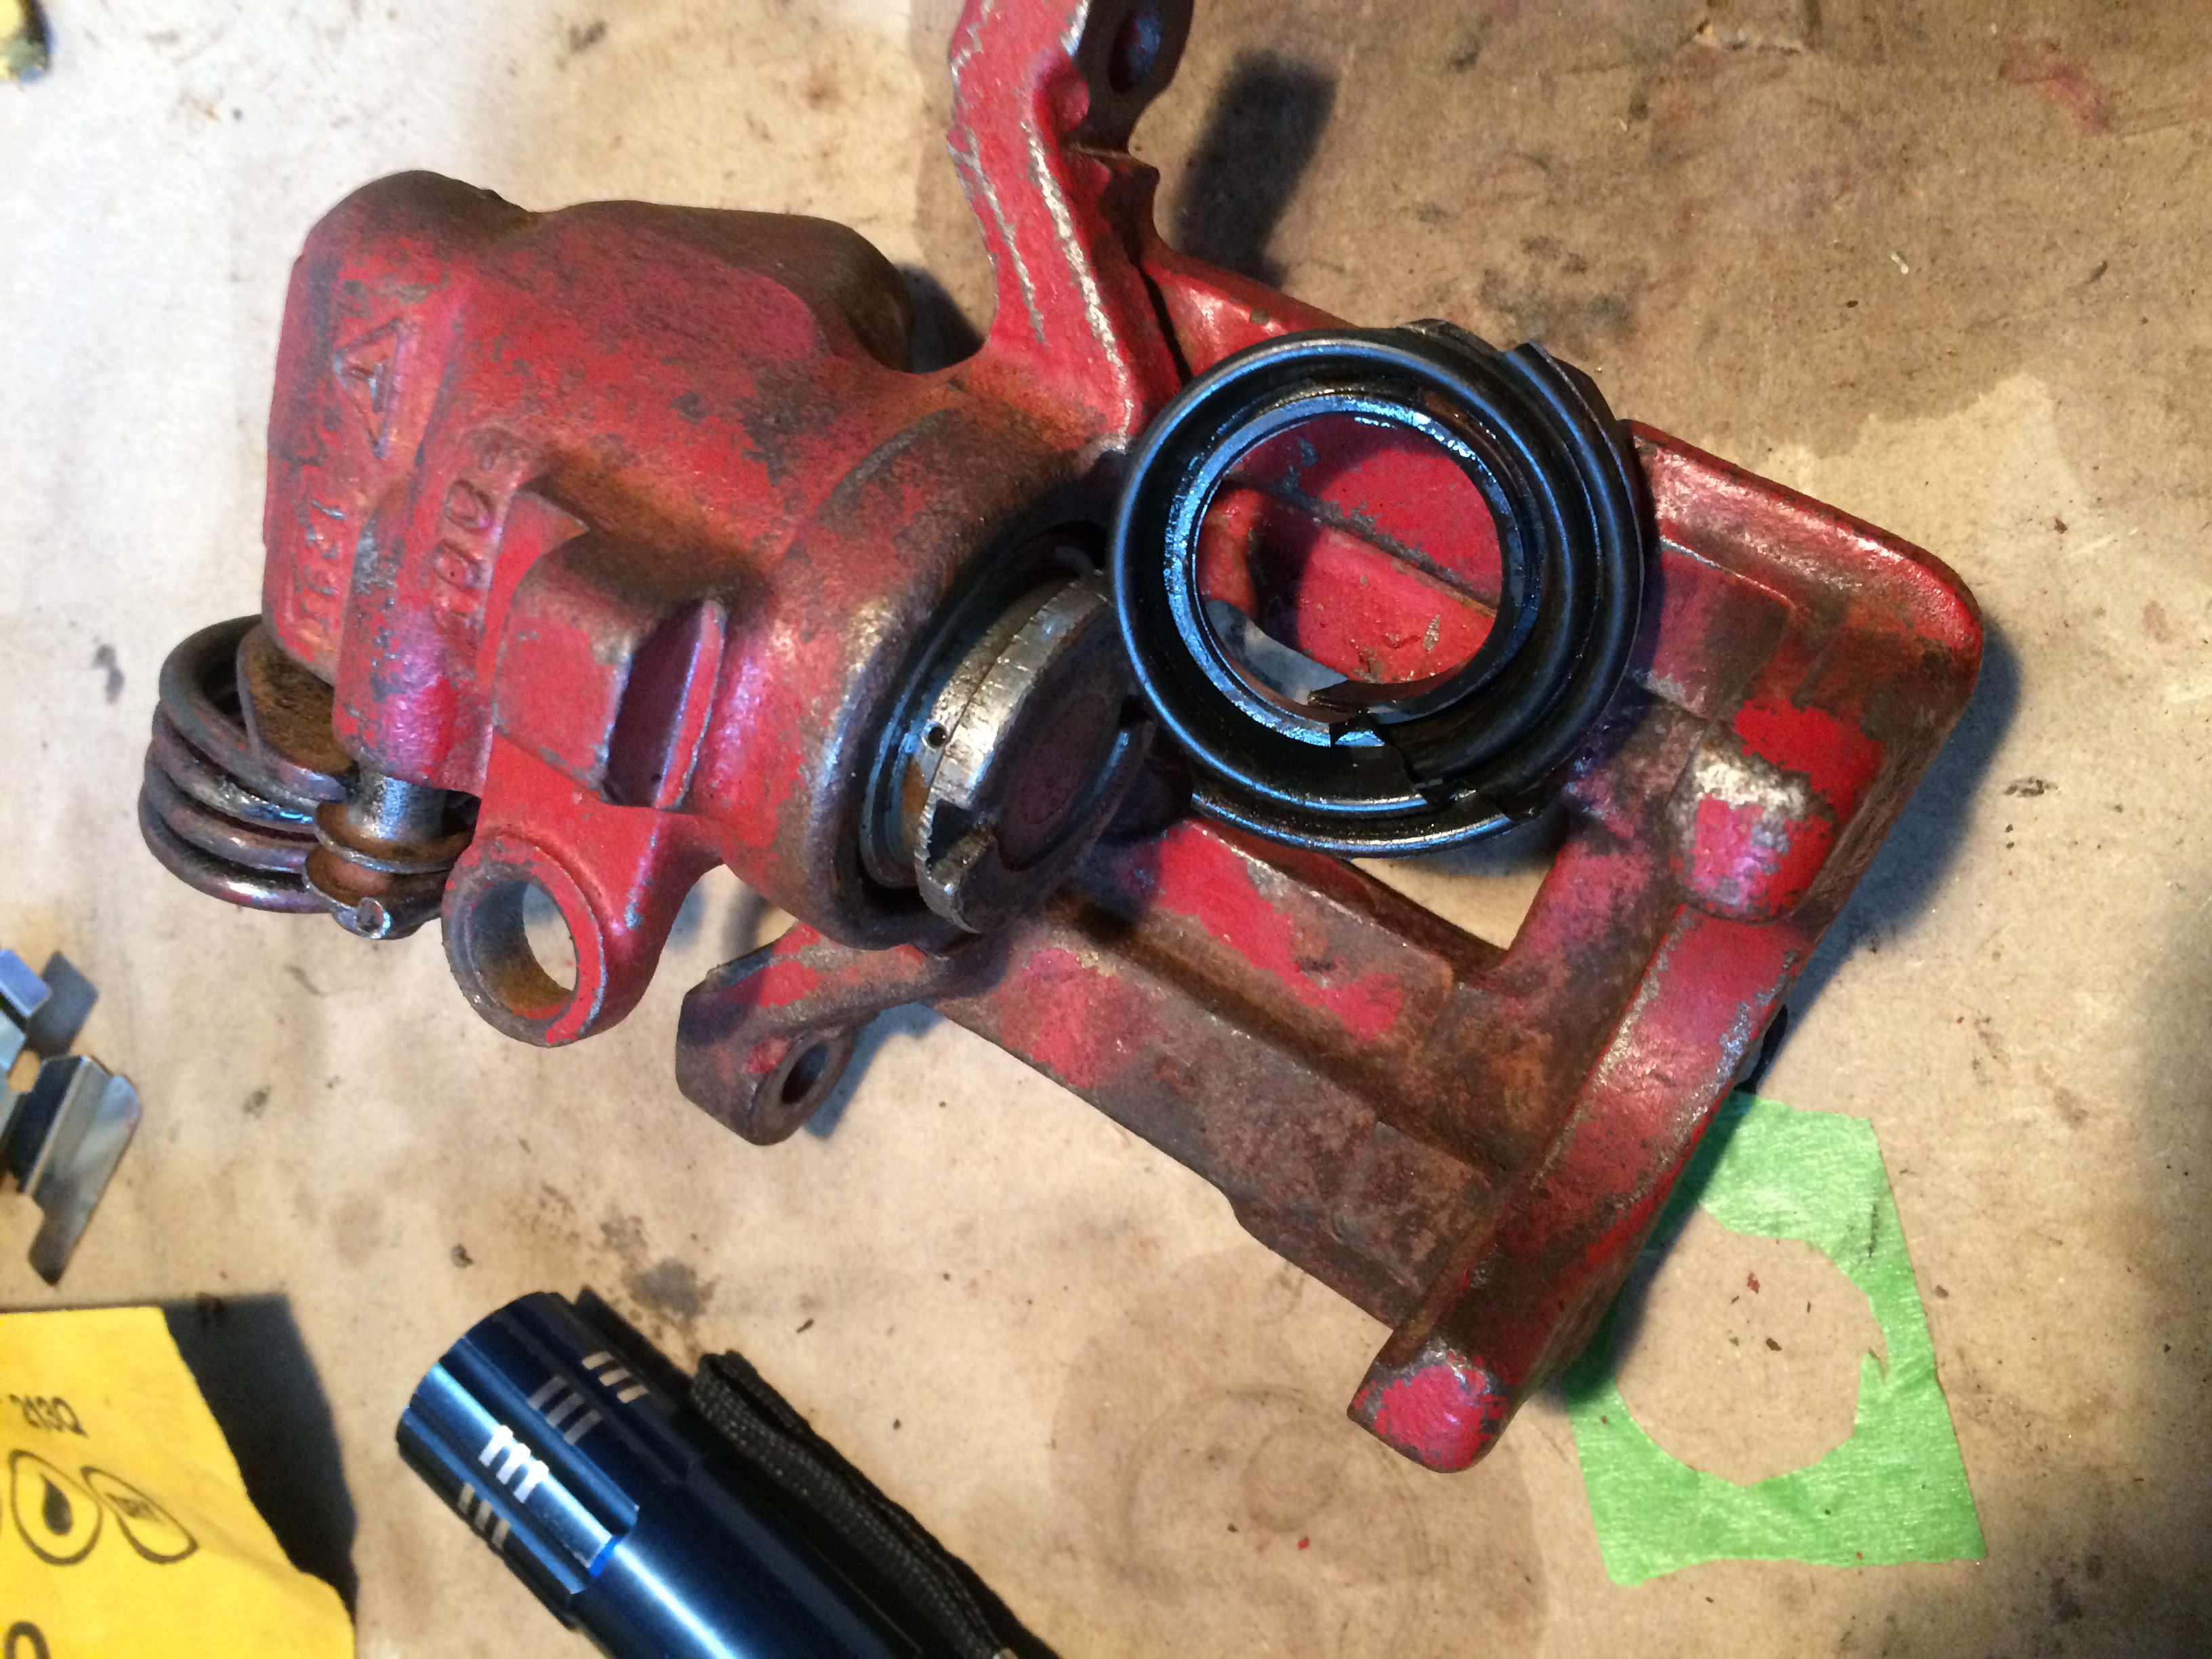
This �o� ring is very important it keeps brake fluid from entering the emergency brake housing.
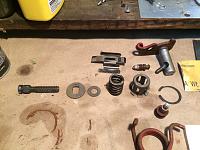
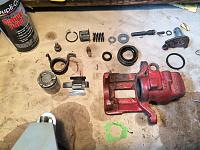
Here it is all broken down.
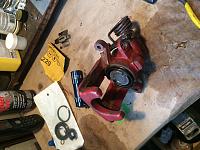
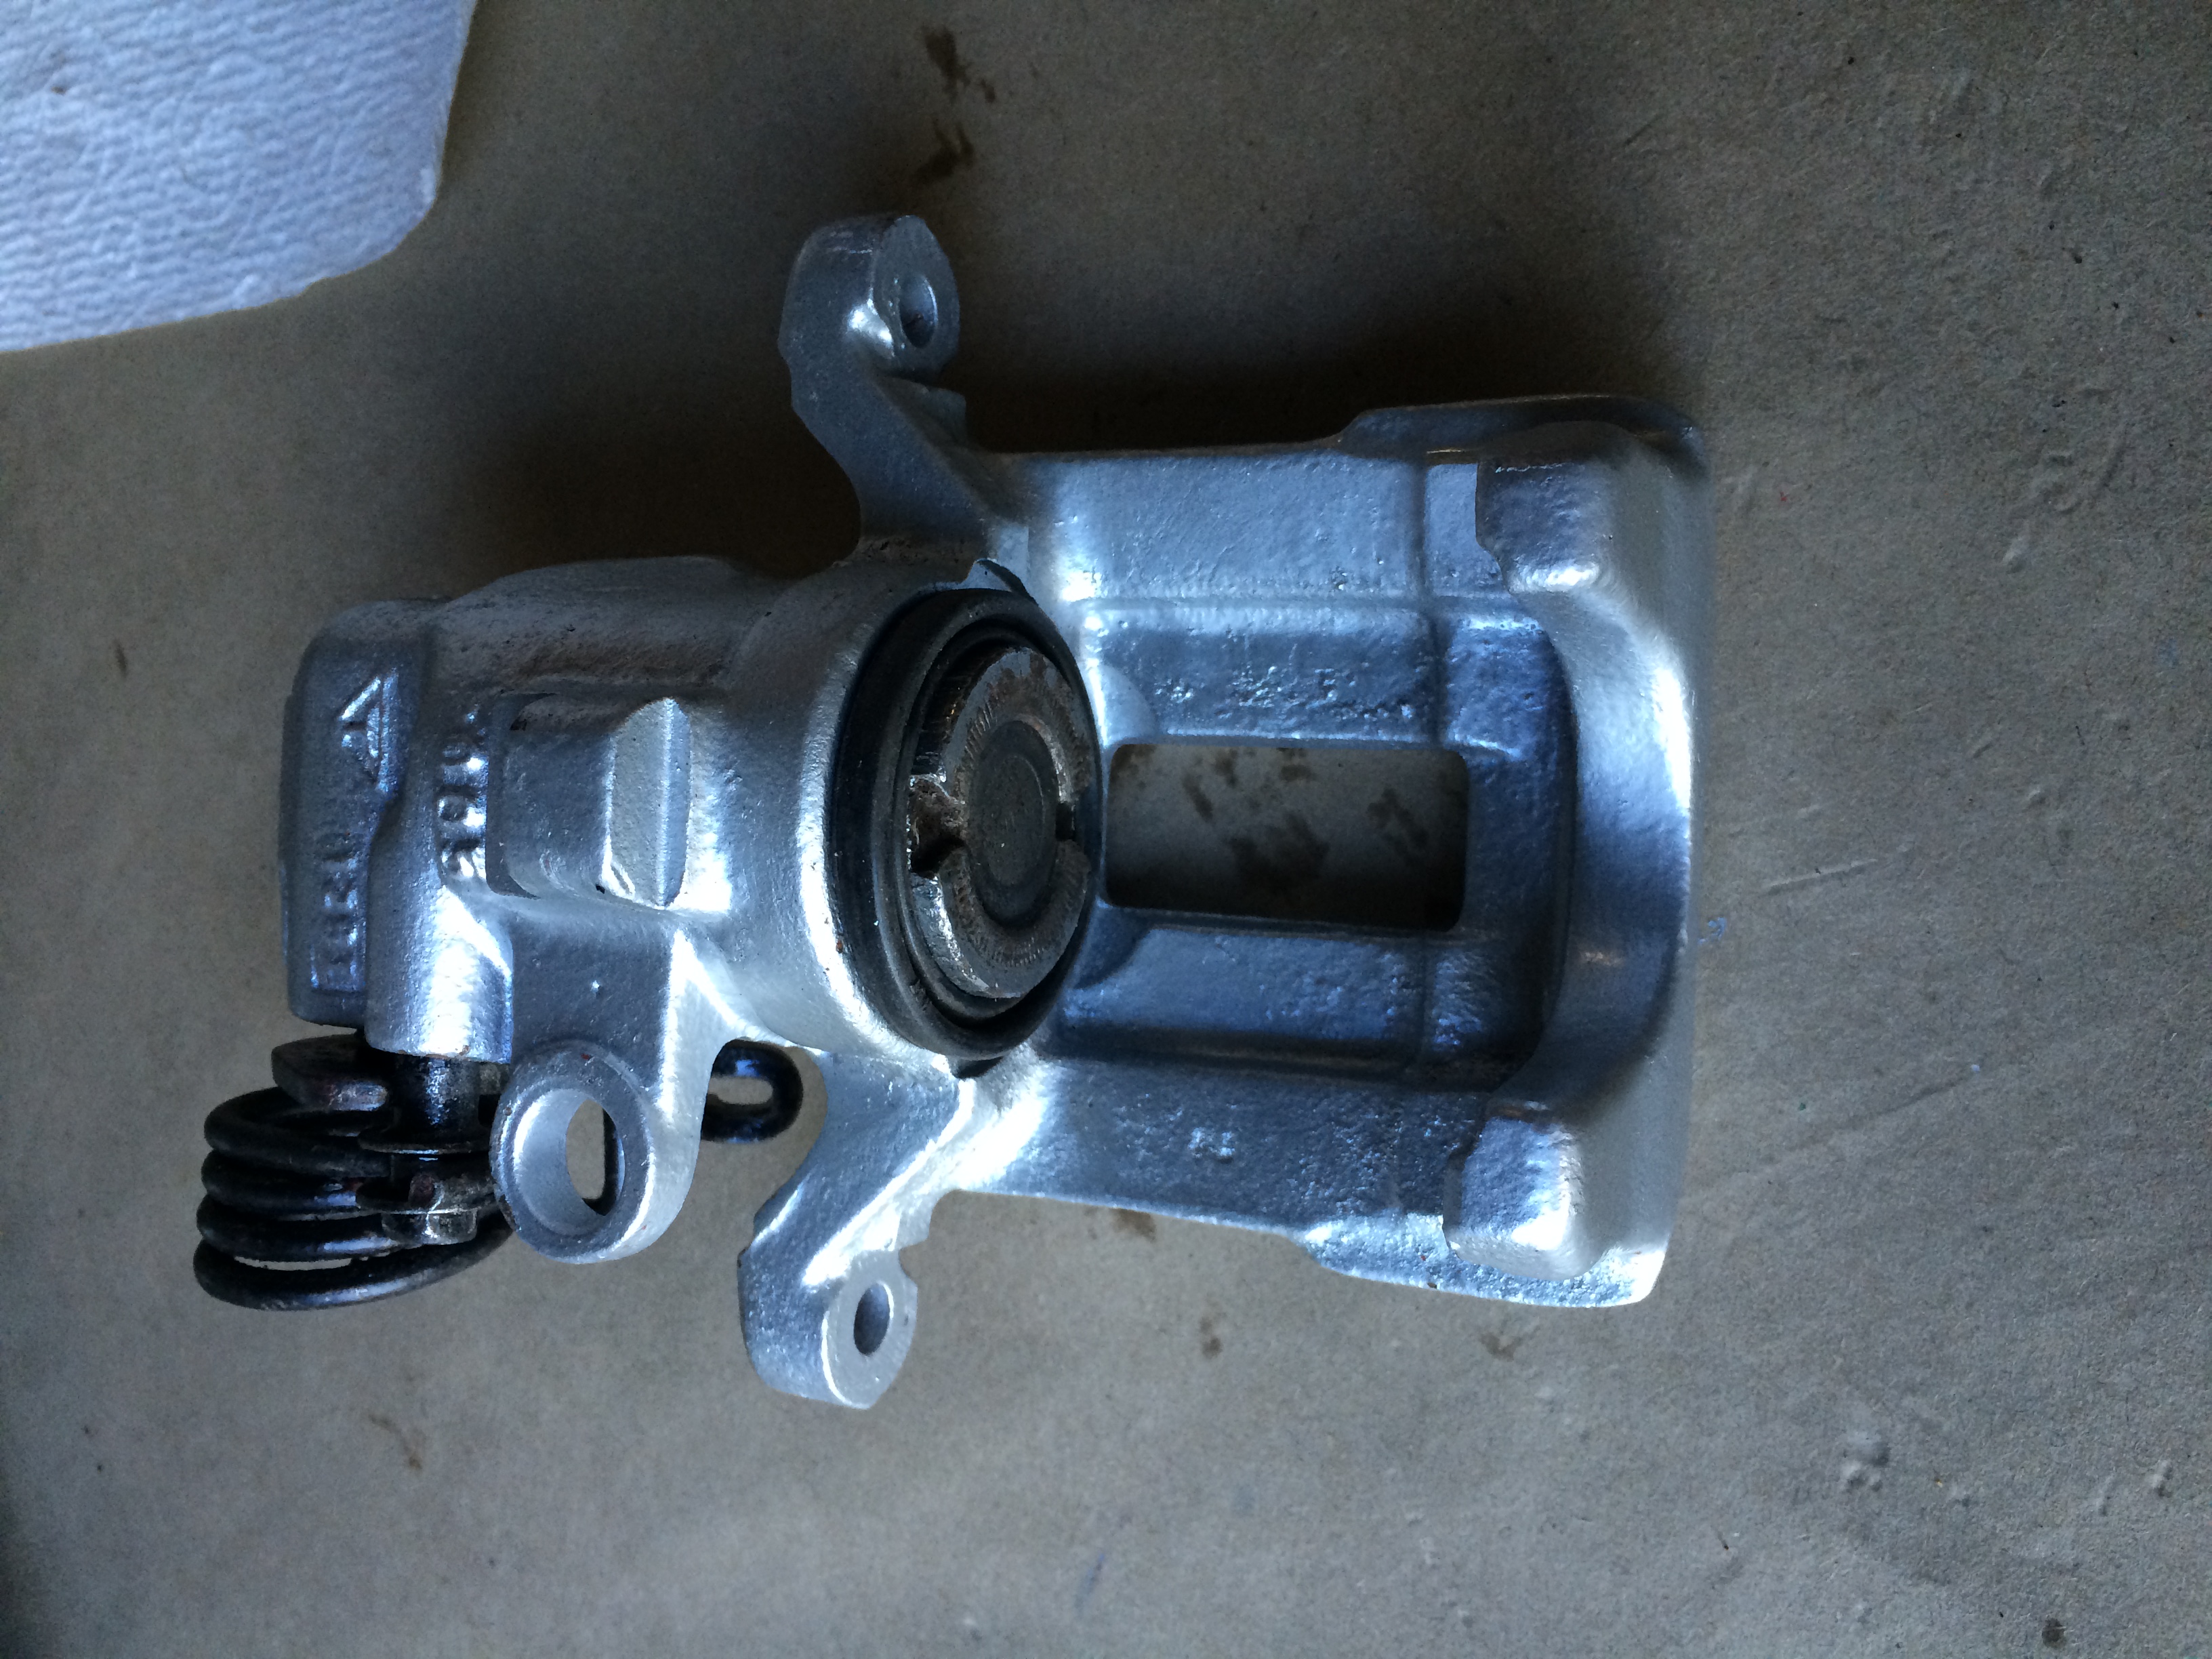
Ready for paint
Painted
Ready for reassembly.
Greased both the emergency brake lever and the threaded rod, installed a new �O� ring and a new seal .
I put the lever in first followed by the threaded rod making sure the �O� ring seated correctly, you have to make sure the little dimple on the heavy washer lines up with the hole in the bore, followed by the light washer, spring and spring cage.
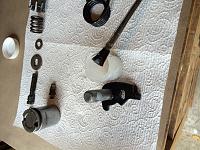


used a C Clamp to compress the spring, be careful you don�t want to over tighten the tangs at the end of the spring cage will bend and good luck getting the snap ring in. I used the same pick to install the snap ring, again very easy.

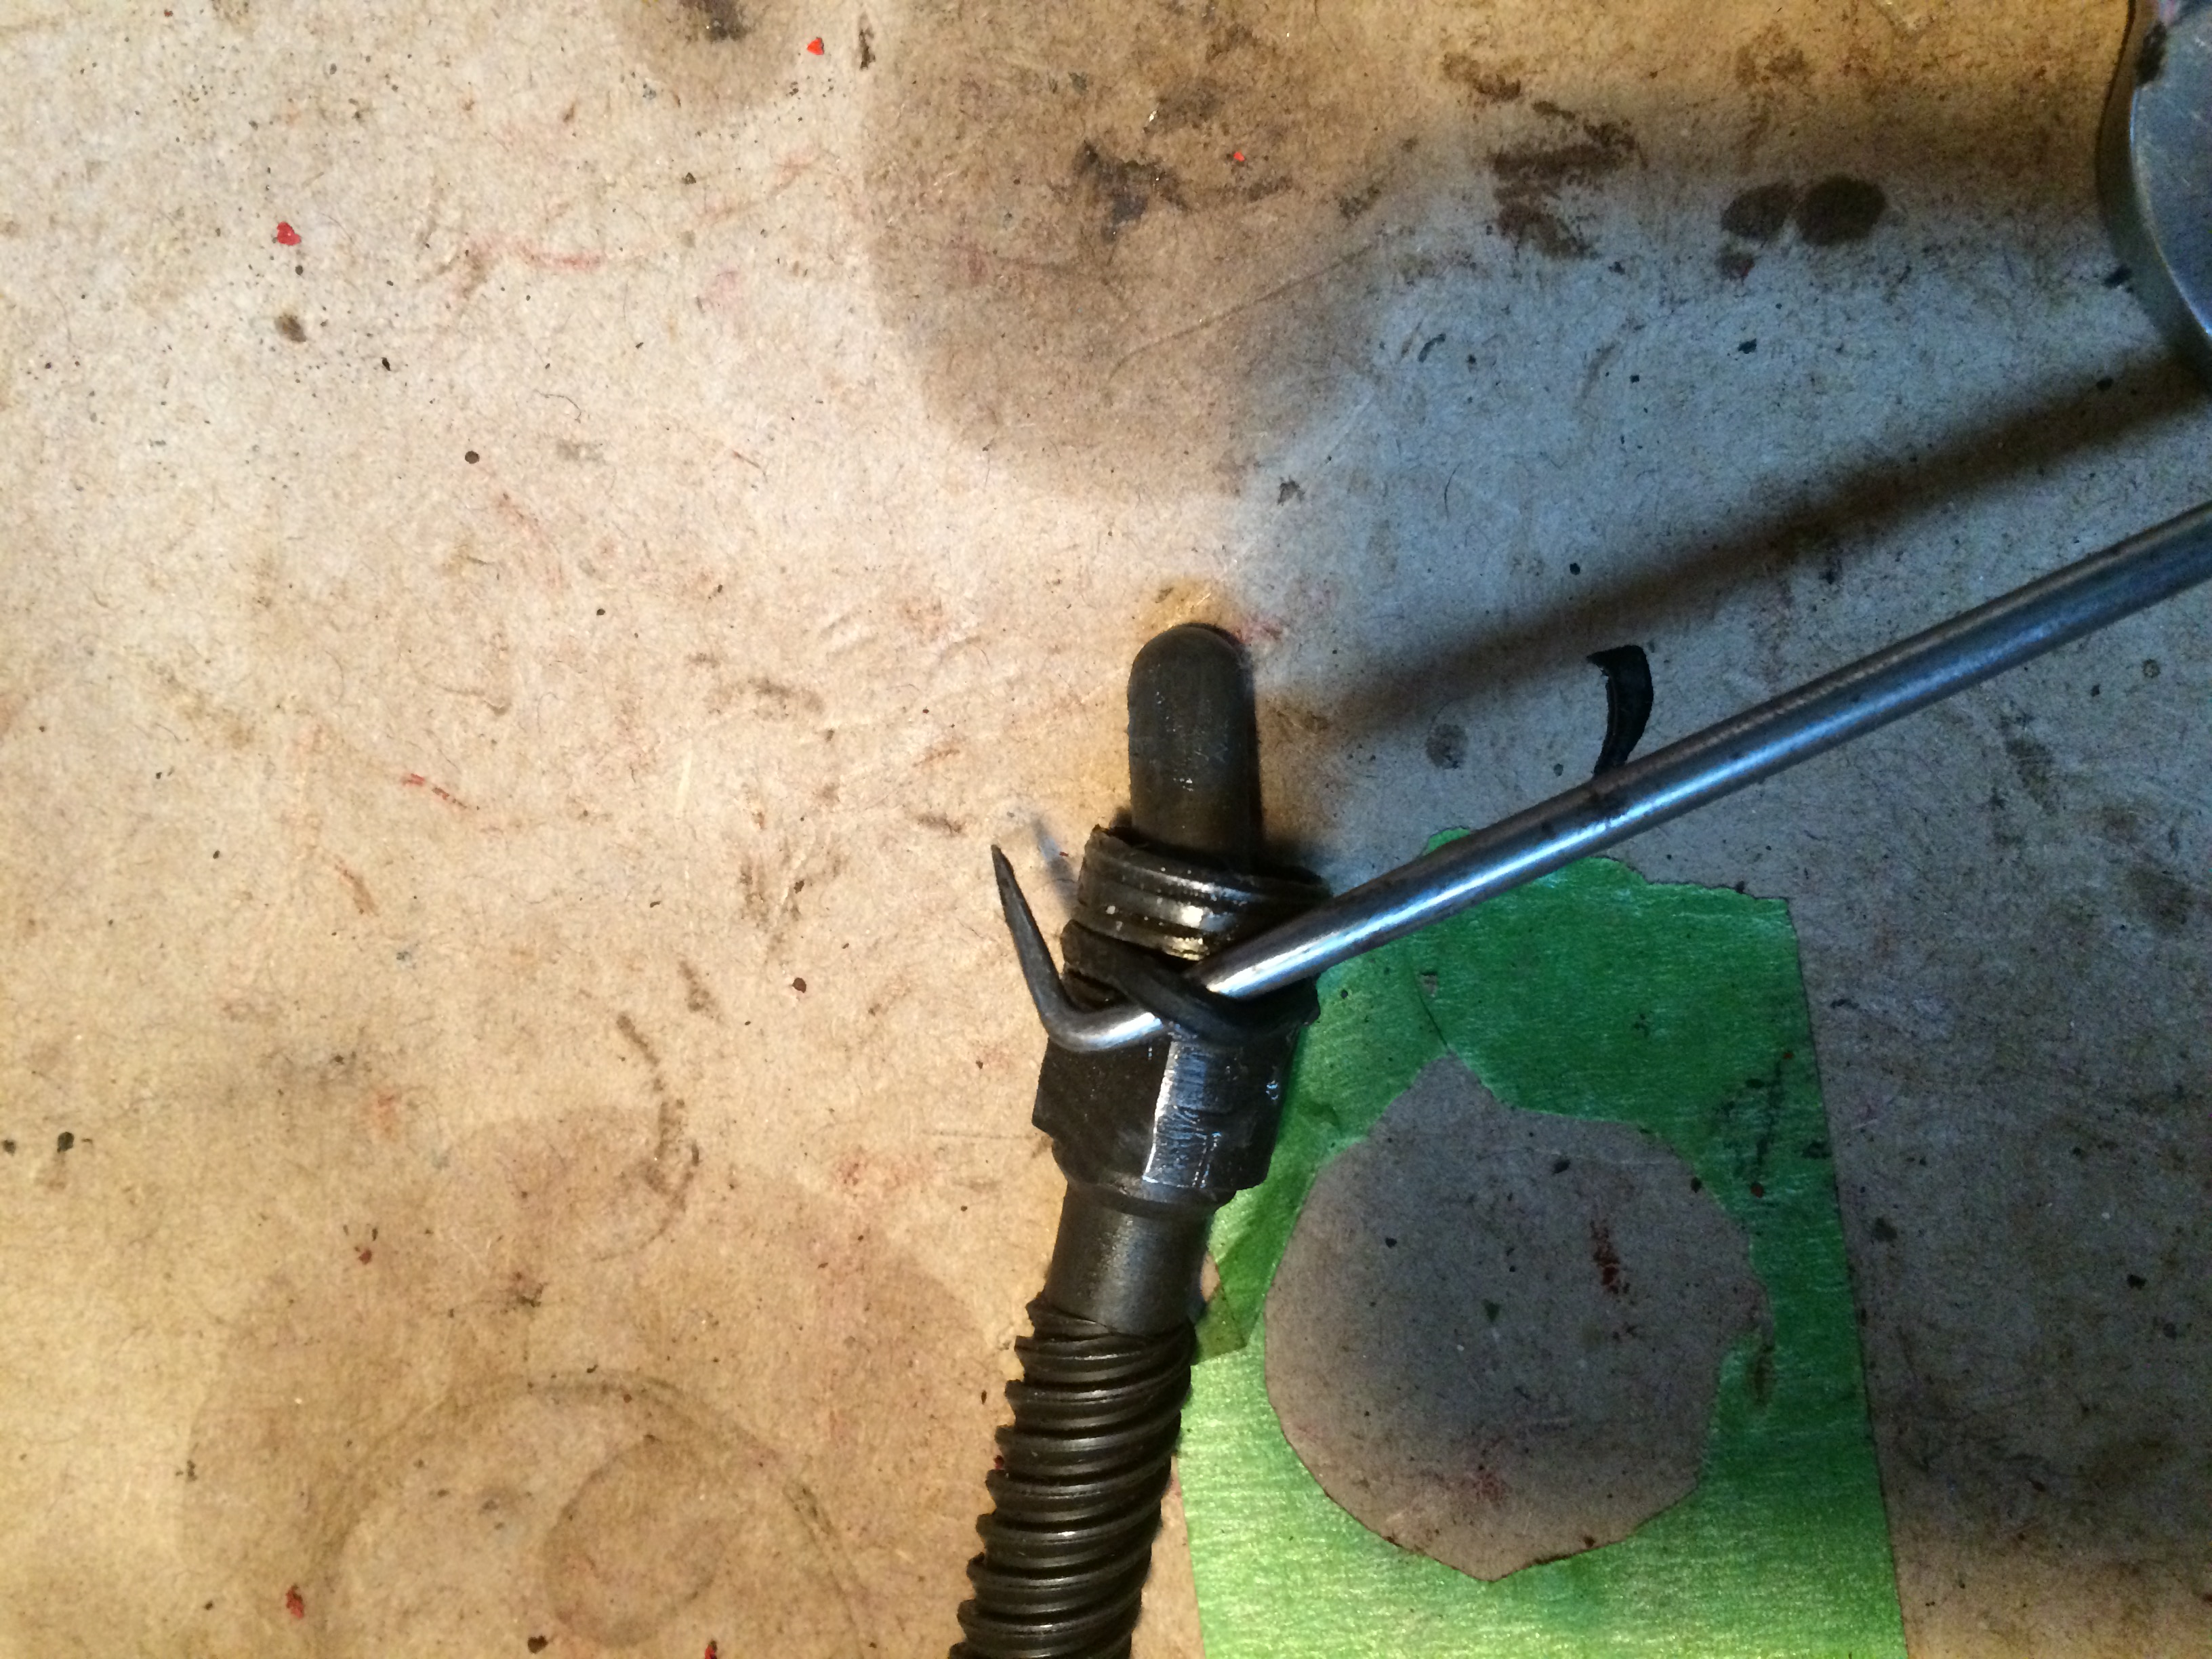
I compressed the emergency brake lever spring in the vise, used a piece of tie wire to hold it.
Installed the piston �O� ring and dust boot, after getting the piston started in to the bore you have to turn the piston clockwise while applying pressure

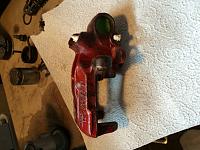
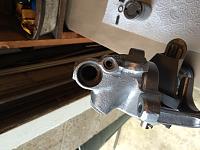
Done and back on the car

I just ripped the rubber boot off knowing I had a replacement, it made it easier to get the piston out.
I removed the piston by turning it counter clockwise, once it gets to the end you will have to pull the piston out.
After removing the piston you can look down in the cylinder bore and see the snap ring. I used a pick to get the snap ring out, I just put it in the hole of the snap ring and pried outward and up, really just that easy.
This is the pick I used.
After releasing the snap ring you can pull the spring cage and spring out.

This is what the cylinder bore looks like with the spring and cage removed.
I just used a pair of channel locks to take the spring off the emergency brake lever.

After taking the spring off I took the threaded road out of the bore. Then I removed the emergency brake lever and seal


This �o� ring is very important it keeps brake fluid from entering the emergency brake housing.
Here it is all broken down.

Ready for paint

Painted

Ready for reassembly.

Greased both the emergency brake lever and the threaded rod, installed a new �O� ring and a new seal .
I put the lever in first followed by the threaded rod making sure the �O� ring seated correctly, you have to make sure the little dimple on the heavy washer lines up with the hole in the bore, followed by the light washer, spring and spring cage.


used a C Clamp to compress the spring, be careful you don�t want to over tighten the tangs at the end of the spring cage will bend and good luck getting the snap ring in. I used the same pick to install the snap ring, again very easy.


I compressed the emergency brake lever spring in the vise, used a piece of tie wire to hold it.

Installed the piston �O� ring and dust boot, after getting the piston started in to the bore you have to turn the piston clockwise while applying pressure

Done and back on the car

 11-16-2015, 05:20 PM
#7
3rd Gear Member
Thread Starter
Join Date: Feb 2013
Location: PA
Posts: 556
Thanks it was pretty easy and for five bucks just cant beat it. I been meaing to take a picture of it with the wheel on but it has already got cold here and i have put my car in the garage with hopes of getting it out one or two more times before the weather really sets in.