IHI rebuild
 03-06-2009, 08:22 PM
#1
6th Gear Member
Thread Starter
Join Date: Sep 2006
Location: Regina Beach, Sask
Posts: 9,991
This is a how to on rebuilding a IHI turbo out of a 87-88 thunderbird 2.3 turbo.
This is a completely un-rebuilt turbo, some shaft play, but no in/out play. Leaks some oil from the inlet and exhaust.
I didn't rebuild this turbo, I only took it apart to show you how to rebuild it.
/*\ Tools needed/*\
8m socket or wrench
10mm wrench
13mm wrench
some PB blaster or WD40
hammer
rebuild kit
vice or vice grips
torex screw driver/bits
pliers
Beer or two
**Disclaimer**
I'm not responsible for any damage you do to your turbocharger. This is just a general how to and should not be considered a bible to rebuilding your turbo.

IHI turbo on the left, T3 on the right. Notice the size difference between the two.
These bolts hold the compressor side onto the turbocharger body. Remove them using a 8mm socket or wrench, then pull the front housing off, if it wont come off, give it a few light taps with a rubber mallet.
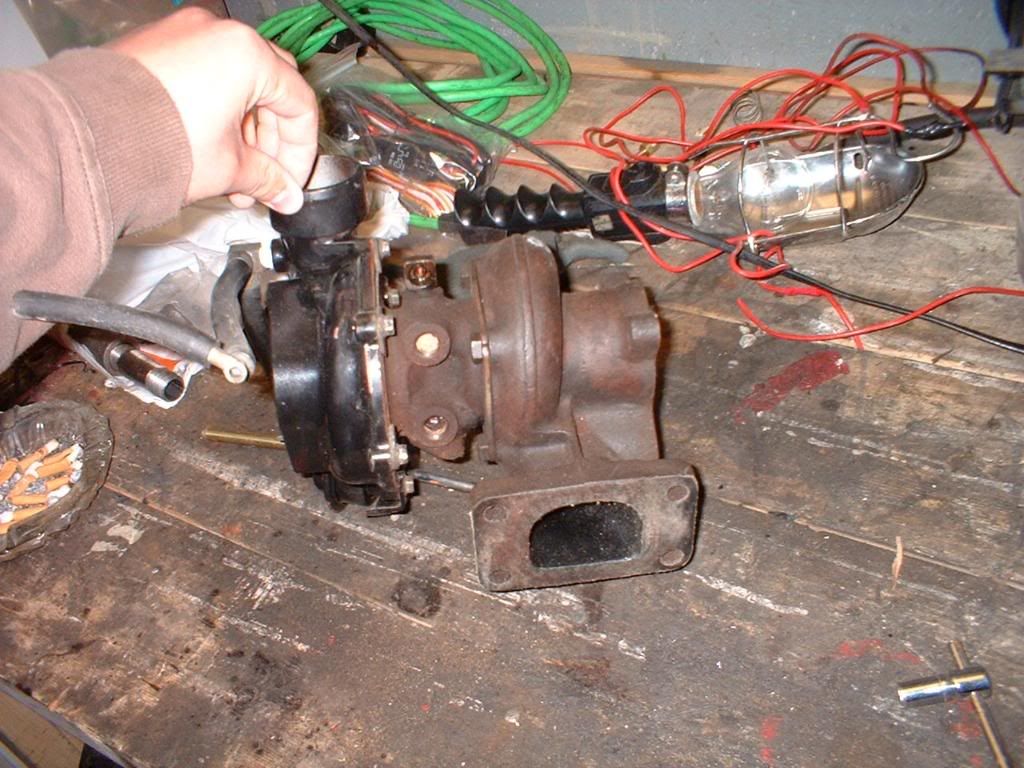
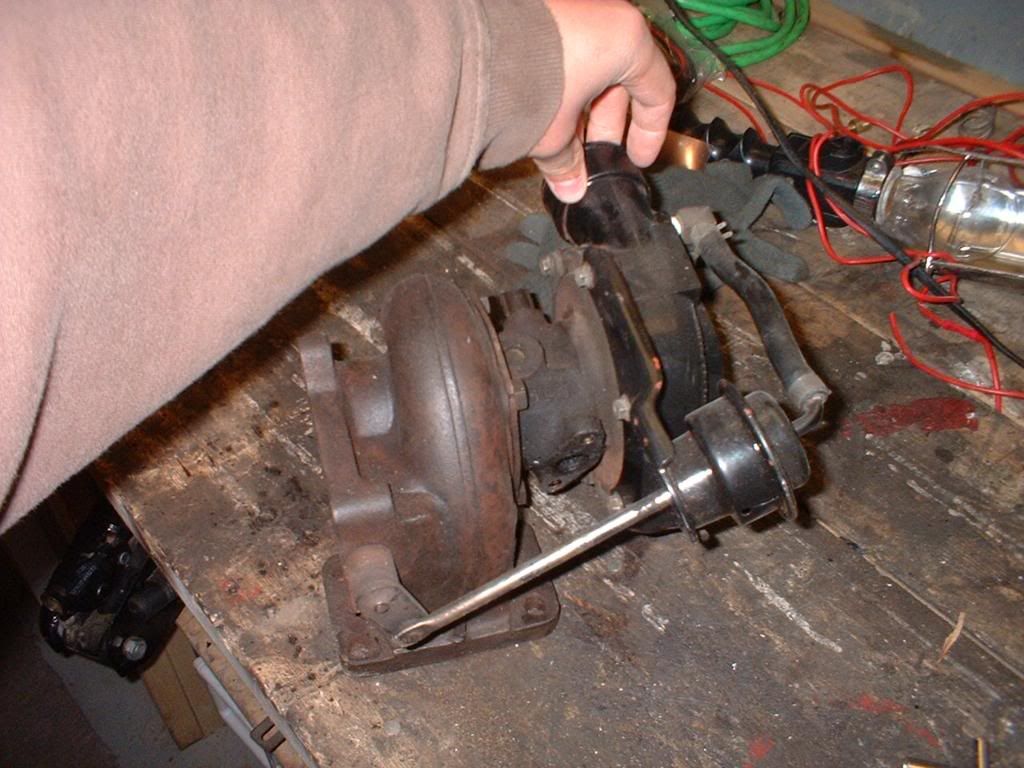

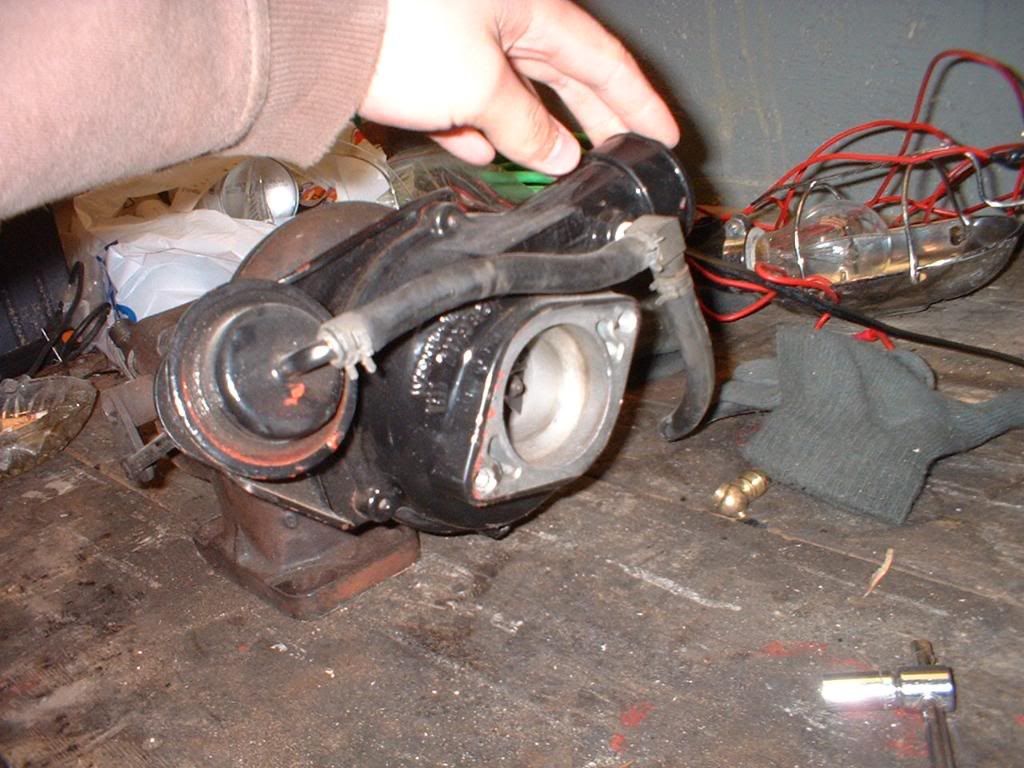
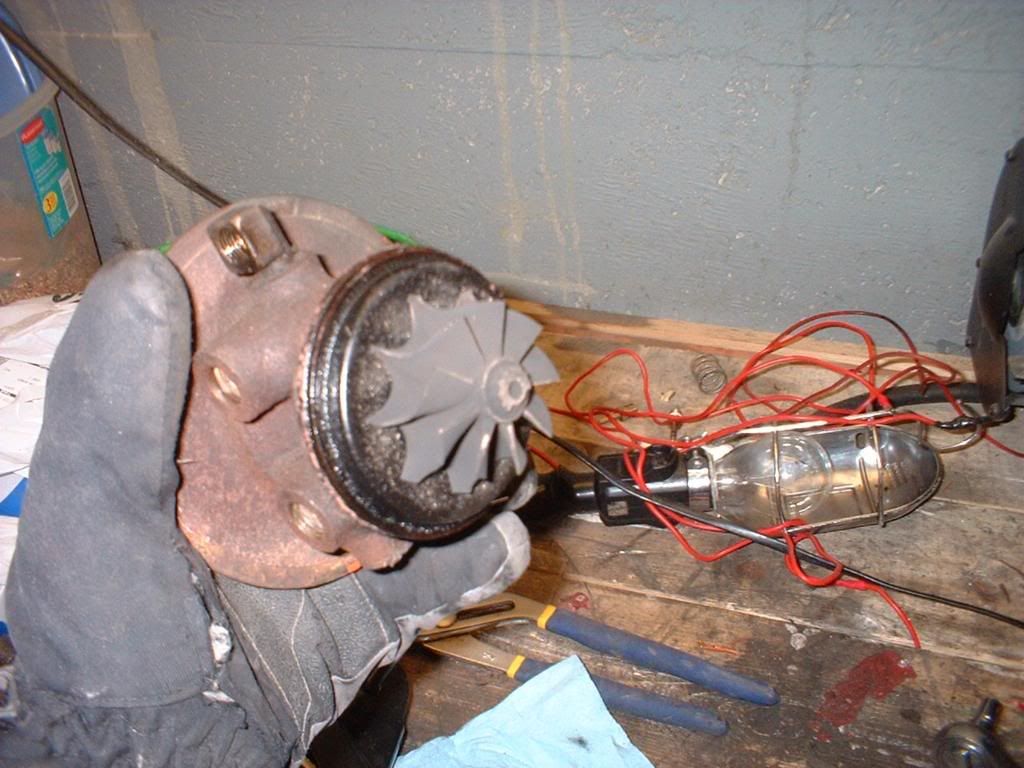
Couple better pictures for people who've never seen a TC IHI turbo before, shows the bolts, size, wastegate, and a few other odds and ends.
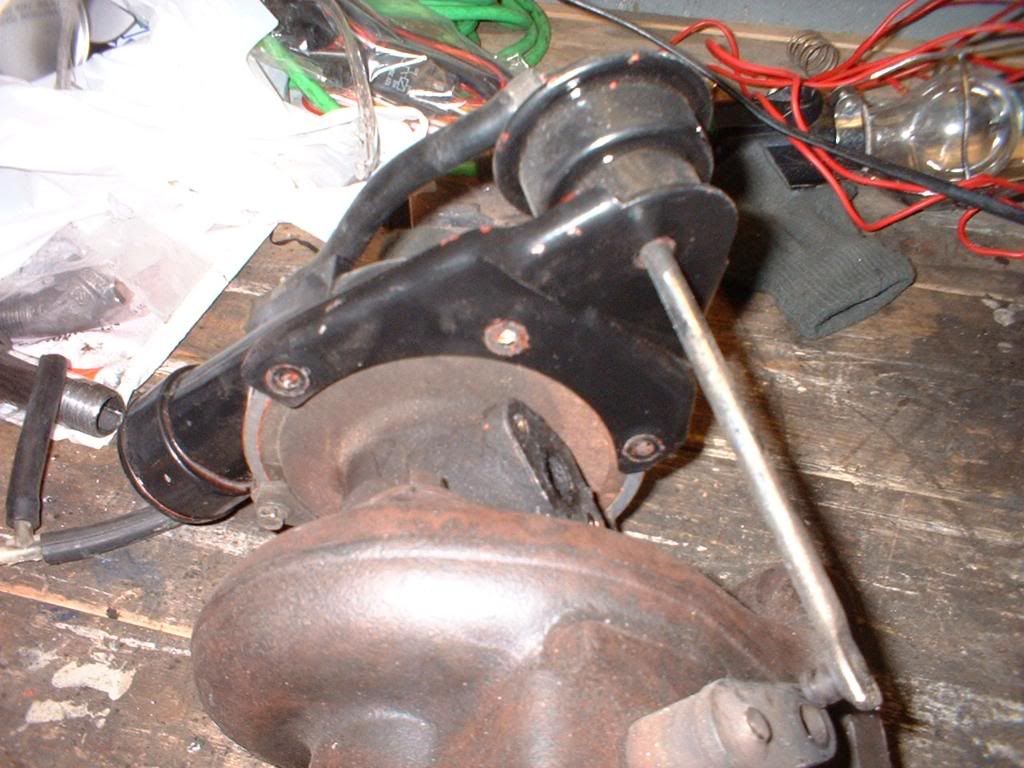
With those 3 bolts removed, you can now pull the wastegate off after you remove the clip/e-clip from the wastegate rod.
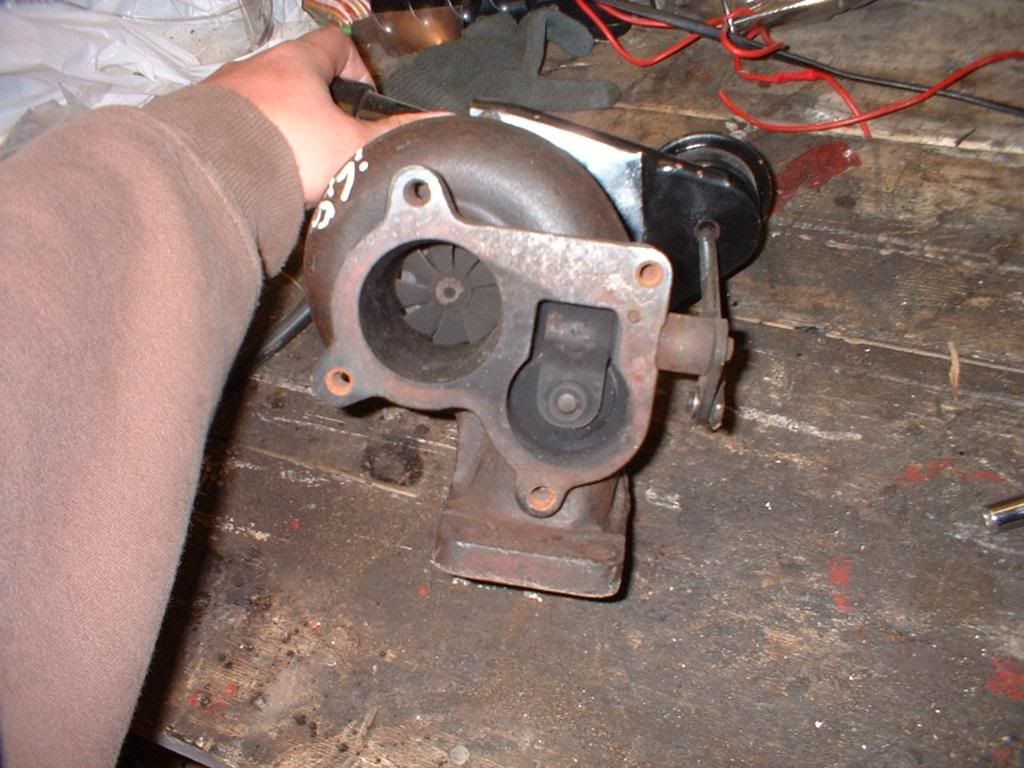
Once all the bolts have been removed, this is what you'll pull off. The compressor housing is made of aluminum so its very light
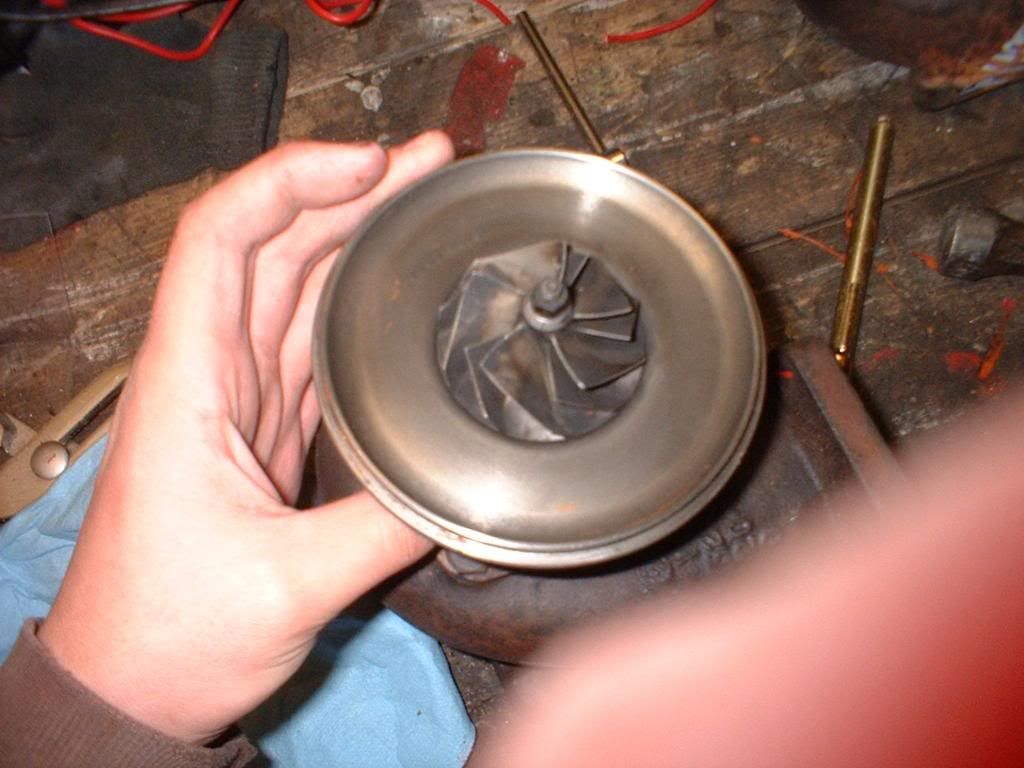
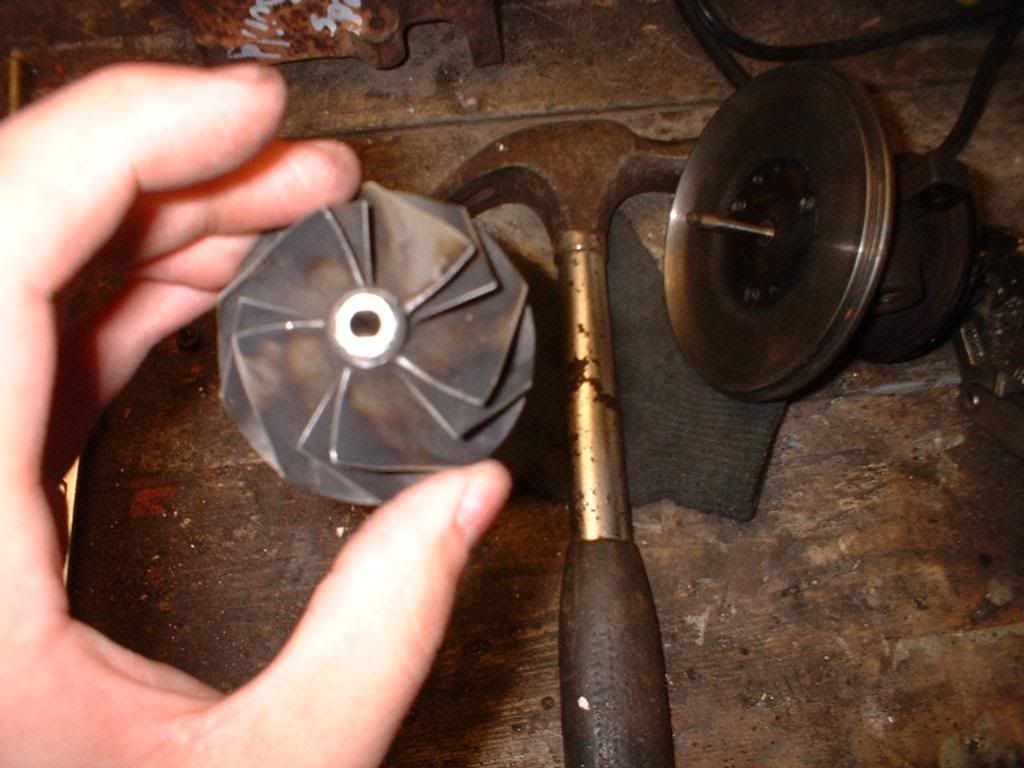
This is the compressor wheel. There is some light damage to these fins, but no big chips or chunks missing, so its fine to use again
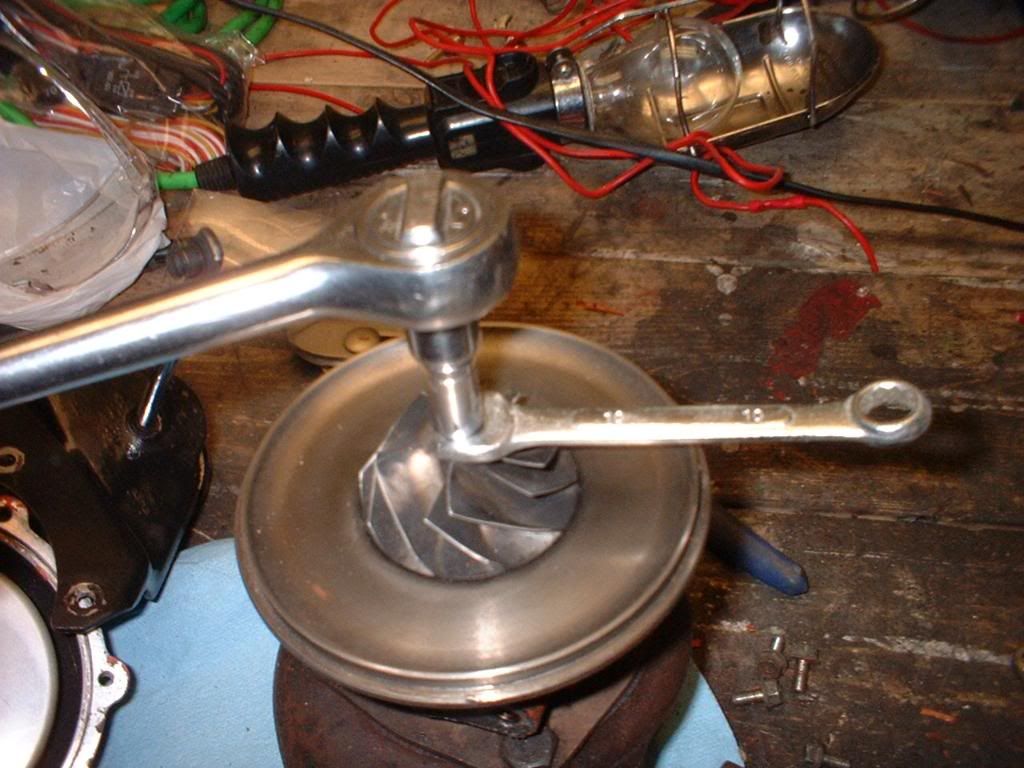
8mm socket and a 10mm wrench on the bottom to hold the compressor wheel from spinning when you loosen the main nut.
THE NUT IS THREADED THE OPPISITE WAY!!!!
so left = tight, right = loose
If it wont come off using that method then you'll have to take the exhaust housing off and use a vice grip or a tabe vice.
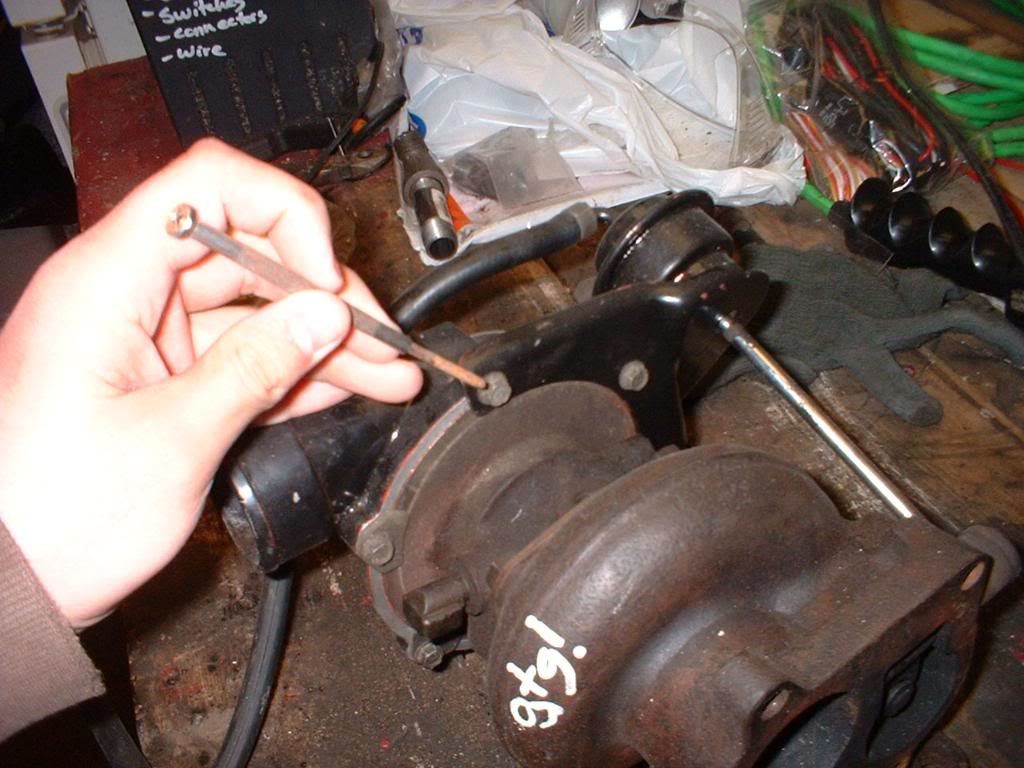
Here are the 4 bolts you'll have to remove on the exhaust housing to take it off.
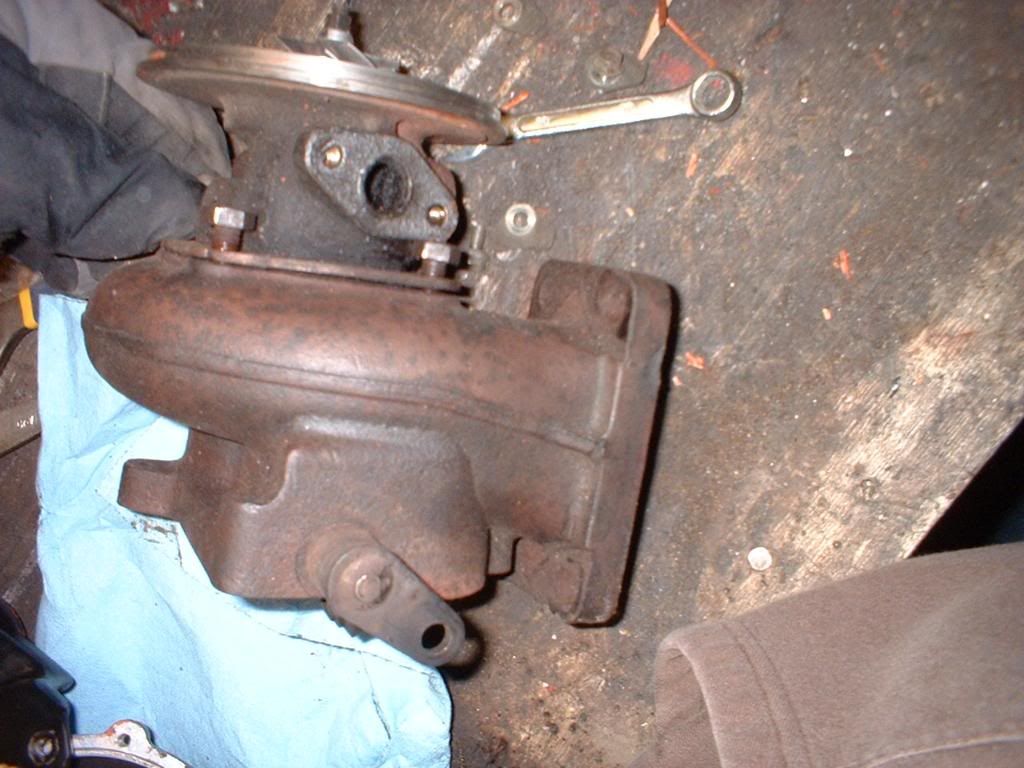
You'll run into an issue with this bot, if you get all the other ones out, spin the housing, or "tilt" it so you can wiggle the bolt out. (bolts are 13mm BTW)
Once all the bolts are out, you might have to give the exhaust housing a few good smacks with a BFH to get it off, make sure you hit evenly around the housing or you could bend the impeller shaft.
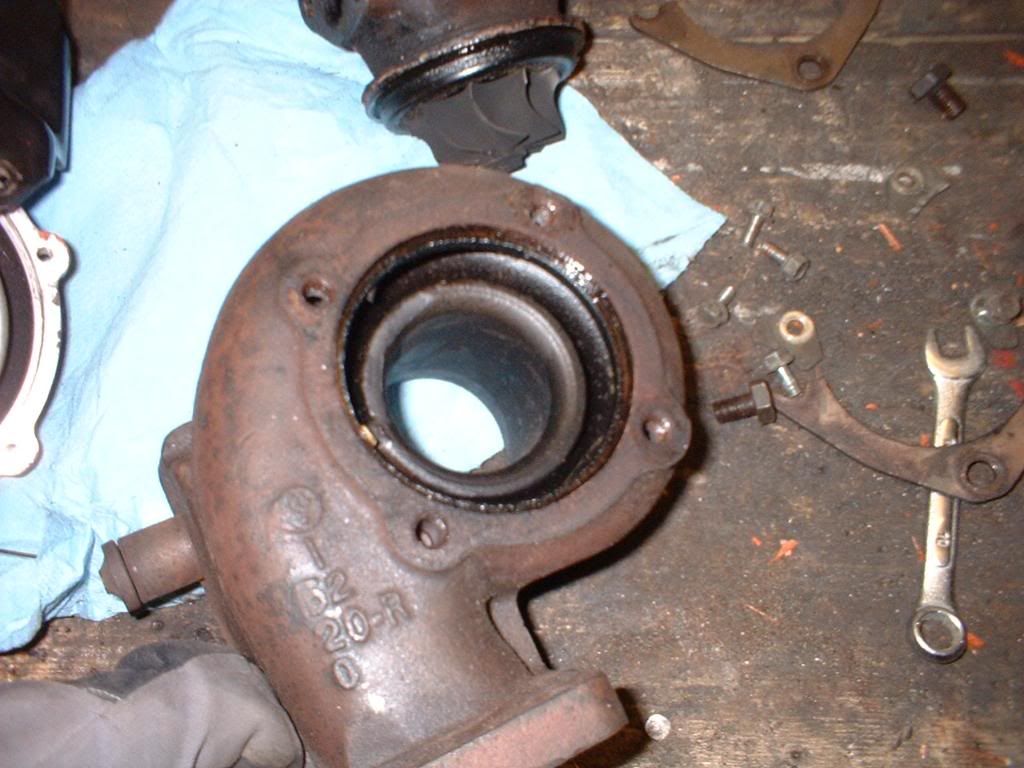
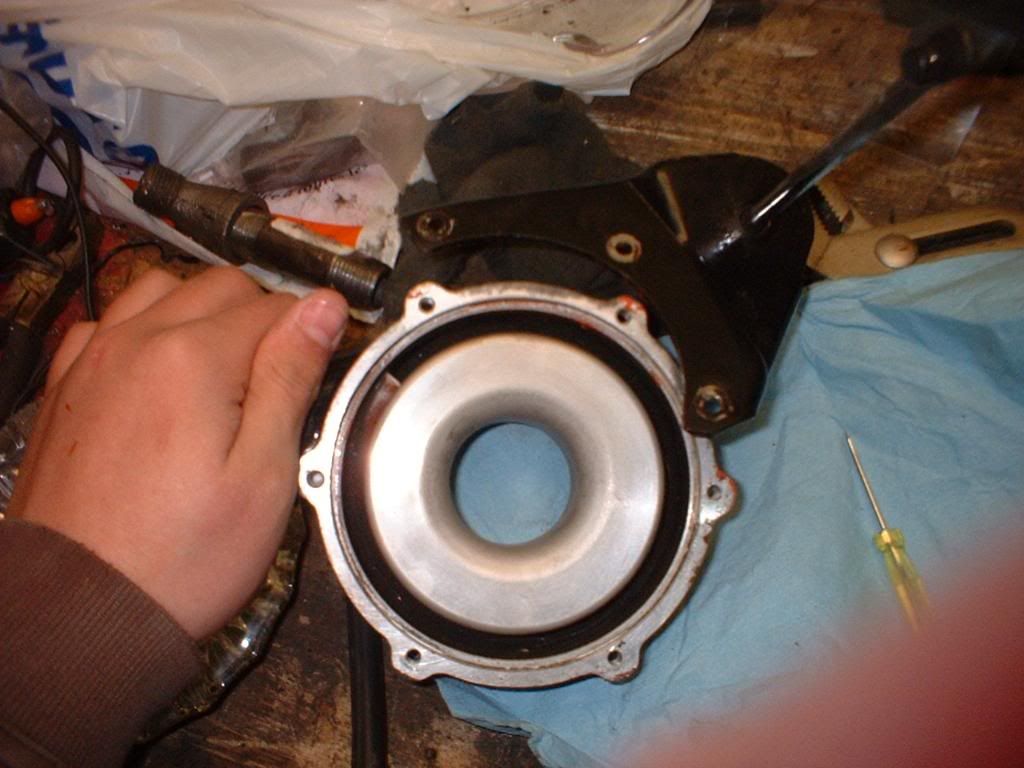
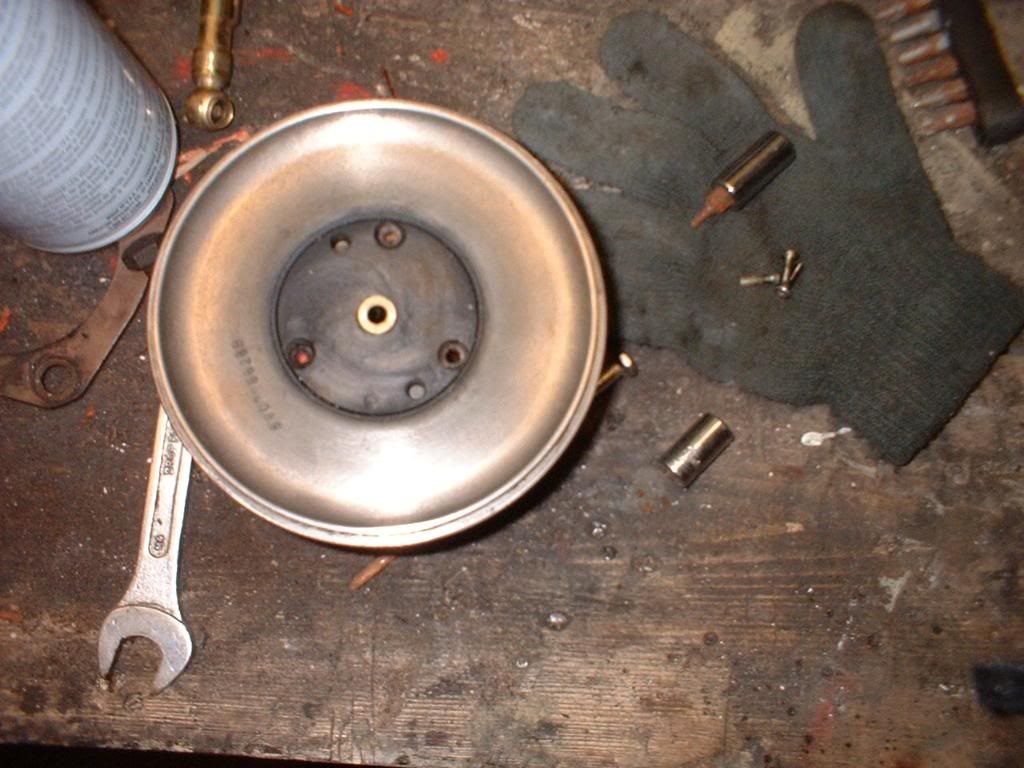
Heres what the exhaust housing should look like when it's removed.
There is the exhaust turbine, you can see some burn oil on the plate back there.
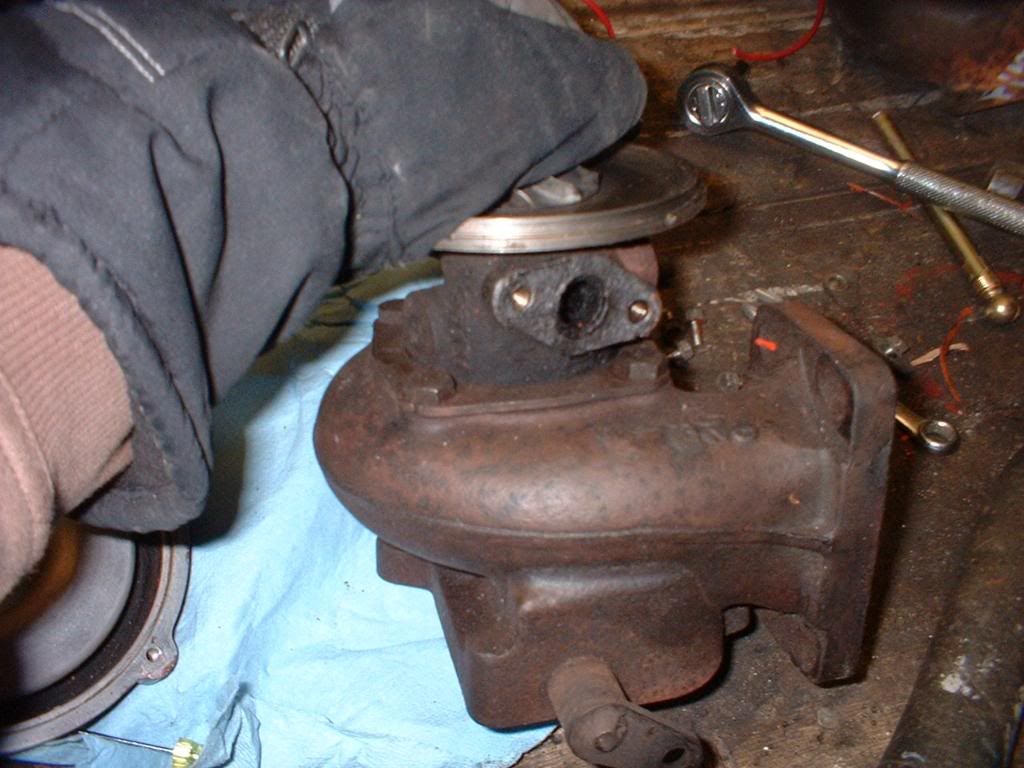
Now you're going to want to put the back turbine into a vice or vice gri to stop it from turning.
EX.

or
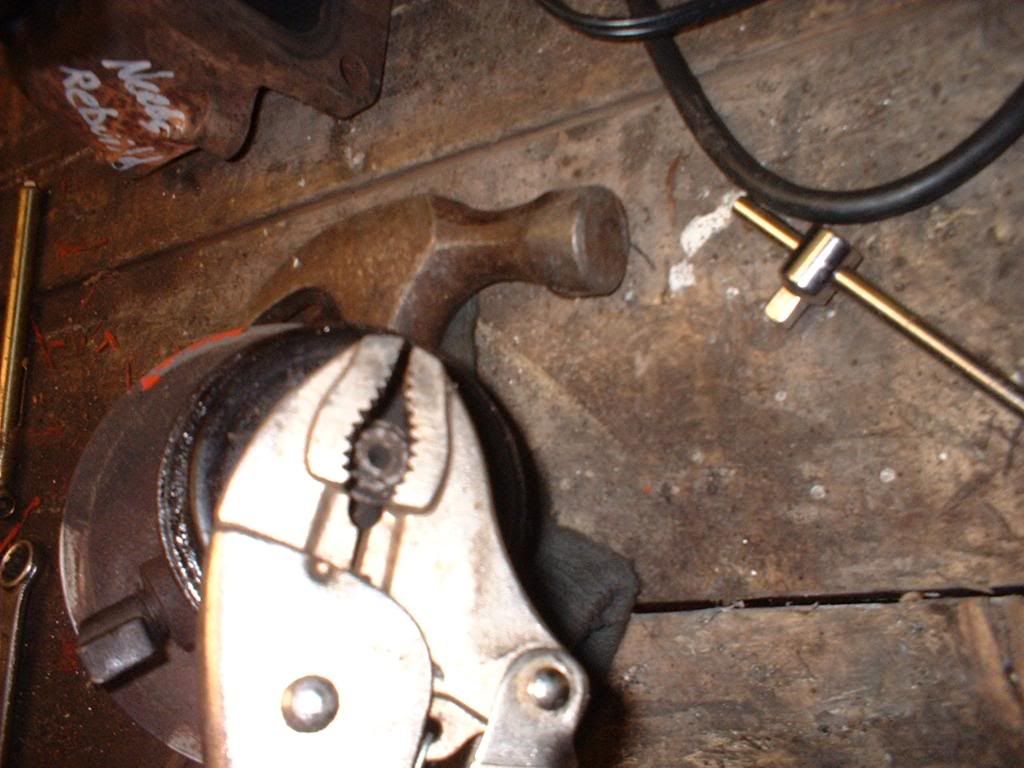
Then undo the bolt, remembering RIGHT IS TO LOOSEN THE BOLT!!!!!
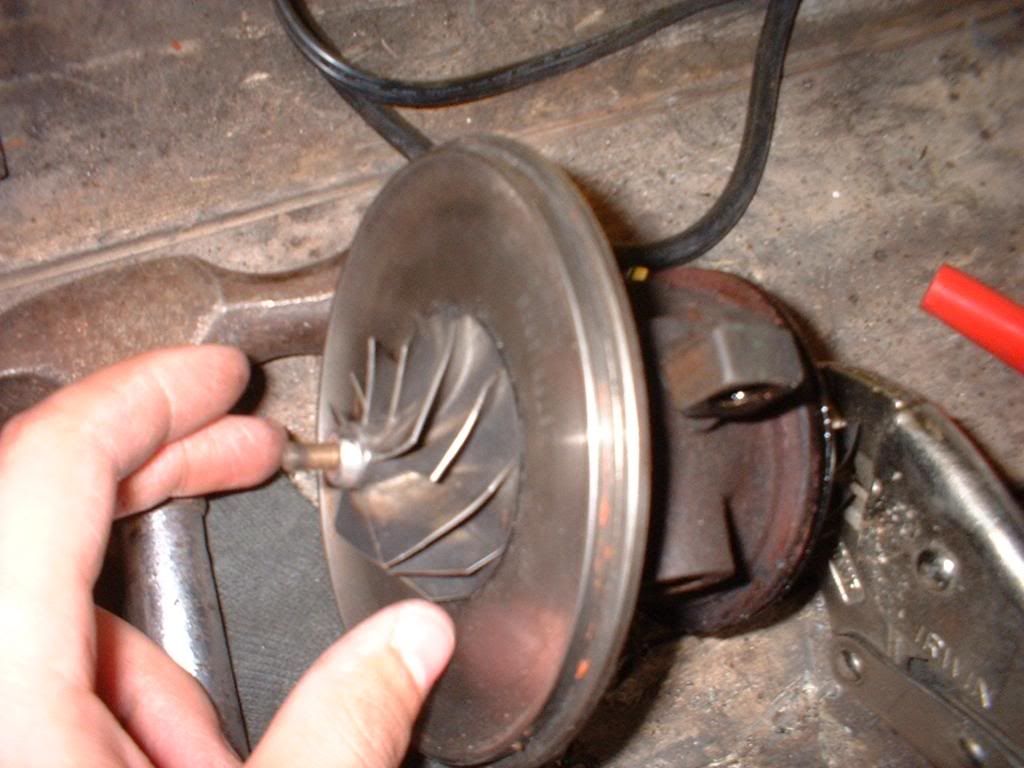
Bolt removed, compressor wheel ready to be removed, but make sure you make it and the shaft before you remove it unless you want to rebalance your whole impeller shaft.
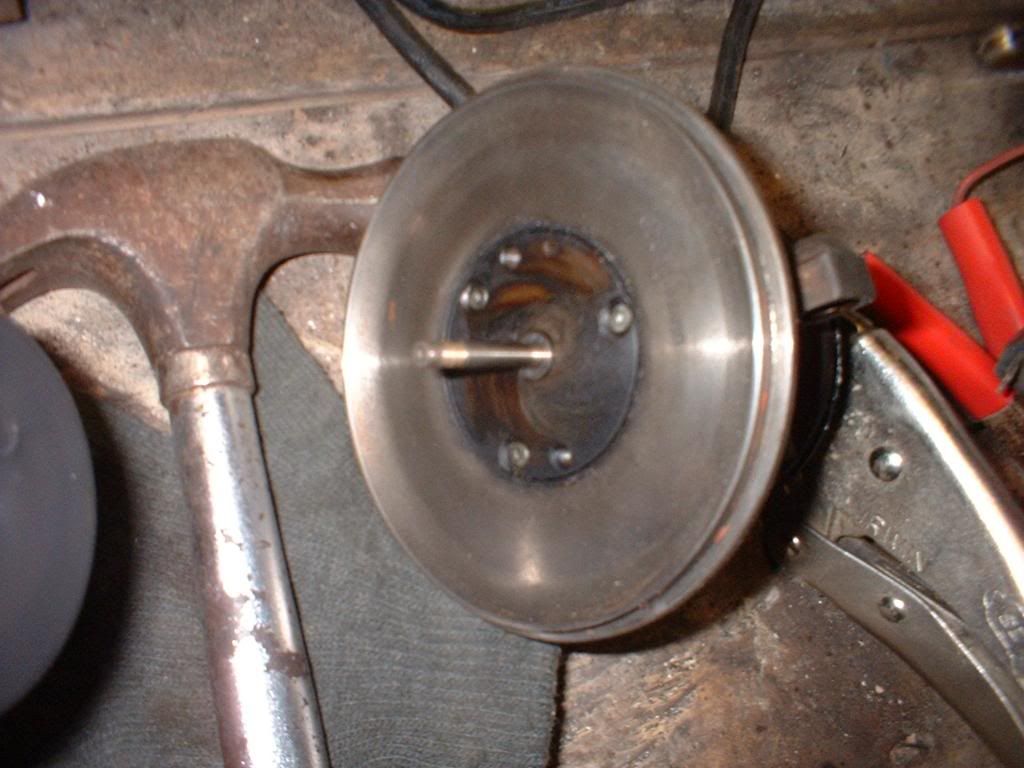
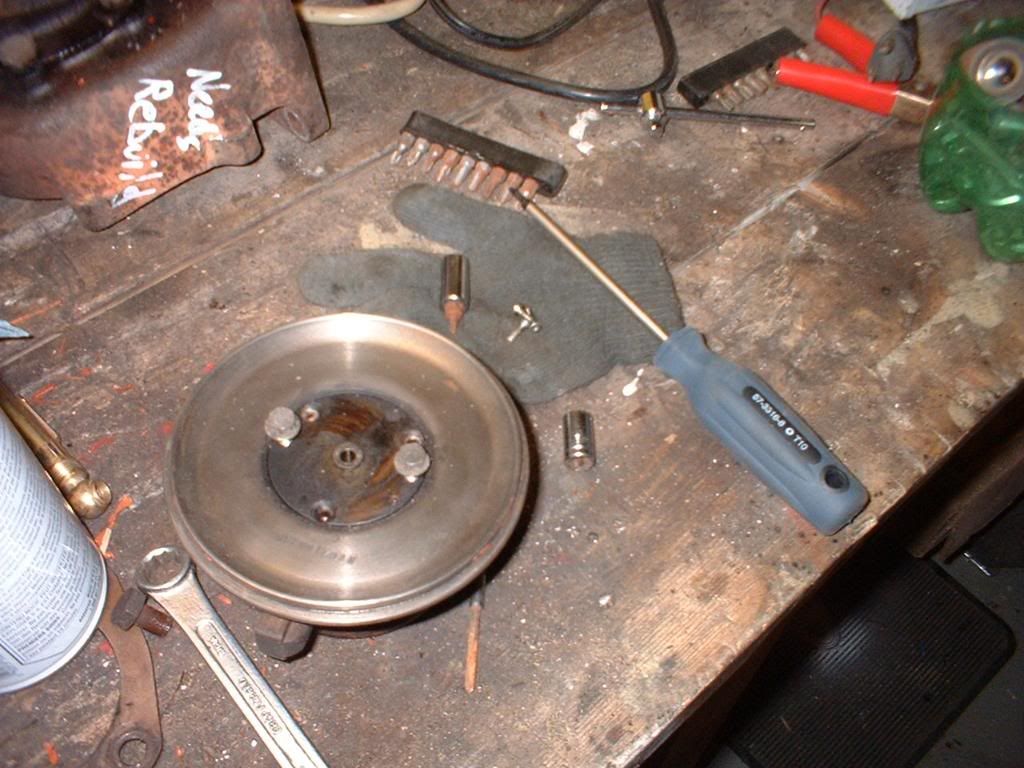
You can see the oil slinging. The plate (forget what it's called) is held in with 3 torx screws. Place the torx bit onto the screw, and then hit it with a hammer to make removel easier.
Heres the compressor wheel, you see that little chunk missing? this is material that way removed to balance the turbo properly.
This is a completely un-rebuilt turbo, some shaft play, but no in/out play. Leaks some oil from the inlet and exhaust.
I didn't rebuild this turbo, I only took it apart to show you how to rebuild it.
/*\ Tools needed/*\
8m socket or wrench
10mm wrench
13mm wrench
some PB blaster or WD40
hammer
rebuild kit
vice or vice grips
torex screw driver/bits
pliers
Beer or two
**Disclaimer**
I'm not responsible for any damage you do to your turbocharger. This is just a general how to and should not be considered a bible to rebuilding your turbo.
IHI turbo on the left, T3 on the right. Notice the size difference between the two.
These bolts hold the compressor side onto the turbocharger body. Remove them using a 8mm socket or wrench, then pull the front housing off, if it wont come off, give it a few light taps with a rubber mallet.
Couple better pictures for people who've never seen a TC IHI turbo before, shows the bolts, size, wastegate, and a few other odds and ends.
With those 3 bolts removed, you can now pull the wastegate off after you remove the clip/e-clip from the wastegate rod.
Once all the bolts have been removed, this is what you'll pull off. The compressor housing is made of aluminum so its very light
This is the compressor wheel. There is some light damage to these fins, but no big chips or chunks missing, so its fine to use again
8mm socket and a 10mm wrench on the bottom to hold the compressor wheel from spinning when you loosen the main nut.
THE NUT IS THREADED THE OPPISITE WAY!!!!
so left = tight, right = loose
If it wont come off using that method then you'll have to take the exhaust housing off and use a vice grip or a tabe vice.
Here are the 4 bolts you'll have to remove on the exhaust housing to take it off.
You'll run into an issue with this bot, if you get all the other ones out, spin the housing, or "tilt" it so you can wiggle the bolt out. (bolts are 13mm BTW)
Once all the bolts are out, you might have to give the exhaust housing a few good smacks with a BFH to get it off, make sure you hit evenly around the housing or you could bend the impeller shaft.
Heres what the exhaust housing should look like when it's removed.
There is the exhaust turbine, you can see some burn oil on the plate back there.
Now you're going to want to put the back turbine into a vice or vice gri to stop it from turning.
EX.
or
Then undo the bolt, remembering RIGHT IS TO LOOSEN THE BOLT!!!!!
Bolt removed, compressor wheel ready to be removed, but make sure you make it and the shaft before you remove it unless you want to rebalance your whole impeller shaft.
You can see the oil slinging. The plate (forget what it's called) is held in with 3 torx screws. Place the torx bit onto the screw, and then hit it with a hammer to make removel easier.
Heres the compressor wheel, you see that little chunk missing? this is material that way removed to balance the turbo properly.
Last edited by sleeper_inc; 03-06-2009 at 08:31 PM. Reason: Tools :P
 03-06-2009, 08:22 PM
#2
6th Gear Member
Thread Starter
Join Date: Sep 2006
Location: Regina Beach, Sask
Posts: 9,991
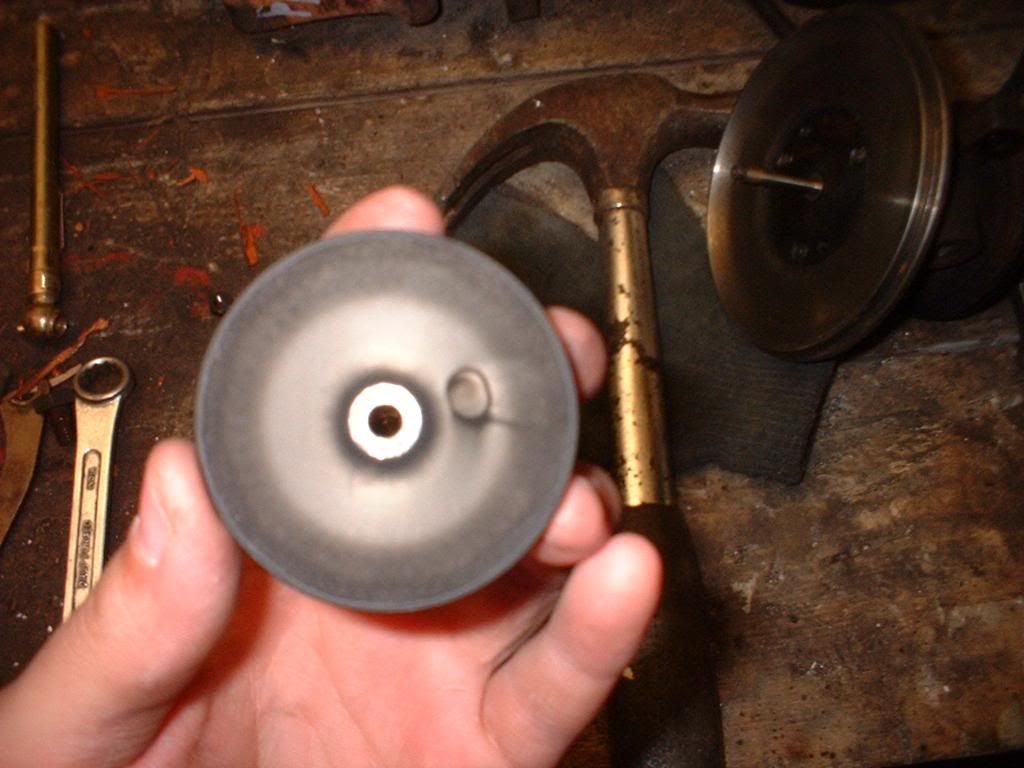
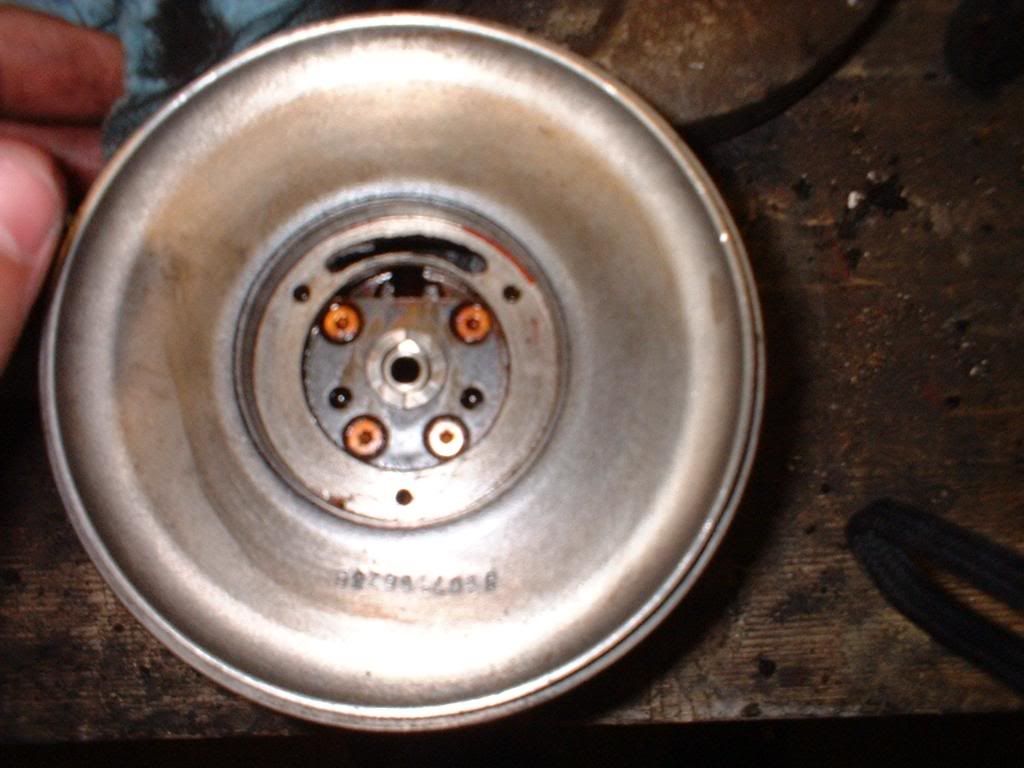
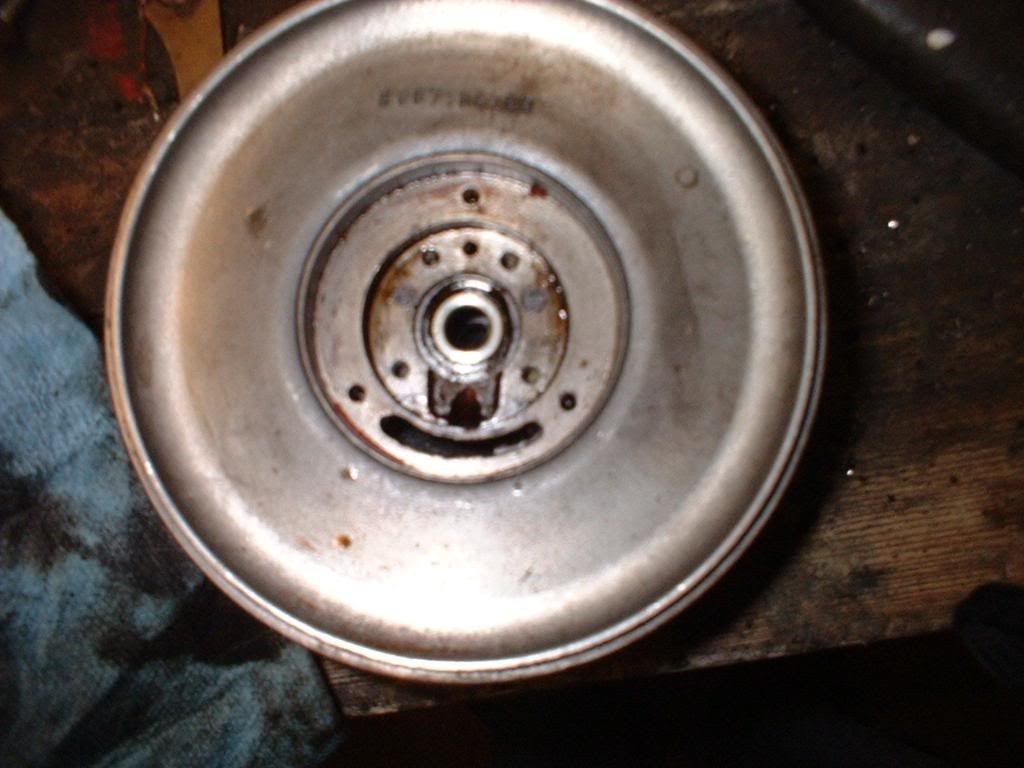
Front view of the compressor wheel.
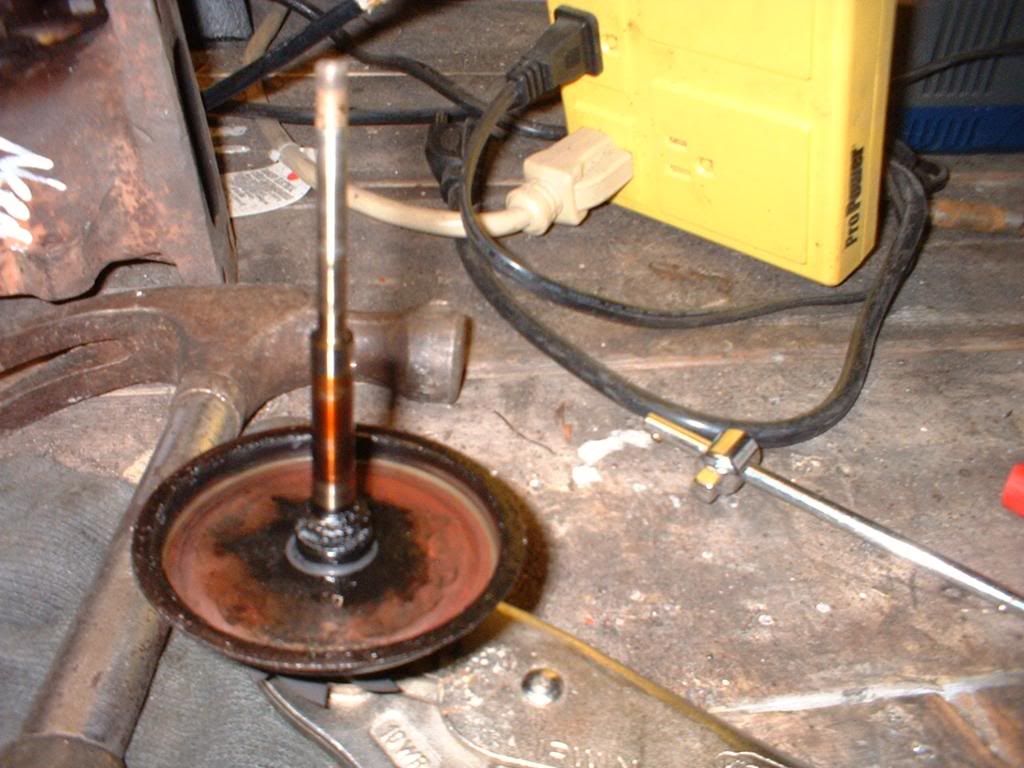
View of the impeller shaft with its turbine wheel and rear oil ring in place (replace that ring everytime you rebuild a turbo no matter how good it looks and sand the area it rides down with 400-600 grit)
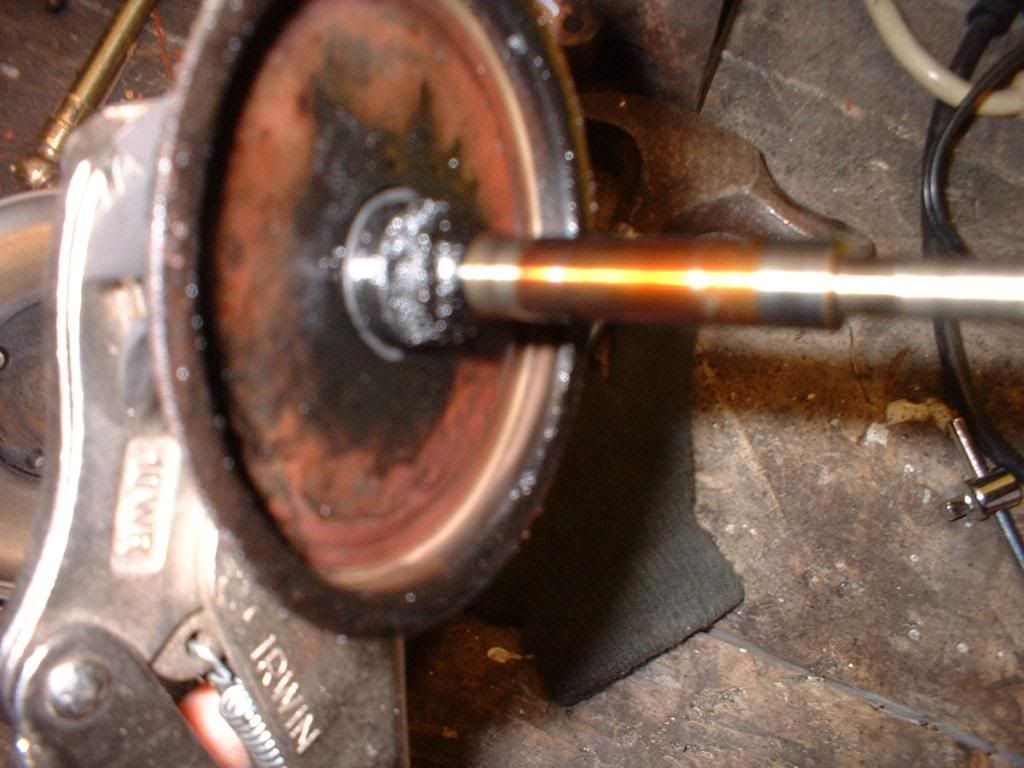
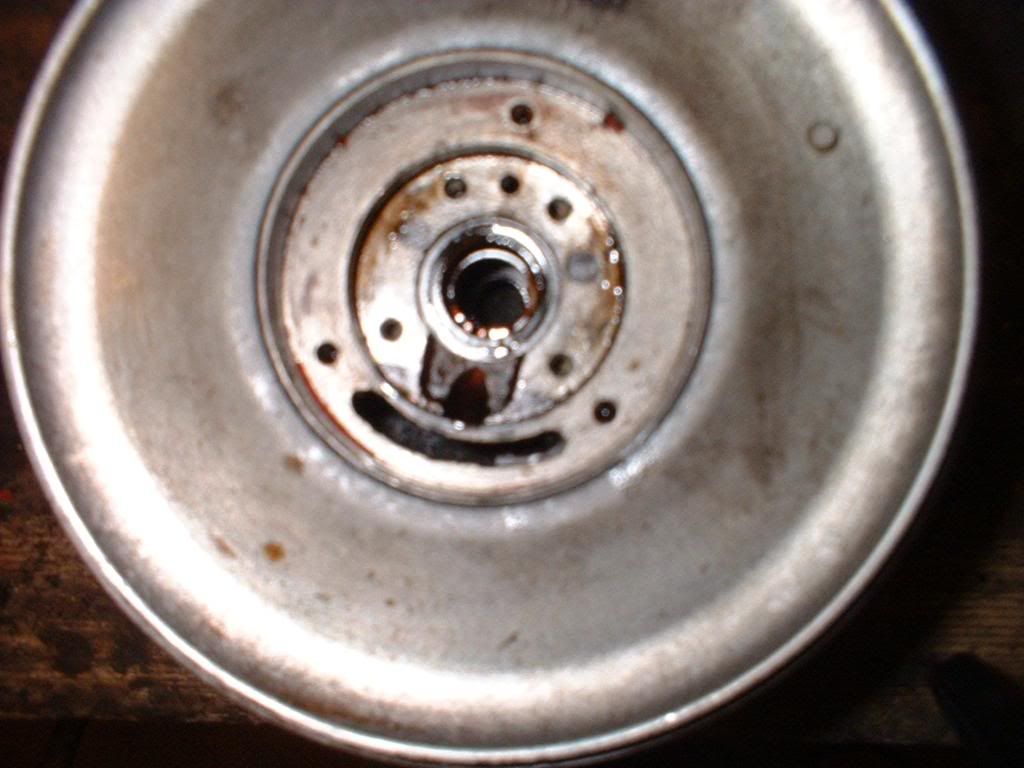
Better view of carbon buildup, oil ring, and bearing wear. I woud get the machined down if I was wantign this turbo to last and have the bearings sized to how far it needed to be machined down.
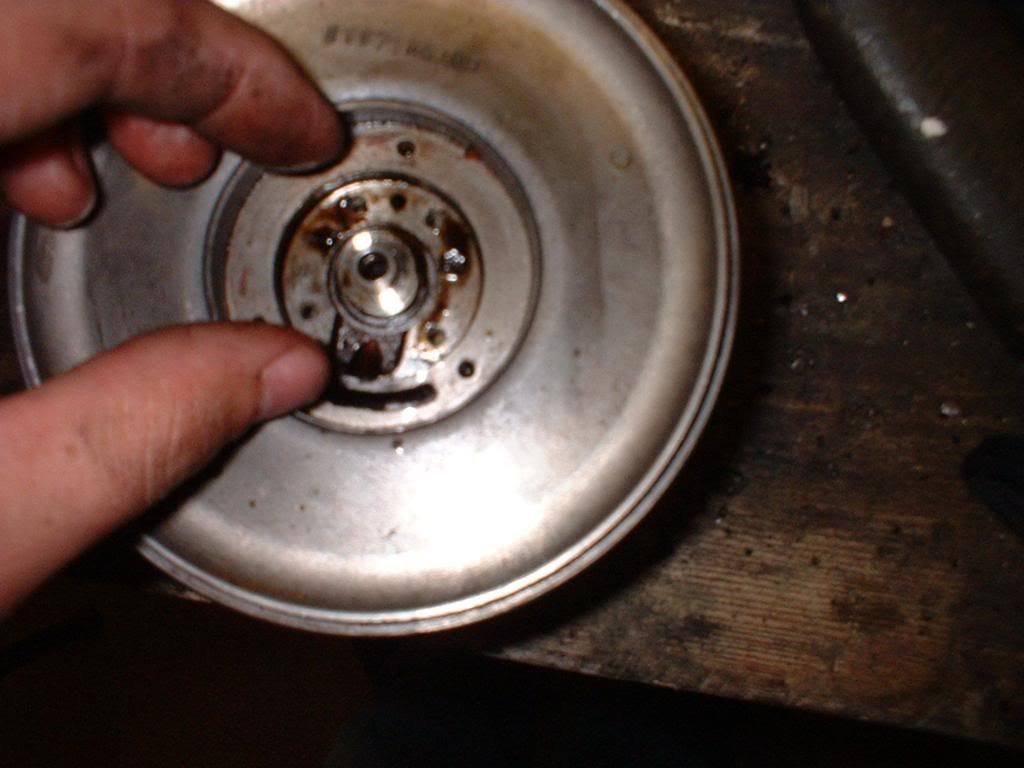
View of the front again, torex screws removed, ready to be removed.
Screw in the compressor housing bots to help remove the plate (pry with a screw driver, hammer or crow bar)
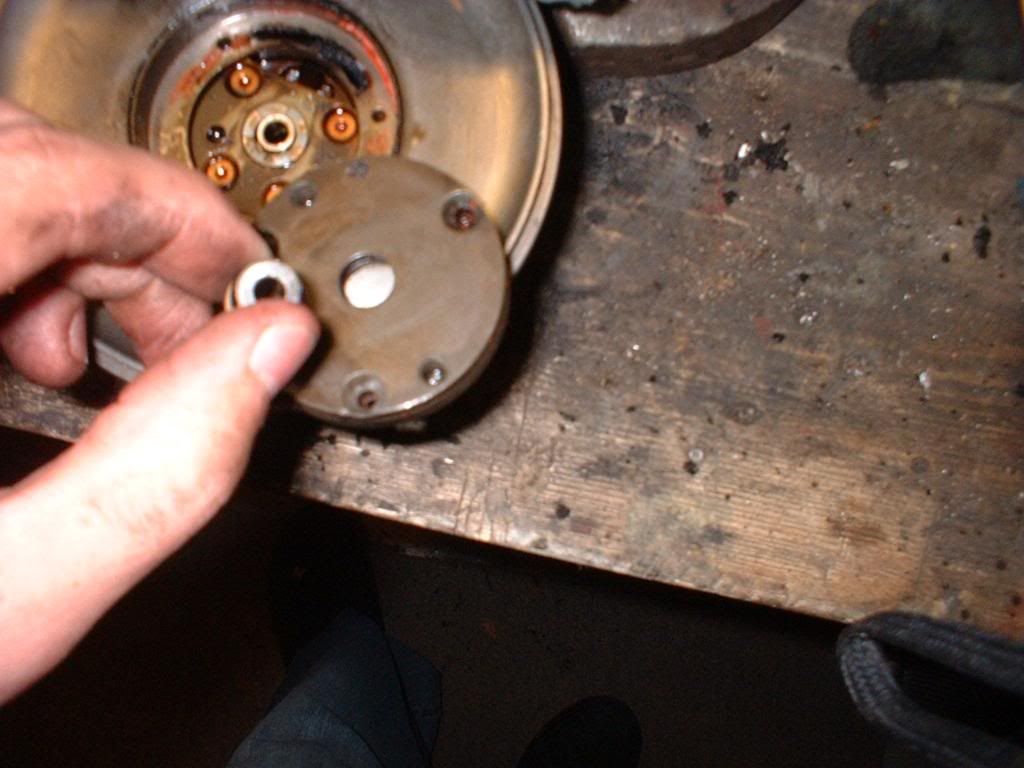
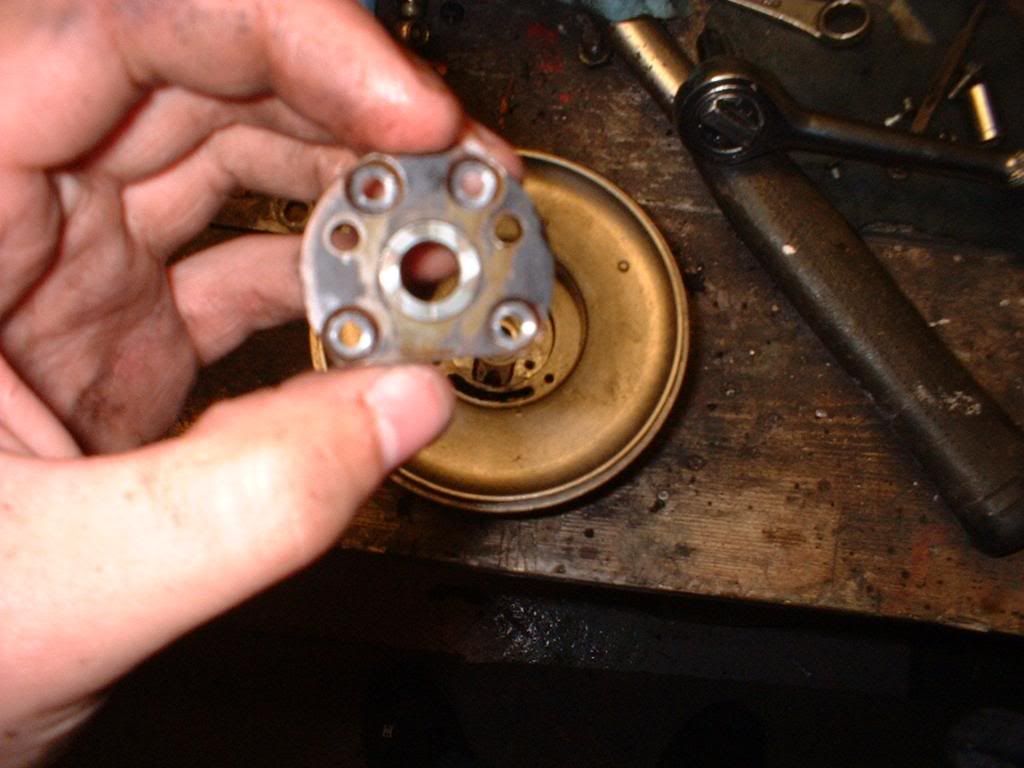
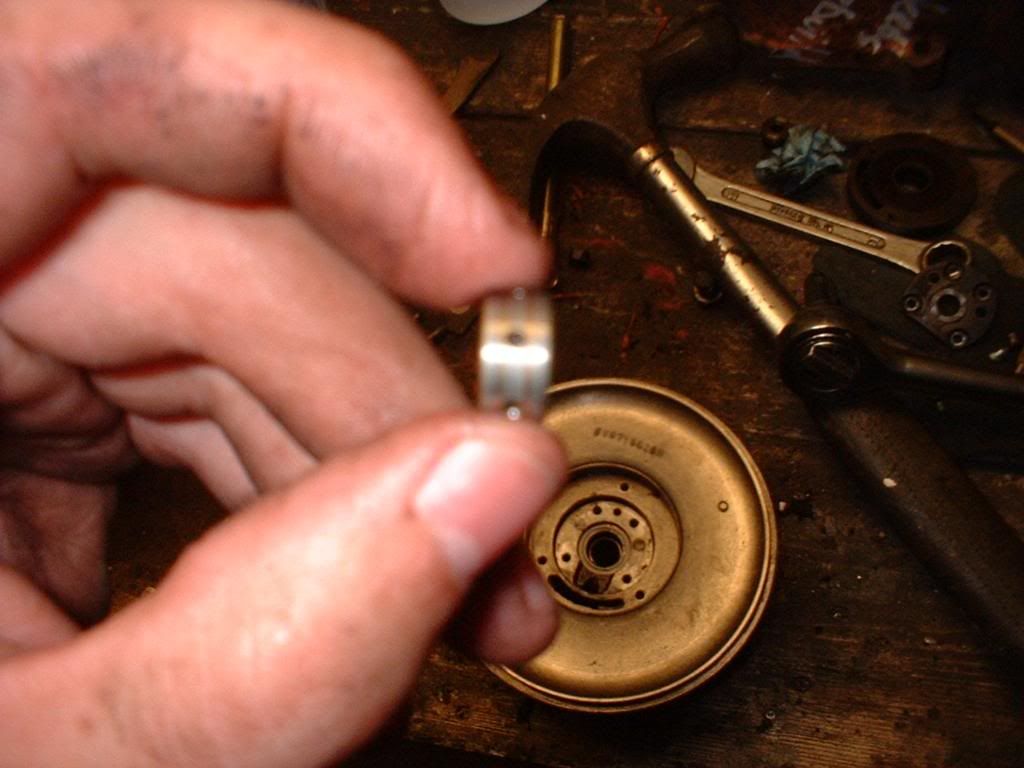
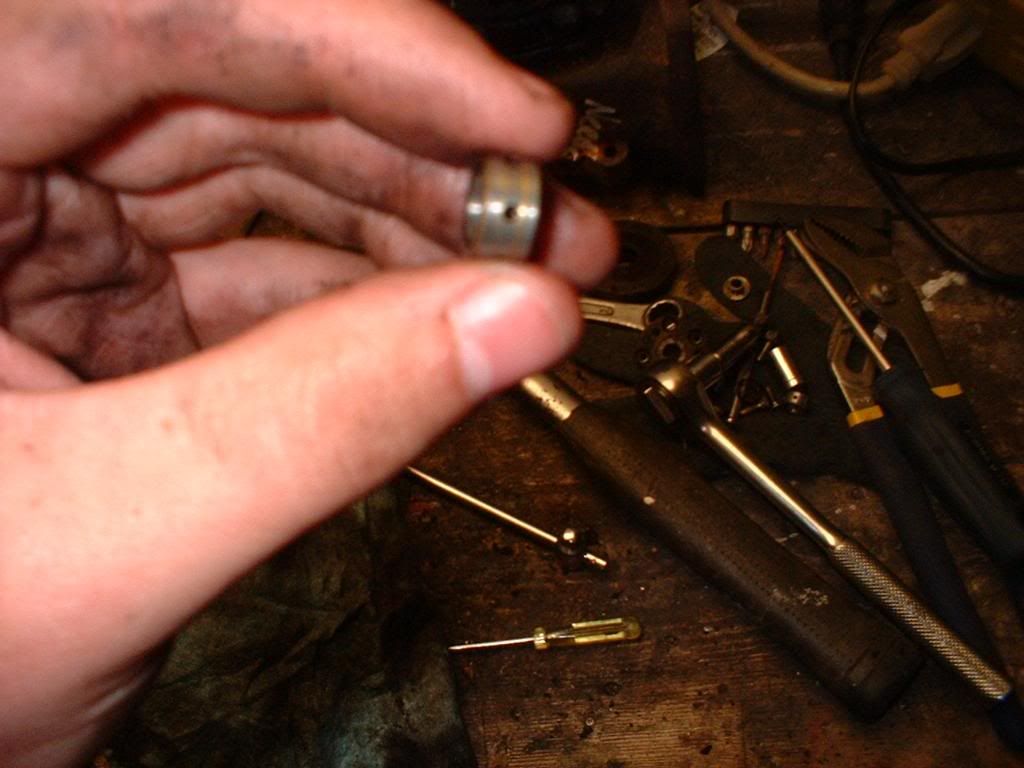
Heres the plate removed and the dynamic seal in my hands, the way it's installed in the plate
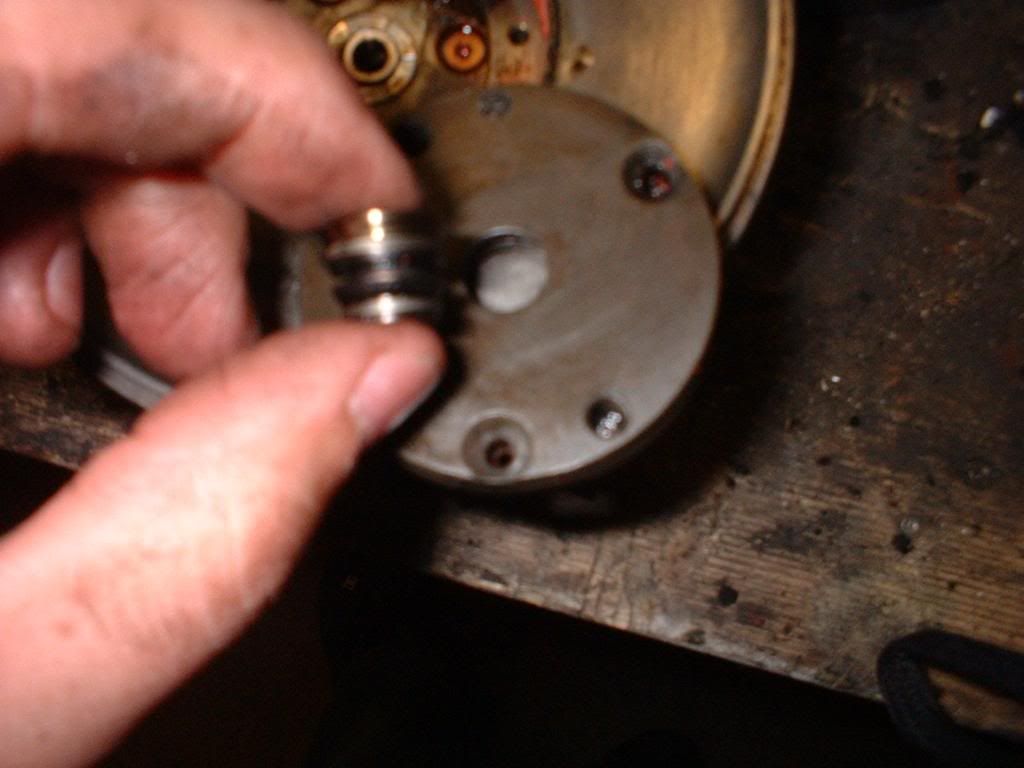
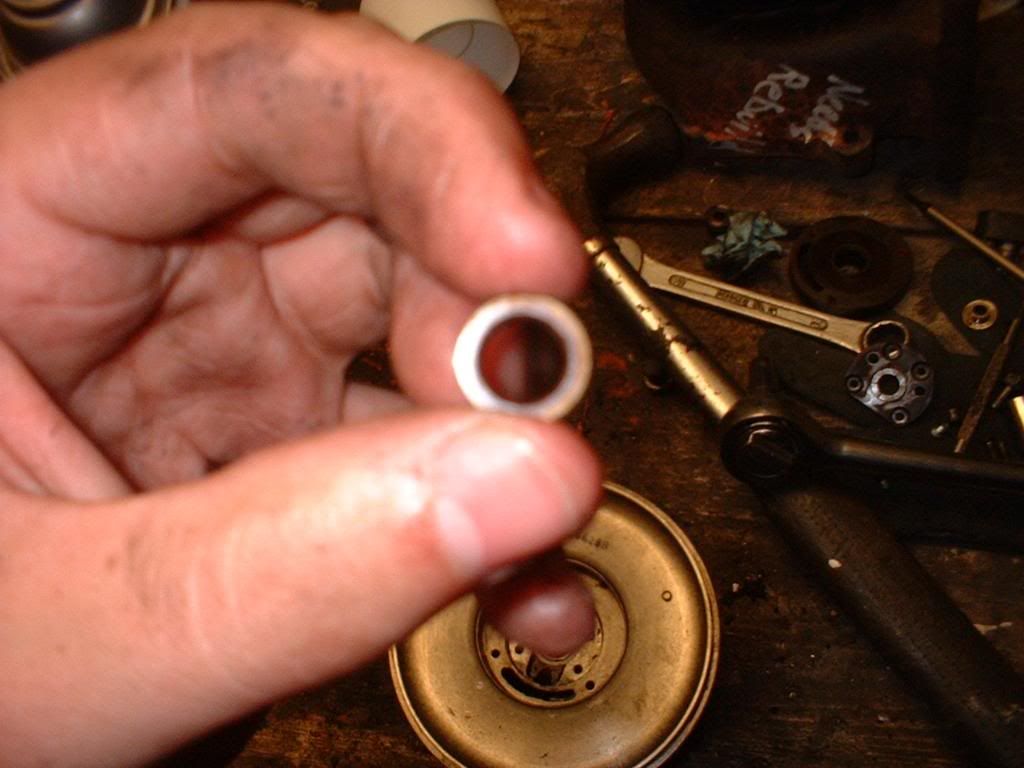
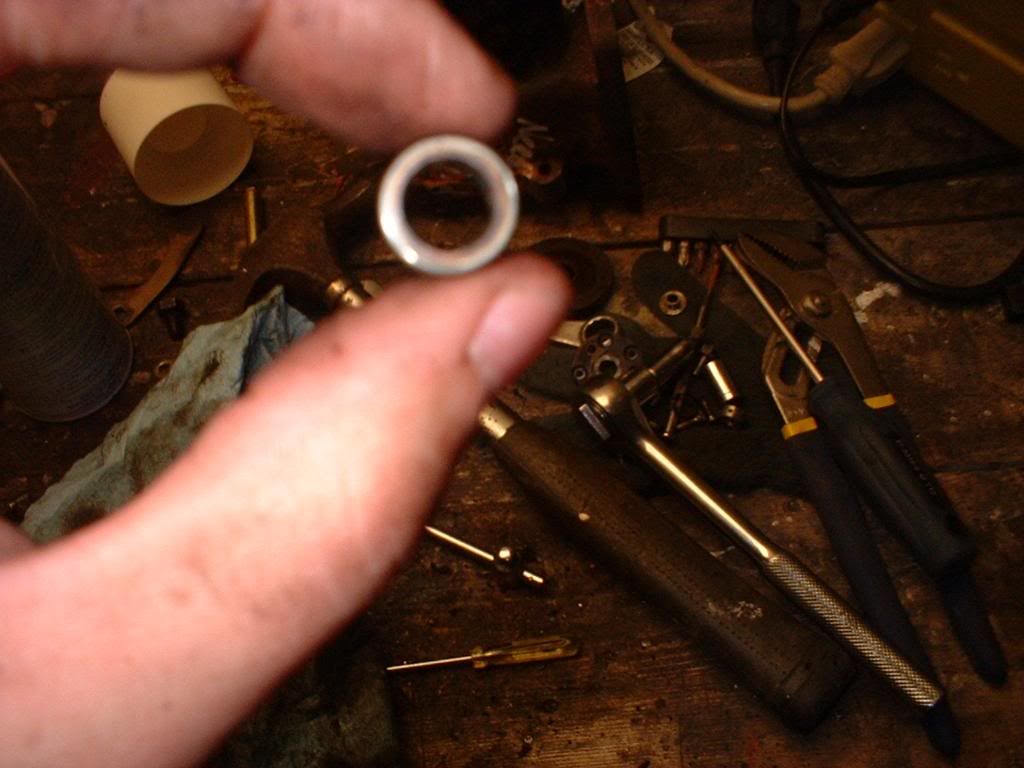
Side view of the dynamic seal bushing. It has two rings, one at the front and one at the back that stops the oil from making its way to the inet of the turbo. Most of the time you want to replace these rings when you do a rebuild as well

Back view of the dynamic seal bushing (showing some wear) and the back of the plate as well
Thrust plate held in with 4 torex screws, again, use the hammer trick to make them easier to remove
Front view of the thrust surface, it's worn down, defenatly needs to be replaced
Back view, again is worn down, and needs to be repaced
Busing that rides behind the thrust plate and helps keep the impeller shaft centered
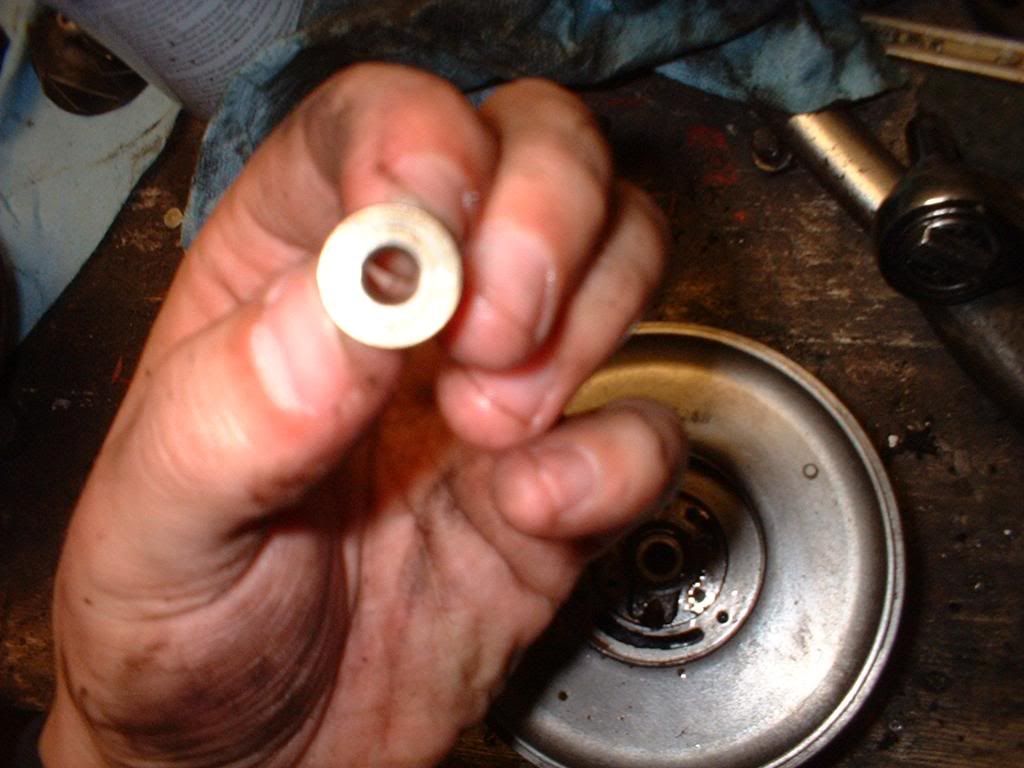
Trying to show the wear on the backside of the bushing

Front side bearing, it has no snap ring because the bushing held it in place
Bearing removed

Front bearing has lots of wear and tear, needs to be replaced and the surface it rides in should/needs to be machined out
03-06-2009, 08:23 PM
#3
6th Gear Member
Thread Starter
Join Date: Sep 2006
Location: Regina Beach, Sask
Posts: 9,991

Rear bearing is held i with a tiny snap ring, easy to remove but a PITA to put back in. This bearing also shows huge wear, so it wil need to be machined out aswell.
Do the reverse to re-install all the new parts, making sure to soak the new bearing in oil, and clean all the carbon buildup off the ring surfaces.
When you fire your car up with a brand new/rebuilt turbo, DON'T HIT THE GAS FOR 20 MINUTES AT LEAST! this allows all the internals of the turbo to seat themselves and "break in" the turbo.


Thread
Thread Starter
Forum
Replies
Last Post