How To: Repin your harness
 04-17-2008, 07:30 PM
#1
6th Gear Member
Thread Starter
Join Date: Sep 2006
Location: Regina Beach, Sask
Posts: 9,991
How to re-pin a harness. I'm using a 1989 harness from a 2.3 manual car. It should be the same for a 1987-1990 mustan with either a auto or manual transmission (since its only the computer to engine bay harness)
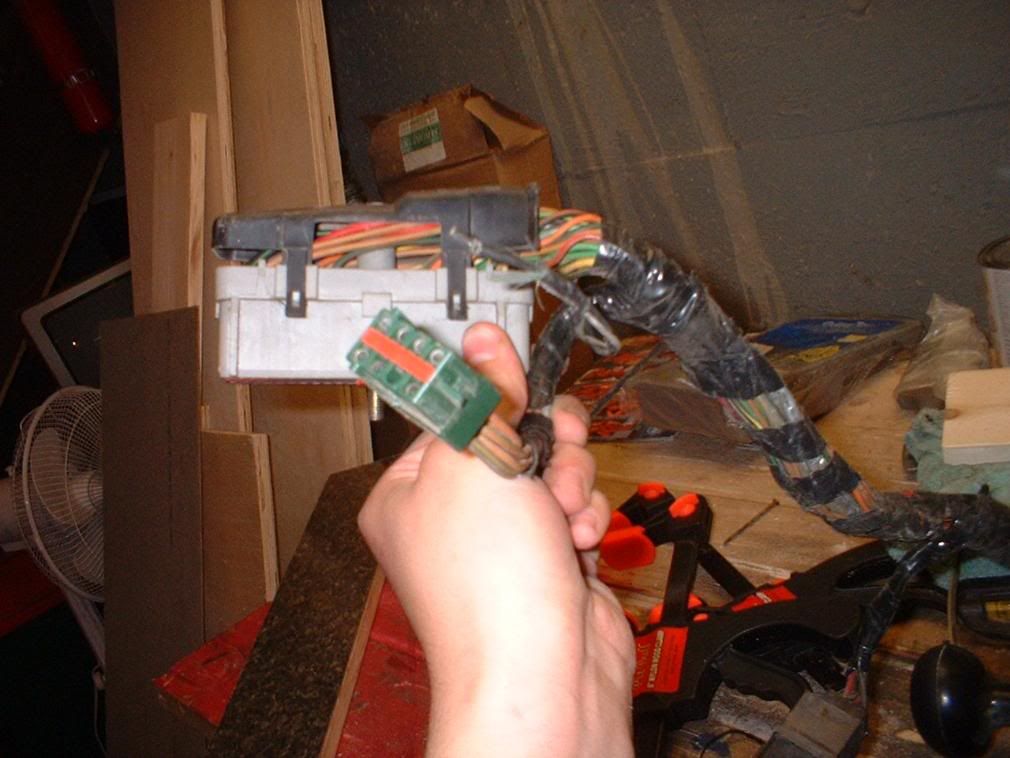
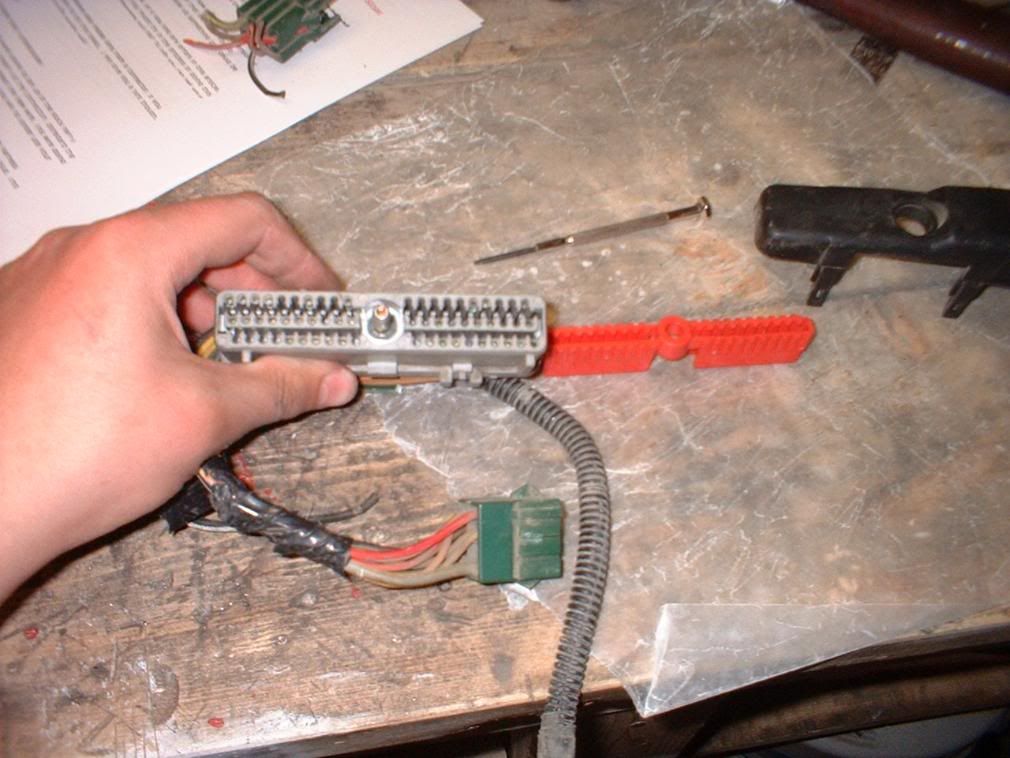
This is a wiring harness out of a 1987-1990 mustang 2.3. Its the computer to engine bay harness.

The protective black case on top helps stop the pins from backing out and also protechs them from rubbing on metal and shorting out.
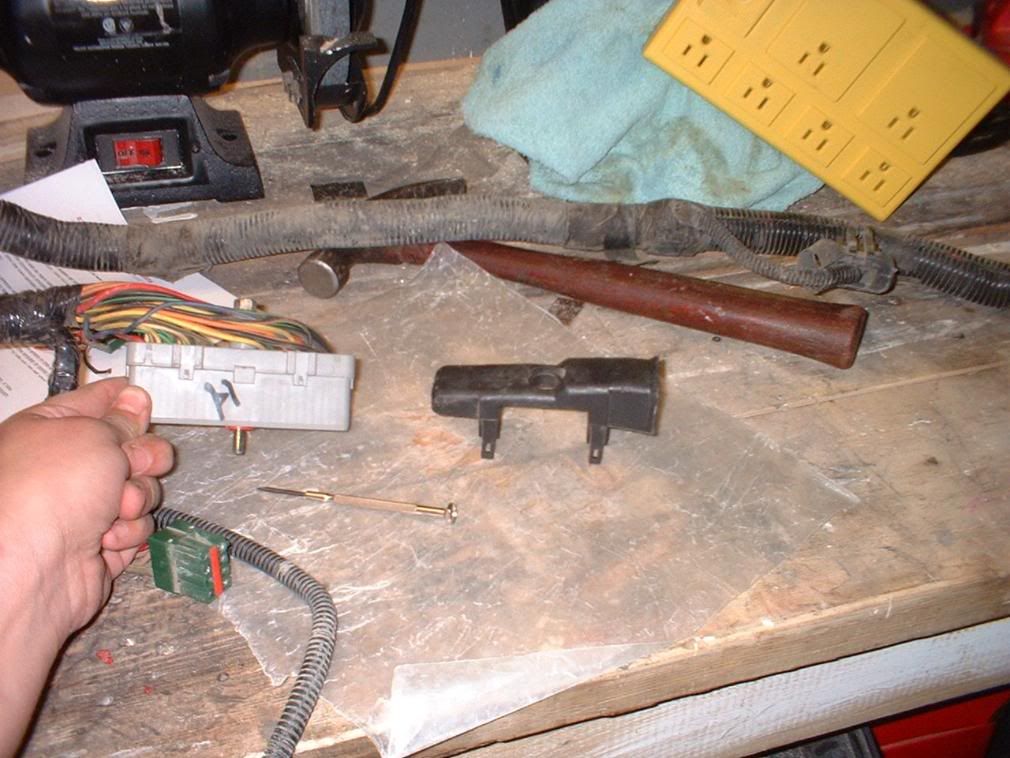
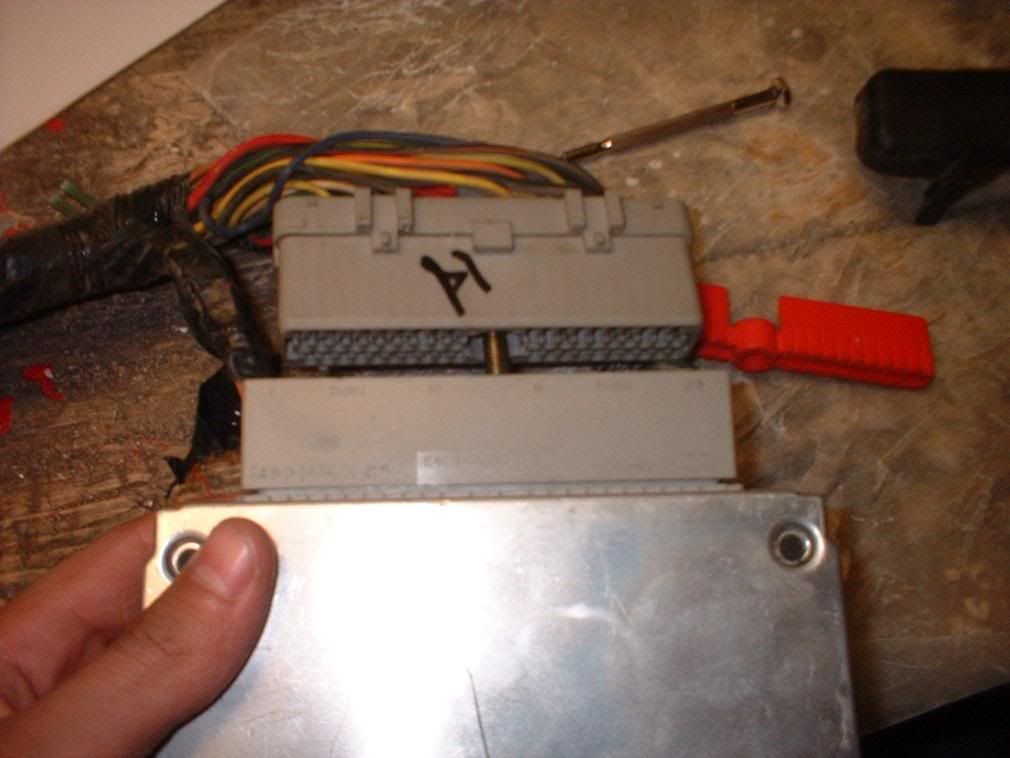
Here I took the case off to get at the pins using a small screw driver.
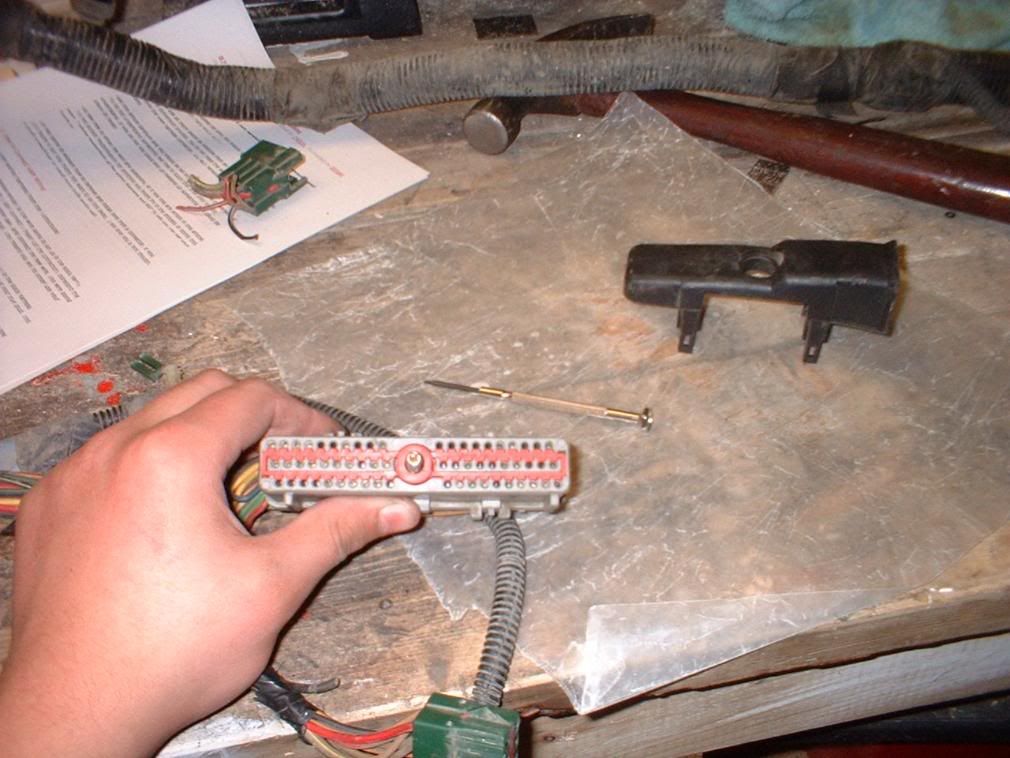
Another way of keeping the pins in is this red casing. Remove it using a small flat headed screw driver with a back and forth motion (like in the next picture)

The inner casing has been removed, and now the pins are ready to be removed.
**Make sure to number what side has what number of pin to make it easier to see where the pins go (trust me, this helps alot because then you don't have to move the harness back and forth between yourself and the computer).

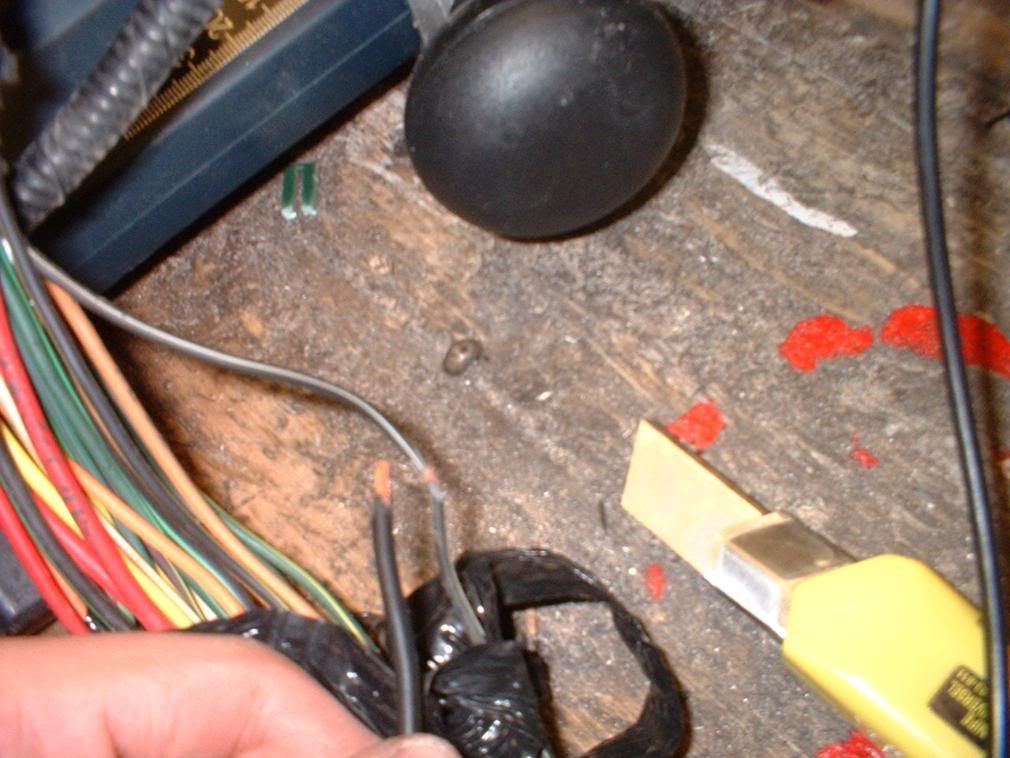
I found using a small zip tie works well for taking the pin out without damaging it in any way shape or form.


List what color wire is going to do what (stops you from getting confused and wiring it incorrecty)(Quilty of doing that)
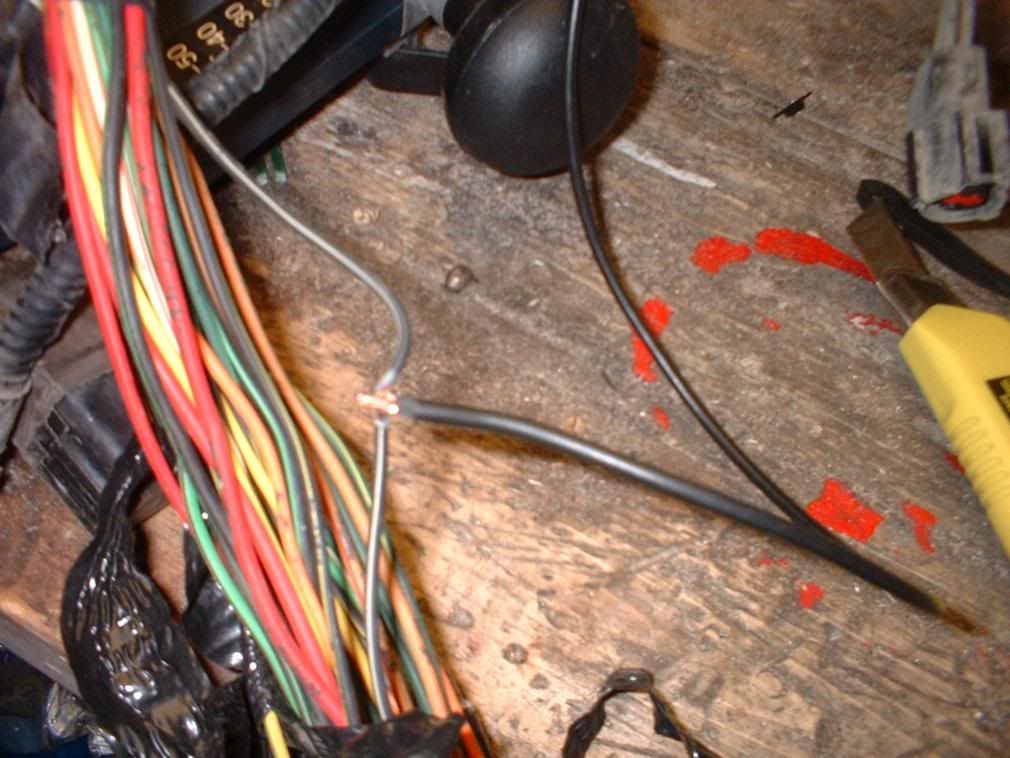
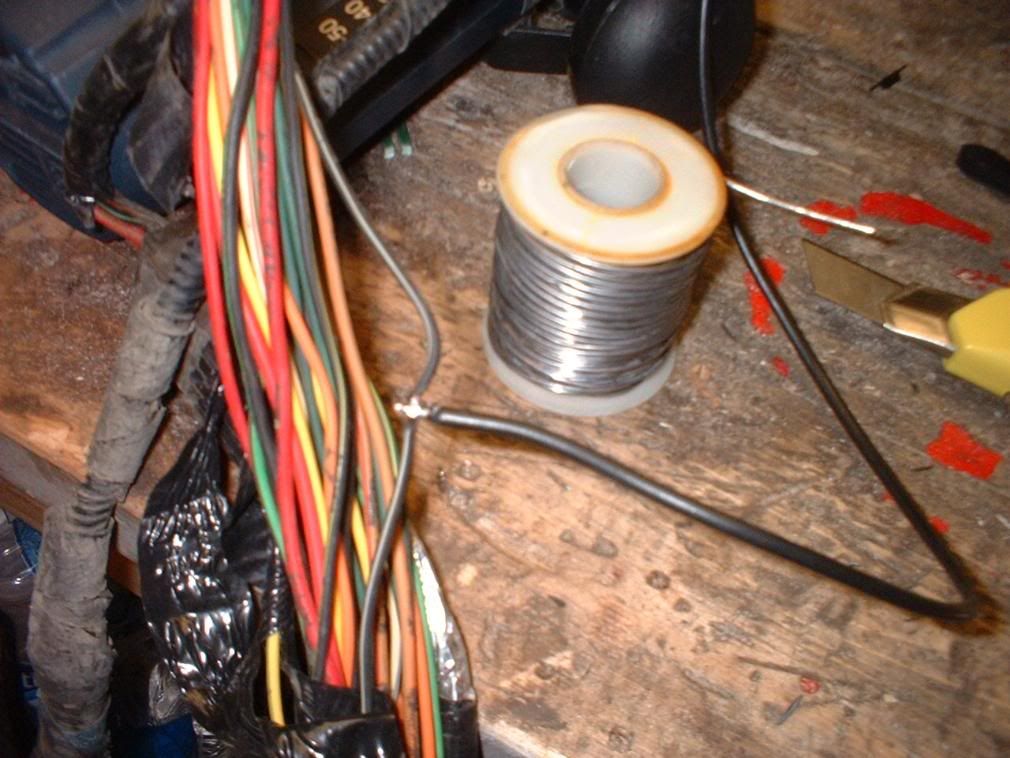
This is how I joined the two wires without cutting a connection. Stip the insolation off the wire being connected (about a 1/4") then strip and cut about the same from the wiring being connected to. Then solder the joints together, and then tape to keep them from touching, causing them to short out.

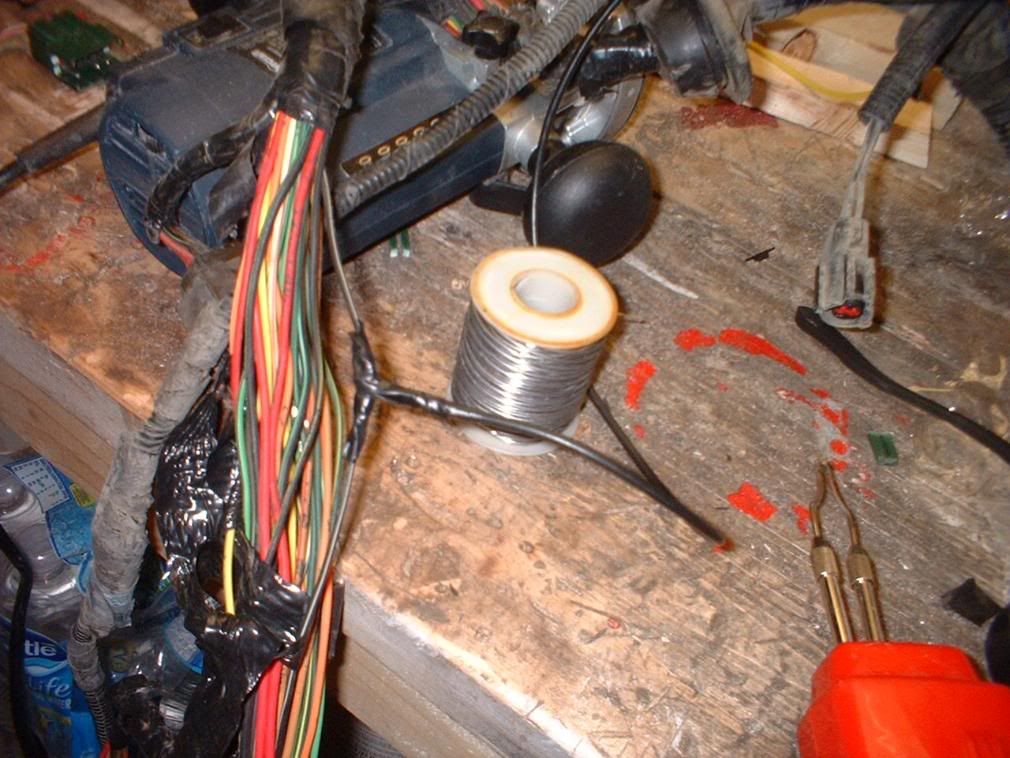
Since my wiring harness was out, I connected them higher up to make it cleaner and look stock(ish).
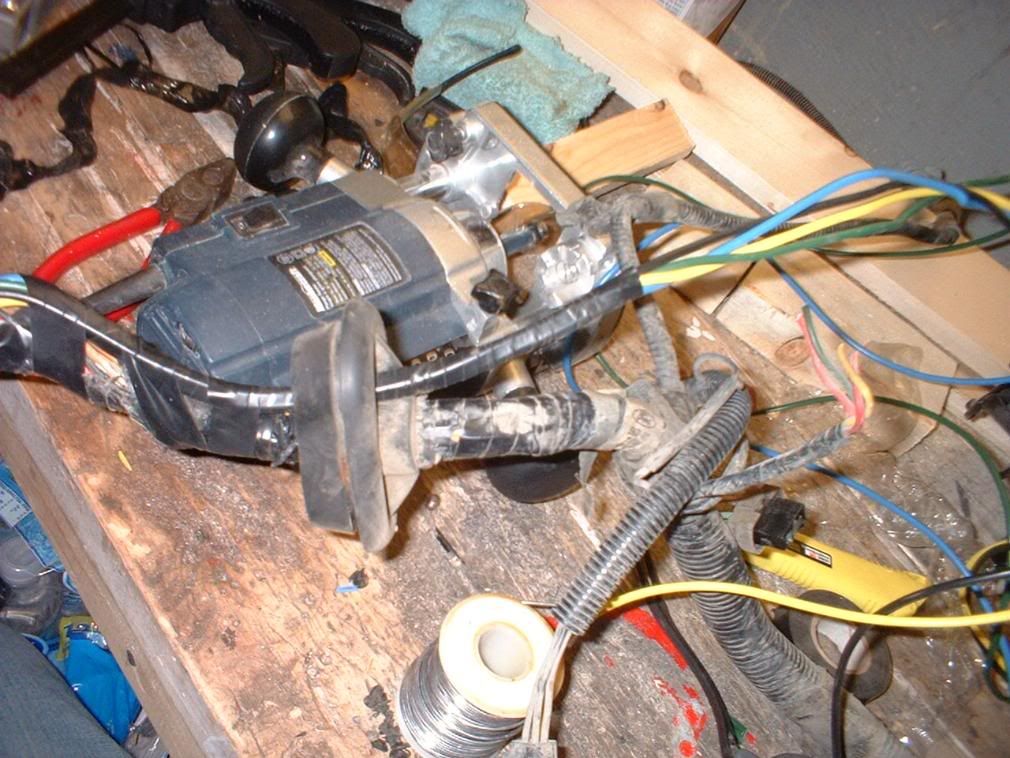
Had to drill a hole through the gromit because of the gauge of wiring I used, but its also a blessing because it made it easier to move the wiring closer to the wall for a mounting point.

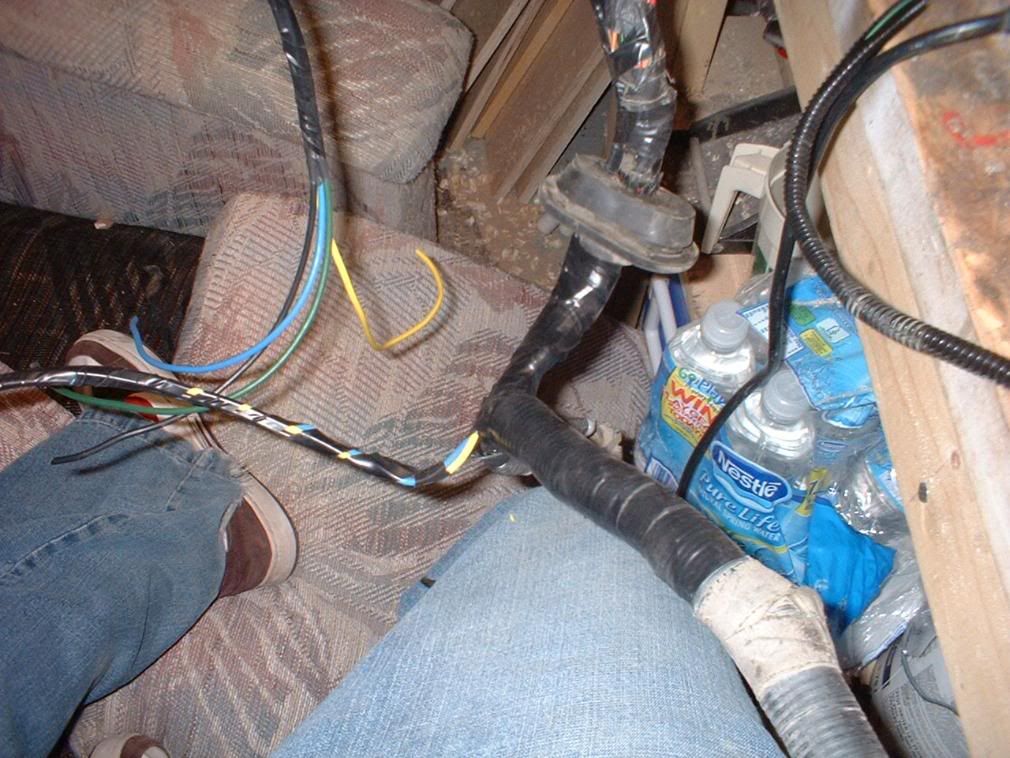
I also deleted my A/C condenser and clutch lines since I longer want A/C
Wiring all together and ready to be installed
This is a wiring harness out of a 1987-1990 mustang 2.3. Its the computer to engine bay harness.
The protective black case on top helps stop the pins from backing out and also protechs them from rubbing on metal and shorting out.
Here I took the case off to get at the pins using a small screw driver.
Another way of keeping the pins in is this red casing. Remove it using a small flat headed screw driver with a back and forth motion (like in the next picture)
The inner casing has been removed, and now the pins are ready to be removed.
**Make sure to number what side has what number of pin to make it easier to see where the pins go (trust me, this helps alot because then you don't have to move the harness back and forth between yourself and the computer).
I found using a small zip tie works well for taking the pin out without damaging it in any way shape or form.
List what color wire is going to do what (stops you from getting confused and wiring it incorrecty)(Quilty of doing that)
This is how I joined the two wires without cutting a connection. Stip the insolation off the wire being connected (about a 1/4") then strip and cut about the same from the wiring being connected to. Then solder the joints together, and then tape to keep them from touching, causing them to short out.
Since my wiring harness was out, I connected them higher up to make it cleaner and look stock(ish).
Had to drill a hole through the gromit because of the gauge of wiring I used, but its also a blessing because it made it easier to move the wiring closer to the wall for a mounting point.
I also deleted my A/C condenser and clutch lines since I longer want A/C
Wiring all together and ready to be installed

