my afr 165 wont clear my speed pro piston
 04-13-2008, 10:09 PM
#1
2nd Gear Member
Thread Starter

Join Date: Nov 2006
Location:
Posts: 395
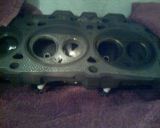
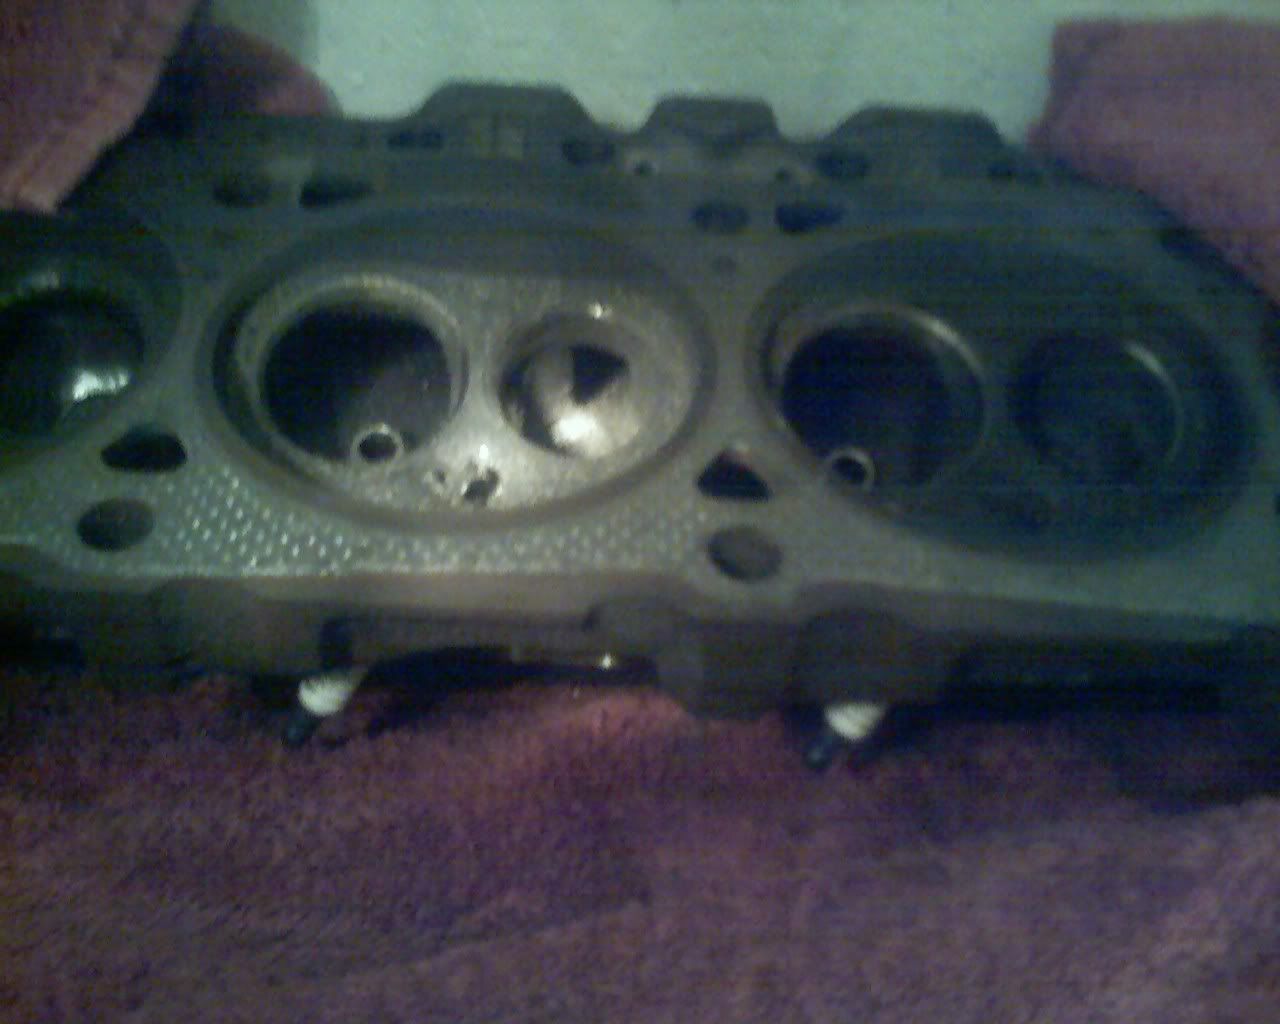
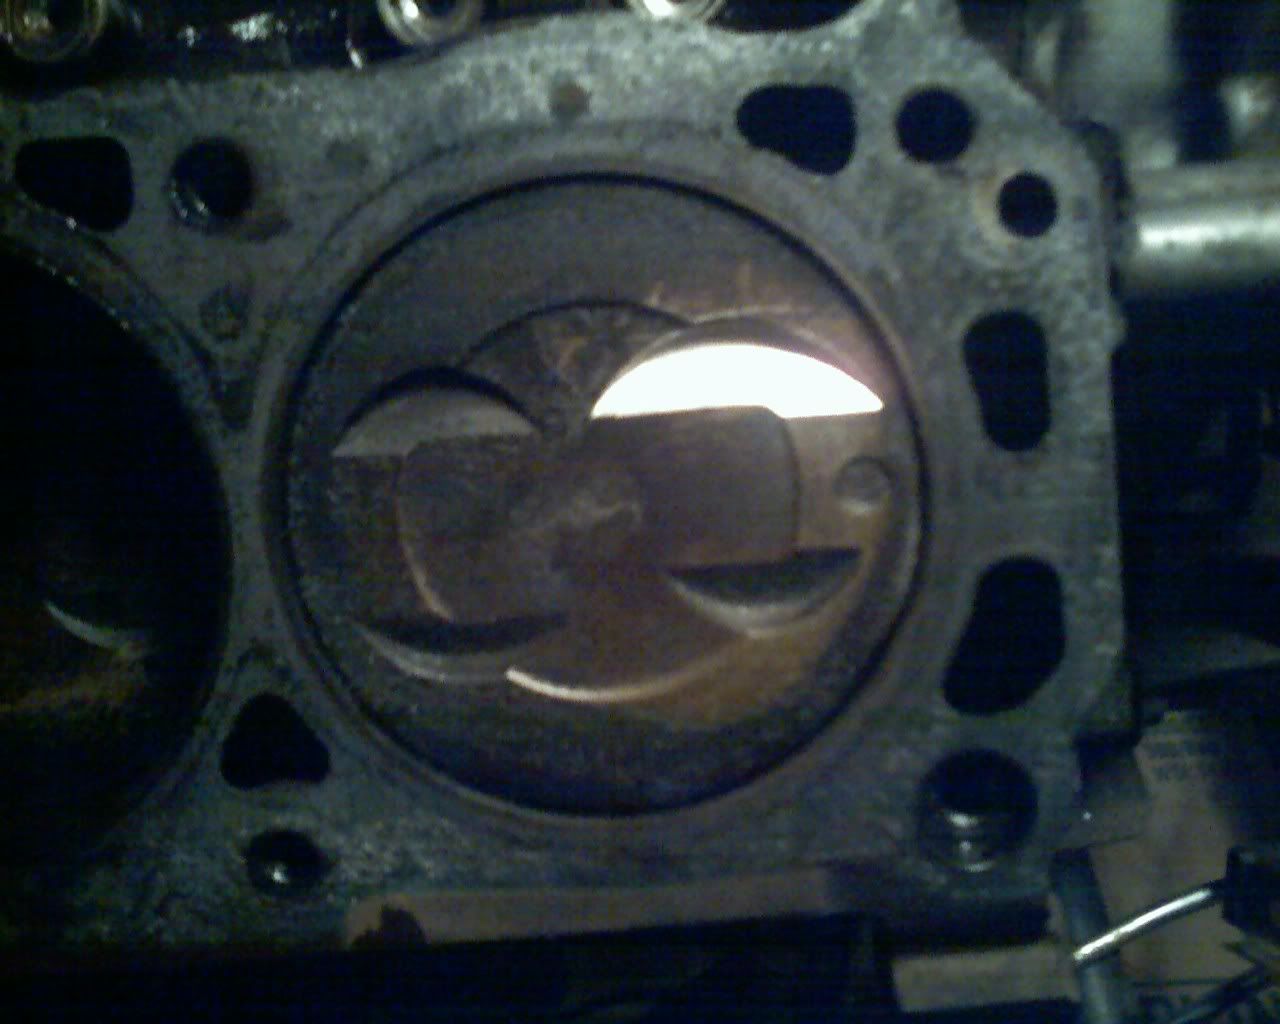
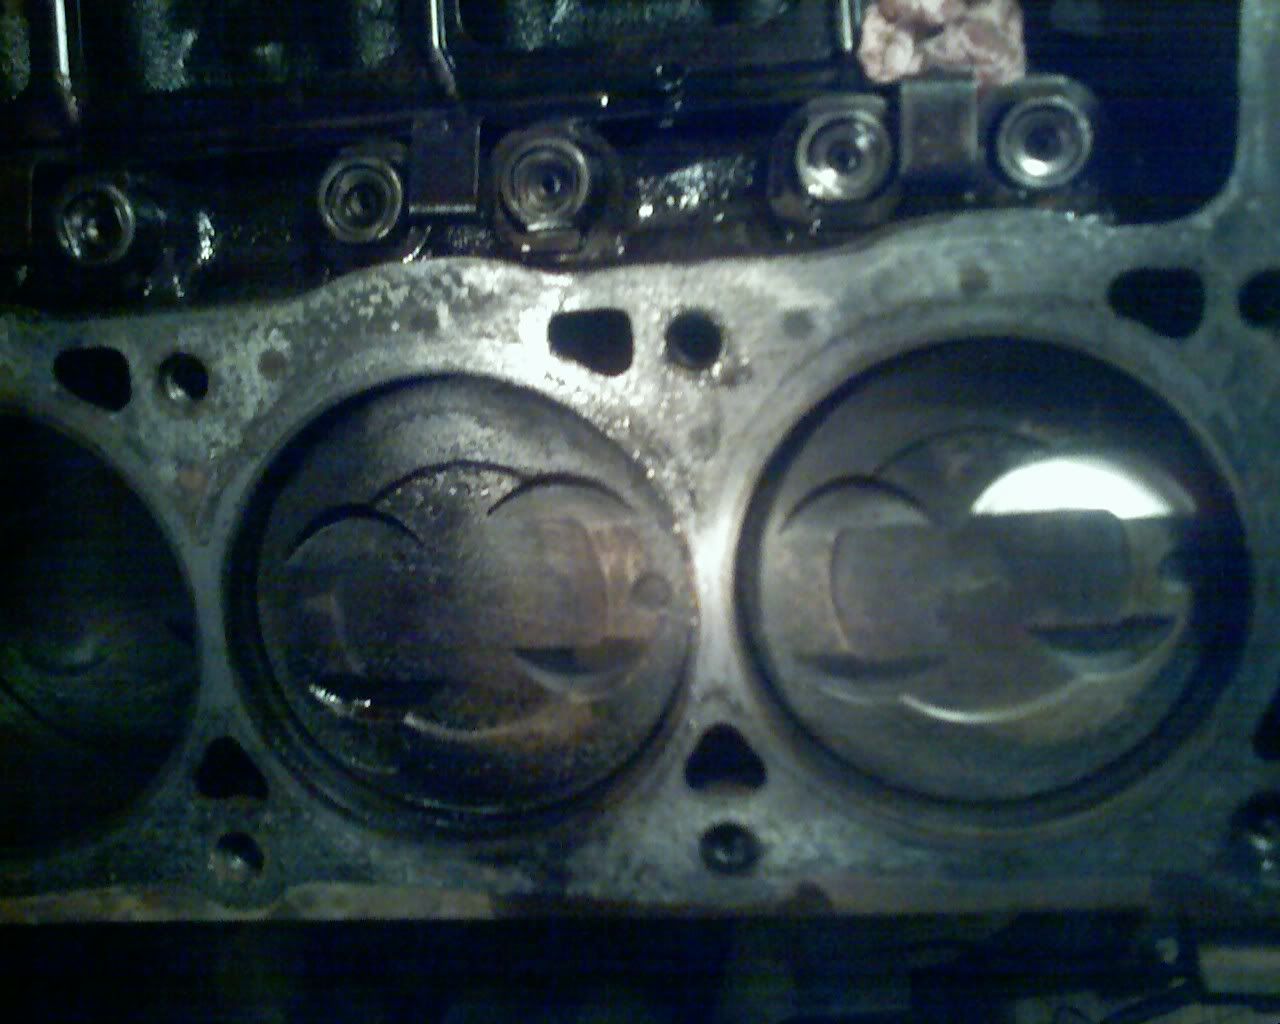
frist off what sould ido install thicker head gasket or notch the speed pro piston.my problem is i bought the 91 stang about 1 1/2 years ago and i didnt know anything about the engine.
taking it apart i found that it has a trickflow cam and .030 speed pro flat top pistons. so i installed my afr heads and my valve wont clear my piston.so i switch the 1.7 rocker with my 1.6 same thing happens. so what sould i do. need response A.S.A.P .
taking it apart i found that it has a trickflow cam and .030 speed pro flat top pistons. so i installed my afr heads and my valve wont clear my piston.so i switch the 1.7 rocker with my 1.6 same thing happens. so what sould i do. need response A.S.A.P .
 04-13-2008, 10:18 PM
#2
3rd Gear Member
Join Date: Feb 2008
Location: Florida
Posts: 836
You need to flycut the piston. DO NOT install a thicker gasket, increased quench height will increase detonation.
Here is a how to, courtesy of fidstang from s b f tech:
How to notch for larger valves while the piston(s) are still in the block.
1- You must determine the size of the valve you will be going to.
When you are going from stock size to a larger valve. You will need a tool that is slightly larger in diameter then the valve face.
2- Go onto the Isky cams website and order the notching tool in the size you need. If going to a 2.02 valve you must use the part # PNT-216 which is a 2-1/16” cutting face.
If you are unsure of the tool sizing you need, just call Isky and they will help you choose.
http://www.iskycams.com/iskycategory_search.php?sub_category_id=133
3- You will need to order the correct pilot for your application. Sense we are using Ford heads (or your on the wrong forum) it will be the 11/32 pilot or part# NP-11/32.
4- A good valve spring compressor will be needed in order to remove the larger valve from the new head. http://www.partsamerica.com/ProductD...tnumber=T70032
http://www.partsamerica.com/ProductDetail.aspx?categorycode=3491&mfrcode=A PO&mfrpartnumber=T70034 I found it easier to remove both the intake and exhaust valves. That will be up to you. You may have interference from the exhaust valve/spring while notching the rear most pistons. It also allows you to use a shop vacuum through the exhaust port to minimize the metal shavings settling in between the piston and cylinder walls.
*Remember, you only have to use one cylinder head to do this job. So don’t disassemble both heads. Also, keep the valves, retainers, springs and seats/cups in the order they were disassembled if reusing the old components.
5- Use a old cylinder head gasket for the notching work being performed. This allows the user to get a accurate cut on the depth of the relief. This is due to the old gasket already being compressed to the correct height during installation. Because the notching work does not require you to fully tighten all of the head bolts/studs to spec.
6- Once the head is disassembled and the tool is ready to go into the valve guide. First apply a liberal amount of high temperature grease onto the pilot of the tool before inserting into the valve guide. You only need to cover 2/3 of the pilots shaft as the other 1/3 will be exposed in the bowl of the head. You will also need to repeat this for every new piston you notch in order to minimize the chance of scratching the valve guide during the cut.
7- Now you will need to determine the depth of the cut you will be making to allow proper clearance of the valve with you camshaft choice. This is where the piston to valve clay check you performed before ordering this tool will come into play. If you haven’t done so already you will need to do this before continuing (you will also be banned from the site for not listening and being a dumbass J/K!).
8- Once the tool is seated fully into the valve seat. Place the supplied collar that came with the pilot onto the shaft of the pilot. Take a feeler gauge set to the depth you measured short by during you clay check of the piston to valve clearance. The measurement will be between the collar and the top of the valve guide.
If you measured interference at .04” you need an additional .04” of depth to be safe on you clearance for a total of .08” on the intake valve. I would also suggest going a little bit safer with a clearance of .10”.
9- Place the head gasket and head onto the block. Make sure that the piston you are going to be notching is about 1 inch from the top dead center of that cylinder. When the head is on the block do not tighten it down yet. First, rotate the engine (yes, clockwise) until the piston contacts the notching tool and starts to lift it off of the block. Once you reach this point of just contacting the piston onto the tool you can tighten down the head. On the piston that you are notching, use two or three bolts to hold the head into place. That’s all that is needed to keep the head from lifting off of the block.
10- Now to check your collar for correct depth required for clearance. Gently tap the tool down to make sure that the tool is on the piston and that you did not forget to rotate the assembly till contact is made. Measure the gap again and be sure to tighten the collars allen head set screw. You can either use an electric/cordless drill or your hand wrench to turn the tool and make the cut. Many people say that the drill method cuts to fast and is not needed. I had no problems using the drill method and made short work of the cut. Be sure to turn on your shop vacuum and place it in the exhaust port. Place the drill on the pilots end and tighten down. Start your cut.
11- Once the tool has reached its depth, which can be seen by watching the collar make contact with the top of the guide. Remove the drill, then the head and proceed to vacuum out the metal shavings from both the cylinder and combustion chamber. You should see a nice clean cut that extends the factory “eyebrow” at the same location. If the cut you just made is lower then the factory relief notch. You have not brought the piston up to the correct height in the bore.
*Good new is, you can go back and make sure the piston has made contact with the tool or is at TDC.
*The bad news is you now have removed a “X” amount of material that did not need to be removed. You should first measure how far down into the bore the piston is and repeat that cut on each of the 7 remaining pistons. This will ensure that each piston has the same amount of material removed from the piston, and will make for a smoother running engine due to the balance all being equal. Once this is completed you can go back and make the correct cut for each of the pistons.


12- Once the first piston is notched correctly, take the other fully assembled head that you did not disassemble. You check your new notch using the clay method. It may take you a couple of try’s to get a accurate reading due to the clay sticking to the fresh exposed metal from the cut. Try using the grease or motor oil in the new notch to help it peel freely from the metal.
13- If the new notch has adequate clearance and is in the correct location. Proceed on to the remaining 7 cylinders. Be sure to clean and clean and clean the cylinders and chambers. To keep them free of metal shavings and other debris before reassembly.
I found it helpful to bring the piston(s) to the top of the bore. Then use a thin piece of plastic to free some of the shavings that were being stubborn between the cylinder wall and piston above the oil r
Here is a how to, courtesy of fidstang from s b f tech:
How to notch for larger valves while the piston(s) are still in the block.
1- You must determine the size of the valve you will be going to.
When you are going from stock size to a larger valve. You will need a tool that is slightly larger in diameter then the valve face.
2- Go onto the Isky cams website and order the notching tool in the size you need. If going to a 2.02 valve you must use the part # PNT-216 which is a 2-1/16” cutting face.
If you are unsure of the tool sizing you need, just call Isky and they will help you choose.
http://www.iskycams.com/iskycategory_search.php?sub_category_id=133
3- You will need to order the correct pilot for your application. Sense we are using Ford heads (or your on the wrong forum) it will be the 11/32 pilot or part# NP-11/32.
4- A good valve spring compressor will be needed in order to remove the larger valve from the new head. http://www.partsamerica.com/ProductD...tnumber=T70032
http://www.partsamerica.com/ProductDetail.aspx?categorycode=3491&mfrcode=A PO&mfrpartnumber=T70034 I found it easier to remove both the intake and exhaust valves. That will be up to you. You may have interference from the exhaust valve/spring while notching the rear most pistons. It also allows you to use a shop vacuum through the exhaust port to minimize the metal shavings settling in between the piston and cylinder walls.
*Remember, you only have to use one cylinder head to do this job. So don’t disassemble both heads. Also, keep the valves, retainers, springs and seats/cups in the order they were disassembled if reusing the old components.
5- Use a old cylinder head gasket for the notching work being performed. This allows the user to get a accurate cut on the depth of the relief. This is due to the old gasket already being compressed to the correct height during installation. Because the notching work does not require you to fully tighten all of the head bolts/studs to spec.
6- Once the head is disassembled and the tool is ready to go into the valve guide. First apply a liberal amount of high temperature grease onto the pilot of the tool before inserting into the valve guide. You only need to cover 2/3 of the pilots shaft as the other 1/3 will be exposed in the bowl of the head. You will also need to repeat this for every new piston you notch in order to minimize the chance of scratching the valve guide during the cut.
7- Now you will need to determine the depth of the cut you will be making to allow proper clearance of the valve with you camshaft choice. This is where the piston to valve clay check you performed before ordering this tool will come into play. If you haven’t done so already you will need to do this before continuing (you will also be banned from the site for not listening and being a dumbass J/K!).
8- Once the tool is seated fully into the valve seat. Place the supplied collar that came with the pilot onto the shaft of the pilot. Take a feeler gauge set to the depth you measured short by during you clay check of the piston to valve clearance. The measurement will be between the collar and the top of the valve guide.
If you measured interference at .04” you need an additional .04” of depth to be safe on you clearance for a total of .08” on the intake valve. I would also suggest going a little bit safer with a clearance of .10”.
9- Place the head gasket and head onto the block. Make sure that the piston you are going to be notching is about 1 inch from the top dead center of that cylinder. When the head is on the block do not tighten it down yet. First, rotate the engine (yes, clockwise) until the piston contacts the notching tool and starts to lift it off of the block. Once you reach this point of just contacting the piston onto the tool you can tighten down the head. On the piston that you are notching, use two or three bolts to hold the head into place. That’s all that is needed to keep the head from lifting off of the block.
10- Now to check your collar for correct depth required for clearance. Gently tap the tool down to make sure that the tool is on the piston and that you did not forget to rotate the assembly till contact is made. Measure the gap again and be sure to tighten the collars allen head set screw. You can either use an electric/cordless drill or your hand wrench to turn the tool and make the cut. Many people say that the drill method cuts to fast and is not needed. I had no problems using the drill method and made short work of the cut. Be sure to turn on your shop vacuum and place it in the exhaust port. Place the drill on the pilots end and tighten down. Start your cut.
11- Once the tool has reached its depth, which can be seen by watching the collar make contact with the top of the guide. Remove the drill, then the head and proceed to vacuum out the metal shavings from both the cylinder and combustion chamber. You should see a nice clean cut that extends the factory “eyebrow” at the same location. If the cut you just made is lower then the factory relief notch. You have not brought the piston up to the correct height in the bore.
*Good new is, you can go back and make sure the piston has made contact with the tool or is at TDC.
*The bad news is you now have removed a “X” amount of material that did not need to be removed. You should first measure how far down into the bore the piston is and repeat that cut on each of the 7 remaining pistons. This will ensure that each piston has the same amount of material removed from the piston, and will make for a smoother running engine due to the balance all being equal. Once this is completed you can go back and make the correct cut for each of the pistons.
12- Once the first piston is notched correctly, take the other fully assembled head that you did not disassemble. You check your new notch using the clay method. It may take you a couple of try’s to get a accurate reading due to the clay sticking to the fresh exposed metal from the cut. Try using the grease or motor oil in the new notch to help it peel freely from the metal.
13- If the new notch has adequate clearance and is in the correct location. Proceed on to the remaining 7 cylinders. Be sure to clean and clean and clean the cylinders and chambers. To keep them free of metal shavings and other debris before reassembly.
I found it helpful to bring the piston(s) to the top of the bore. Then use a thin piece of plastic to free some of the shavings that were being stubborn between the cylinder wall and piston above the oil r
04-14-2008, 01:22 AM
#3
6th Gear Member

Join Date: Apr 2007
Location: California
Posts: 10,468
I would think the 1.90 valves should clear. You might also want to check to make sure the valves are adjusted correctly. If they're overtightened then the valves will hang open more than they should. I'd check that first before you start ripping stuff apart. If the valves are adjusted correctly, then it's time to pull stuff apart and flycut.
04-14-2008, 07:12 AM
#4
5th Gear Member
Join Date: Jan 2006
Location: Puerto Rico
Posts: 3,926
Flattop pistons as in no valve relieves? .... if they have the valve relieves, suggest to check what is causing the problem like 67mustang302 suggested above..... what "trickflow" cam do you have installed?......
04-14-2008, 09:58 AM
#5
6th Gear Member
Join Date: Jan 2006
Location: new jersey
Posts: 6,635
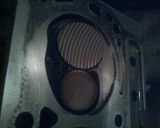
he is running into the same problem as every 86 5.0 out there....they have flat top pistons which sucks. every other 5.0 has notched pistons for valve clearence so obviously he needs to notch the pistons out.
04-14-2008, 10:45 AM
#6
2nd Gear Member
Thread Starter
Join Date: Nov 2006
Location:
Posts: 395
ok the cam that im running is the trickflow stage one. the piston that i have is speed pro that has 4-valve notch. currently have afr 1472 heads pedestal rockers.
04-14-2008, 03:33 PM
#8
2nd Gear Member
Thread Starter
Join Date: Nov 2006
Location:
Posts: 395
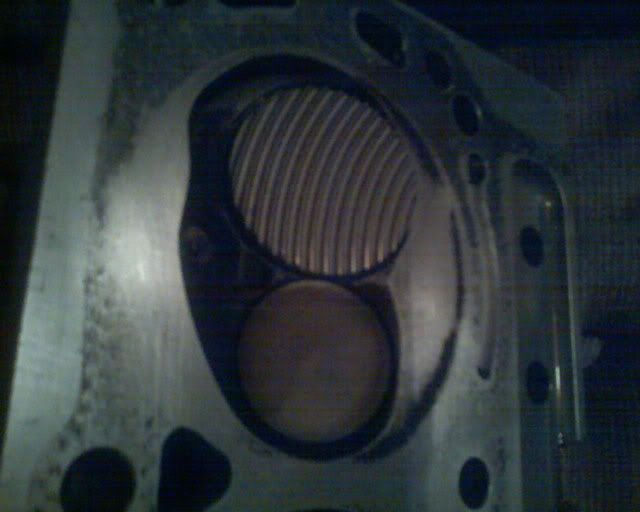
ok i remove the heads again and notch the piston to 2.08 with one of my friends isky tool and it clears without a gasket thank god.so will reassemble the engine and see how it runs.
04-18-2008, 04:59 PM
#9
2nd Gear Member
Thread Starter
Join Date: Nov 2006
Location:
Posts: 395
ok here is the update of my project currently install everything and have a video for all to see. oh almost forgot to mention the timming in the video was off by one. fix the problem and love the extra power
http://youtube.com/watch?v=thBovf32yLM
http://youtube.com/watch?v=thBovf32yLM

Thread
Thread Starter
Forum
Replies
Last Post
JoshyGT
S550 2015-2023 Mustang
16
09-19-2017 08:52 PM
mungodrums
Suspension
0
09-07-2015 07:22 PM