Detailed: 2001 Bullitt
 05-06-2014, 01:55 PM
#1
Former Sponsor
Thread Starter

Join Date: Mar 2014
Location: Colorado
Posts: 203
Good Morning!
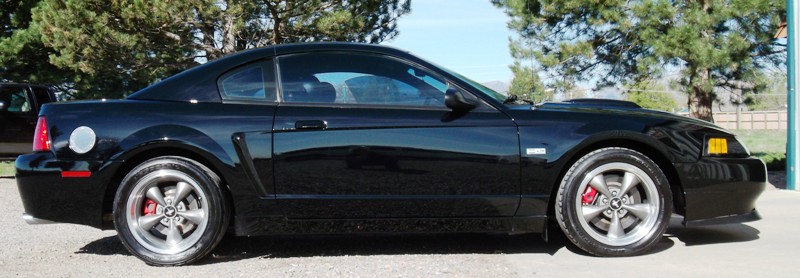
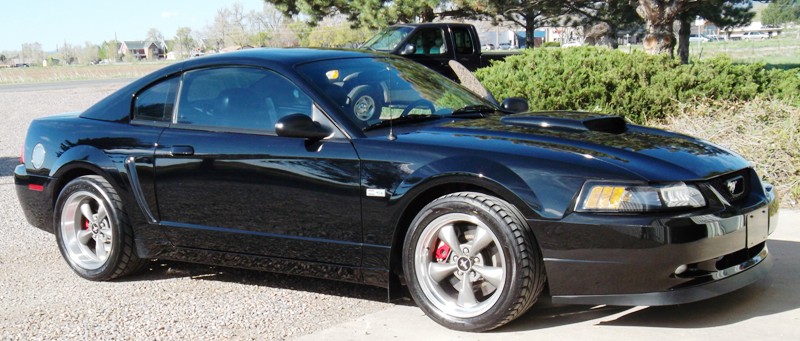
I had the opportunity last week to spend some time on a 2001 Bullitt Mustang. Black in color, swirls and some of the hardest water I've ever seen pretty far down into the clear coat. Aside from that, the car was in really good shape when it showed up to my studio. Below you will find some pictures and products used that help me take this Mustang from the ashes back to glory.
Upon Arrival:
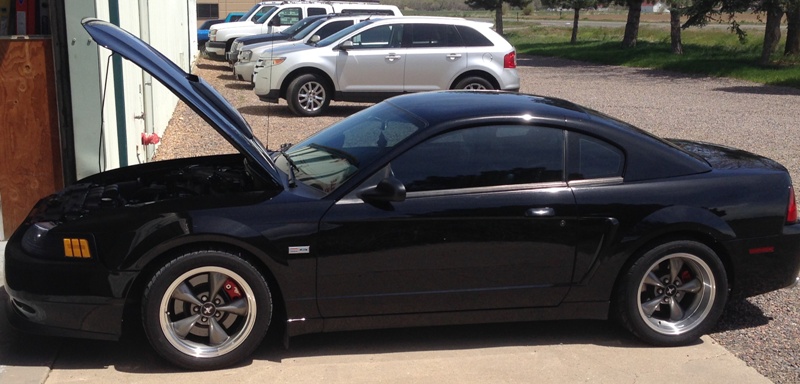
In addition to some of the heaviest water etching I've ever seen in my life, there were a fair amount of swirls covering the finish as well.
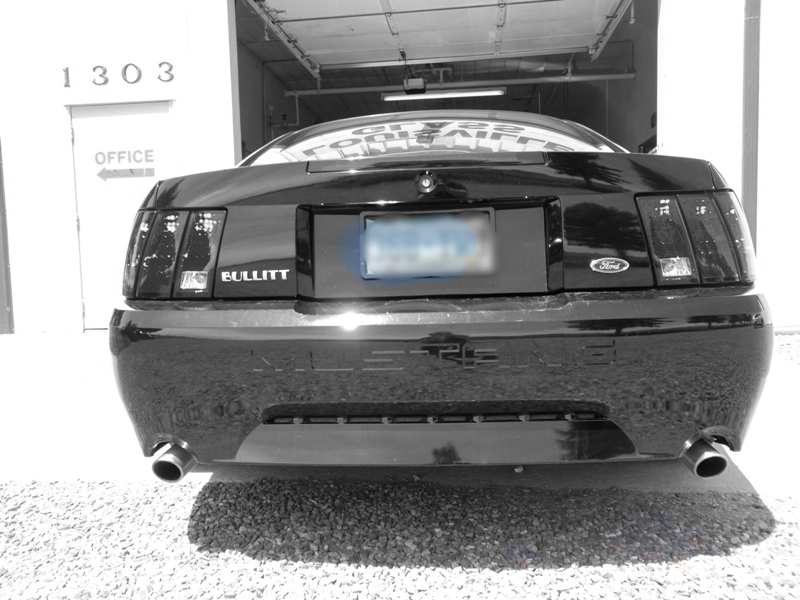
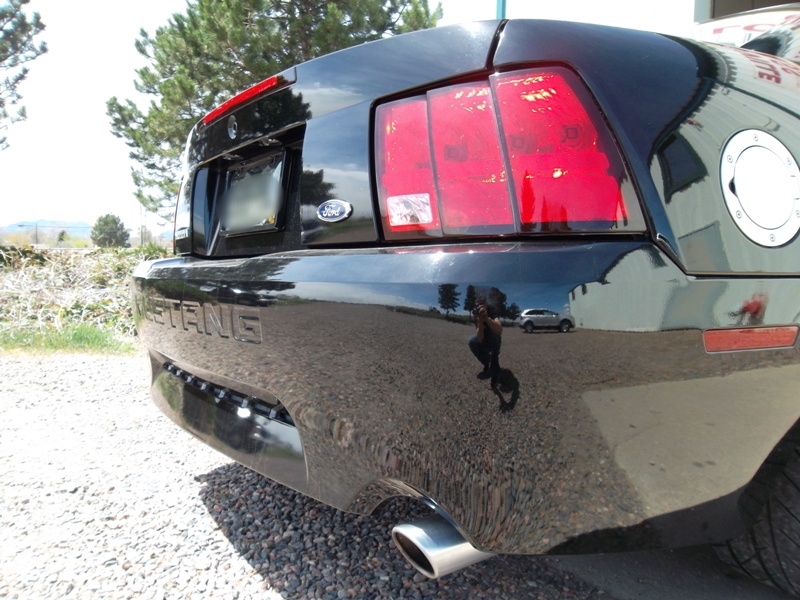
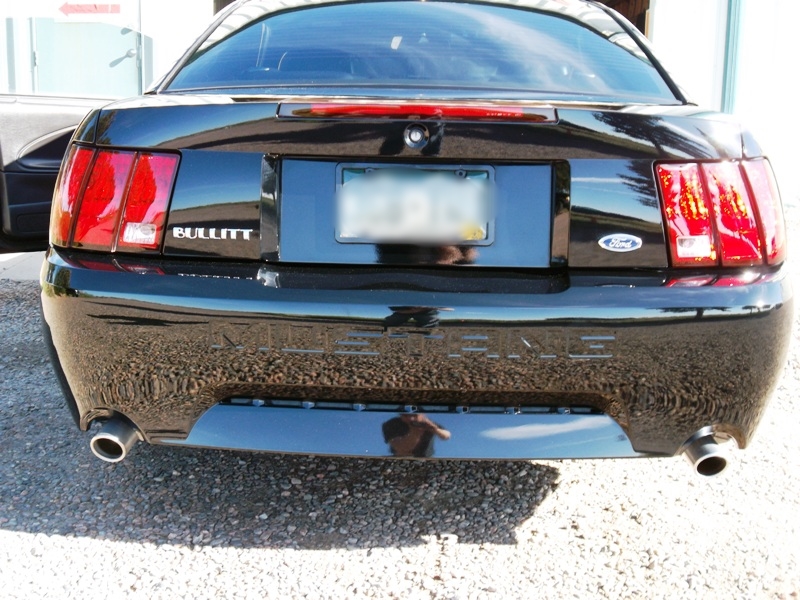
The rear of this car was probably the worst. Those with a similar year Mustang can relate with the GIANT dirt and debris trap that is the top of the rear bumper cover. Tips needed some attention too.
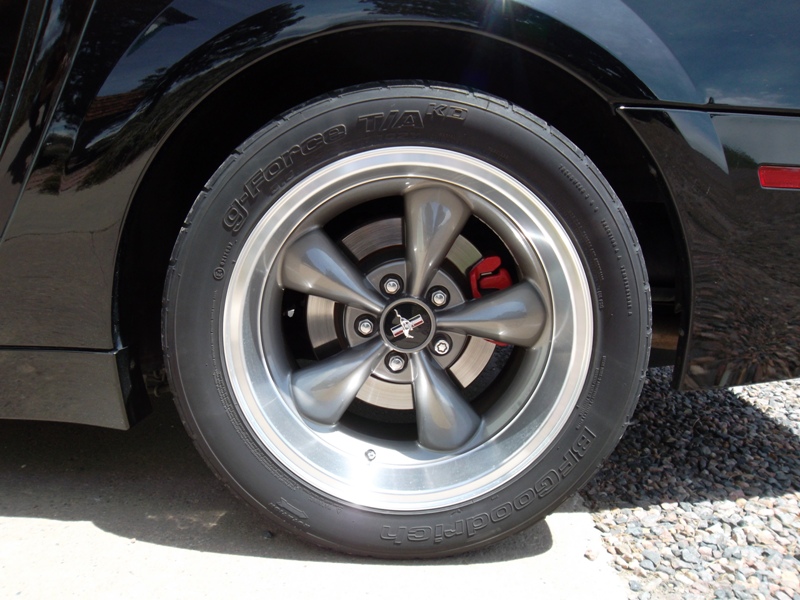
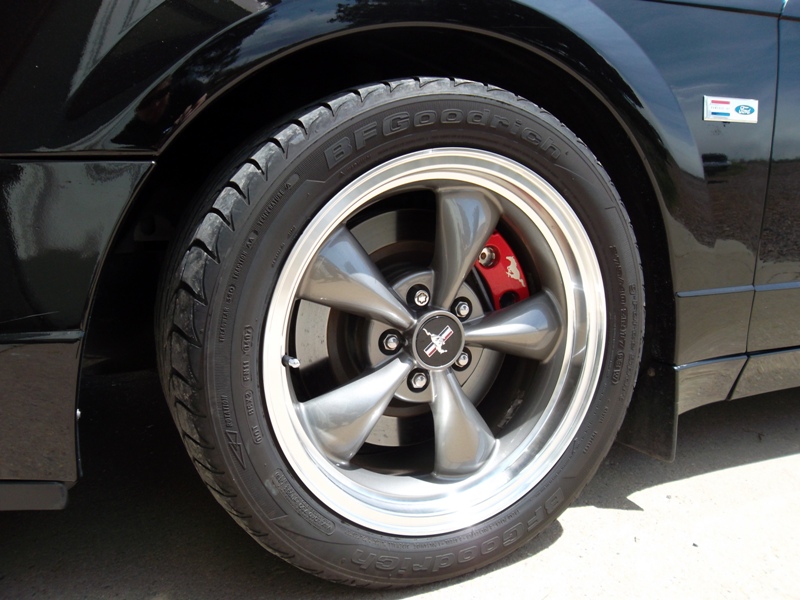
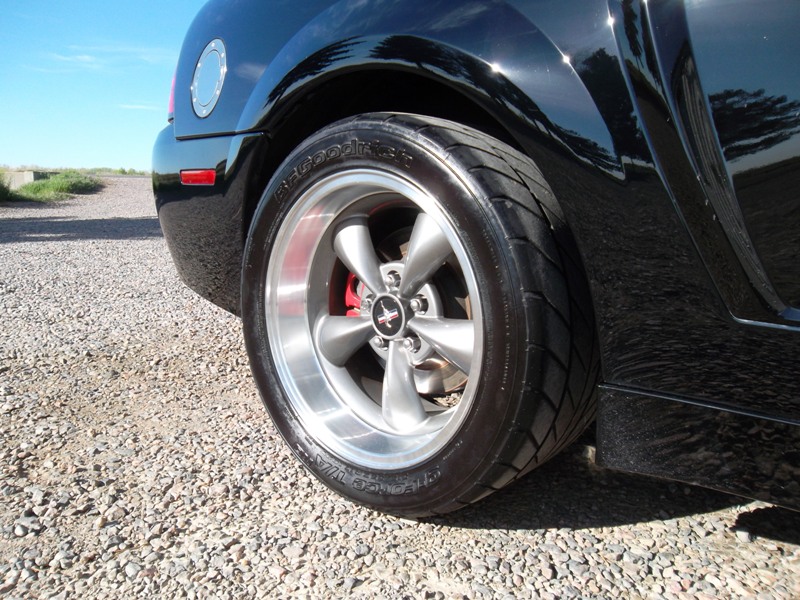
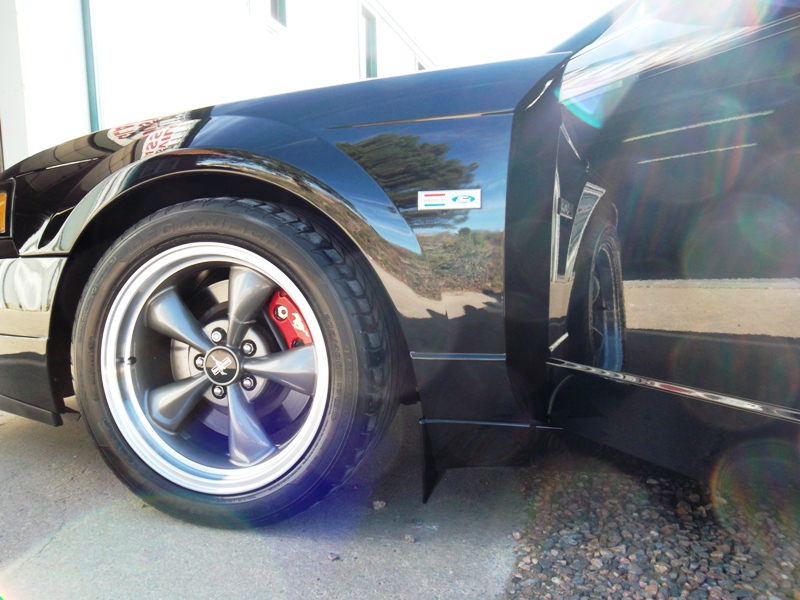
The Wheels and Tires weren't too bad. They would be cleaned, polished, and dressed.
To go along with the sad paint, the trim all over the car was heavily contaminated and oxidized.
I'll venture to say, pre-detail, this is the best part of the car.
Continued in more posts...
I had the opportunity last week to spend some time on a 2001 Bullitt Mustang. Black in color, swirls and some of the hardest water I've ever seen pretty far down into the clear coat. Aside from that, the car was in really good shape when it showed up to my studio. Below you will find some pictures and products used that help me take this Mustang from the ashes back to glory.
Upon Arrival:


In addition to some of the heaviest water etching I've ever seen in my life, there were a fair amount of swirls covering the finish as well.


The rear of this car was probably the worst. Those with a similar year Mustang can relate with the GIANT dirt and debris trap that is the top of the rear bumper cover. Tips needed some attention too.

The Wheels and Tires weren't too bad. They would be cleaned, polished, and dressed.


To go along with the sad paint, the trim all over the car was heavily contaminated and oxidized.

I'll venture to say, pre-detail, this is the best part of the car.

Continued in more posts...
 05-06-2014, 02:13 PM
#2
Former Sponsor
Thread Starter
Join Date: Mar 2014
Location: Colorado
Posts: 203
With the preliminary pictures taken and clearly a lot of areas of opportunity identified on the car, it was time to get to work.
What I Did and With Which Products
More continued...
What I Did and With Which Products
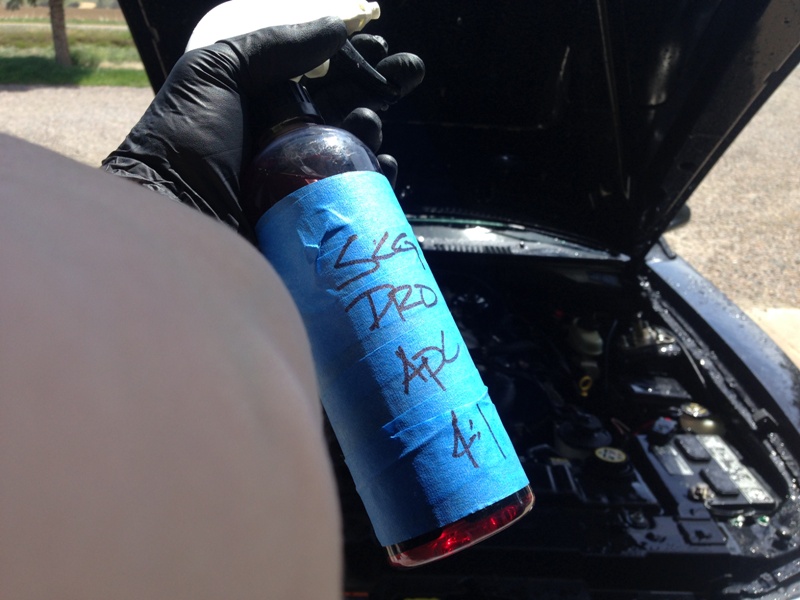
- Cleaned Engine Bay with Boar's Hair Brush and SCG Professional APC Concentrate. (4:1)
- Cleaned Tires and Wheel Wells with a stiff-er brush and SCG Professional APC Concentrate. (4:1)
- Cleaned Wheels with a few different Wheel Tools and SCG Professional Active Wheel Cleaner.
- Administered a Two Bucket Wash with Grit Guards, Two forms of Wash Media, a Foam Gun, and SCG Professional Extreme Suds Balanced Wash.
- Mustang was dried with Waffle Weave Microfiber towels and a small blower, that shoots heated and filtered air.
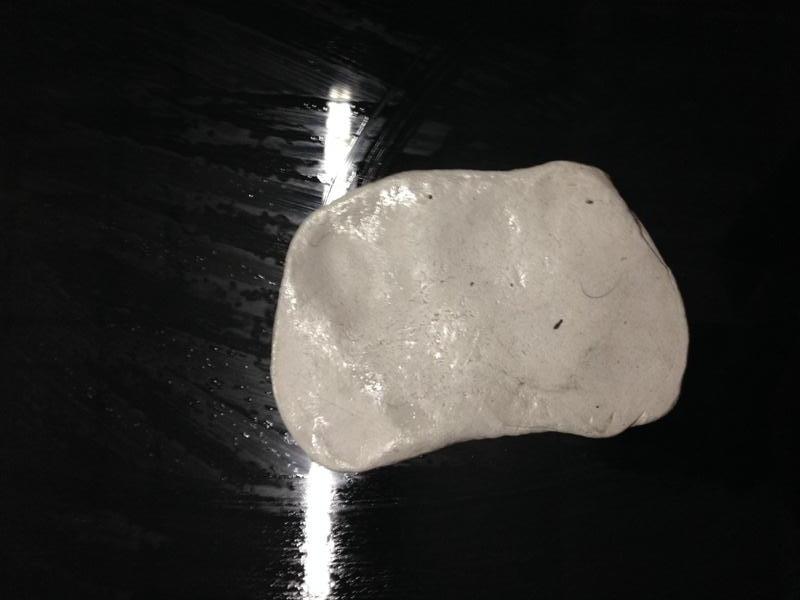
- Paint Decontaminated with fine grade clay bar and SCG Professional Polymer Detail Spray as a lubricant.
- Rubber Trim decontaminated with a Woven Microfiber Cleaning Towel and SCG Professional APC Concentrate. (4:1)
- Wheels polished by hand with a gentile cleaning polish.
- Tires dressed with SCG Professional Tire Dressing and Conditioner.
- Exhaust Tips polished with Metal Polish. Insides were cleaned with same polish and .0000 Steel Wool.
- Engine Bay dressed with SCG Professional Tire Dressing and Conditioner, however watered down to a mixture of about 60/40.
- Door Jambs cleaned and polished.
- Paint Corrected for Swirl Marks and Heavy Water Spotting using the Flex 3401VRG Polisher, the Porter Cable 7424xp (4" backing plate) Polisher, a Cordless Drill for heavy correction that the Flex wouldn't grab, Microfiber Cutting Pads, and SCG Professional Prototype Cutting Polish.
- Paint Polished with the Flex 3401VRG or PC 7427xp Polishers, Foam Finishing Pads, and SCG Professional Prototype Final Polish.
- Paint Protected with SCG Professional Prototype Paste Wax.
- All Polish and Wax Residue removed with Premium Microfiber Towels.
- Glass decontaminated with clay bar and SCG Professional Polymer Detail Spray as a lubricant.
More continued...
Last edited by Surf City Garage; 05-06-2014 at 02:22 PM.
05-06-2014, 02:18 PM
#3
Former Sponsor
Thread Starter
Join Date: Mar 2014
Location: Colorado
Posts: 203
I always start my wash process with the Engine Bay or Wheels/Tires. Depending on which wash it is for my personal vehicle (I wash the Engine every 1,000 miles) or if it's a client car, usually the Engine first.
Before:
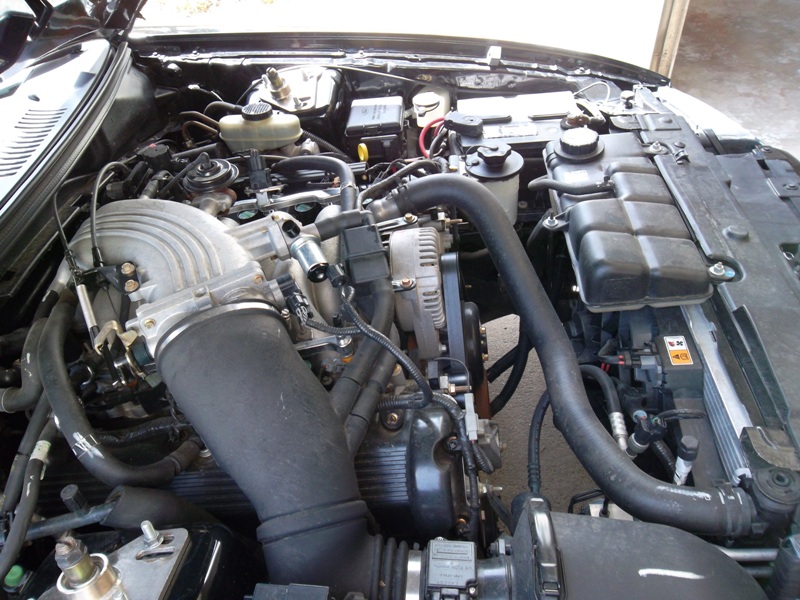
I set the hose nozzle setting to somewhere between fan and stream, then began to rinse the engine bay off, knocking off any of the heavy but loose dirt and grime. I then grabbed the SCG Professional APC and soaked the engine down. I had a Foaming sprayer head handy, so I used it. This is something you can find around the internet, that helps certain cleaners cling to the surface better.
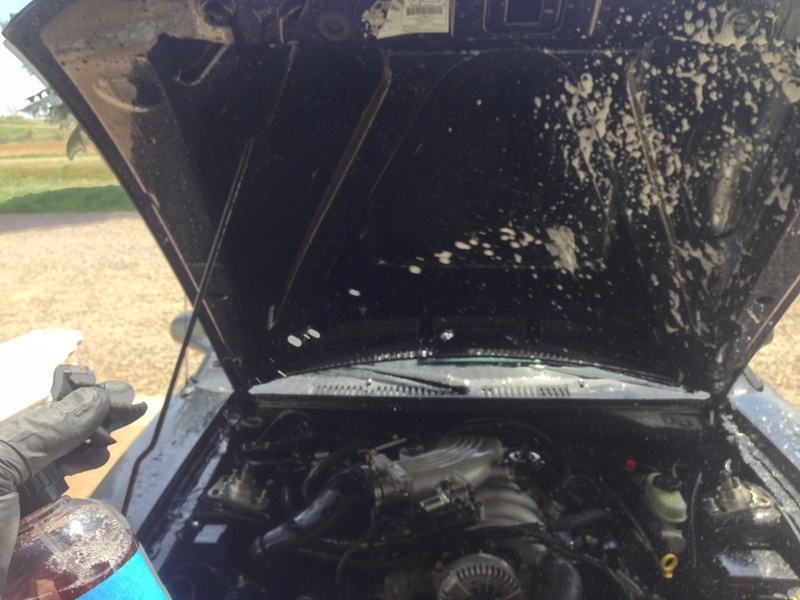
Once the APC was shot all over the place, I then took my Boar's Hair Brush and began scrubbing every nook and cranny I could reach.
Upon completion of scrubbing, I gave the engine bay a thorough rinse, dried it off with the blower, and then dressed it up.
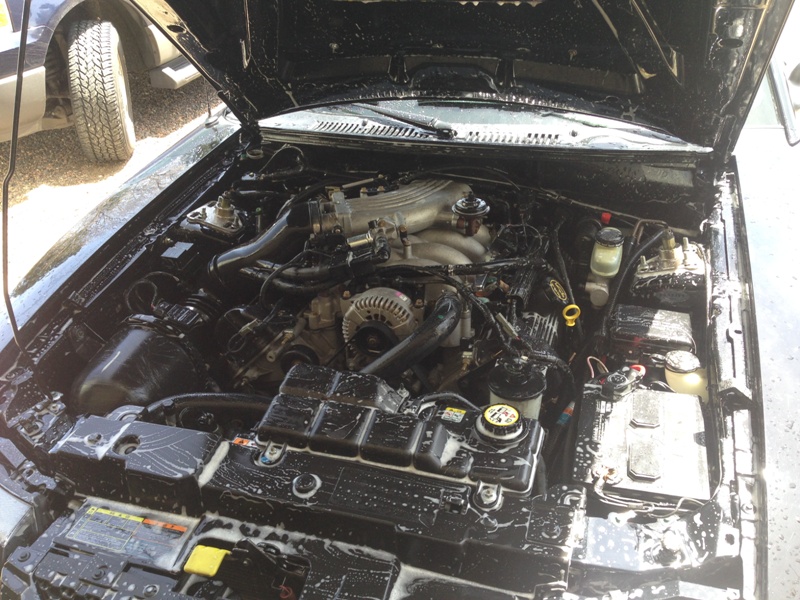
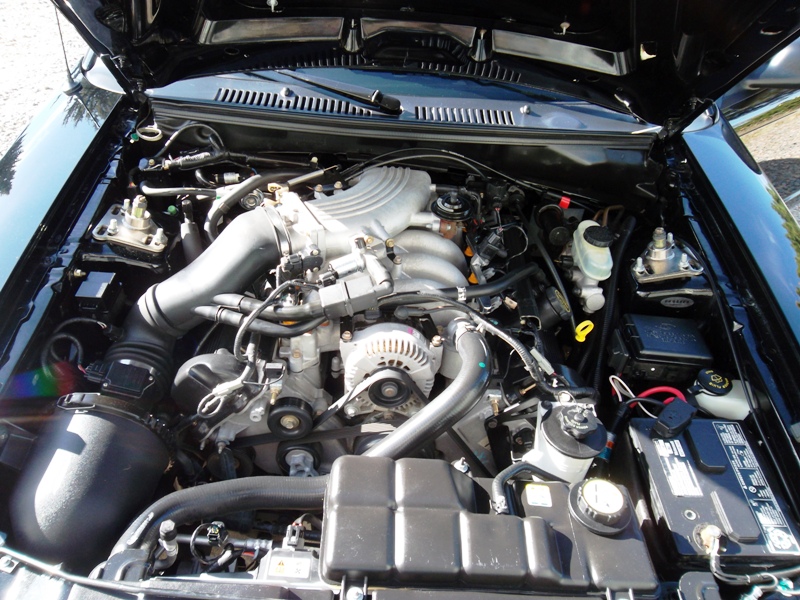
Results:
More continued...
Before:

I set the hose nozzle setting to somewhere between fan and stream, then began to rinse the engine bay off, knocking off any of the heavy but loose dirt and grime. I then grabbed the SCG Professional APC and soaked the engine down. I had a Foaming sprayer head handy, so I used it. This is something you can find around the internet, that helps certain cleaners cling to the surface better.


Once the APC was shot all over the place, I then took my Boar's Hair Brush and began scrubbing every nook and cranny I could reach.

Upon completion of scrubbing, I gave the engine bay a thorough rinse, dried it off with the blower, and then dressed it up.
Results:

More continued...
05-06-2014, 02:21 PM
#4
Former Sponsor
Thread Starter
Join Date: Mar 2014
Location: Colorado
Posts: 203
The Wheels and Tires portion of the program always seem to take me longer than washing the car itself. Usually because well, this is where most of the dirt is. I rinsed the areas really, really well after the car was cool, and began shooting cleaner.

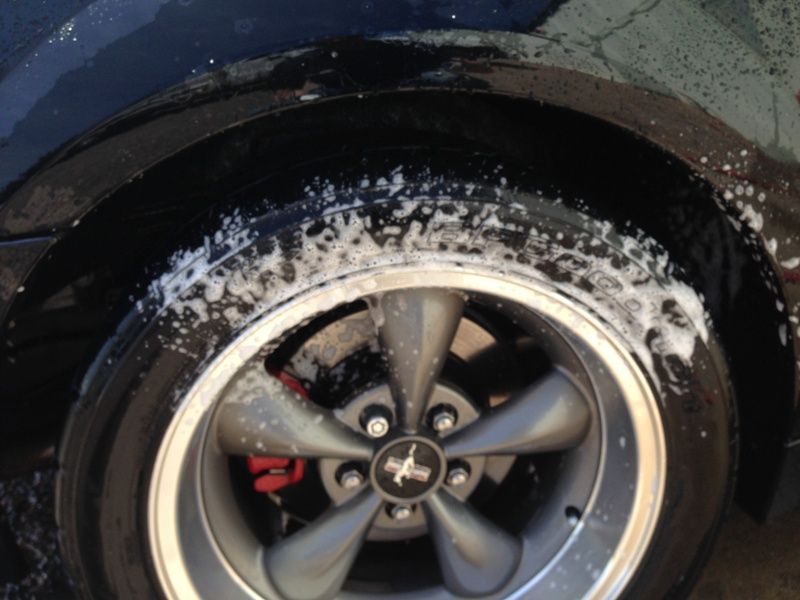
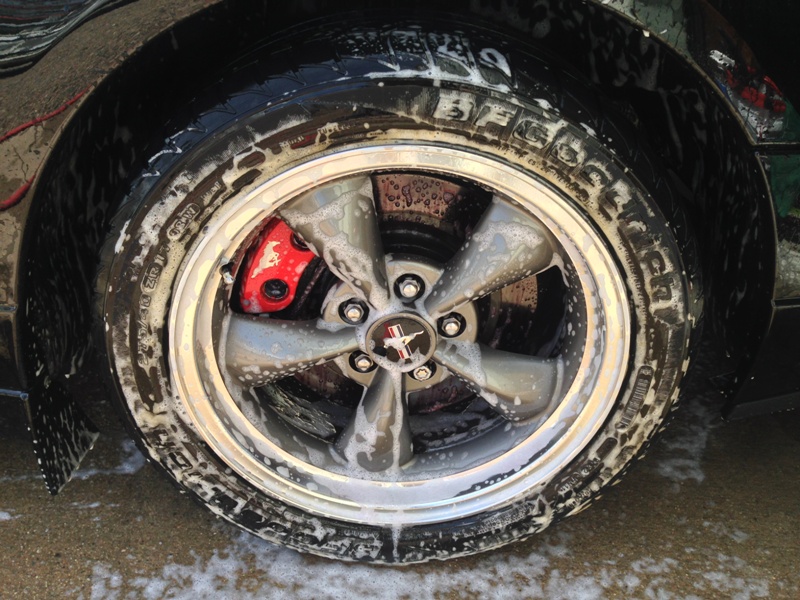
Once all the cleaner was shot on the surfaces, I began scrubbing. A Boar's hair brush for the wheels and a stiffer brush for the tires and wheel wells. I dressed the tires, once the vehicle was completely dry.


Once all the cleaner was shot on the surfaces, I began scrubbing. A Boar's hair brush for the wheels and a stiffer brush for the tires and wheel wells. I dressed the tires, once the vehicle was completely dry.
 05-06-2014, 02:41 PM
#5
Former Sponsor
Thread Starter
Join Date: Mar 2014
Location: Colorado
Posts: 203
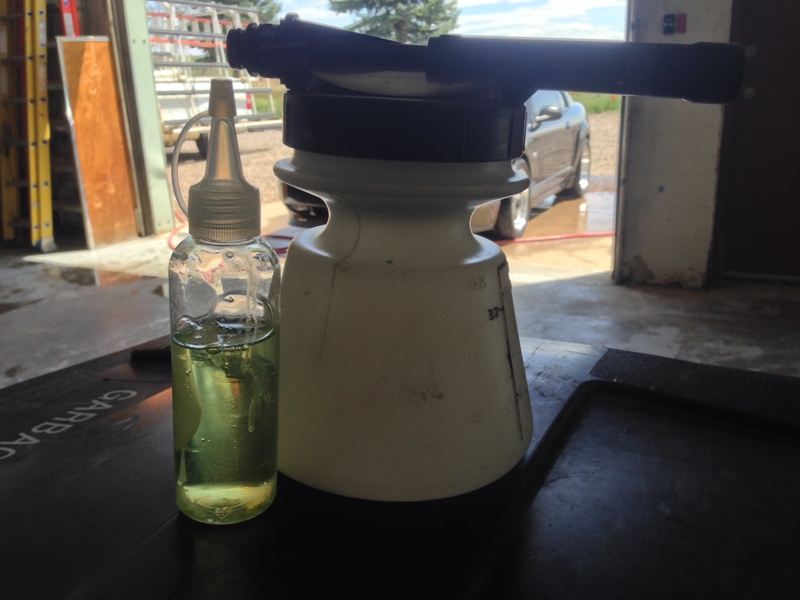
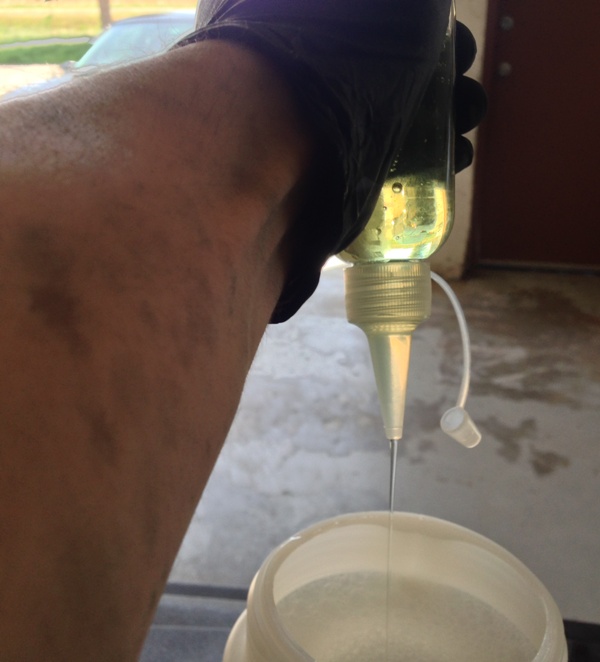
With the Corners of the car and Engine bay taken care of, I could now move on to the wash. For this job I used a Water wash. This means Two, 5 gallon buckets with a grit guard in each bucket--one for your wash water and one for your rinse water. I also used two different pieces of wash media--1 for the upper 2/3 of the car, and 1 for the lower 1/3 of the car where clearly, the car gets dirtier. It's important to have two buckets and also two forms of wash media when washing the car so that you don't induce any damage such as scratches or swirls back into your finish. By having a rinse bucket with a grit guard to clean the "dirty" wash pad, you can then stick a "clean" wash pad back into the wash bucket, and not take dirt from one part of your car and spread it to another. For this wash, I also used a Foam Gun. While this isn't needed for every wash, it provides an added layer of lubricity between the wash media and the paint, so that you are never "dry" washing a panel.
I have found the the SCG Pro Extreme Suds Balanced Wash to foam more, cling more, clean better, and smell better than any other Car Soap I have used to date. I have found that with this Foam Gun, I need 35oz. of water to 3oz. of SCG Professional Extreme Suds Balanced Wash. Water always goes in first. Place lid on and shake it really well.
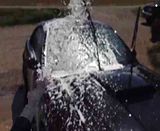
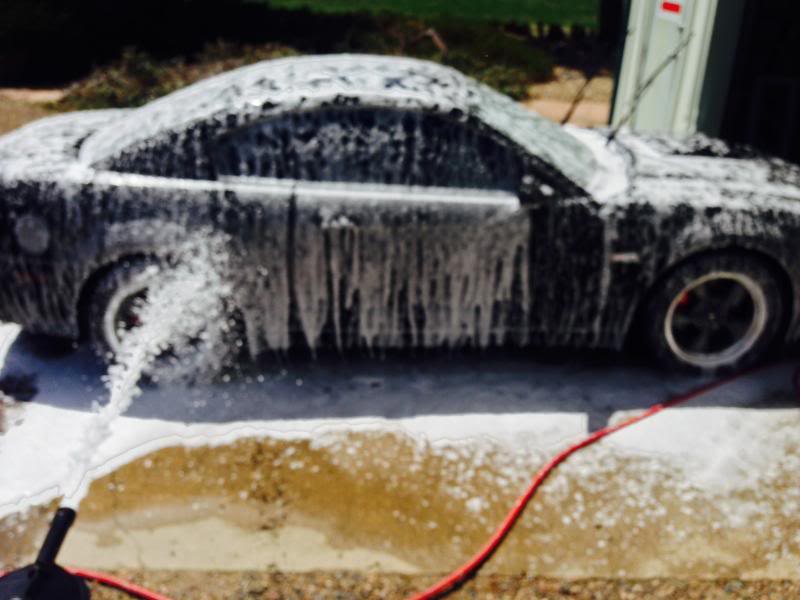
Let's begin the Foam!

Video!
More continued...
I have found the the SCG Pro Extreme Suds Balanced Wash to foam more, cling more, clean better, and smell better than any other Car Soap I have used to date. I have found that with this Foam Gun, I need 35oz. of water to 3oz. of SCG Professional Extreme Suds Balanced Wash. Water always goes in first. Place lid on and shake it really well.


Let's begin the Foam!

Video!

More continued...
05-06-2014, 02:45 PM
#6
Former Sponsor
Thread Starter
Join Date: Mar 2014
Location: Colorado
Posts: 203
The trim as bugging me from the time I saw the customer pull the car into the lot. I could see how bad of shape it was in fro ma good 45' away. This, at least at first, seemed like it would take me a few hours to rehab. NOPE! The SCG Pro APC and a cleaning towel made the work that usually is very difficult into something that was both easy and enjoyable. Once I got it back in shape, I took the opportunity to dress the trim...Before I polished the paint. A good reason to do this is so that if you get any polish or wax on the trim, it's on the dressing and not the trim itself.
Look at this! Ew.

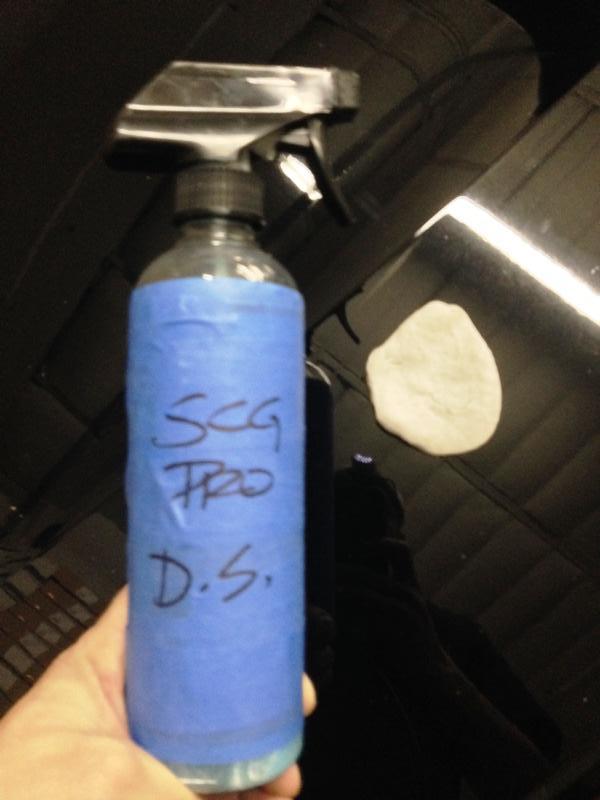
While I was fresh in decontamination mode, I felt I should decon the paint too at this time. Grabbed the SCG Pro DS and my clay, and went to work.
Just the hood.
More continued...

Look at this! Ew.

While I was fresh in decontamination mode, I felt I should decon the paint too at this time. Grabbed the SCG Pro DS and my clay, and went to work.

Just the hood.

More continued...
05-06-2014, 02:48 PM
#7
Former Sponsor
Thread Starter
Join Date: Mar 2014
Location: Colorado
Posts: 203
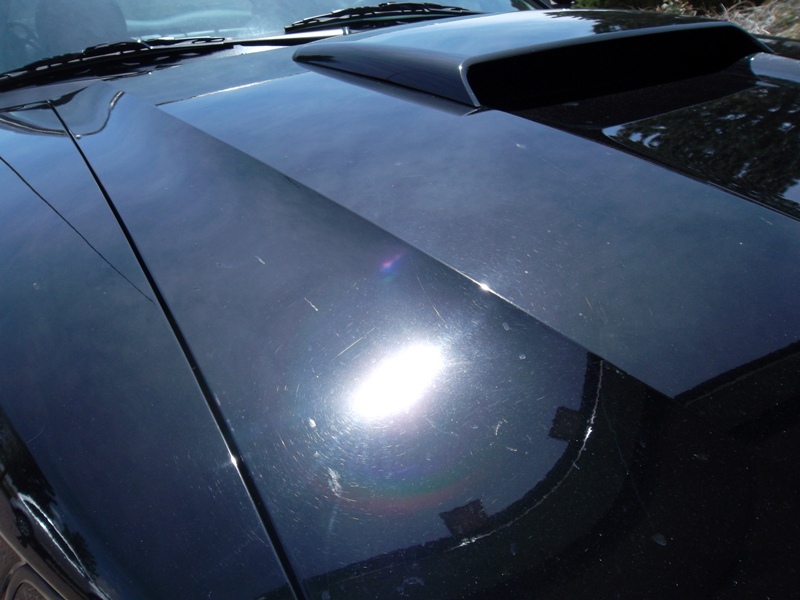
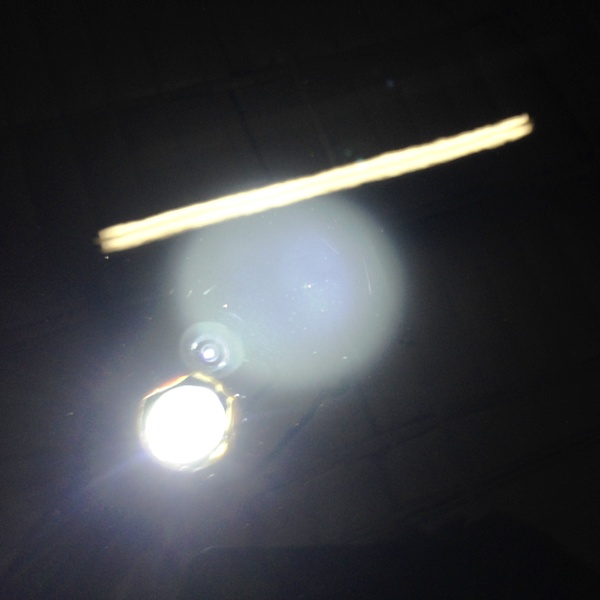
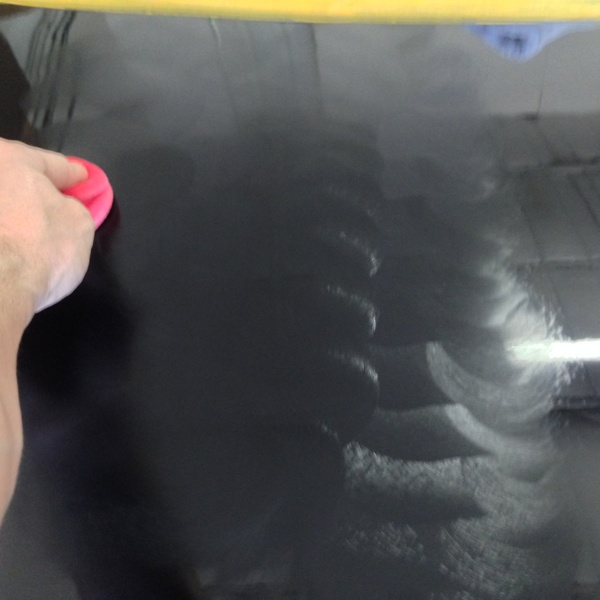
Finally! I could get to fixing this paint. Here's what it looked like under a combo of lights, one being a 685 lumen LED light.
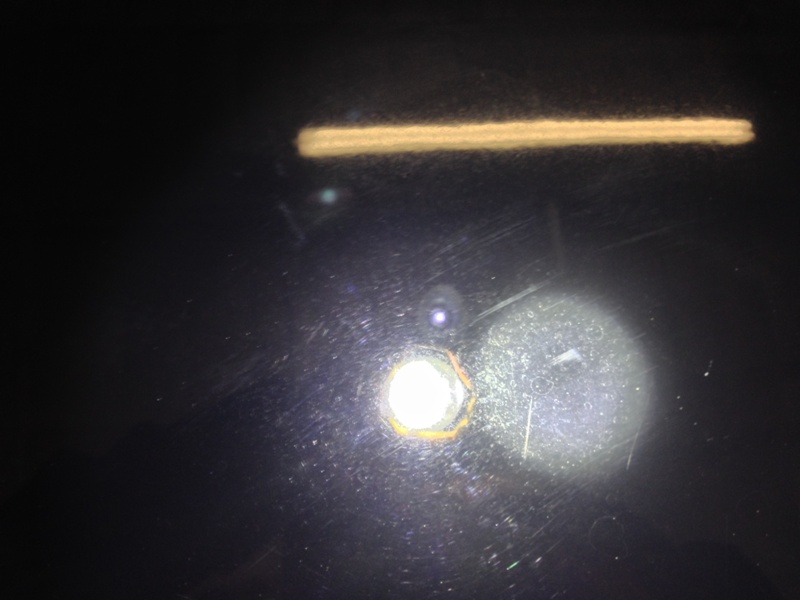
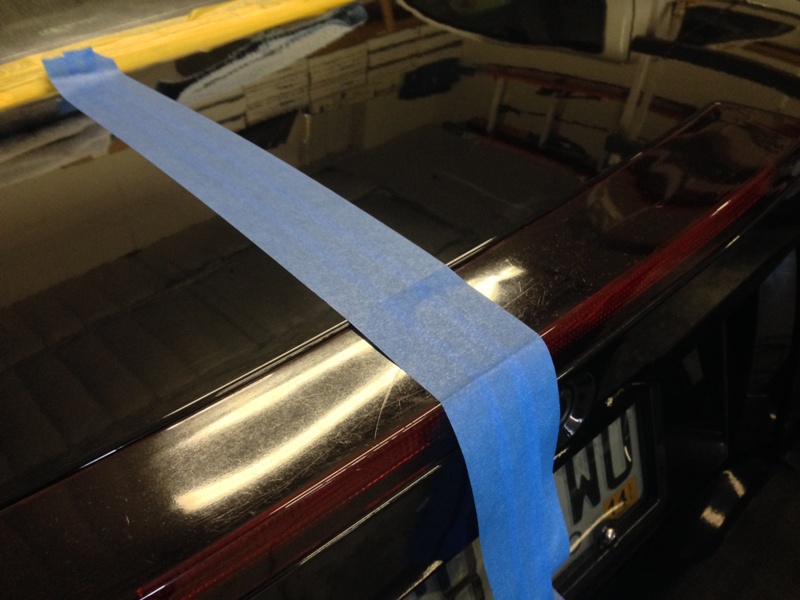
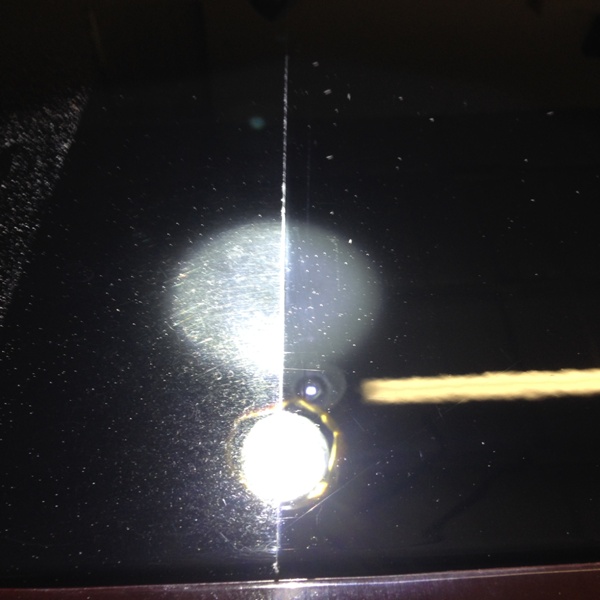
Ok...let's tape and test!
Without two other lights...
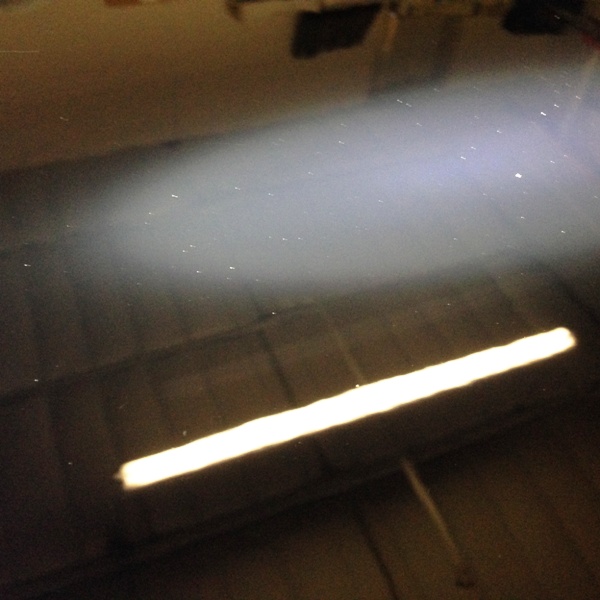
This shot is of the same area after one pass of the SCG Pro Cutting Polish. Nice difference!
50/50
I was pretty happy seeing all the water spots come out. Even happier that after one pass I didn't have to go back and clean it up with a second pass. Moved onto the SCG Pro Final Polish, then buttoned up that panel with wax.
More continued...

Ok...let's tape and test!

Without two other lights...

This shot is of the same area after one pass of the SCG Pro Cutting Polish. Nice difference!


50/50

I was pretty happy seeing all the water spots come out. Even happier that after one pass I didn't have to go back and clean it up with a second pass. Moved onto the SCG Pro Final Polish, then buttoned up that panel with wax.
More continued...
05-06-2014, 02:52 PM
#8
Former Sponsor
Thread Starter
Join Date: Mar 2014
Location: Colorado
Posts: 203
With the Surf City Garage Professional Surface Care line being a newborn, certain products will make their way to release as soon as they are done being out through the ringer at testing. Along with the Cutting and Final Polish I tested on this Bullitt, I also tested some REALLY NICE Paste Wax.
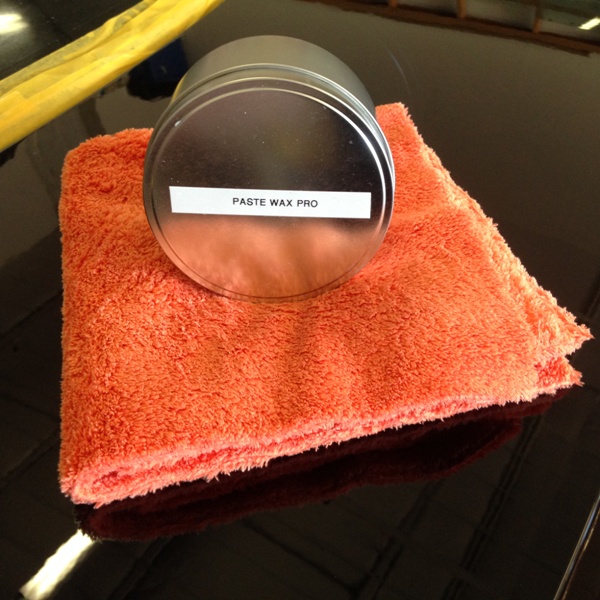
Smooth, Creamy, Relaxing Scent.
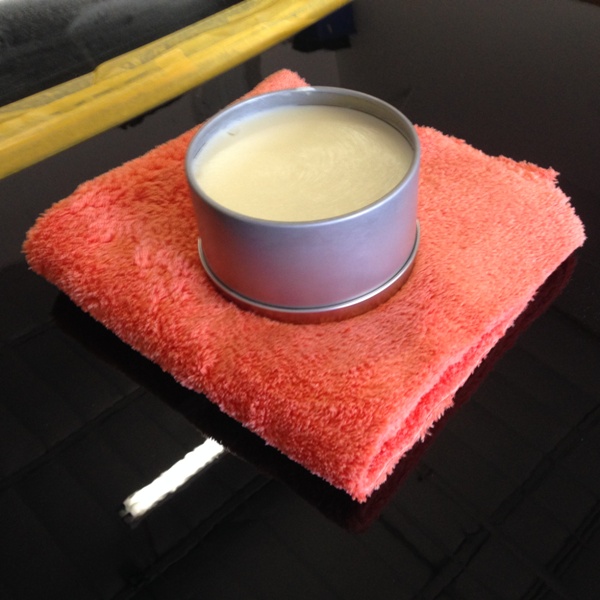
VERY easy to apply. Also very easy to remove. I left some on OVERNIGHT just to see what would happen. Not much other than that it came off with no effort. Too cool!
With the Deck lid complete, I could now focus on other parts of the car...starting with the rest of the Rear Bumper Cover.
More continued...

Smooth, Creamy, Relaxing Scent.

VERY easy to apply. Also very easy to remove. I left some on OVERNIGHT just to see what would happen. Not much other than that it came off with no effort. Too cool!

With the Deck lid complete, I could now focus on other parts of the car...starting with the rest of the Rear Bumper Cover.


More continued...
05-06-2014, 03:00 PM
#9
Former Sponsor
Thread Starter
Join Date: Mar 2014
Location: Colorado
Posts: 203
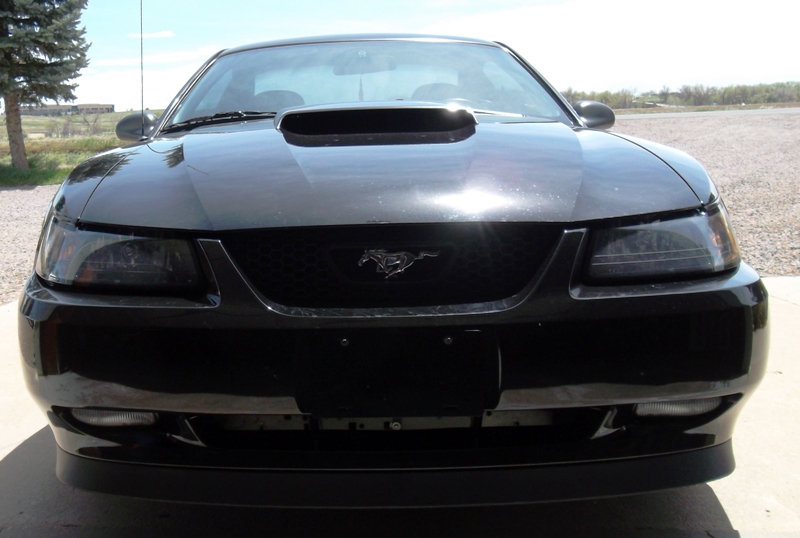
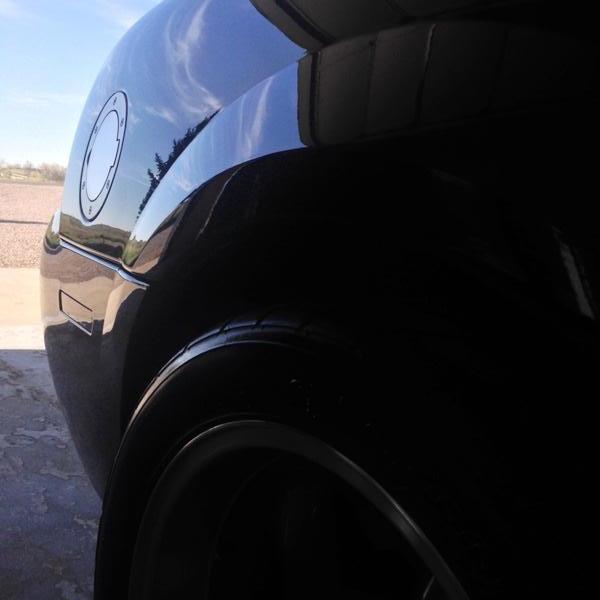
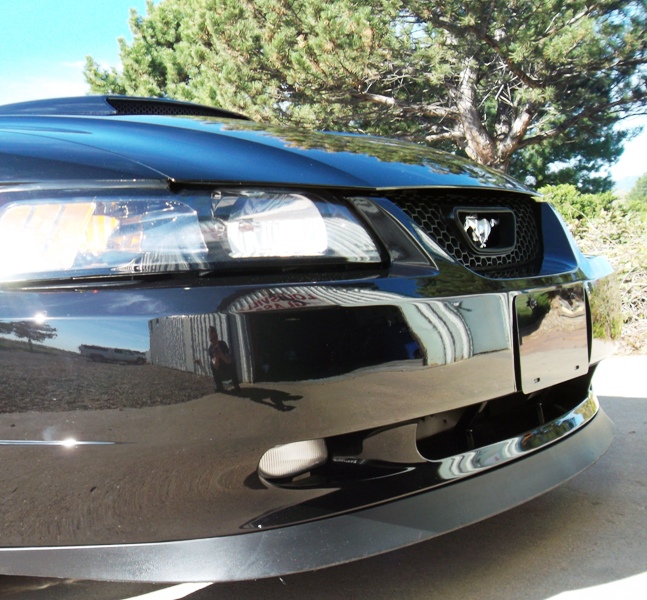
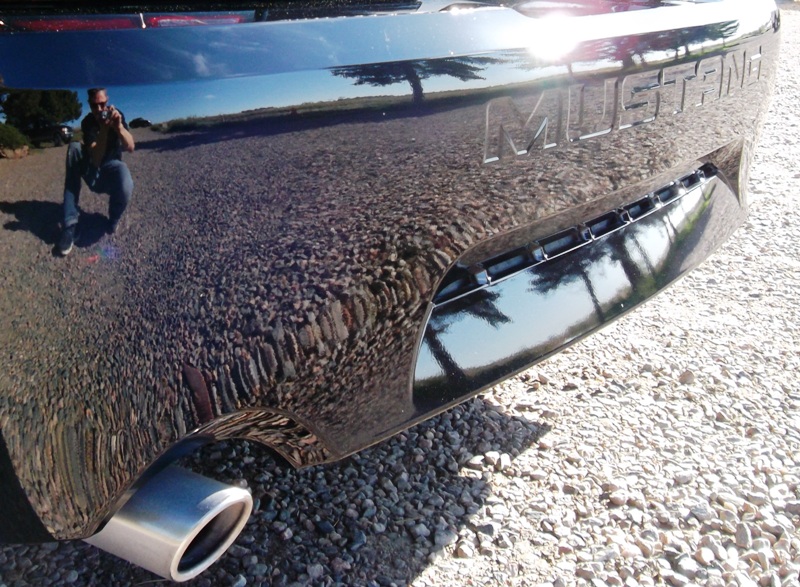
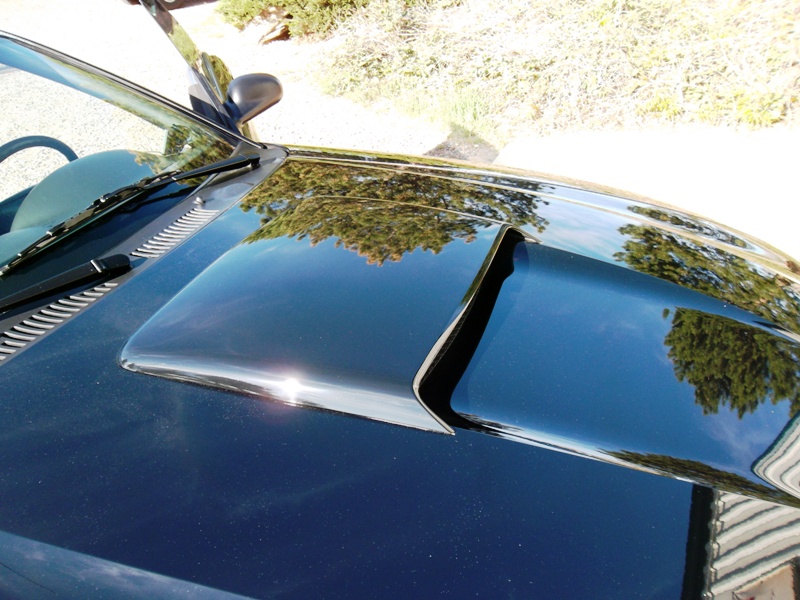
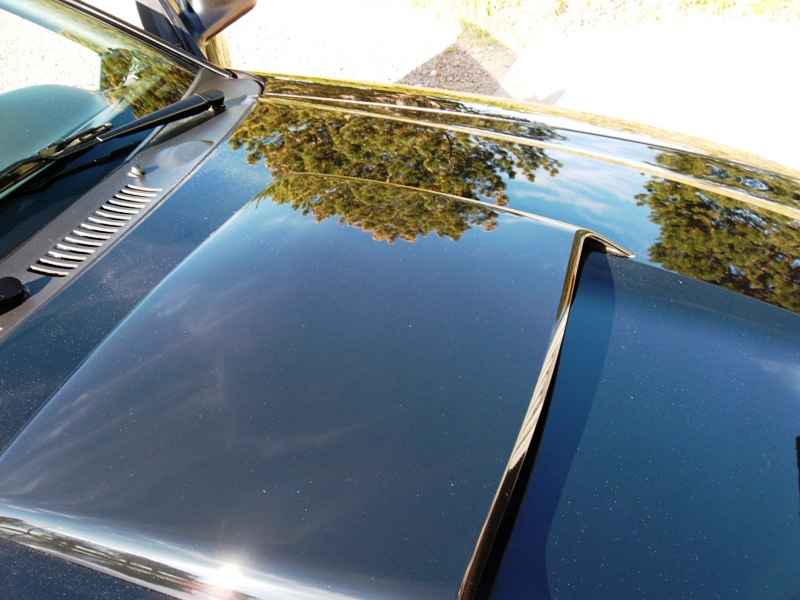
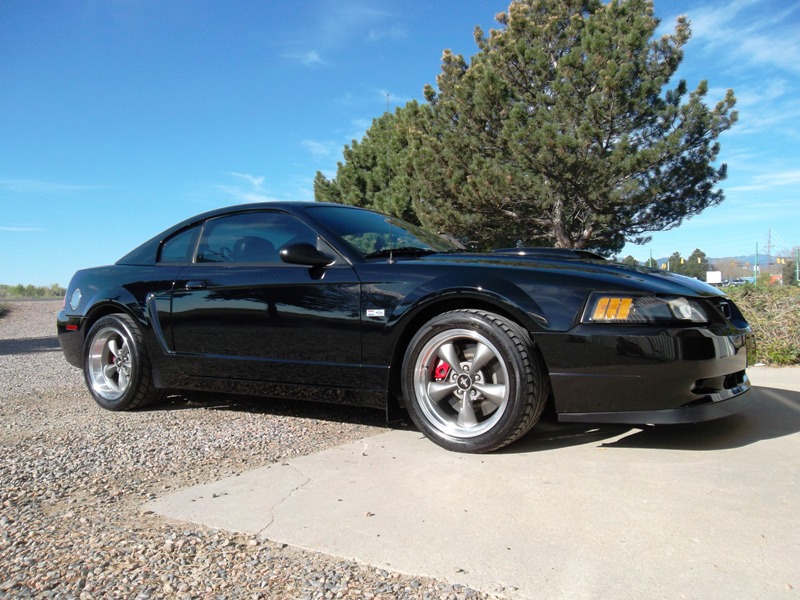
A few hours later I was able to complete the rest of the correction, polishing, and waxing. Here are some outside shots of the car before the customer came to get it.
Trim looking Proper!

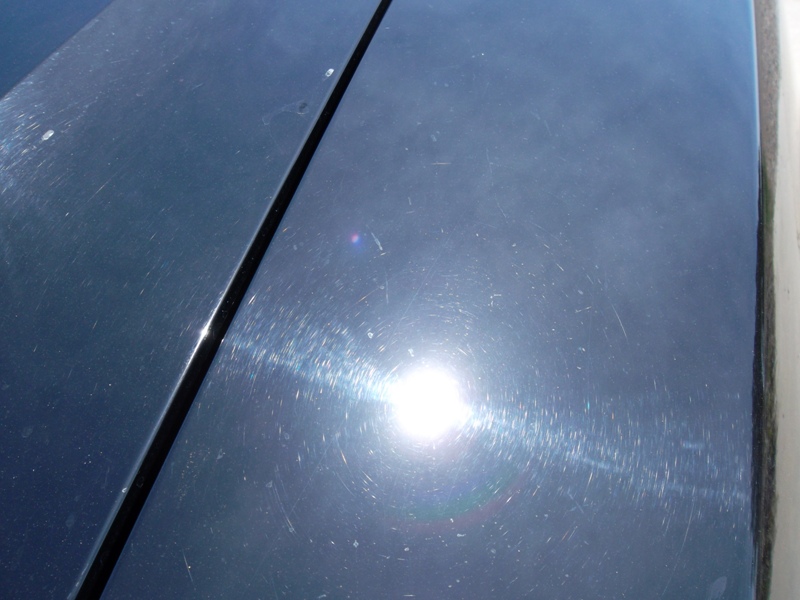
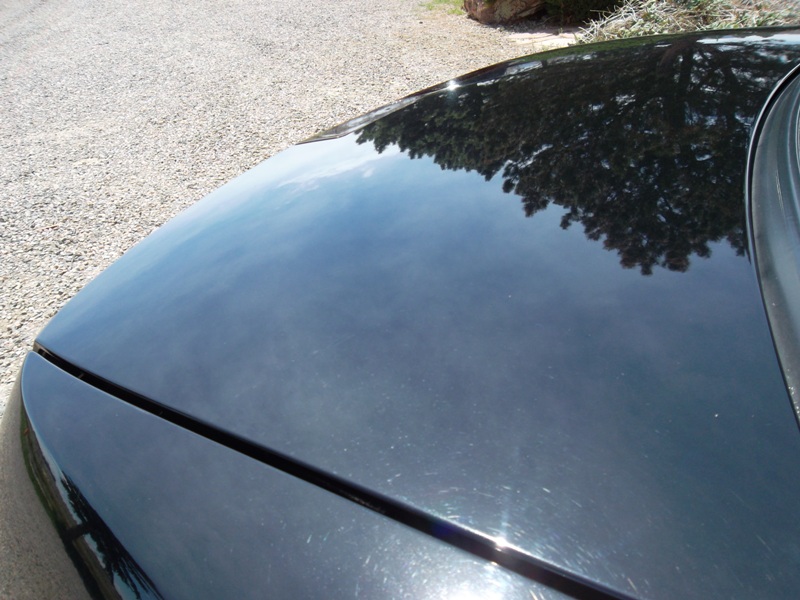
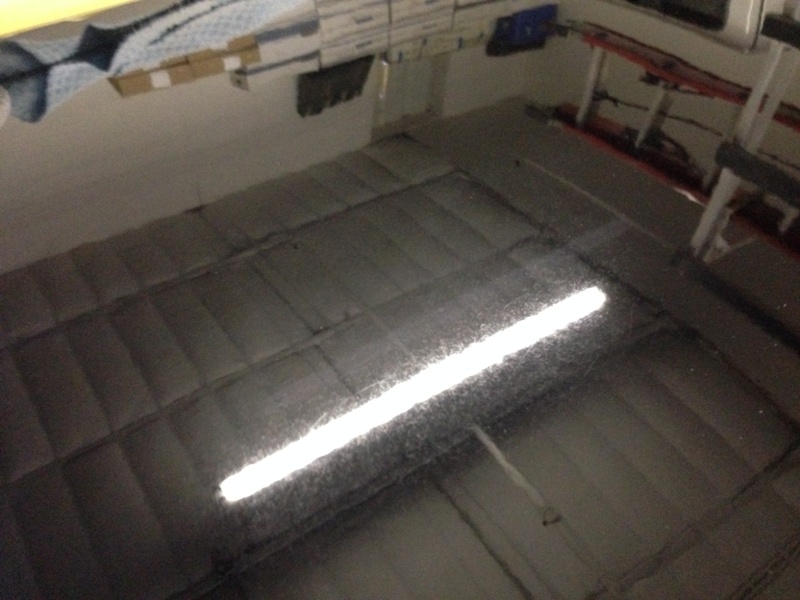
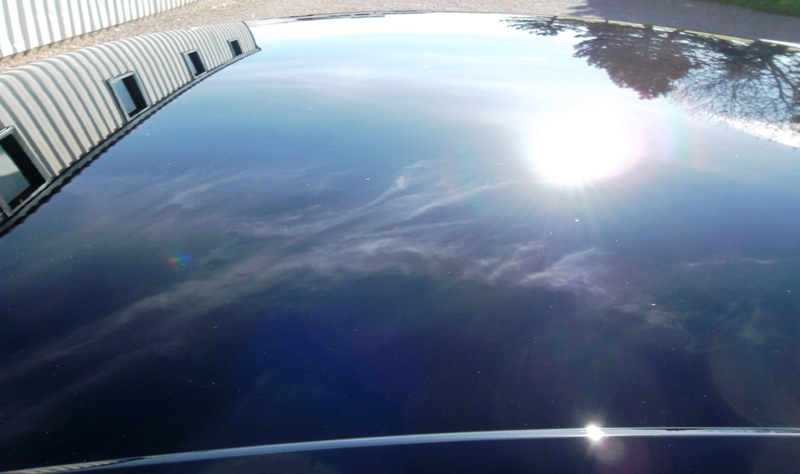
No Spots or Swirls left on the Paint! (This is the Roof)
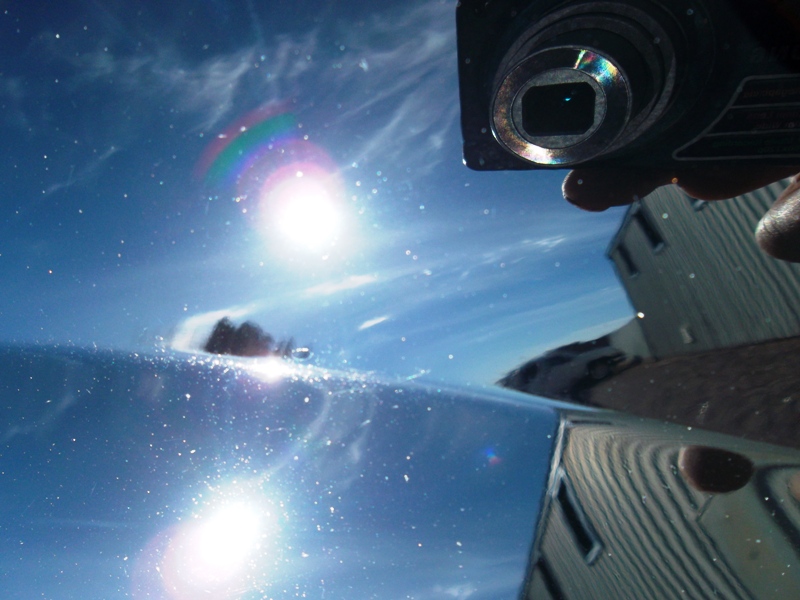
Black paint makes me laugh. Not 20 seconds out in the sun, and already Dust!
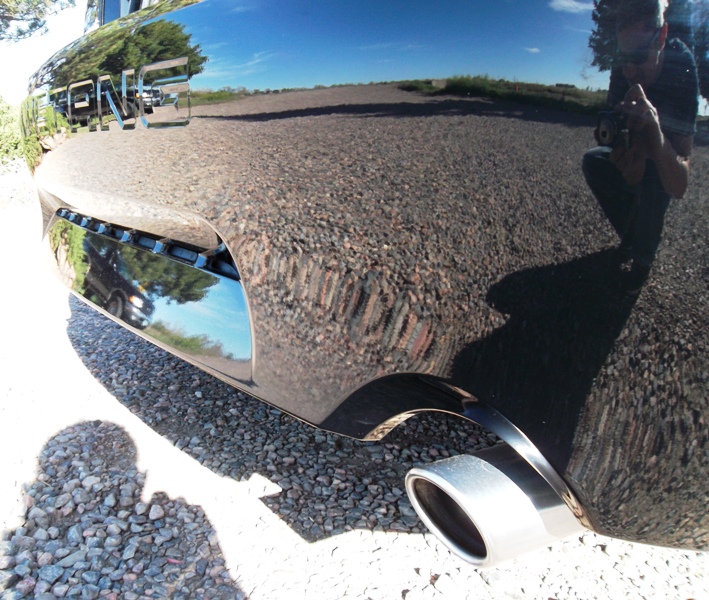
An extreme close up reveals not much left other than rock chips.
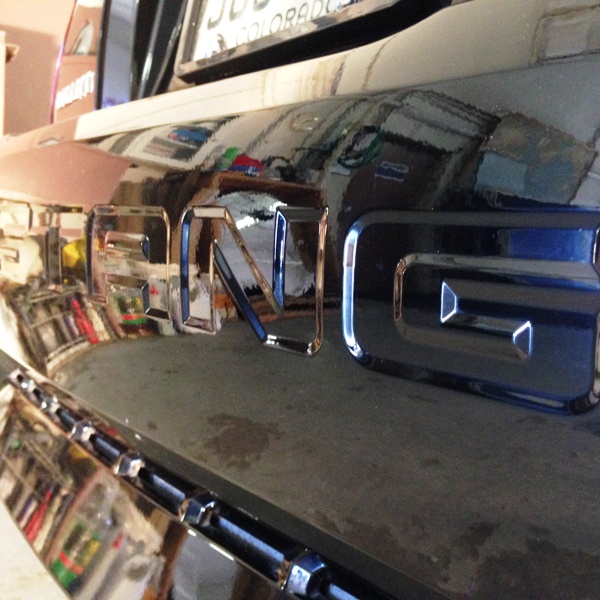
Deck Lid

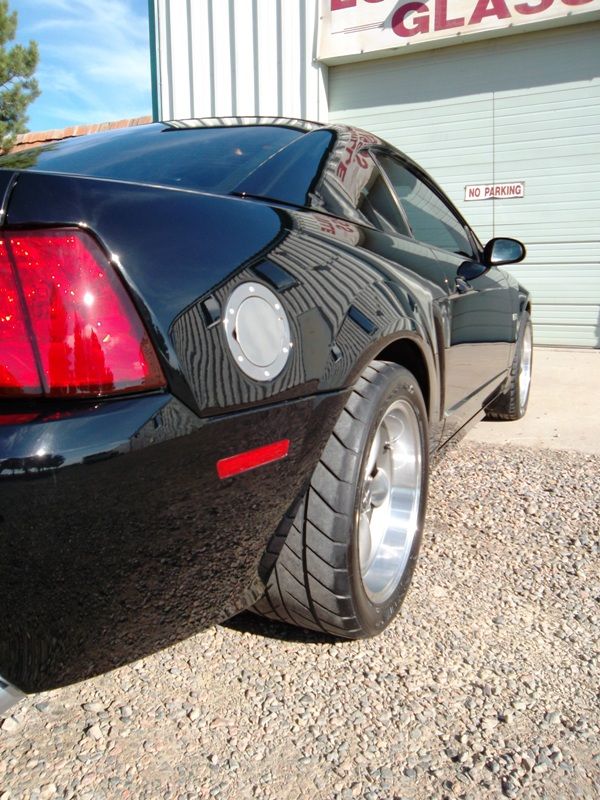
Thanks for stopping in!

Trim looking Proper!


No Spots or Swirls left on the Paint! (This is the Roof)

Black paint makes me laugh. Not 20 seconds out in the sun, and already Dust!


An extreme close up reveals not much left other than rock chips.


Deck Lid


Thanks for stopping in!


Thread
Thread Starter
Forum
Replies
Last Post
69MustangCoupe393cid
Archive - Parts For Sale
2
10-03-2015 10:33 AM
JDWalton
4.6L V8 Technical Discussions
8
09-24-2015 08:47 PM