2002 engine rebuild
 06-17-2014, 09:00 PM
#1
2nd Gear Member
Thread Starter

Join Date: Apr 2014
Location: IL
Posts: 335
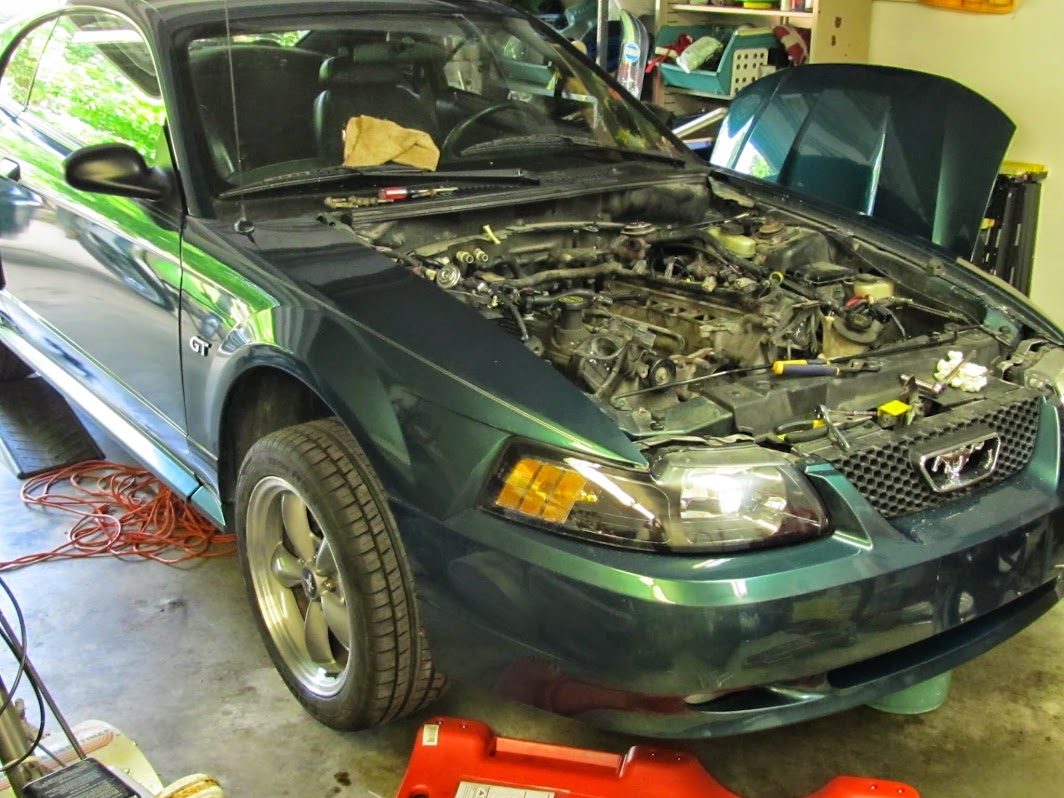
Started in on the tear down today. Got my son's car in the garage and have most of the top end disassembled. We are going to pull the engine and transmission together. He's 19 and this is his first car. It's going to be a good father/son project. I'll detail the whole process, from engine removal, tear down, parts selection, rebuild, and installation here. A few pictures from our progress thus far:

 06-17-2014, 09:11 PM
#2
2nd Gear Member
Thread Starter
Join Date: Apr 2014
Location: IL
Posts: 335
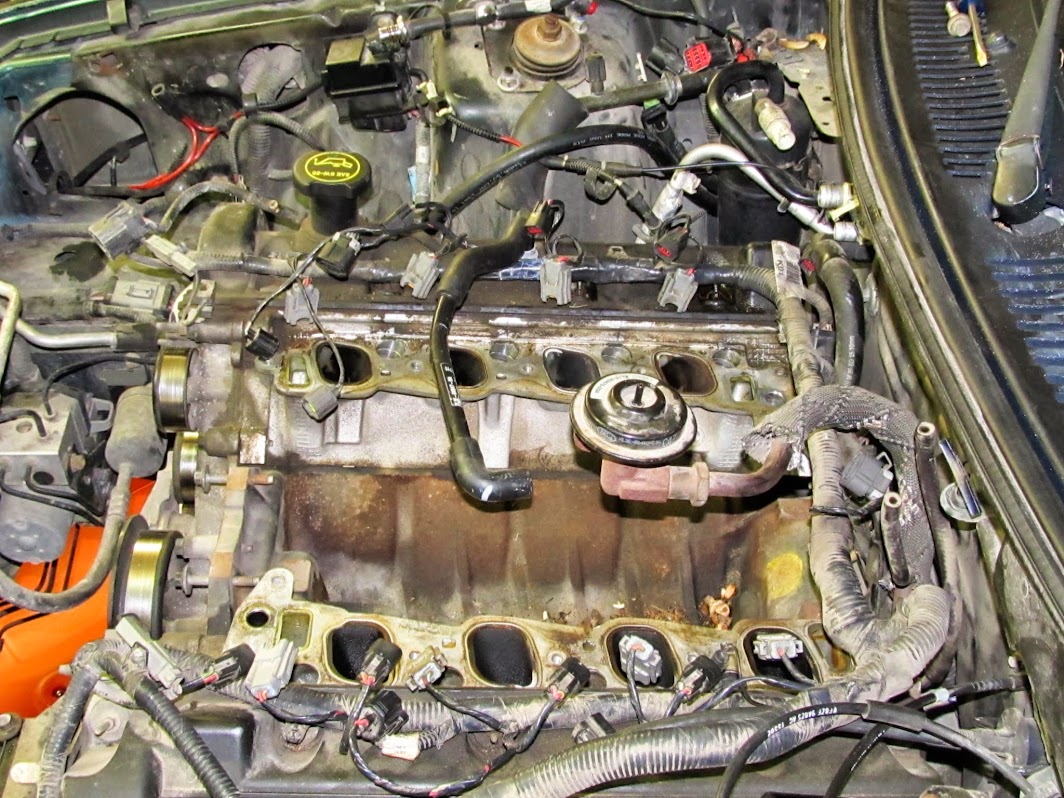
Above we have the coolant and oil drained, intake, injectors and fuel rail all removed. Also removed the coolant overflow. I sprayed the exhaust manifold to cat downpipe bolts with penetrant so that they can soak overnight.
In addition to the engine rebuild, we are draining and refilling the transmission and replacing the output shaft seal (it has a small leak). The car has 143K miles. The primary O2 sensors look like they are new. I'm not sure about the clutch yet. The seller said it was recently replaced and by the look of the exhaust bolts, they have probably been removed not long ago so that would corroborate that. It must have been out of adjustment, though, because there was a lot of pedal travel before it started to engage.
Other items we are working on: all new rear control arms and spring isolators already installed. New front control arms and struts are already here. The differential pinion seal is leaking badly and will need to be replaced along with the fluid. He needs new brakes all around. I will get the fuel injectors cleaned and tested. Will likely replace the EGR and IAC valves. Going to flush the power steering fluid. A/C works great so we are not going to touch that.
Last edited by VTX1800N1; 06-17-2014 at 11:57 PM.
06-18-2014, 01:12 AM
#3
4th Gear Member
Join Date: Jul 2008
Location: NC
Posts: 1,956
Keep posting on this build. Good detailed work to be witnessed.
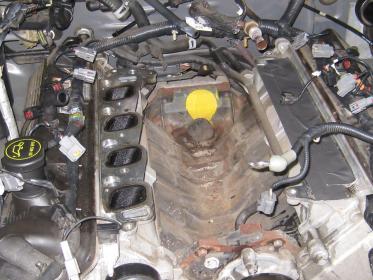
Looks oh so familiar right now. How much of a pain in the *** was the EGR valve to yank off? That was a real hassle for me. Heres a few pics from my disassembly when I installed the supercharger.

Looks oh so familiar right now. How much of a pain in the *** was the EGR valve to yank off? That was a real hassle for me. Heres a few pics from my disassembly when I installed the supercharger.

 06-18-2014, 01:24 AM
#4
2nd Gear Member
Thread Starter
Join Date: Apr 2014
Location: IL
Posts: 335
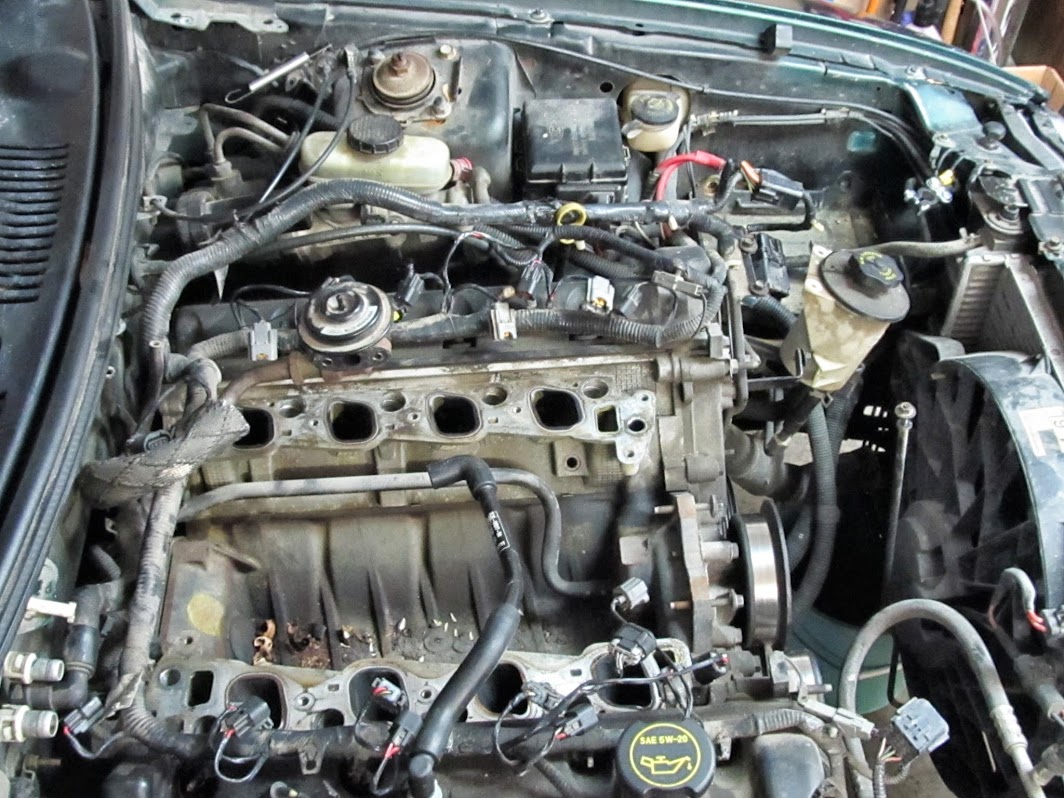
Getting it off the throttle body wasn't difficult at all. You can see it's still hanging there on the tube. We are going to leave it there until after the engine is out. There's not much room on the back side between the engine and firewall.
06-18-2014, 01:39 AM
#5
2nd Gear Member
Thread Starter
Join Date: Apr 2014
Location: IL
Posts: 335
Here are the parts we will be using:
ROTATING ASSEMBLY:
www.modmaxracing.com
Forged Manley pistons, .020 over
ModMax 4340 Forged H-Beam Connecting Rods w/ ARP2000 bolts
ModMax Plasma Moly File Fit Rings
King Rod and Main Bearings
Crankshaft delete (from kit, will reuse stock crank)
Compression ratio with 11cc dished pistons and the stock PI combustion chamber should be ~10.5:1
$1150
New Ford full timing set: $186 http://www.modularmotorsportsracing.com/ (on sale)
Full gasket set, $280: http://www.modmaxracing.com/mobile/p...9790pt-16.htm=
Block plug and dowel kit, $26: http://www.butler-macmaster.com/m-60....html?___SID=U
Complete cylinder heads, $420 each:
http://www.butler-macmaster.com/m-6049-p46.html
http://www.butler-macmaster.com/m-6050-p46.html
Sent from my XT1080 using IB AutoGroup
Last edited by VTX1800N1; 06-19-2014 at 09:03 PM.
06-18-2014, 04:38 PM
#6
2nd Gear Member
Thread Starter
Join Date: Apr 2014
Location: IL
Posts: 335
More parts going into this rebuild:
Ford Racing High Volume Oil Pump & Pickup: $87.27 http://www.modmaxracing.com/ProductD...0-D46&CartID=4
Crank pulley (harmonic balancer) bolt: $28.77 http://www.modmaxracing.com/ProductD...-2501&CartID=3
Main stud kit ARP: $117.41 http://www.modmaxracing.com/ProductD...-5401&CartID=5
Side bolt kit ARP: $52.64 http://www.modmaxracing.com/ProductD...-5201&CartID=6
Ford Racing cylinder head bolts- complete engine: $49.99 http://www.modularmotorsportsracing.com/
Camshaft bolt and washer kit: $34.99 http://www.modularmotorsportsracing.com/
Water pump: $45 http://www.latemodelrestoration.com/...46L-Water-Pump
Radiator hoses, $120: http://www.latemodelrestoration.com/...-Kit-96-04-SVE
Thermostat, $20: http://www.latemodelrestoration.com/...ent-Thermostat
Spark plugs, $20: http://www.latemodelrestoration.com/...ft-Spark-Plugs
Serpentine belt, $35: http://www.latemodelrestoration.com/...lt-00-04-GT-Co
Serpentine belt tensioner, $45: http://www.latemodelrestoration.com/...ensioner-00-04
06-19-2014, 01:17 PM
#7
2nd Gear Member
Thread Starter
Join Date: Apr 2014
Location: IL
Posts: 335
Almost done with what I consider to be the most difficult part of this project (at least the engine removal part): disconnecting the exhaust. The driver side was cake. The nuts are easily accessible with a 1/2" drive and two short extensions, a 1/2" to 3/8" drive adapter, and a 15MM deep well. I had them both out in 5 minutes. You can easily reach up and disconnect the O2 sensors. I've got mongo large hands and even I was able to get in there and disconnect them.
The passenger side is another matter. First, the starter is in the way. You can remove the starter by first removing the electrical connections (one 1/2" and one 10MM). These can be accessed with several (at least 2) long extensions by going front to back through the K-member and positioning the ratchet near the sway bar. You can look directly up from below the starter so that you can see where the sockets are going.
You can then access the starter bolts the same way. The bottom bolt can be seen from the same position as you used to remove the electrical connection nuts. The top bolt is another story. If you look at the rear (car perspective) of the starter and up above the bolt you just loosened (don't remove the lower bolt completely), you can see the mounting boss in the transmission bell housing for the other bolt. You can get to that bolt the same way, you just cannot see it. You have to fish the socket back there above the starter on several extensions (it helps if one is a wobble extension).
Eventually you will get the socket on the upper bolt. Hold it there and attach your ratchet to the extensions out by the sway bar and remove it. I recommend you remove the upper bolt first to make sure it's all the way out of the threads. It might be quite a challenge if it was part way out, with the bottom bolt removed, and you remove the socket from the bolt head and now have to try to get it back on with the starter flopping around on one loose bolt. I noted that the starter has 3 bolt mounts, but there were only 2 bolts securing the starter to the transmission. I'm not yet sure if there are three transmission bolt holes- just as I was starting the next step, I mostly tipped over the 5 qt oil pan full of used oil I had drained. It went everywhere, and right now I'm waiting on kitty litter to soak it up.
Next I removed the K-member lower cross brace. It's only 2 bolts and they zipped right out with my impact. That should give me enough clearance to get that last exhaust manifold to cat downpipe nut.
I probably could have had the engine out by now if not for that mess.... all I've got left is to remove the driveshaft, transmission mount bolts, engine mount bolts, and then hook up the cherry picker.


