I finally got started on my project! Pics
 12-31-2006, 09:55 PM
#1
2nd Gear Member
Thread Starter

Join Date: Oct 2006
Location:
Posts: 180
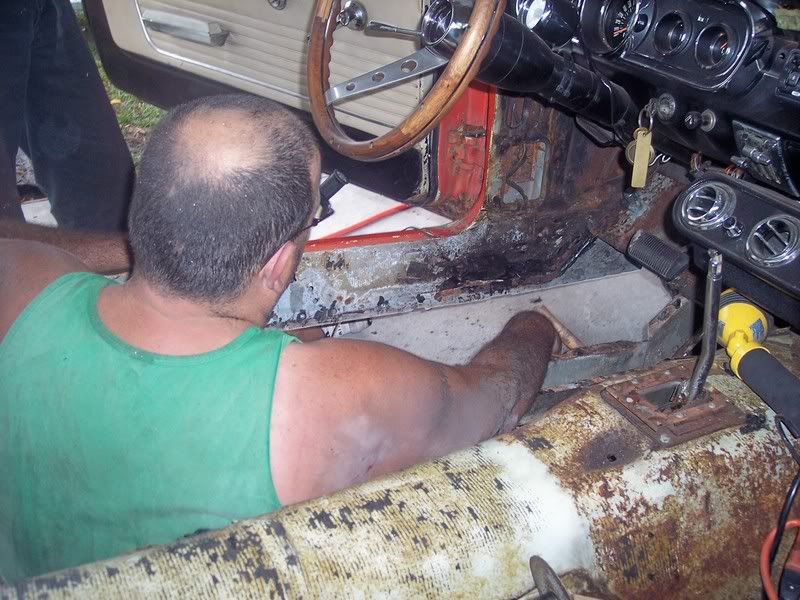
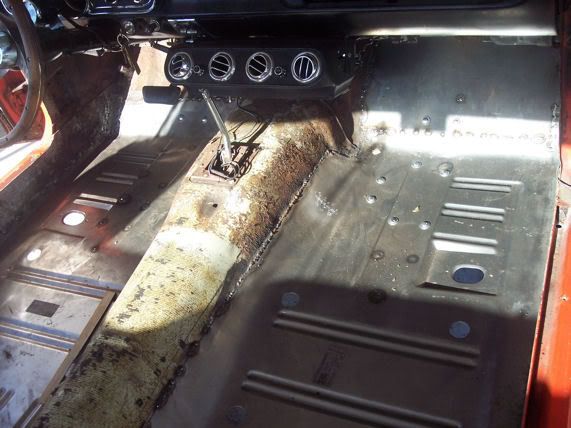
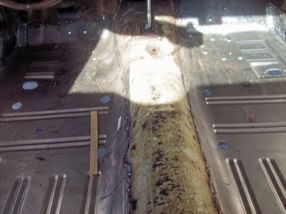
Well, with alot of great information from this forum I finally got started.The first major project was to tackle the floorpans. They are worse than what I was hoping for. Po had laid sheetmetal over the top of them and pop riveted it in. Thats why I was seeing the double layer. This is what I got done today.
[IMG]local://upfiles/52293/45645EEAEF3644EE9A7D466523E65602.jpg[/IMG]
[IMG]local://upfiles/52293/BD26DFA10804488C90B220D98EE50CA8.jpg[/IMG]
[IMG]local://upfiles/52293/AE36303469354CC18241F37EE12E28A5.jpg[/IMG]
[IMG]local://upfiles/52293/45645EEAEF3644EE9A7D466523E65602.jpg[/IMG]
[IMG]local://upfiles/52293/BD26DFA10804488C90B220D98EE50CA8.jpg[/IMG]
[IMG]local://upfiles/52293/AE36303469354CC18241F37EE12E28A5.jpg[/IMG]
 12-31-2006, 10:01 PM
#2
3rd Gear Member

Join Date: Jul 2006
Location:
Posts: 537
I just finished mine. It was easier than I expected although not something for the non mechanicaly inclined. If you've access to a plasma cutter, you're way ahead. If not, get a dozen good sawzall blades and good cut off wheels. I did alot of my grinding with a good angle grinder as well.
My few bits of advice are - Test fit several times before cutting. Don't be afraid to drill holes and through bolt the pans to the Tranny cross member and frame rails. It'll help seat the pans on those members. Do one side at a time. Don't be surprised if the toe kickers are trashed as well.
And lastly,
Wipe the pans before applying any kind of primer, undercoating or paint. They send the pans with a thin layer of rust preventative and nothing will adhere to it.
Other than that, measure twice, weld once.
12-31-2006, 10:07 PM
#3
2nd Gear Member
Thread Starter
Join Date: Oct 2006
Location:
Posts: 180
So am I better off to get the full length pans? I have alot of welding and fabricating experience. I have been building stockcars for the past 10 years. Im still a little nervous about making that first cut.
12-31-2006, 10:18 PM
#4
3rd Gear Member
Join Date: Jul 2006
Location:
Posts: 537
Indeed get the full length pans. If you're already that far and both front and rear need replaced, no need in doing it seperate. You'll also want new seat towers - unless the old ones are worth saving. ( chances are, they're not ).
Here are some pics of my project - note : I'm not a big picture taker so I only have a few.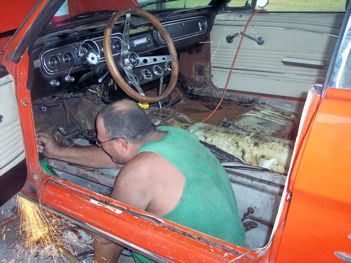
Here are some pics of my project - note : I'm not a big picture taker so I only have a few.
12-31-2006, 10:29 PM
#5
3rd Gear Member
Join Date: Jul 2006
Location:
Posts: 537
Also-I drilled spot welds and used a sawzall ( and cut off wheel where needed ). I then sat the pan in place ( after grinding and preparing the metal where drilled, cut, etc. )and used a sharpee marker to get myfit line. I then used 1" masking tape and outlined the fit line, then cut at the bottom of the tape to insure I had plenty of meat to weld to.
Cut out the old pans at the bottom of my tape. Sat the pan back in place to check fit again and did an adjusting to the cut line. Checked fit a 3rd time and again trimmed as needed.
After I was confident in my prep work. I sat the pan in place for a final time and riveted at each corner to square the pan to the floor. I used the section in the rear where the rear shackle bolted to the frame as my starting point because it was as square as it got.
Then the weld process - you seem to have that part down so no need me going into it.
12-31-2006, 10:56 PM
#8
I ♥ Acer

Join Date: Oct 2004
Location:
Posts: 17,565
Thanks for the pics bulldog66. Let's face it, this is nasty and dirty work. I may want to start a "who is the dirtiest" classic mustang restorer.We already have a pic of Markstang that was posted. Trust me.....he be dirty and a rivalto you. 
12-31-2006, 11:59 PM
#10
3rd Gear Member
Join Date: Jul 2006
Location:
Posts: 537
The toe kicker is seperate. Once we cut that side out and did the grind, etc. I noticed some dime sized spots that were thin or completely through so I just decided to go above the last spot about 2" and cut it out.
Short trip to a local wleding shop to pick up a small sheet of sheet metal and we cut, fit andwelded that piece in. Alot cheaper than the piece out of a catalog and it's just as good.
Soaring - That was actually a clean pic of me sitting in the floor. You can still see my tattoo on my right arm in that pic. There was times when I was completely filthy