New/old 67 convertible project....


 03-23-2009, 09:10 PM
#12
2nd Gear Member
Thread Starter
Join Date: Mar 2009
Location: Louisiana
Posts: 345
Thank you very much Joe67!!!!!!
Well now I see what I need in bracing. Let me ask you this, you explain this with only replacing your inner rockers, how about if you were going to replace your inners and outers too???? Would it be possible to replace the whole assemblies one at a time?
Also I'm going to have to replace the torque boxes too, pretty much everything under the car....and I have it already, I have enough replacment sheetmetal parts to do the whole undercarriage if needs be.
My outer rockers are so-so. I mean they are rusted, moslty just the undersides but they are strong enough to hold the car up. If there was a repair patch panel that just took care of the bottom edge then I guess I would be OK but then why do all that when I can replace the whole assembly with the new one piece inner and outer unit????? I do have both sides.
As far as the tunnel goes, maybe I can save it? I have pics here and I'll let you make that decision since you've undergone this.
Here are some pics. Hard to believe this was once a show car eh?
Here is a pic of the panel behind the rear seat. As you can see it was an original red car. Also the shetmetal above the seats is 100%. Also the top is hydraulic and in perfect shape. No leaks and puts the top up and down really quick.
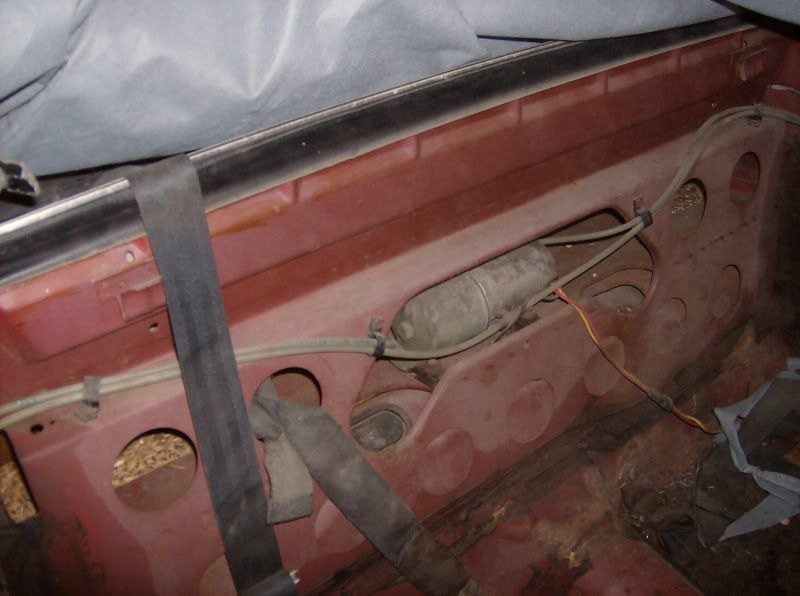
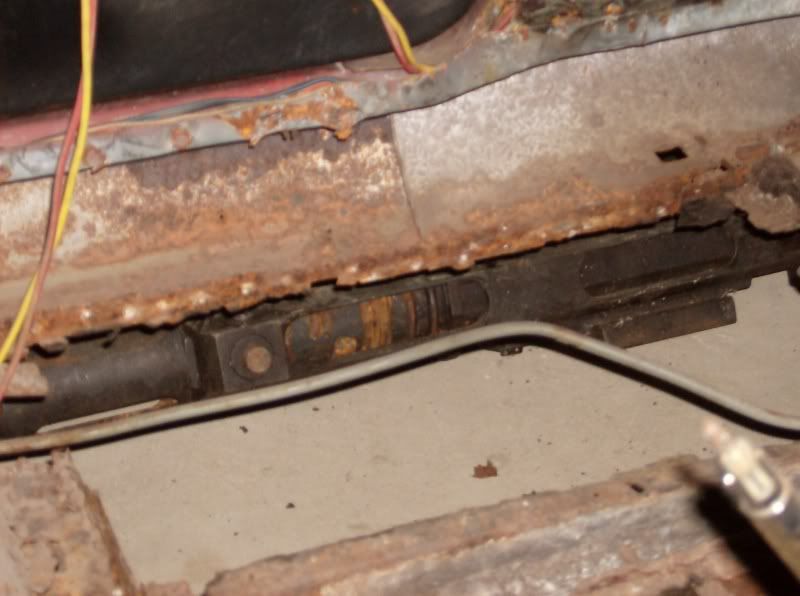
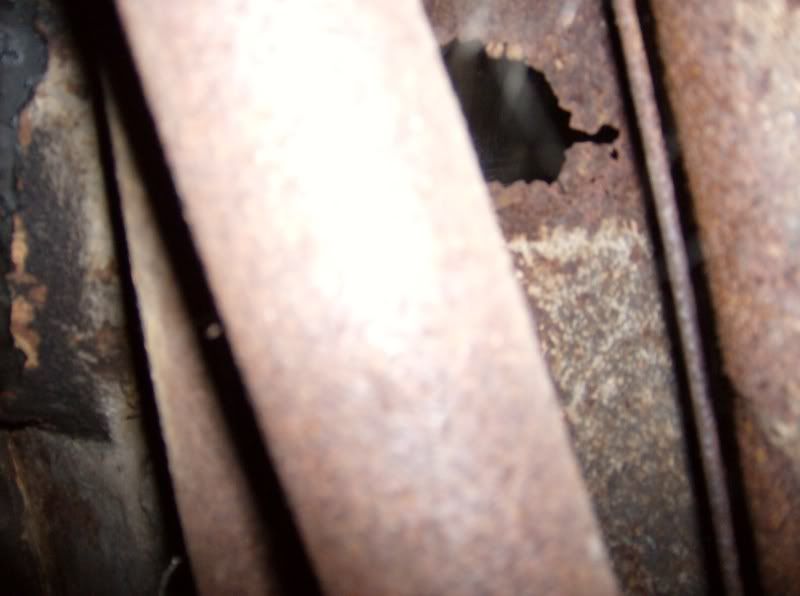
This is looking down in the right corner of the rocker area behind where the quarter panel trim upholstery would go. You can see the hole just behind the cylinder.
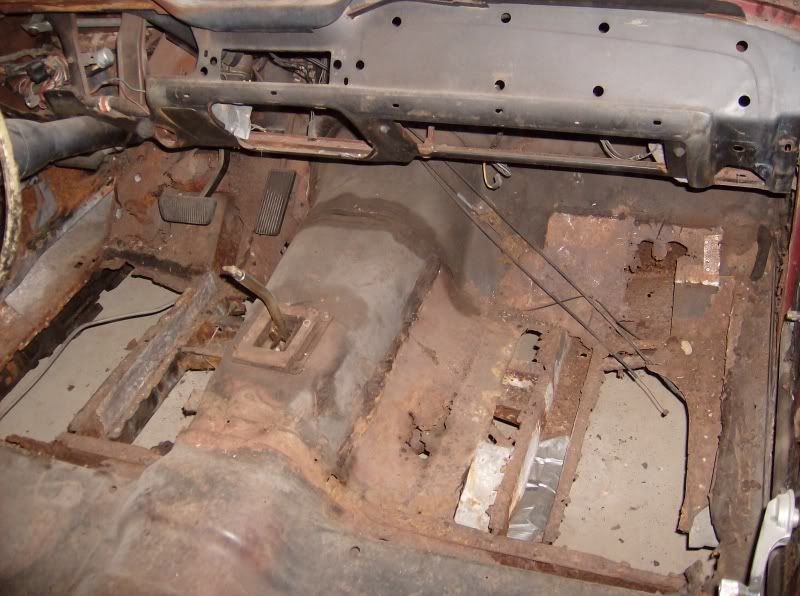
Here is standing back at the location of the above pic. As you can see I have cut allot of the old metal out to asses the situation.
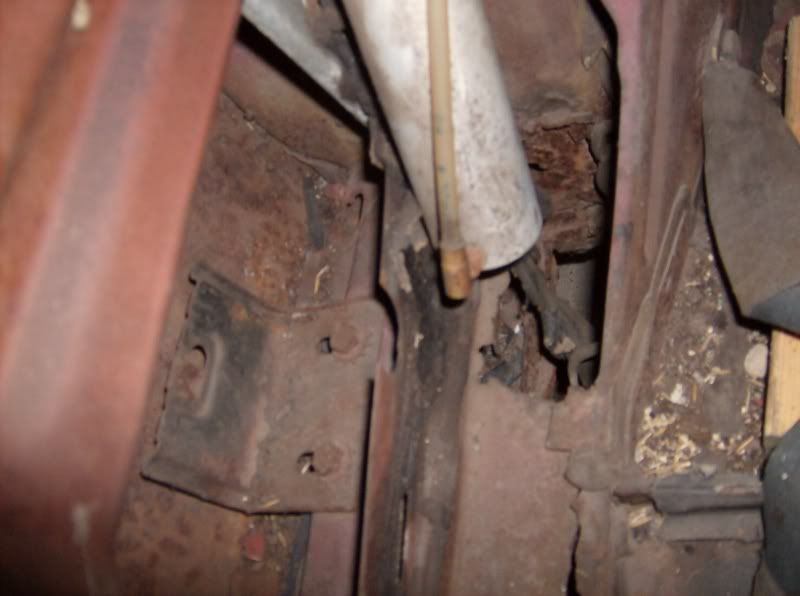
Here is the only damage to the tunnel. Its kinda thin right here.
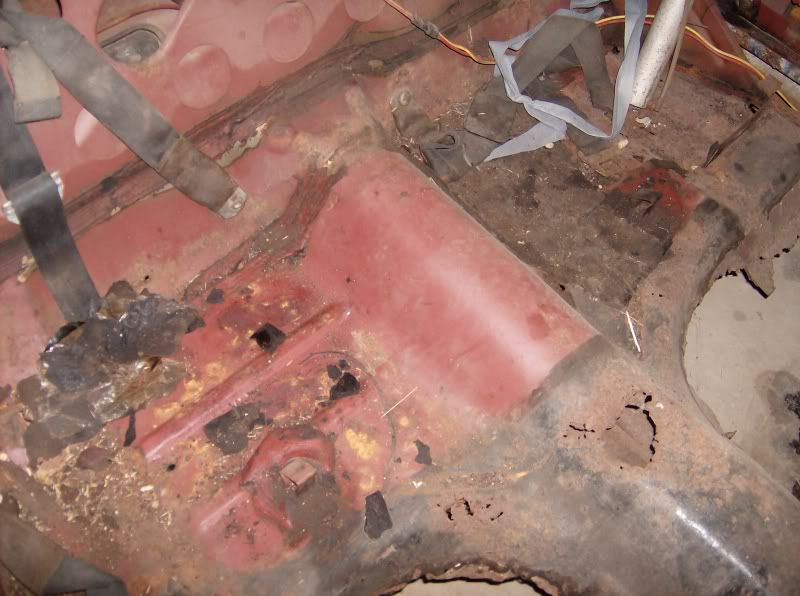
Under the rear seat. Really this area isn't too bad and is quite solid with only minimal surface rust on the underside. I could almost save this if it doesn't get torn up doing the rockers. You can see the line where the old wet under pad rusted the pan and left this.
This is looking at the inside of the outer rocker just under the front of the drivers door. (The dark gray object is a demilled 20mm Oerlikon for another project so please disregard).
Larger view of the same area above. I spot welded that brace in for transit.

Here is looking down on the passenger side sill. As you can see, the topside sheetmetal on down to an inch above the bottom lip of the outer rocker is solid. Its solid enough that it survived the bumpy road trip from NJ to LA on a trailer. It's solid enough that I can drive the car around (back before I took it apart) and not affect door function.

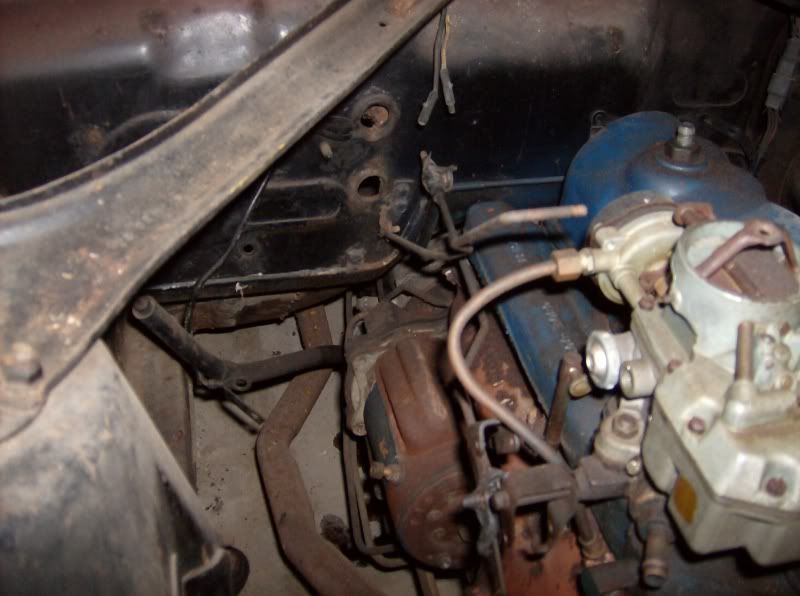
Engine compartment passenger side.
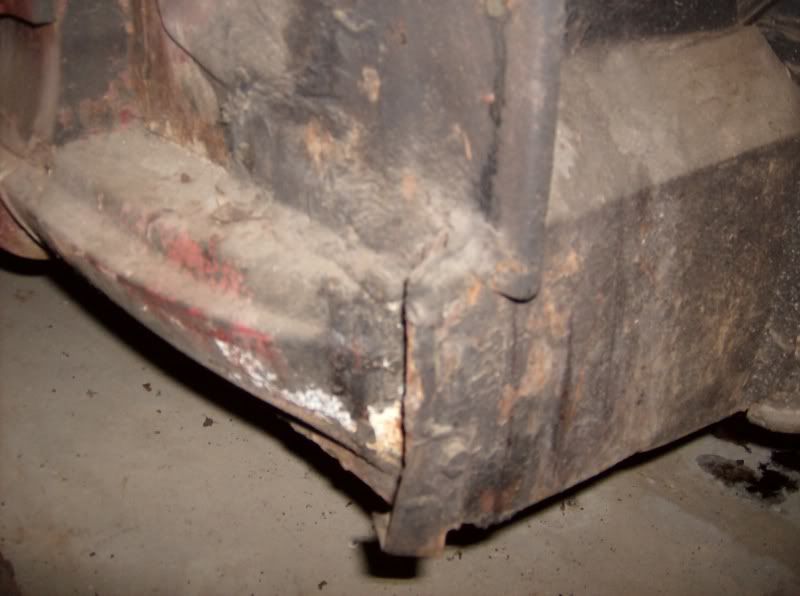
Front passenger rocker.
Underside of passenger side torque box.
Drivers side engine compartment.
Pretty much self explanatory pic. Before I loaded it on the trailer in NJ I sprayed some rust inhibiting primer over the top edges of the body as you see because there was some light scattered surface rust, just the fuzzy stuff, and I wanted to seal it out. It was painted a maroon sort of burgundy color.

Kinda cramped in this corner of my shop, I have this car, the model T, my Czech truck, and the turret with 30mm cannons all crammed back here. I've been working on tractors.
I have this little bit of rust through at the base of each windsheild pillar, cant figure out how this got here???

Well now I see what I need in bracing. Let me ask you this, you explain this with only replacing your inner rockers, how about if you were going to replace your inners and outers too???? Would it be possible to replace the whole assemblies one at a time?
Also I'm going to have to replace the torque boxes too, pretty much everything under the car....and I have it already, I have enough replacment sheetmetal parts to do the whole undercarriage if needs be.
My outer rockers are so-so. I mean they are rusted, moslty just the undersides but they are strong enough to hold the car up. If there was a repair patch panel that just took care of the bottom edge then I guess I would be OK but then why do all that when I can replace the whole assembly with the new one piece inner and outer unit????? I do have both sides.
As far as the tunnel goes, maybe I can save it? I have pics here and I'll let you make that decision since you've undergone this.
Here are some pics. Hard to believe this was once a show car eh?
Here is a pic of the panel behind the rear seat. As you can see it was an original red car. Also the shetmetal above the seats is 100%. Also the top is hydraulic and in perfect shape. No leaks and puts the top up and down really quick.
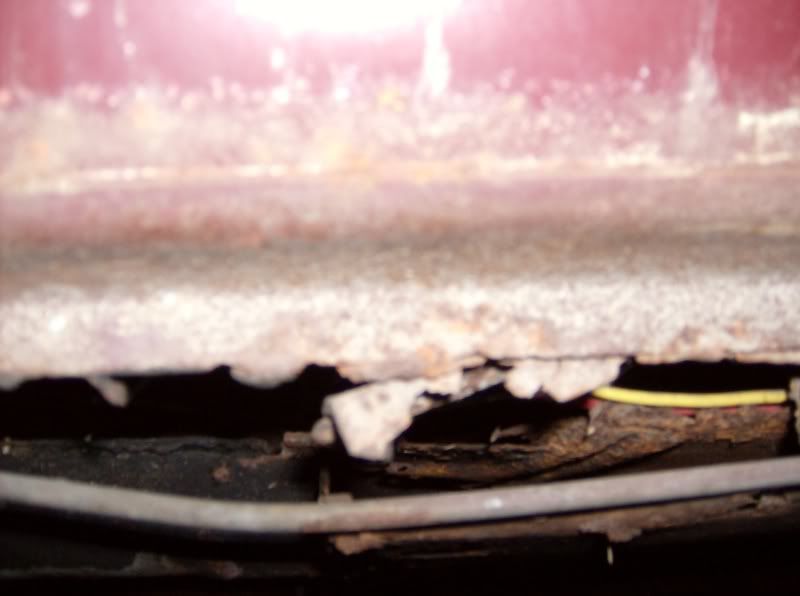
This is looking down in the right corner of the rocker area behind where the quarter panel trim upholstery would go. You can see the hole just behind the cylinder.
Here is standing back at the location of the above pic. As you can see I have cut allot of the old metal out to asses the situation.
Here is the only damage to the tunnel. Its kinda thin right here.
Under the rear seat. Really this area isn't too bad and is quite solid with only minimal surface rust on the underside. I could almost save this if it doesn't get torn up doing the rockers. You can see the line where the old wet under pad rusted the pan and left this.
This is looking at the inside of the outer rocker just under the front of the drivers door. (The dark gray object is a demilled 20mm Oerlikon for another project so please disregard).
Larger view of the same area above. I spot welded that brace in for transit.
Here is looking down on the passenger side sill. As you can see, the topside sheetmetal on down to an inch above the bottom lip of the outer rocker is solid. Its solid enough that it survived the bumpy road trip from NJ to LA on a trailer. It's solid enough that I can drive the car around (back before I took it apart) and not affect door function.
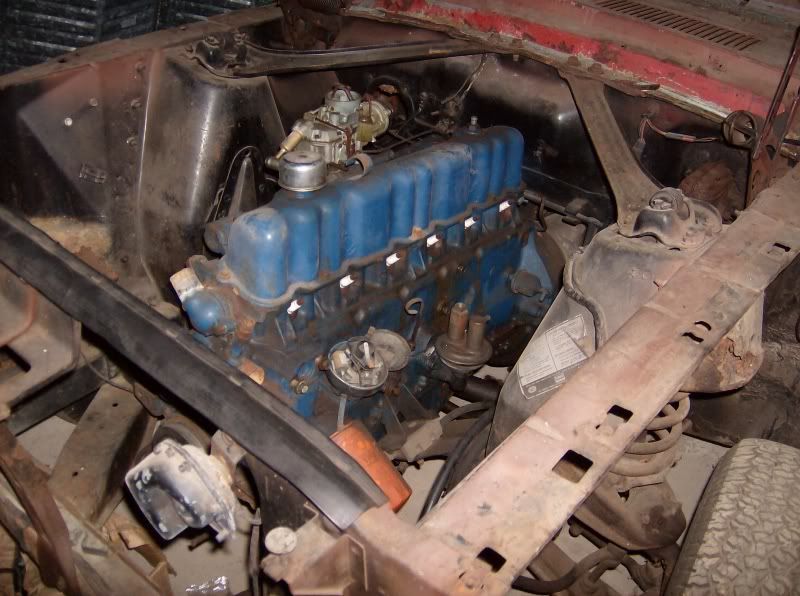
Engine compartment passenger side.
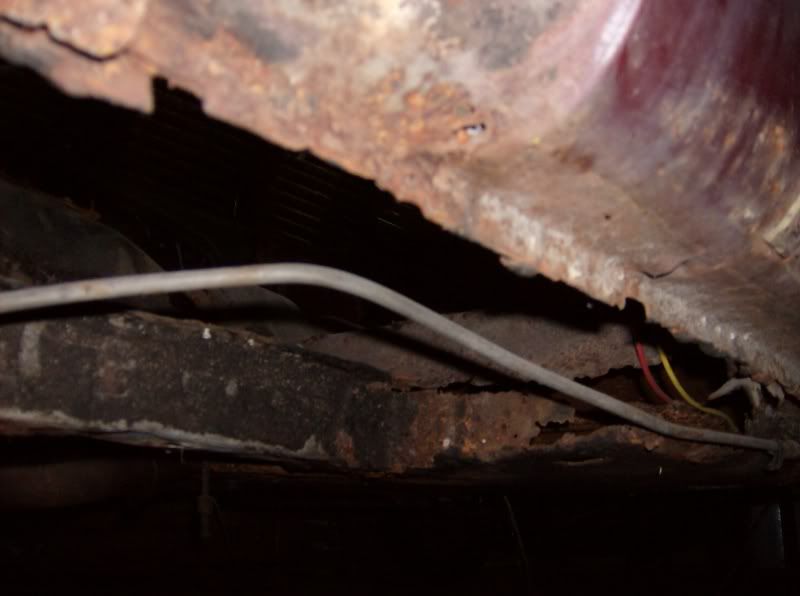
Front passenger rocker.
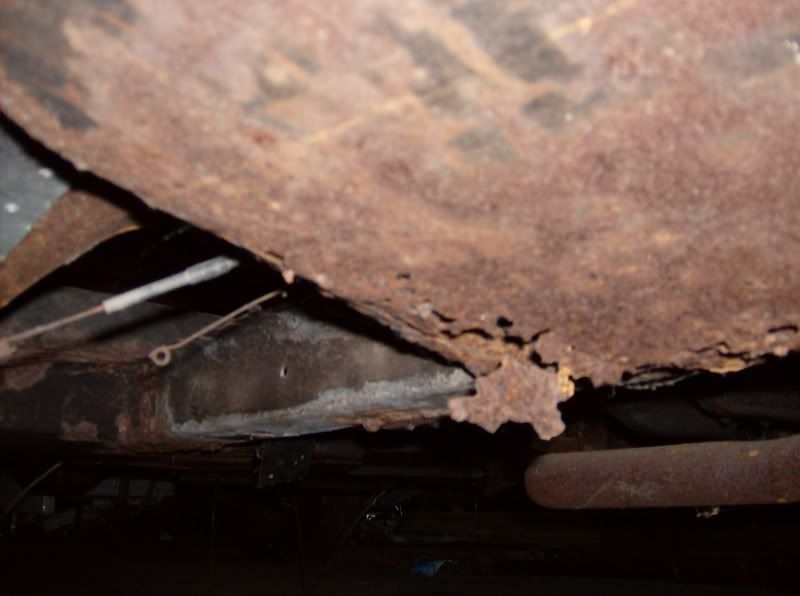
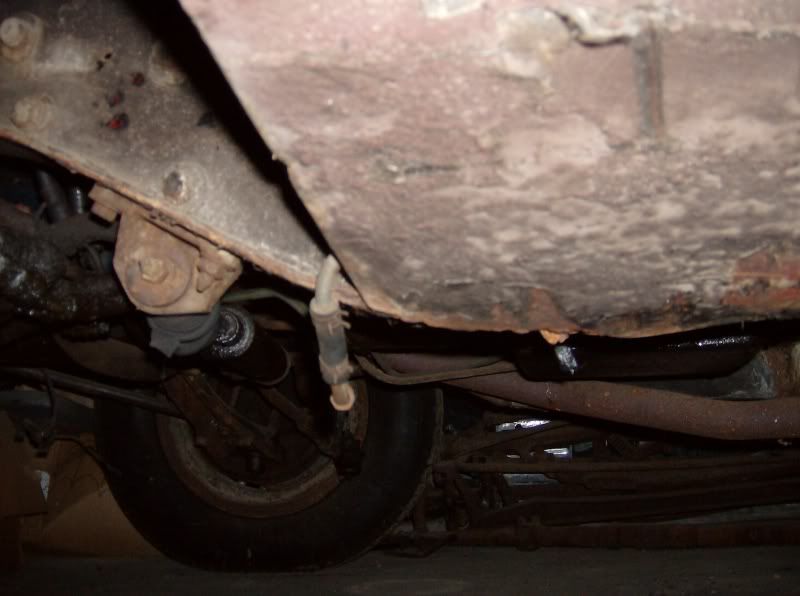
Underside of passenger side torque box.
Drivers side engine compartment.
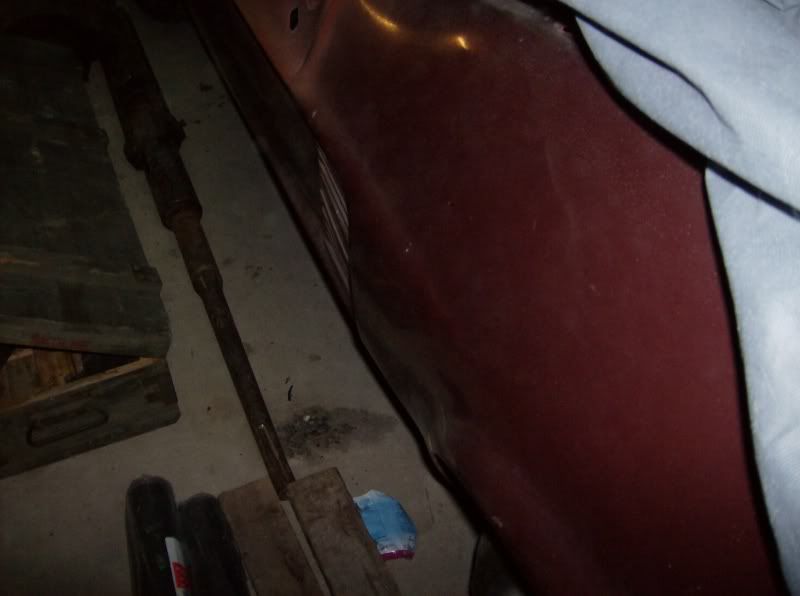
Pretty much self explanatory pic. Before I loaded it on the trailer in NJ I sprayed some rust inhibiting primer over the top edges of the body as you see because there was some light scattered surface rust, just the fuzzy stuff, and I wanted to seal it out. It was painted a maroon sort of burgundy color.
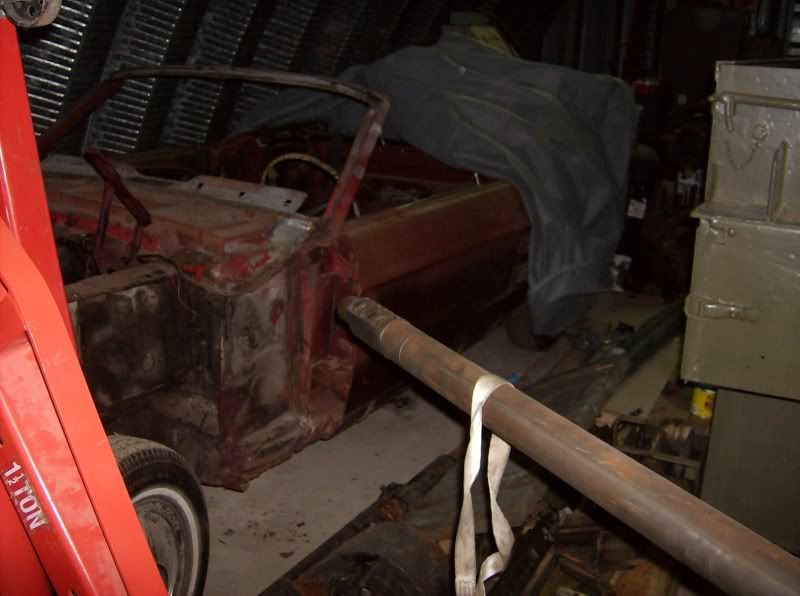
Kinda cramped in this corner of my shop, I have this car, the model T, my Czech truck, and the turret with 30mm cannons all crammed back here. I've been working on tractors.
I have this little bit of rust through at the base of each windsheild pillar, cant figure out how this got here???
Last edited by EZFEED; 03-23-2009 at 09:15 PM.
03-23-2009, 09:11 PM
#13
2nd Gear Member
Thread Starter
Join Date: Mar 2009
Location: Louisiana
Posts: 345
Front underside of the drivers rocker.
Drivers torque box and subframe rail.
Former paint still shiney.

Drivers toeboard. I didn't quite get everything gutted on this side yet as you can see.

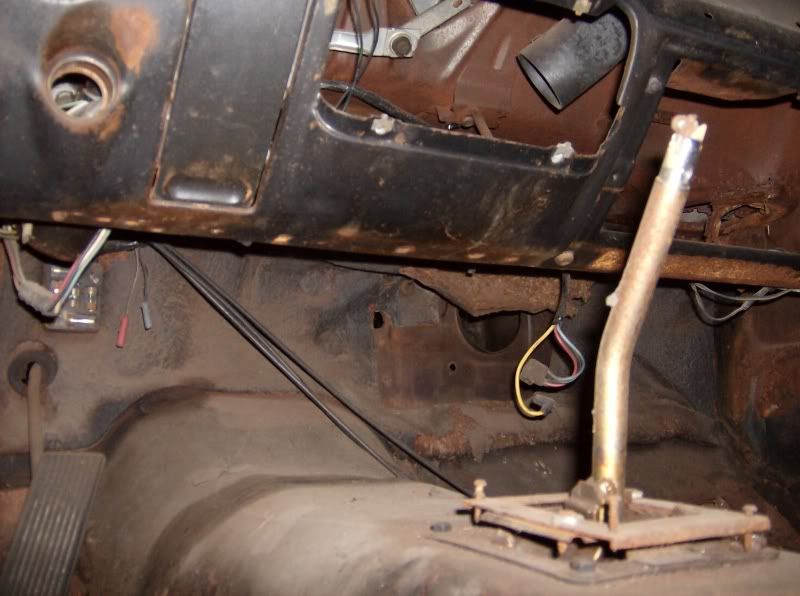
Inside of the drivers side rocker. This is the worst side of the car.

I pulled most everything out. I do plan on replacing the cowls too and have complete cowl assemblies.
The old man never fixed this and the son didn't always put the plexiglass cover over the vent when he took it out. Still the tree branch finished the job.
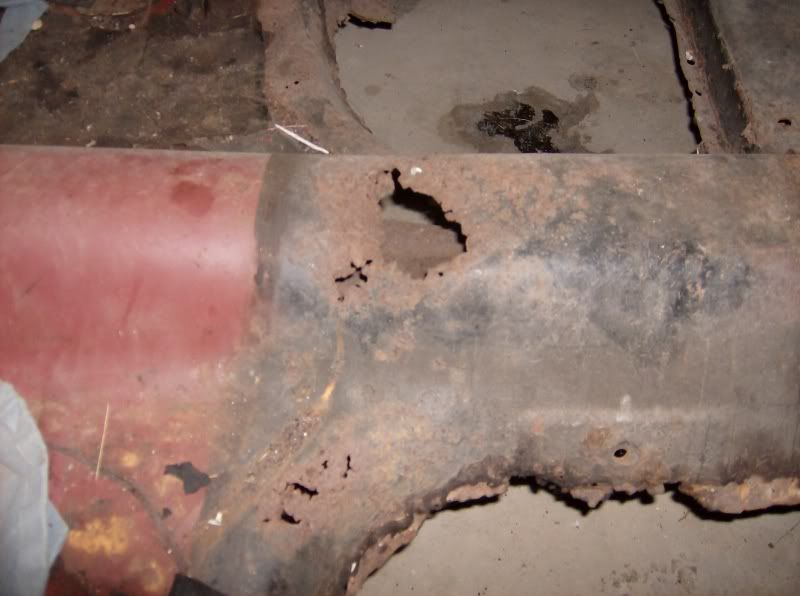
Here is a pic of the damage in the rear of the tunnel. It's pretty isolated and only about 10" around the hole. The old undercoat helped a bit.

Here's a spot on the inside of the drivers rear wheel well.


Sorry bout the pic quality guys. Also its got quite a bit of dust on it from the near 7 years of storage at another place that I had it at. Also I forgot to get the numbers on the data plate in the drivers door! Sorry will get it later!
Heres my inventory of parts for this.
Full length floor pans X2
Full length rockers inner/outer/with front extension X2
Reinforcement, floor pan seat X2
Complete torque box X2
Floor support frame extension X2
Toe board X2 (Dont know if I need these or not?)
Bracket parking brake idler X1
Bracket parking brake lever X1
Then I also have a set of inner rockers by themselves, and some other misc patch panels that I may not need.
Drivers torque box and subframe rail.
Former paint still shiney.
Drivers toeboard. I didn't quite get everything gutted on this side yet as you can see.
Inside of the drivers side rocker. This is the worst side of the car.
I pulled most everything out. I do plan on replacing the cowls too and have complete cowl assemblies.
The old man never fixed this and the son didn't always put the plexiglass cover over the vent when he took it out. Still the tree branch finished the job.
Here is a pic of the damage in the rear of the tunnel. It's pretty isolated and only about 10" around the hole. The old undercoat helped a bit.
Here's a spot on the inside of the drivers rear wheel well.
Sorry bout the pic quality guys. Also its got quite a bit of dust on it from the near 7 years of storage at another place that I had it at. Also I forgot to get the numbers on the data plate in the drivers door! Sorry will get it later!
Heres my inventory of parts for this.
Full length floor pans X2
Full length rockers inner/outer/with front extension X2
Reinforcement, floor pan seat X2
Complete torque box X2
Floor support frame extension X2
Toe board X2 (Dont know if I need these or not?)
Bracket parking brake idler X1
Bracket parking brake lever X1
Then I also have a set of inner rockers by themselves, and some other misc patch panels that I may not need.
03-24-2009, 01:48 AM
#15
2nd Gear Member
Thread Starter
Join Date: Mar 2009
Location: Louisiana
Posts: 345
Oh, something else.
I was told that no matter what, dont move the top because I will use it to set the measurments? I wouldnt think this would make a difference.
Could someone provide me with exact measurements of the door jam openings? Is there a book somewhere that I can find dimensions like these?
I was told that no matter what, dont move the top because I will use it to set the measurments? I wouldnt think this would make a difference.
Could someone provide me with exact measurements of the door jam openings? Is there a book somewhere that I can find dimensions like these?
03-24-2009, 06:48 AM
#16
Grille inserts - http://www.mustangsunlimited.com/ite...sp?T1=F1754+01
03-24-2009, 04:33 PM
#17
2nd Gear Member
Thread Starter
Join Date: Mar 2009
Location: Louisiana
Posts: 345
Thank you very much BA!!!! I just ordered it and the LED upgrade as well! Thanks! That was the last part I needed for the car, I already have all of the rest and I dont think they made this part back when I bought them.
So anyone have any opinions on what to do with it? Is this project even worth it or is this too far gone?
Should I put whole new rockers in or just put the inners in? And if the inners then what would you guys do with the lower edge of the original outer?
I dont see any lower rocker edge skins available that I could patch in unless I bought complete outer skins and cut a section out of each. If I did that then why not go ahead and put the whole new ones in because I'd be putting them against the new inner?
I'm kind of on a teeter totter on this but because of my lack of knowledge on what is required structurally for these cars I am not sure exactly what should and should not be saved. This is a fairly big project for me but I'm 99% sure I can do it.
03-24-2009, 10:11 PM
#20
2nd Gear Member

Join Date: Dec 2008
Location: WV
Posts: 398
That car is pretty ate up but its just metal and it can all be replaced. The repop panels are pretty cheap but its a lot of work. I replaced every piece of the floor and frame from the tail light panel to the radiator (not stock though).
and it can all be replaced. The repop panels are pretty cheap but its a lot of work. I replaced every piece of the floor and frame from the tail light panel to the radiator (not stock though).