A woman's project: 68 Fastback
 05-14-2011, 03:00 PM
#411
3rd Gear Member
Thread Starter
Join Date: Sep 2009
Location: Ohio
Posts: 756
Thank you. Yes it is the Rod & Custom front suspension based off Mustang II. We still have the other fastback. She's patiently waiting her turn! Actually, we fired her up a couple weeks ago with a booster pack, gas in a squirt bottle and a screw driver! I think she sounded pretty good while it lasted  Click on the pic to watch the video.
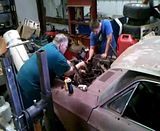
On to the progress. Lately we've taken a break from working on the car. When it starts feeling like a job and not a project, it means take a few steps back and revamp! I feel like we're taking forever to get anywhere, but by the end of the weekend we should be able to say we've reached a milestone. At least I'll tell myself that
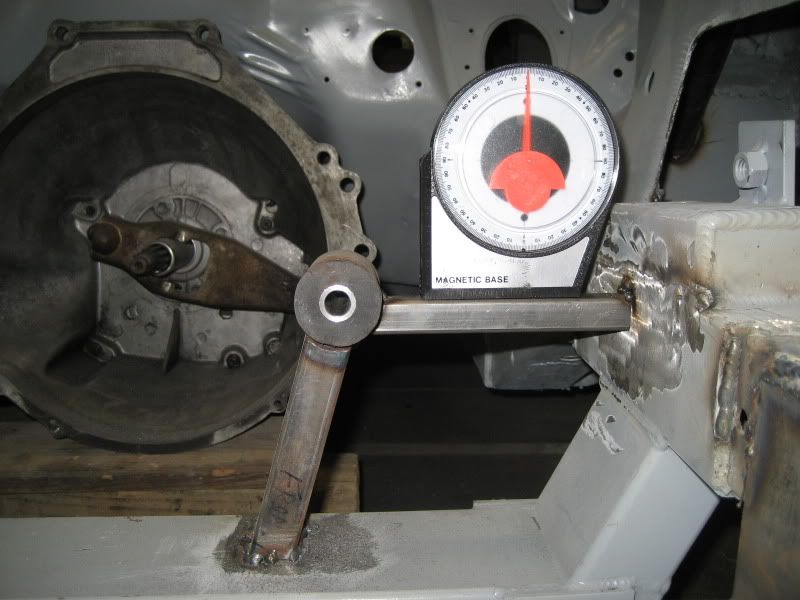
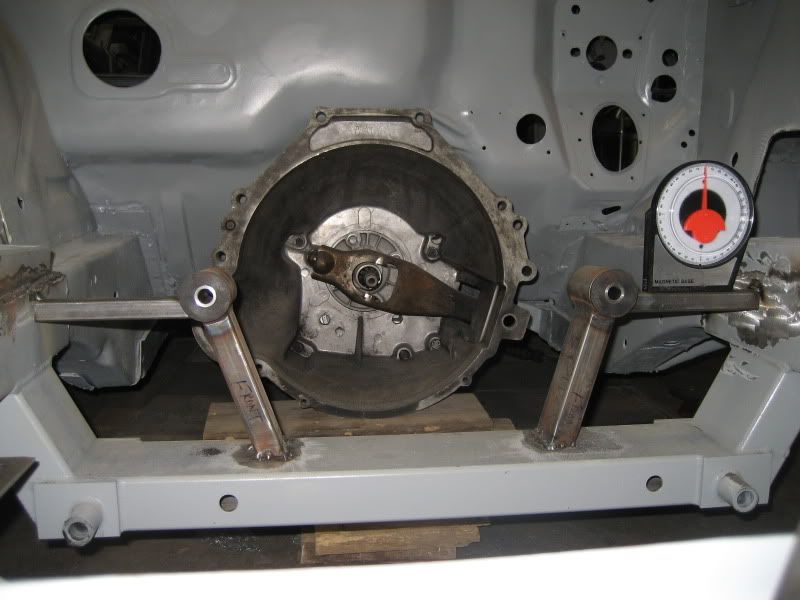
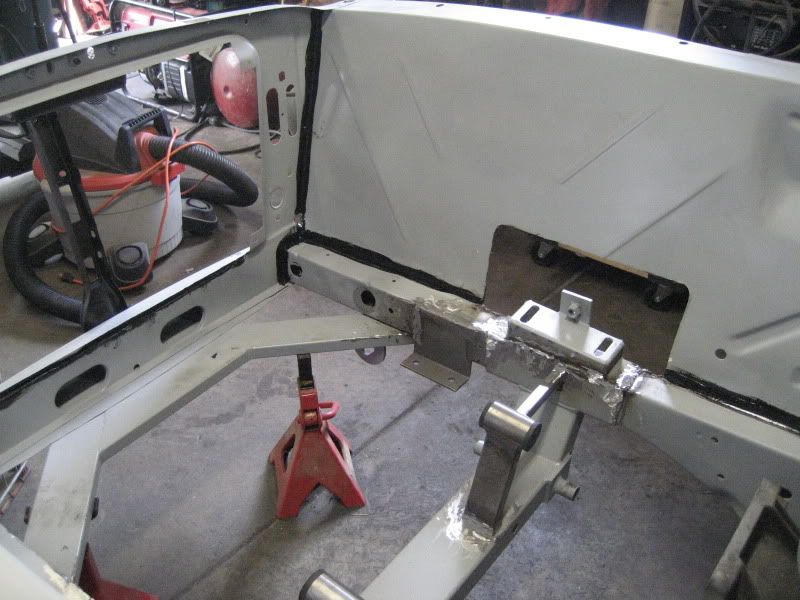
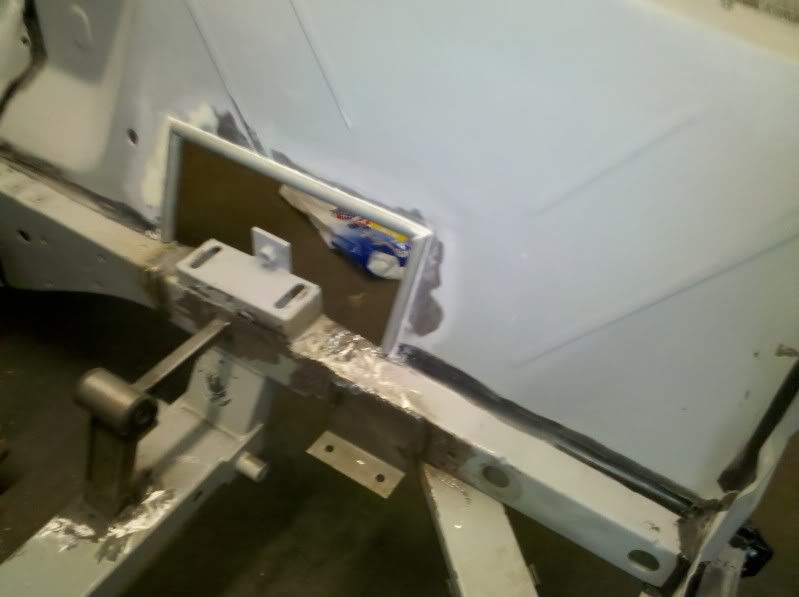
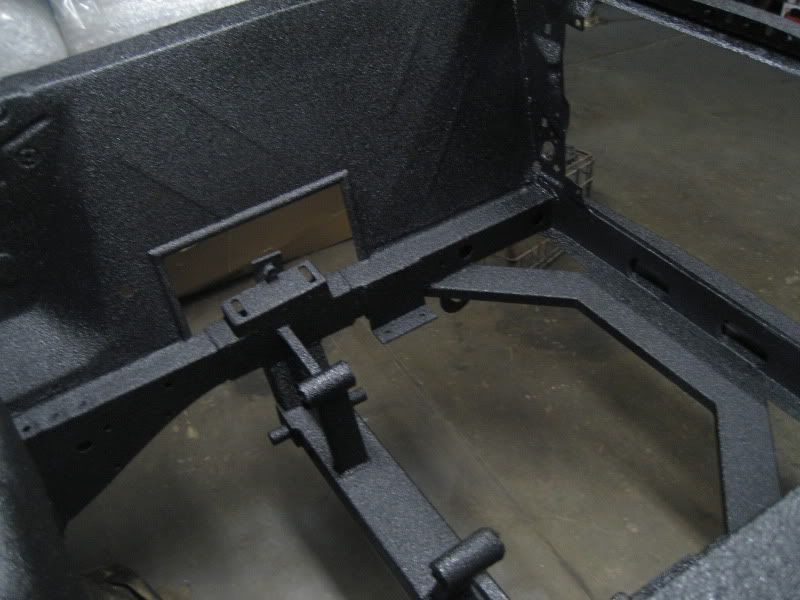
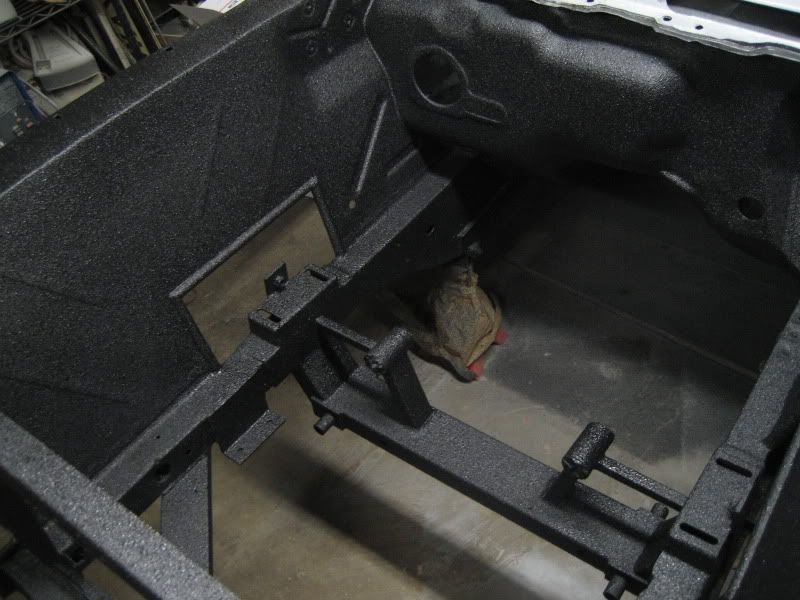
For those who may install a Mustang II suspension from R&C, make sure you order the cradle with the motor mounts already welded. We've spent waaay too much time on them and that is partially why we had to take a break. Here is how today went:
FINALLY got these stupid, stupid, stupid things in place.
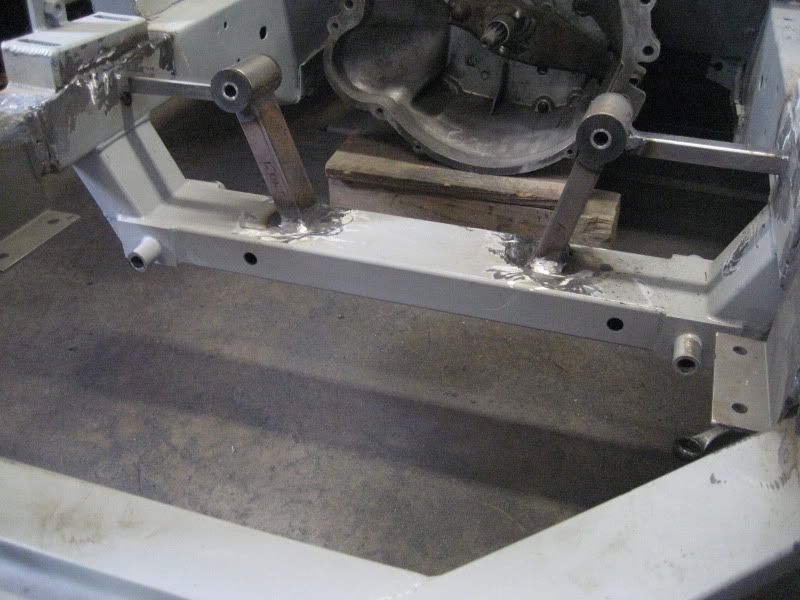

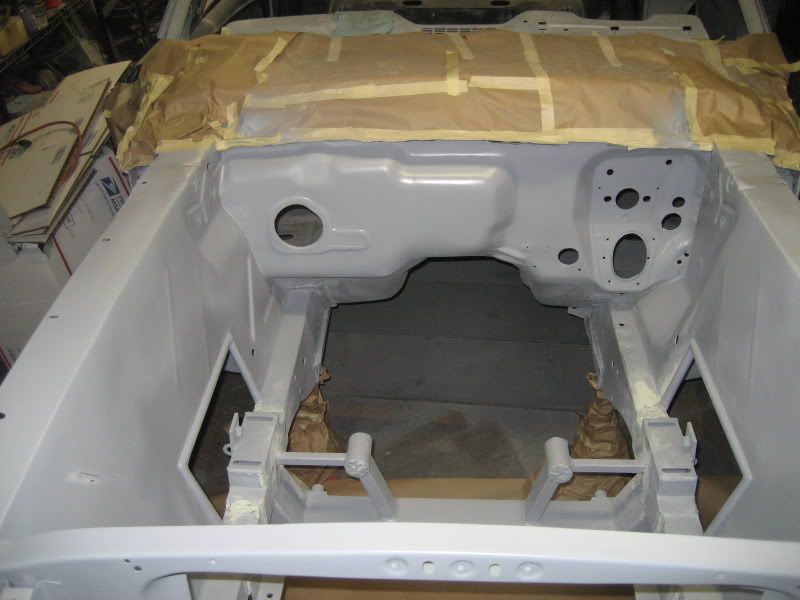
Tomorrow we plan to prime the engine bay for the last time so I cleaned up all the dust and got some seam sealer on. The black Tiger Seal spreads a lot easier than the gray Tiger Seal for future reference.

Click on the pic to watch the video. On to the progress. Lately we've taken a break from working on the car. When it starts feeling like a job and not a project, it means take a few steps back and revamp! I feel like we're taking forever to get anywhere, but by the end of the weekend we should be able to say we've reached a milestone. At least I'll tell myself that
For those who may install a Mustang II suspension from R&C, make sure you order the cradle with the motor mounts already welded. We've spent waaay too much time on them and that is partially why we had to take a break. Here is how today went:
FINALLY got these stupid, stupid, stupid things in place.
Tomorrow we plan to prime the engine bay for the last time so I cleaned up all the dust and got some seam sealer on. The black Tiger Seal spreads a lot easier than the gray Tiger Seal for future reference.
Last edited by NoReins; 05-15-2011 at 06:17 AM.

 05-15-2011, 09:02 PM
#414
3rd Gear Member
Thread Starter
Join Date: Sep 2009
Location: Ohio
Posts: 756
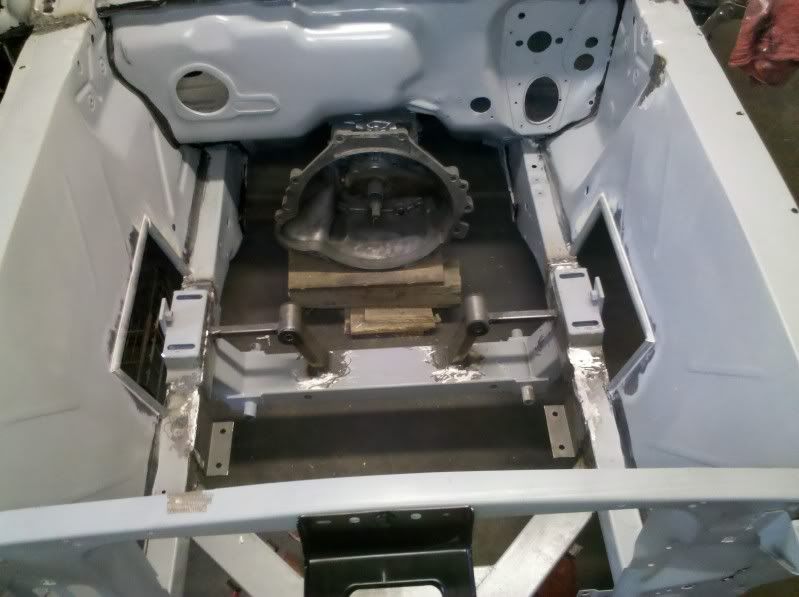
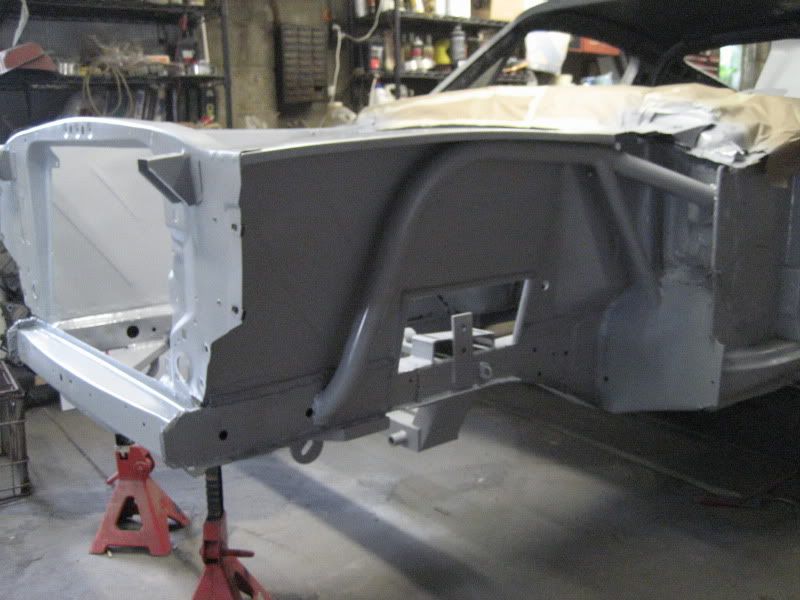
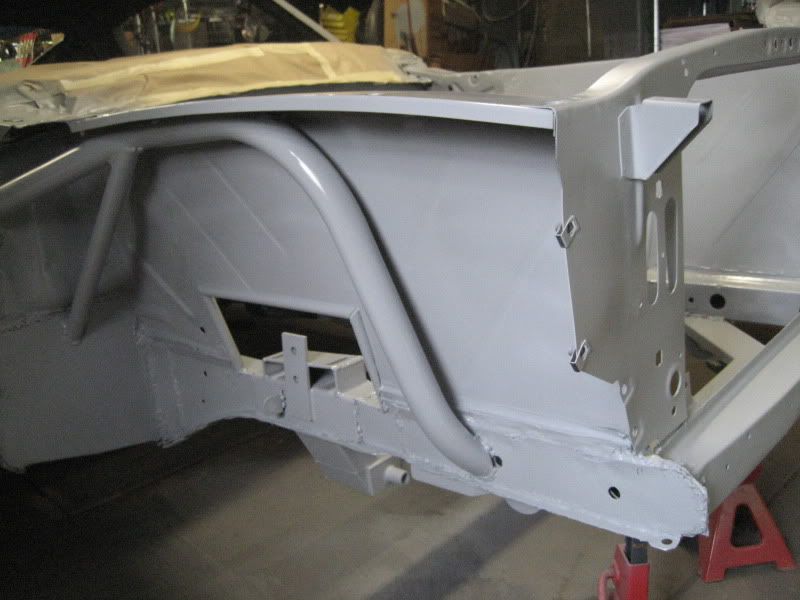
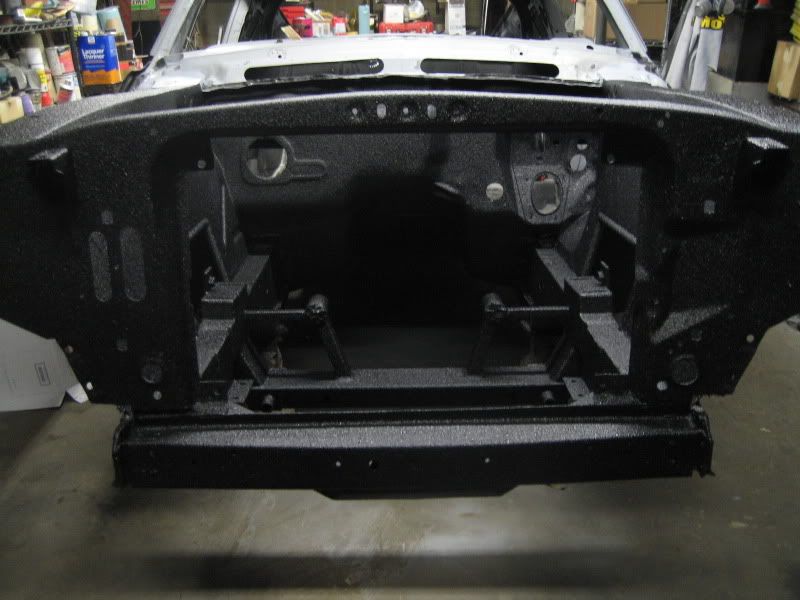
Thank you. So today we really wanted to spray the finishing coat of primer before we use U-Pol Raptor to finish it off. When we got to the shop we began to look at the openings for the A-arms, and contemplated what to do to maintain the rigidness of the fender aprons since we did away with the shock towers. Although many people leave the openings as they are, we had an issue with leaving the panels open for flexing. We used 1'' round tubing to create the frame. It is absolutley amazing how much strength this added back to the panels. We borrowed this idea from a professional builder that we know.

Tomorrow we hope to get this engine bay finished up.
Tomorrow we hope to get this engine bay finished up.
05-15-2011, 09:12 PM
#415
4th Gear Member
Join Date: Apr 2010
Location: Madison, Georgia
Posts: 1,643
Great idea! Many people don't understand the rigidity bends and curves add to sheetmetal. I didn't either 'till someone told me, and then I realized the reasoning.
What really makes this build stand out over the others, besides the fact that it's totally, absolutely, 100% awesome, is that you guys go the extra mile in everything you do. Like you said, most people take shortcuts and leave the openings as is. But it's cool to see the extra work going in.
As always, keep up the excellent work!
05-15-2011, 09:22 PM
#416
4th Gear Member

Join Date: Apr 2010
Location: NJ
Posts: 1,027
T
For those who may install a Mustang II suspension from R&C, make sure you order the cradle with the motor mounts already welded. We've spent waaay too much time on them and that is partially why we had to take a break. Here is how today went:
FINALLY got these stupid, stupid, stupid things in place.
Don't forget to tack those other little brake line tabs in or you'll be like me grinding all the nice new paint away.
Looks good!!! Can't wait until its on the road.
 05-17-2011, 10:14 AM
#419
5th Gear Member
Join Date: Aug 2007
Location: PA
Posts: 2,243
Looking good!!
How big of holes did you drill/punch for spot welding your parts on?
I just hole punched all of my rear end parts with a 1/4" punch as that was the biggest size the body shop had that I borrowed.
Lynn
How big of holes did you drill/punch for spot welding your parts on?
I just hole punched all of my rear end parts with a 1/4" punch as that was the biggest size the body shop had that I borrowed.
Lynn
05-17-2011, 09:49 PM
#420
3rd Gear Member
Thread Starter
Join Date: Sep 2009
Location: Ohio
Posts: 756
Thank you all! And thank you Mr. Velocity for the info on the brake line tabs, we probably would have forgotten about them if it wasn't for your reminder!
Lynn, we used a 3/8" spot weld cutter to drill holes in the new panels for welding. I would recommend the Blair Premium Spotweld Cutter if you do not have one already.
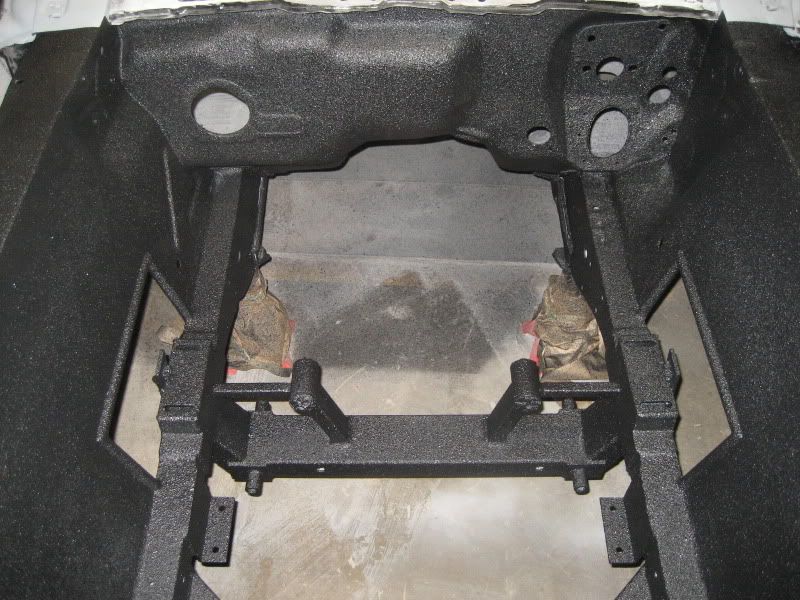
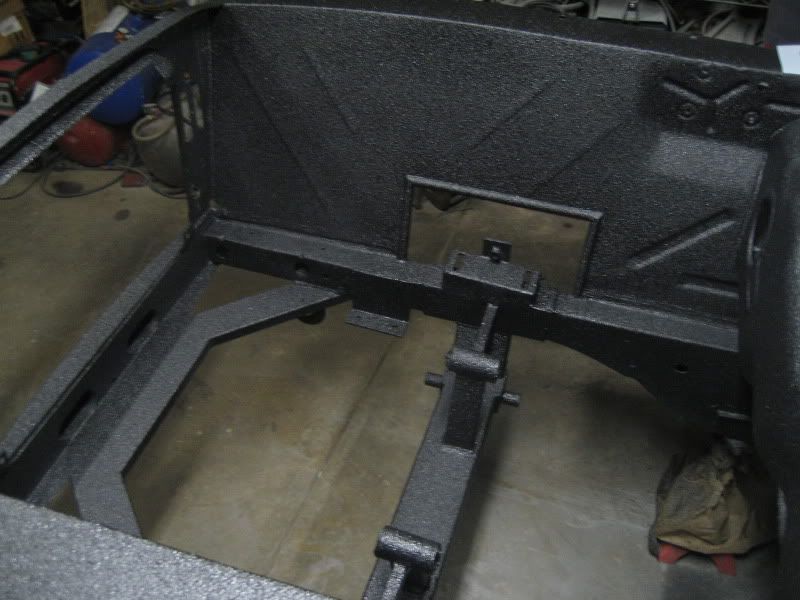
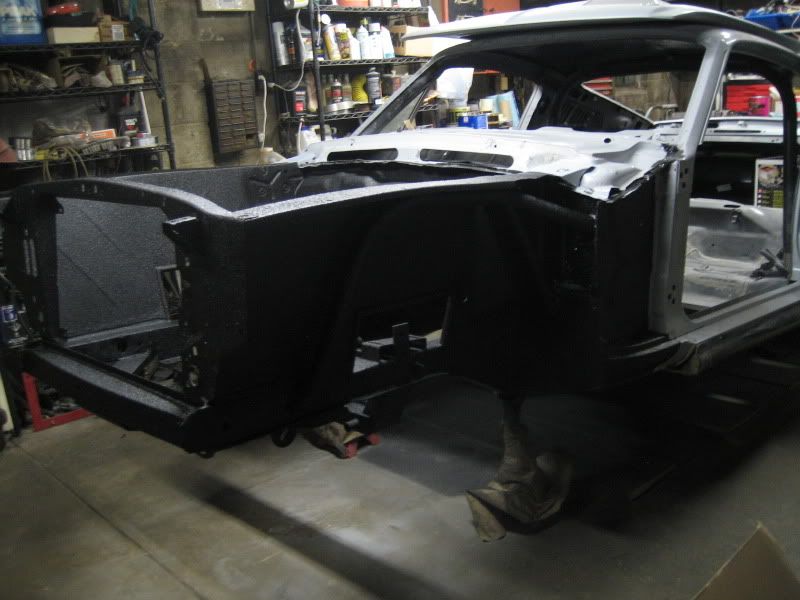
We managed to get the front end primed and painted in the last few days. We used U-Pol Raptor, the same product we used on the underside of the car and will use on the interior and trunk.

Lynn, we used a 3/8" spot weld cutter to drill holes in the new panels for welding. I would recommend the Blair Premium Spotweld Cutter if you do not have one already.
We managed to get the front end primed and painted in the last few days. We used U-Pol Raptor, the same product we used on the underside of the car and will use on the interior and trunk.
Last edited by NoReins; 05-18-2011 at 06:18 AM.