Paint job gone wrong?
 07-05-2011, 07:06 PM
#1
1st Gear Member
Thread Starter
Join Date: Jun 2011
Location: Indiana
Posts: 123
We reached that point that we were ready to put paint on. We had all the bodywork done, primer wet sanded with 600 grit sandpaper, and surface prepped with wax and grease remover. We shot the car with JAU Acrylic Urethane Single Stage (gloss black), and followed all the specifications on the tech sheet. Correct air pressure, correct tip, ect. We set our garage up like a paint booth. Clean as possible for a garage, good circulation, ect.
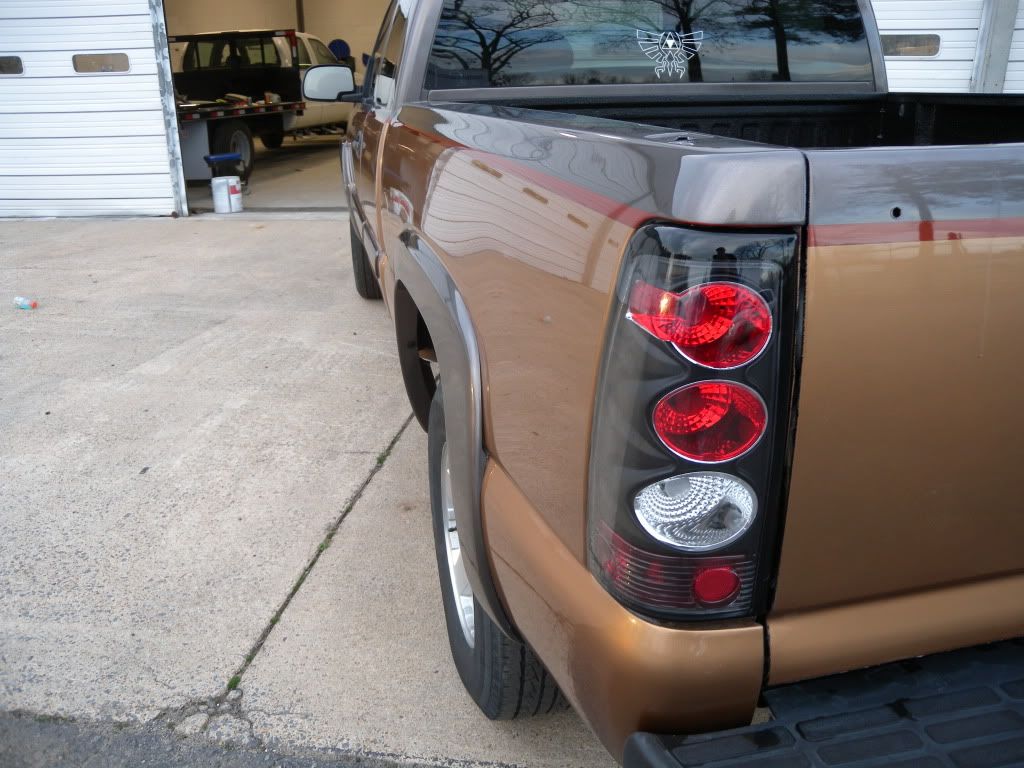
We shot the entire car with a light coat, let the coat flash for 10 minutes as the tech sheet recommended, then shot the car with a heavier coat and waited for 10 minutes. In the end, we had 4 coats. 1 light coat, 3 heavier coats. The next morning we checked on it to see that little areas, like the taillight housings, front and rear valance, and edges looked good. Larger panels like the roof and trunk looked dull and were covered in orange peel.
So starting with the trunk we tried wetsanding using 1000 and 1500, then buffing out with a polishing compound recommended by the local autobody shop. The paint felt great after this, but it looked awful to say the least. Covered in orange peel, and not at all glossy. Discouraged, we wet sanded the entire body with 600 grit again, ready to shoot.
This is where we are now. We've got a body with a scuffed up paintjob that went wrong. We're almost ready to swallow our pride and ask someone else to do it, but I feel that there was something specific wrong with our technique to cause the orange peel. What are some things that we can do to troubleshoot ourselves? What are some things that cause orange peel that amateurs usually do? I was thinking of only doing the passenger door to test out any specific things that people recommend.
 07-05-2011, 07:27 PM
#2

You say nothing about temp and humidity they play a part. Alot of stuff goes into orange peal distance sprayed at ect. Idk i have never used recommended info for spraying mostly go off how i think it should spray. Also depending on the paint using, sometimes you get better results by thinning out the mix a little instead of going by recommended, or even adding a bit of clear. Your best bet is to talk to someone that has sprayed what your looking to spray they can give you inside advice that does not come in instructions. Depending on your situation that may be hard to do if you dont know a painter. So i would call the company and tell them your problems and ask for advice.
07-05-2011, 07:34 PM
#3
Also are you sure its not fish eyes instead of orange peal? Alot of people will use a paper towel with prep on a large surface. When if you hit any grease or oil that paper towel should only be used for one swipe other wise you are just spreading the contaminate around. In prep i would say more is better dont use that dirty towel that you just flipped over and and now put ur hand sweat on the car. Sometimes its not all the big of a deal but if your sweating it would be.
07-05-2011, 07:37 PM
#4
6th Gear Member
Join Date: Jan 2007
Location: AR
Posts: 5,469
You gave up too soon on the cut and buff.
http://s245.photobucket.com/albums/g...%20the%20Runs/
Check the link....
It takes patience.
I have started cutting with as rough as 400 on occasion when the surface was real bad...
If you dont have cut throughs, you might consider topping the black with a clear and cutting it also. (as a rule, clear is easier to cut and buff)
Urethane can be cut and buff, but you have to hurry before it gets too hard.
The trick is to keep sanding till things get flat, but stop before you burn through...
Last edited by JMD; 07-05-2011 at 07:39 PM.
07-05-2011, 07:47 PM
#5
6th Gear Member
Join Date: Jan 2007
Location: AR
Posts: 5,469
This one looked pretty bad before the cut and buff.... It took me about 2 full days of steady work to get this one out.
As long as I am giving tips, it pays to sand with 1000, then 1500, and then 3,000, Machine buff with a good cutting compound with a wool pad and then a foam pad.
3M Tri-Cut works great.
You also need a GOOD machine if you don't want to spend a lifetime buffing too.
I have had this one for well over 20 years...
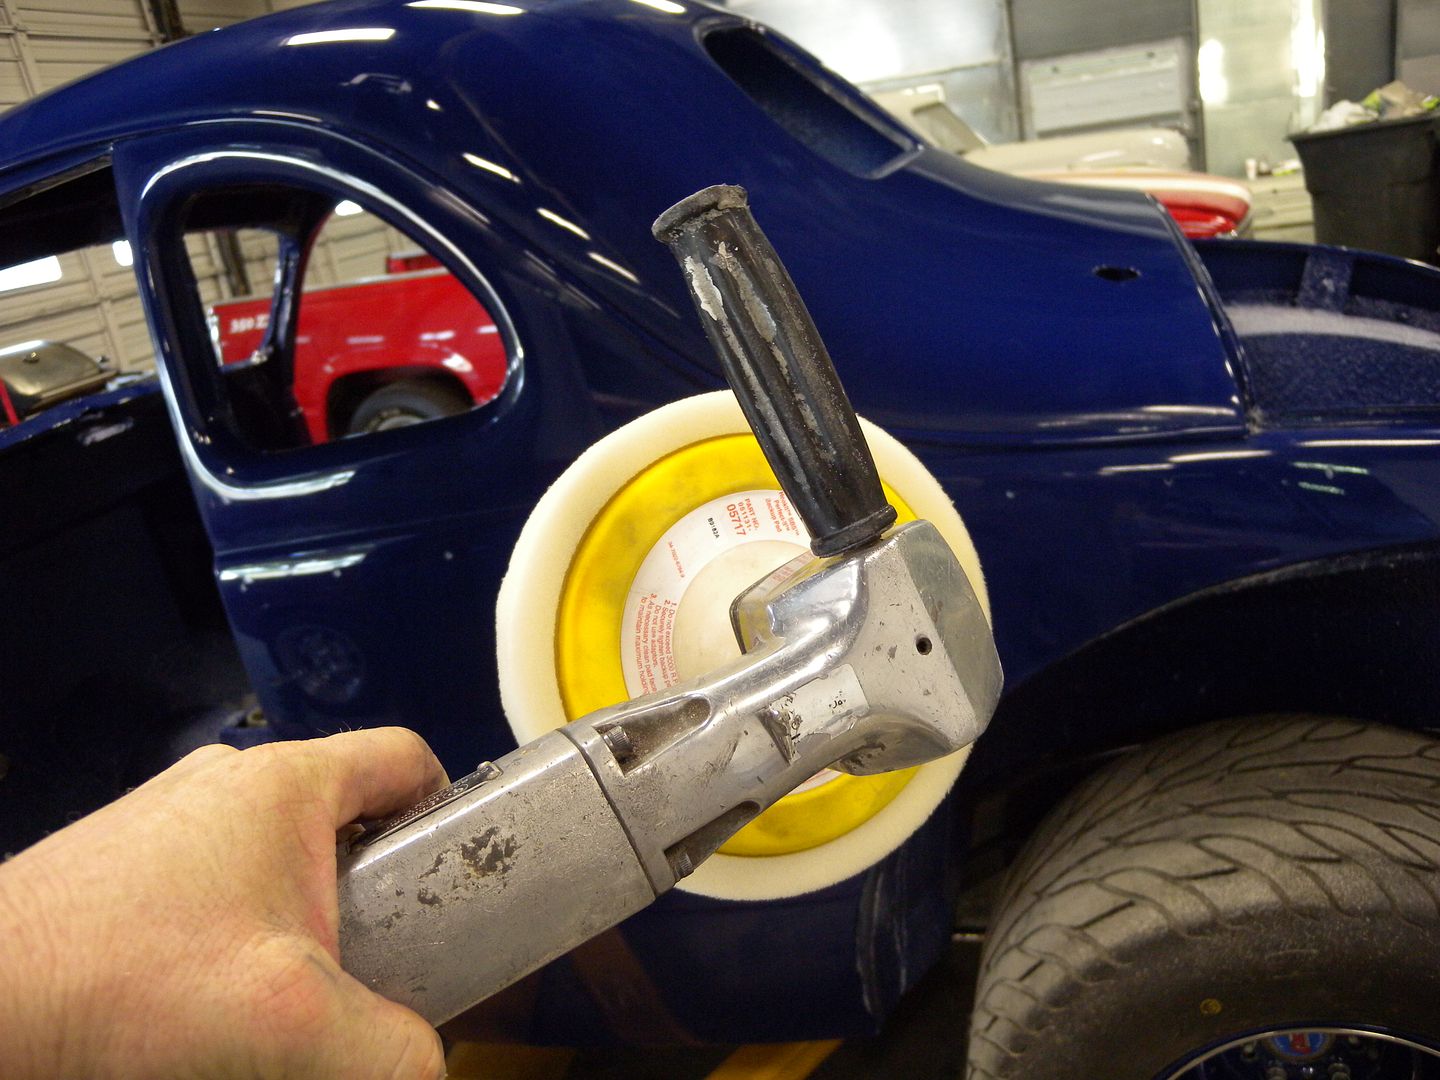
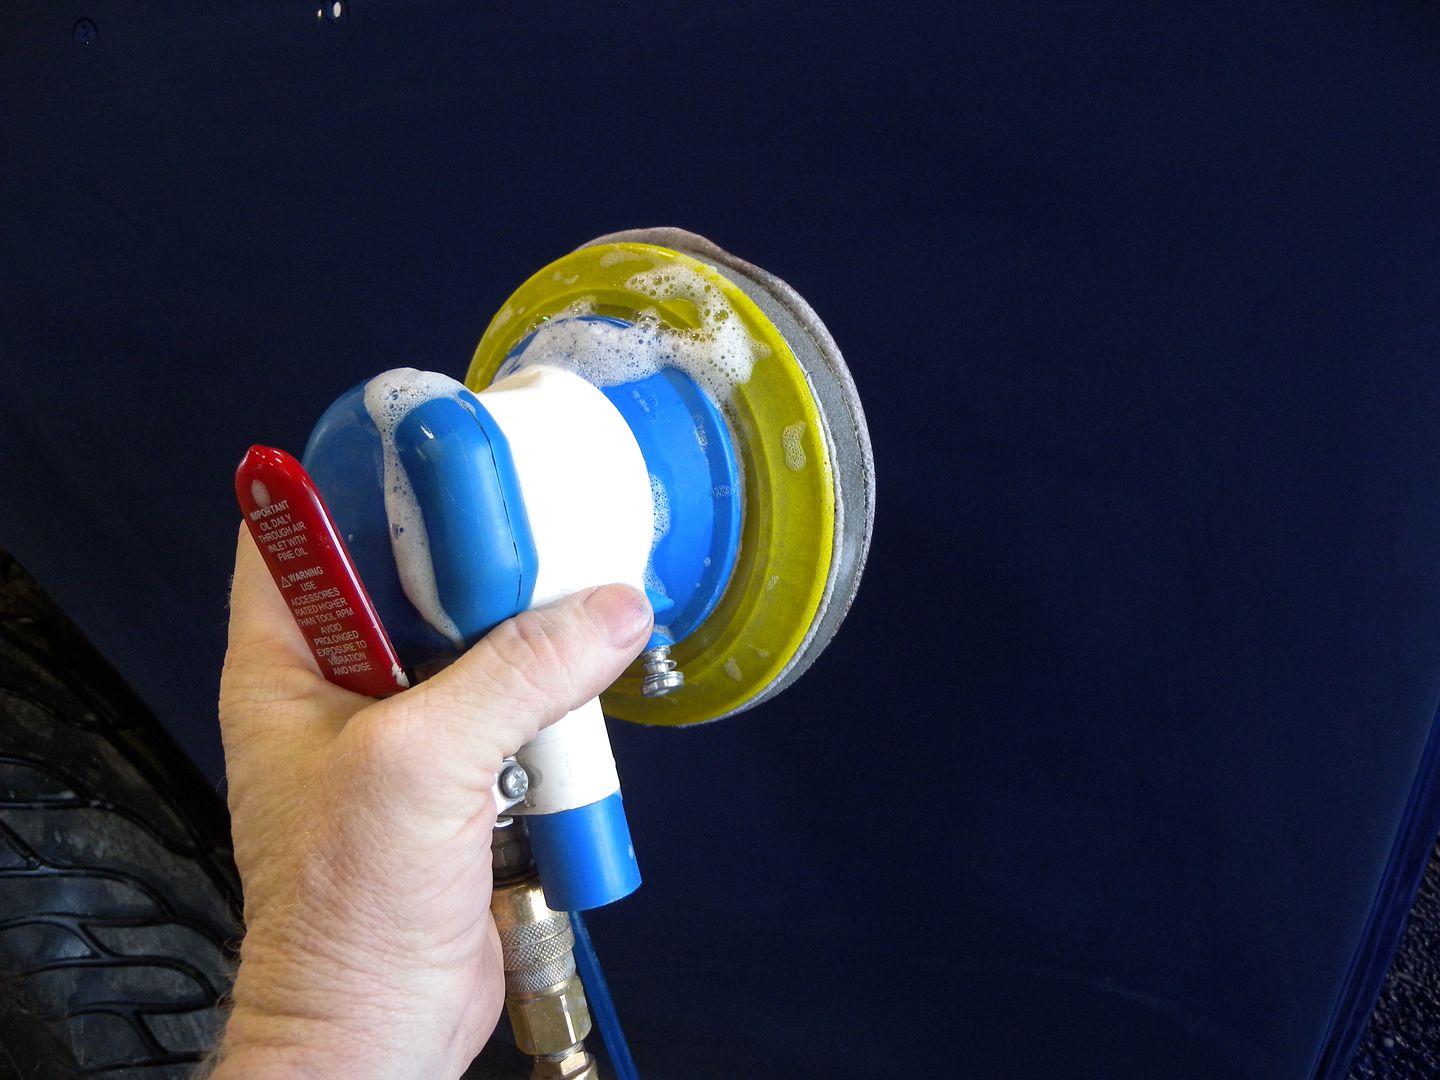
Almost forgot..... I don't know if I would ever cut one by hand again, this Hutchins water sanding D/A helps the sanding a ton....
Last edited by JMD; 07-06-2011 at 09:17 AM.

 07-06-2011, 09:30 AM
#10
1st Gear Member
Thread Starter
Join Date: Jun 2011
Location: Indiana
Posts: 123
I think the problem we had was that there wasn't enough paint on the car. Little more than a quart didn't seem like enough. When we wet sanded, it didn't seem like there was enough paint to work with. We're going to tune our gun better, do the passenger door, sand and buff, and see how it turns out. If it turns out good, we'll do the rest of the car.

