65 Mustang project

 11-06-2011, 06:44 PM
#22
3rd Gear Member
Join Date: Sep 2009
Location: Ohio
Posts: 756
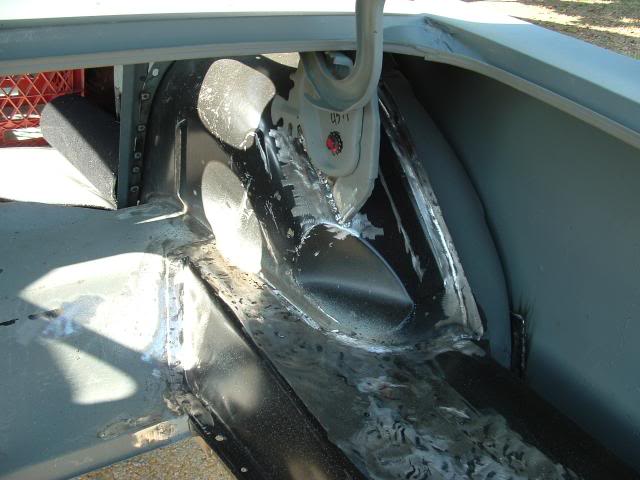
You are doing an awesome job. Your welds look great and you are doing it right the first time. If I had a couple words of advice for you after you finish up that floor, it would be to scuff up the entire floor interior with 80, clean the metal, and spray epoxy. I wish so much I could go back and coat the inside of my build with SPI epoxy, but it's too late. I used Chassis saver (similar to Por15) and I can already tell it doesn't hold up like a good epoxy will.
Keep up the great work! You are doing a killer job.
Keep up the great work! You are doing a killer job.
11-06-2011, 07:03 PM
#23
1st Gear Member
Thread Starter

Join Date: Aug 2011
Location: Jenks, Oklahoma
Posts: 58
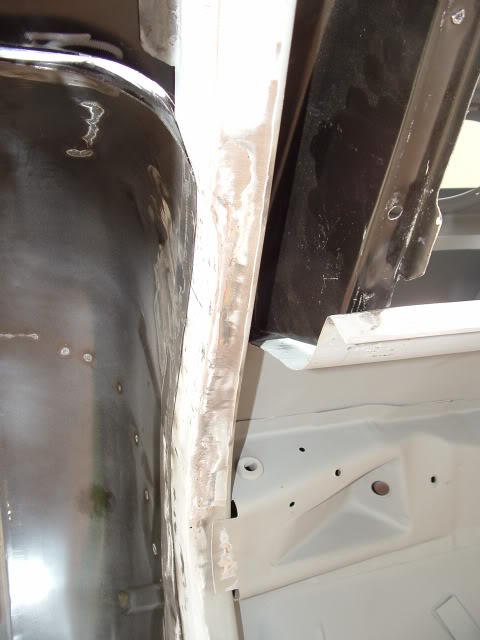
My plans are to sand blast everything back off again, than go with the epoxy. I havnt done any research on primers, who makes the SPI, or is that the name? If I have read right, the epoxy is only a base and is not to be sanded, right? Something I would do diffrent is to hack all the seam sealer off the car before I blasted it. They won't "work" on it bacause it will also work on the metal around it. Next time I will know better! As you know, it is a mess to work around that nasty black stuff. I haven't figured out how to get it off without a mess, Brent
11-07-2011, 04:18 AM
#24
3rd Gear Member
Join Date: Sep 2009
Location: Ohio
Posts: 756
http://www.southernpolyurethanes.com/
Best customer service ever. I have the CEO in my phone and he literally answers 7 days a week, most hours of the day. We've tried several brands of epoxy and nothing compares to this stuff. You can block the epoxy, black is the best for blocking. On my eleanor build you can see where the painter is blocking the black epoxy.
Can't wait to see more progress, keep up the good work!
04-28-2013, 07:32 PM
#25
1st Gear Member
Thread Starter
Join Date: Aug 2011
Location: Jenks, Oklahoma
Posts: 58
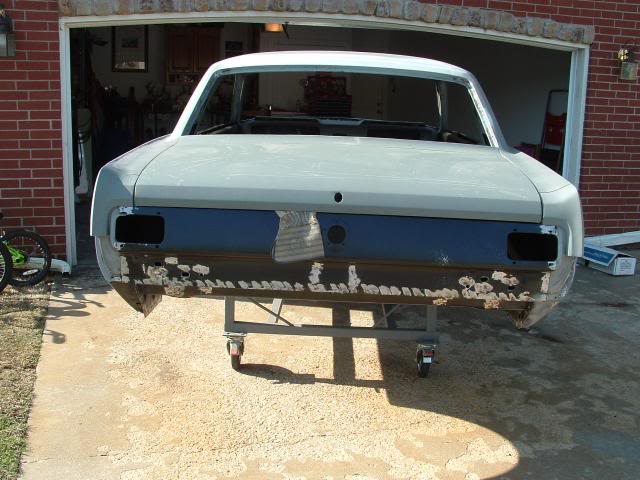
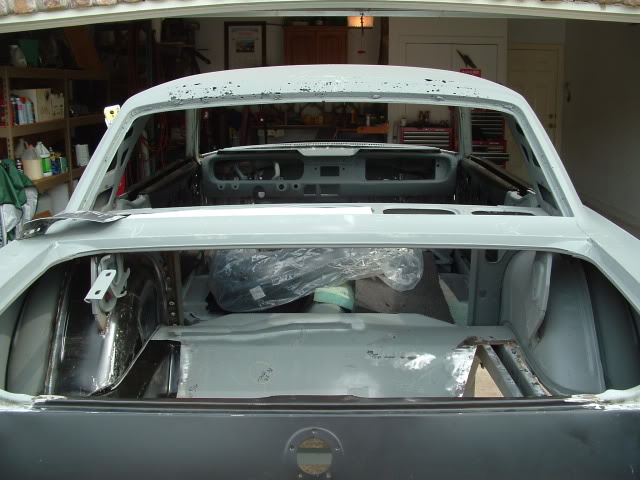
Its been a while since I've updated my build. I have been slow working on the car too. I reached a milestone today and have the car back on its own wheels for the first time in several years. I'll try to do the best I can to catch everyone up. Brent
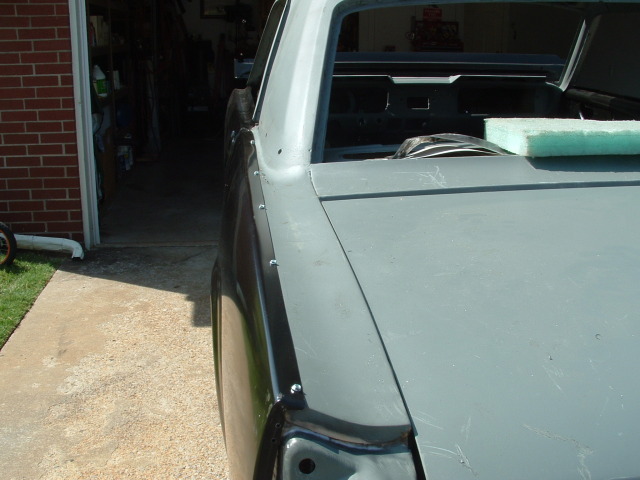
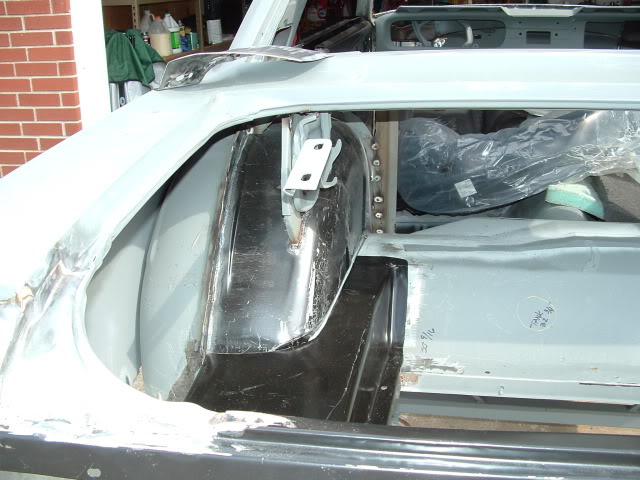
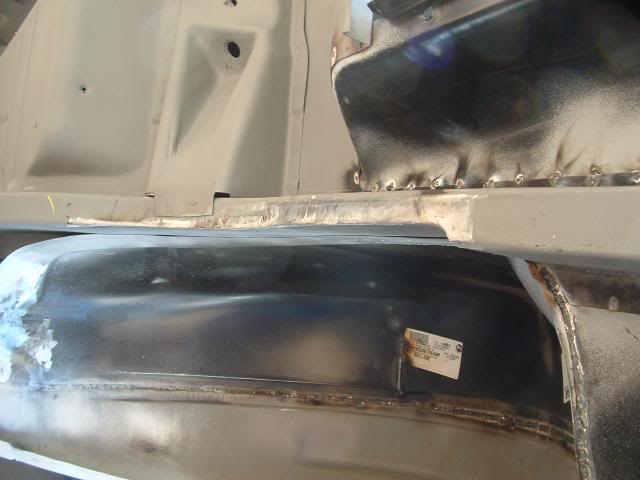
Removed and hung the new quarter. This is the one that had 1/2" of filler on it!
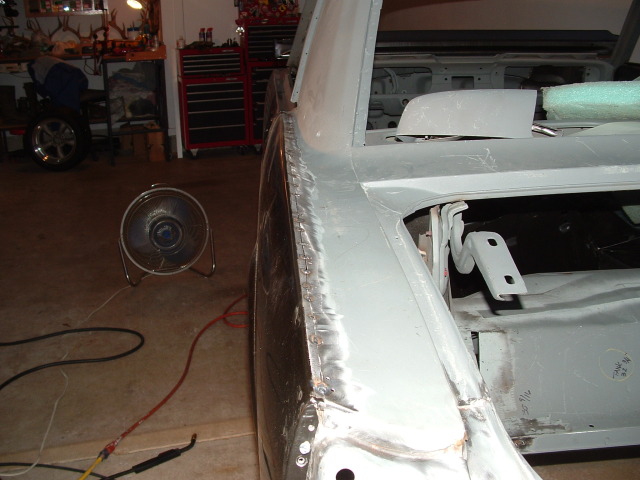
Tacked it in.
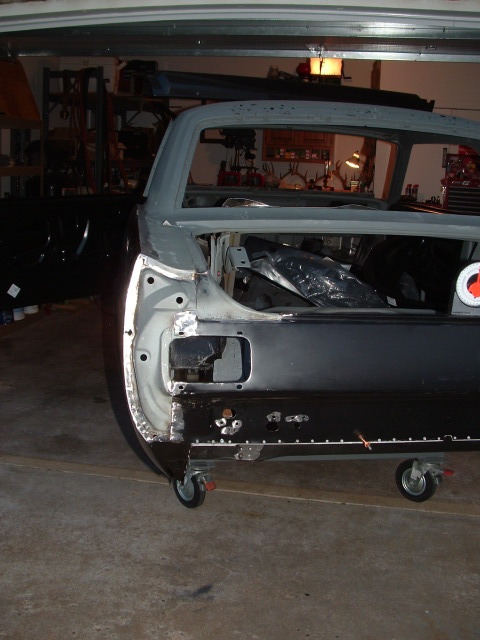
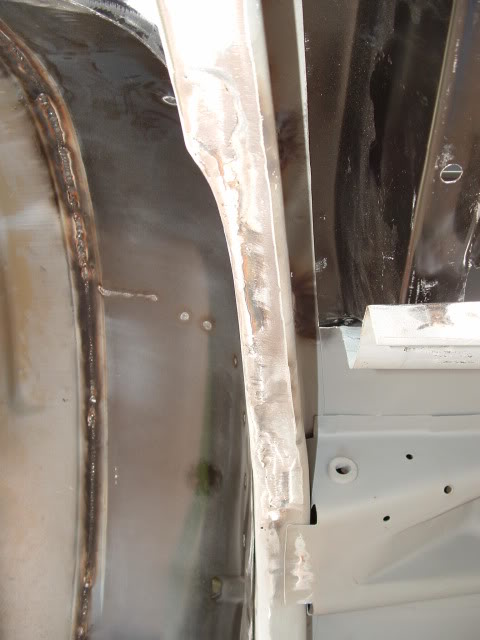
Weled in and smoothed down.
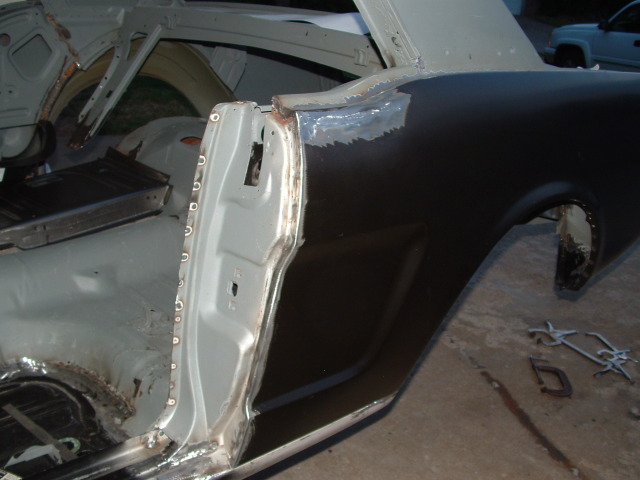
I had to cut a slit in the skin to get rid od a bubble or crown I had in the panel.
Removed and hung the new quarter. This is the one that had 1/2" of filler on it!

Tacked it in.

Weled in and smoothed down.

I had to cut a slit in the skin to get rid od a bubble or crown I had in the panel.


 04-28-2013, 07:39 PM
#27
1st Gear Member
Thread Starter
Join Date: Aug 2011
Location: Jenks, Oklahoma
Posts: 58
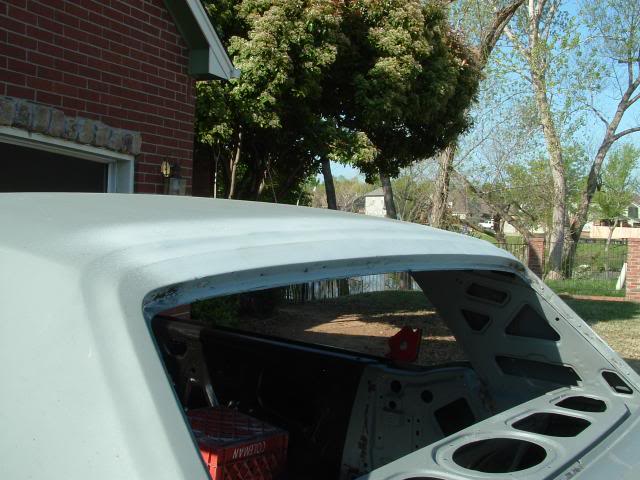
In the above pictures, you can see how bad the rust is in the top that was caused by moisture getting under the soft top. I patched in a few pieces from a doner car and it worked great.

 04-28-2013, 07:50 PM
#28
1st Gear Member
Thread Starter
Join Date: Aug 2011
Location: Jenks, Oklahoma
Posts: 58
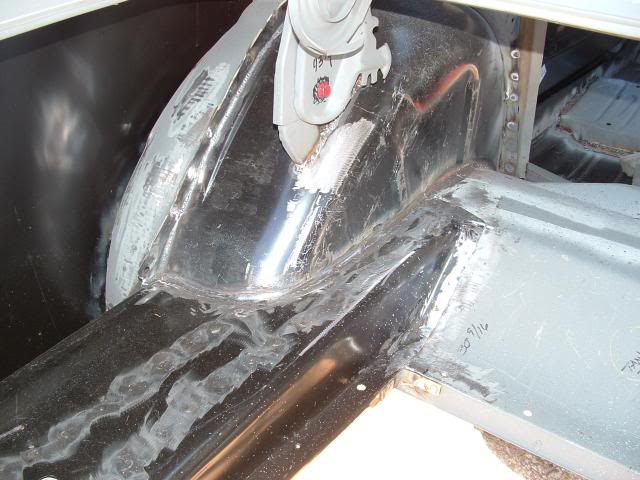
I added mini tubs from Grave Robbers Sheet Metal. They are a super nice product and worked great. I had to cut down the frame rail to make room, when I did, I boxed the top of the rail for strenght. It all worked out great. Now the only problem is the leaf springs, I think I got a fix for them. Brent
Old compared to new

Added the floors and smoothed it out


Old compared to new


Added the floors and smoothed it out


