1968 Fastback J-Code Restoration

 03-20-2012, 02:03 PM
#33
1st Gear Member

Join Date: Oct 2010
Location: New Mexico
Posts: 129
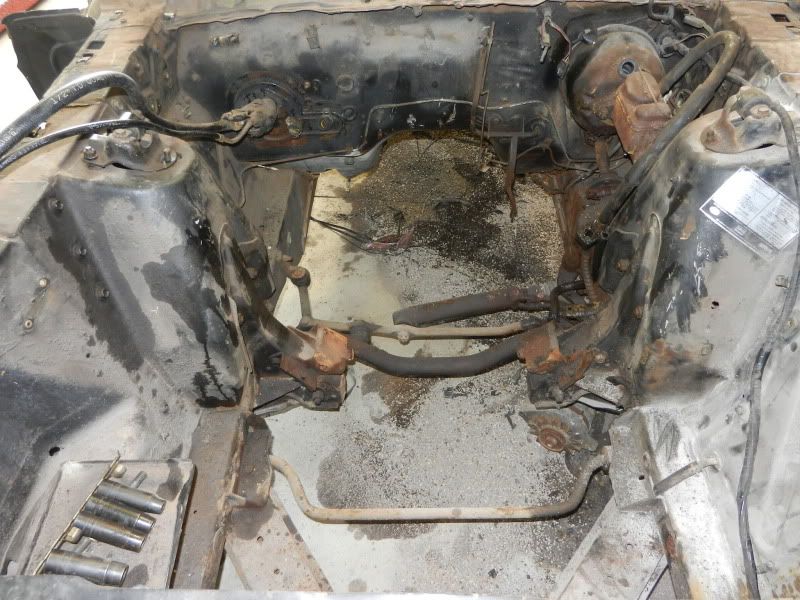
Nasty, right ? That's the way my J-code '68 notchback looked when I pulled the '72 302 out. It'll be nice to be able to work outside again this spring once the weather breaks for good !
Keep up the good work
Keep up the good work
04-01-2012, 10:26 AM
#34
3rd Gear Member
Thread Starter
Join Date: Sep 2009
Location: Ohio
Posts: 756
Sooo... umm am I going to be exiled if I say we maaay have changed our minds on the direction of this build? .... maybe I should just quit posting now??

 04-01-2012, 03:57 PM
#37
3rd Gear Member
Thread Starter
Join Date: Sep 2009
Location: Ohio
Posts: 756
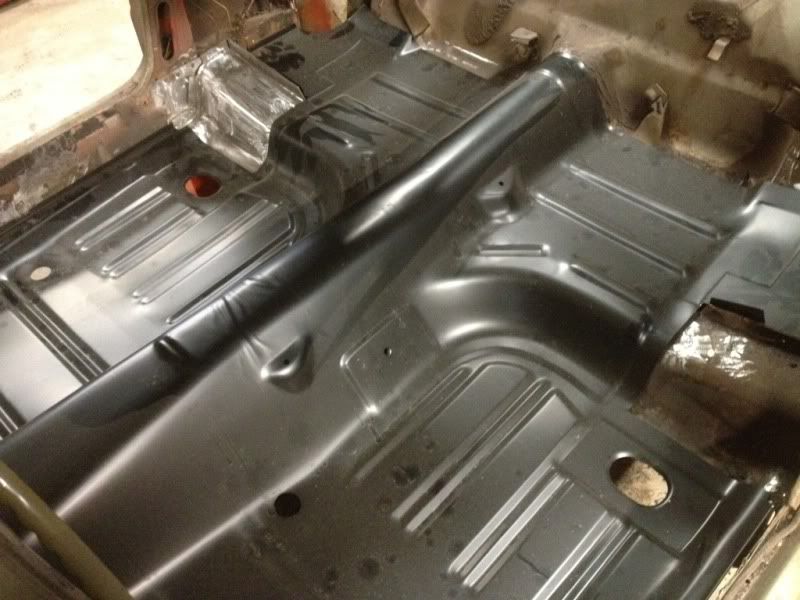
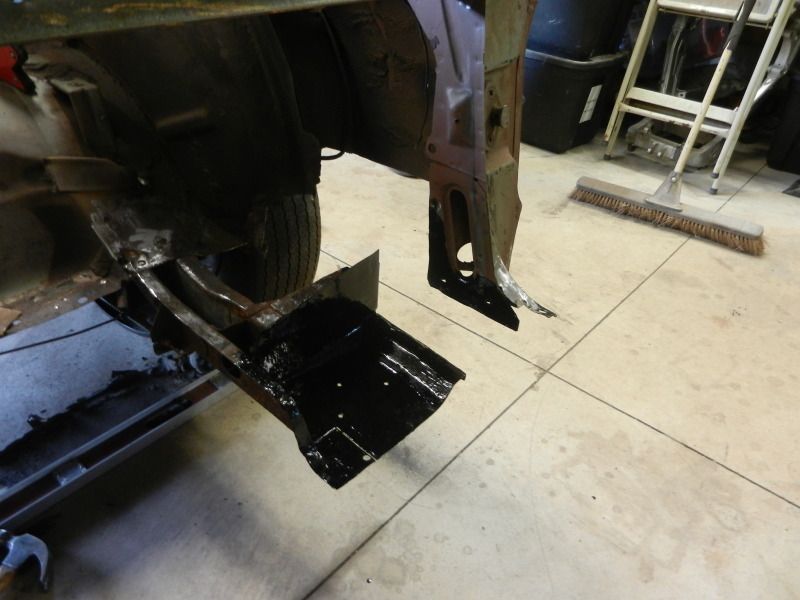
This weekend we finished cutting the floor out. We found that the passenger side torque box cover will need replaced. Funny enough we had a spare as NPD sent us two passenger side covers when we replaced Eleanor's. We test-fit the new one piece floor pan to see what we were up against.
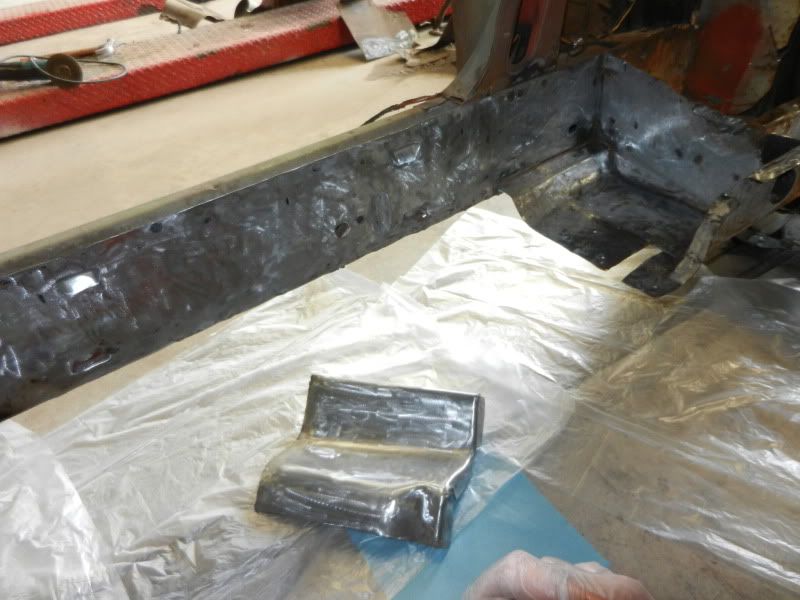
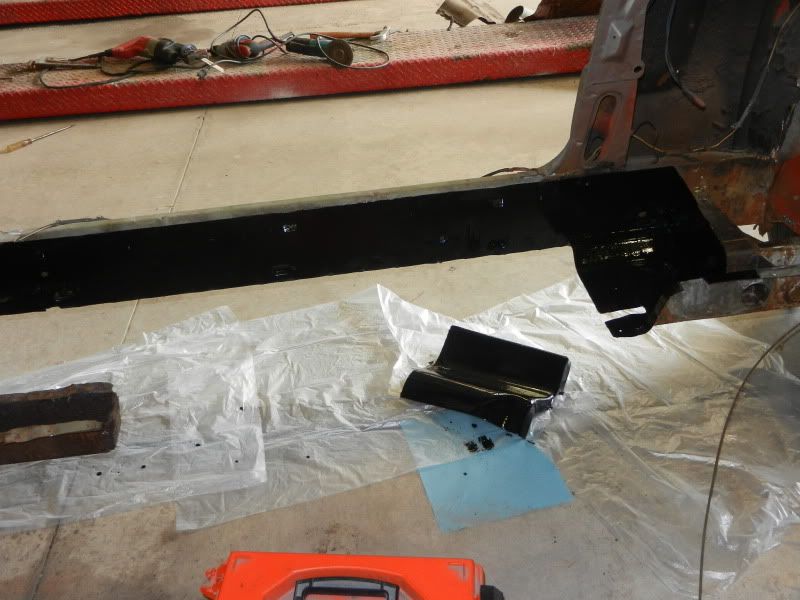
We stripped the inner rocker down to clean bare metal and brushed 2 coats of SPI Epoxy. As of now we are planning to take the car to have media blasted once we get the new front frame rails and floor in, but in case something changes we wanted to make sure the metal was protected while it was already cleaned up. We also coated the bottom side of the torque box cover.
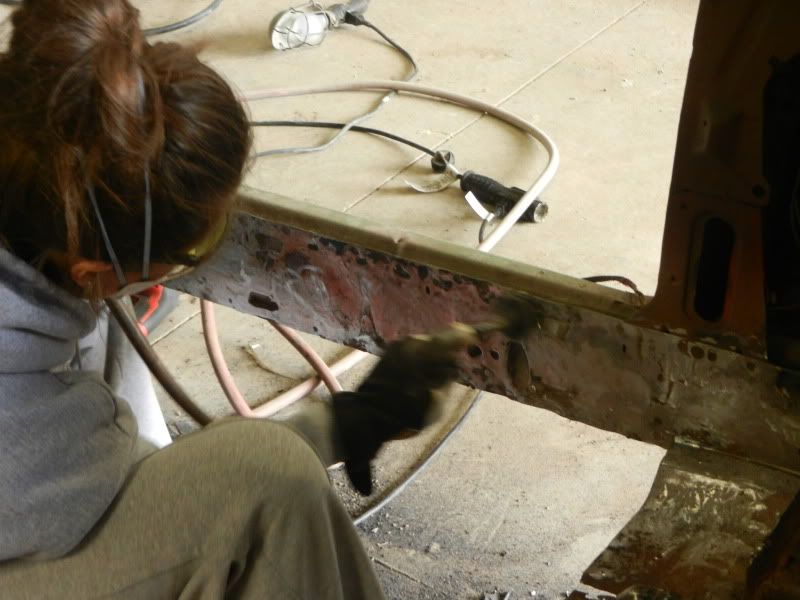
We learned quite a bit on our last build and one of our larger regrets was using any type of one-part rust converter, ie POR 15, Chassis Black, KBS, etc. I had a rusty piece of metal that we sprayed with SPI epoxy over a year ago and forgot about. It was sitting outside until last week. The finish was unphased, after sitting in the sun, rain and snow for about a year. If I wasn't sold on it before, I'm really sold on it now.
We stripped the inner rocker down to clean bare metal and brushed 2 coats of SPI Epoxy. As of now we are planning to take the car to have media blasted once we get the new front frame rails and floor in, but in case something changes we wanted to make sure the metal was protected while it was already cleaned up. We also coated the bottom side of the torque box cover.
We learned quite a bit on our last build and one of our larger regrets was using any type of one-part rust converter, ie POR 15, Chassis Black, KBS, etc. I had a rusty piece of metal that we sprayed with SPI epoxy over a year ago and forgot about. It was sitting outside until last week. The finish was unphased, after sitting in the sun, rain and snow for about a year. If I wasn't sold on it before, I'm really sold on it now.
04-29-2012, 04:11 PM
#39
3rd Gear Member
Thread Starter
Join Date: Sep 2009
Location: Ohio
Posts: 756
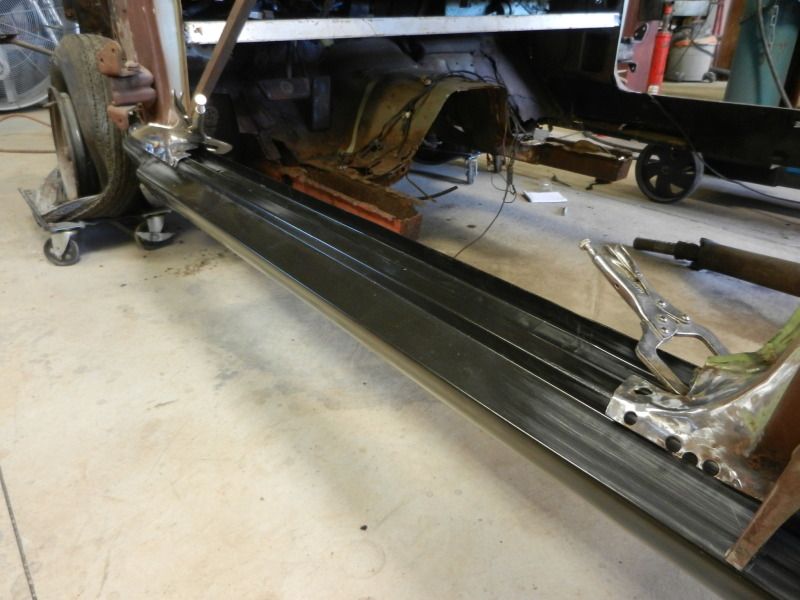
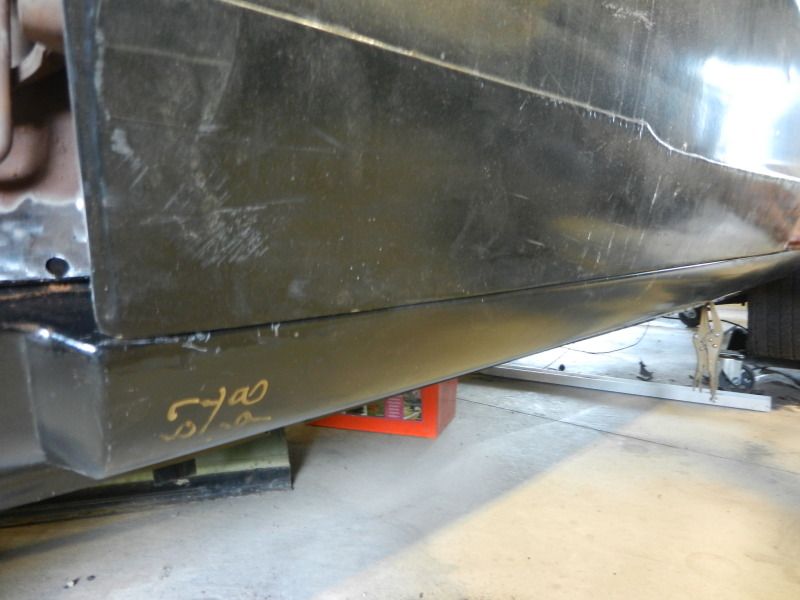
So this really isn't worthy of much of an update but oh well. We haven't worked on the car lately, been really busy, etc. We knew we'd have to make a few small patches on the inner rocker where it welds to the floor. Also the rear of both outer rockers had been previously patched. We did not plan on replacing the entire rocker, buuuuut we came across a pair of dynacorn FULL rockers, inner & outer welded together, on eBay. We bid on them, and won for $115 shipped. We were going to just use them for patches and then I had this GENIUS idea - Why don't we just replace the ENTIRE things!!! Well...note to self... it's not as easy as the picture I painted in Aaron's head. Woopsies. Nothing like a little overkill, eh?
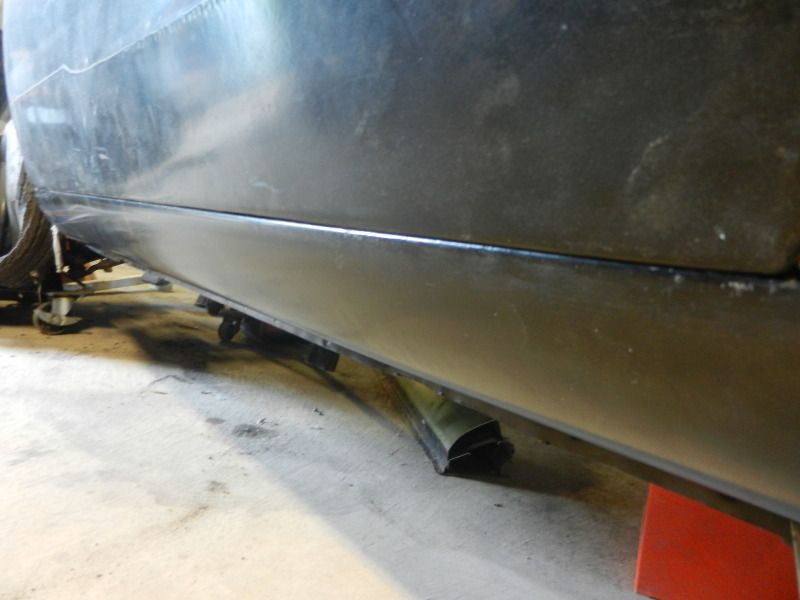
Mocked up. Then we took them off and brushed SPI epoxy on the bare metal that the rockers will weld to.

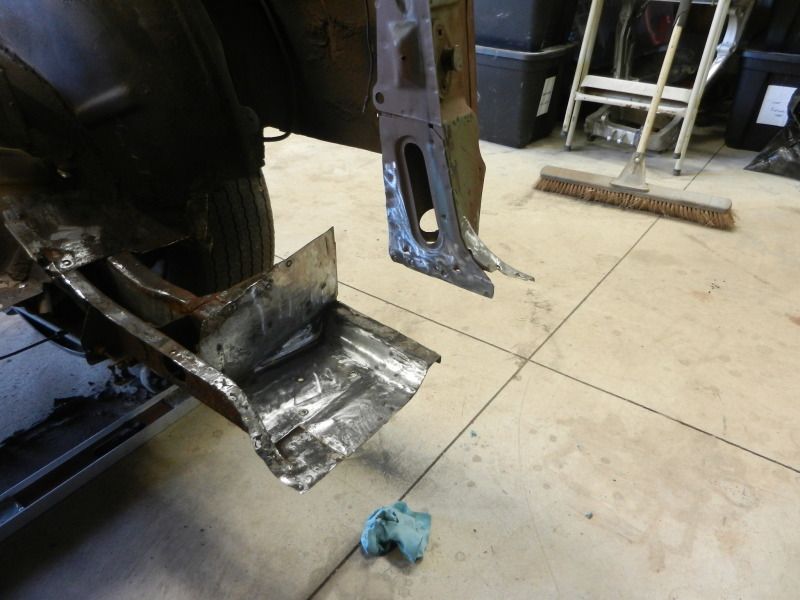
Then I brushed SPI epoxy in the torque box. I also cleaned and brushed it on the parts of the rocker that will be covered by both pillars.
Mocked up. Then we took them off and brushed SPI epoxy on the bare metal that the rockers will weld to.
Then I brushed SPI epoxy in the torque box. I also cleaned and brushed it on the parts of the rocker that will be covered by both pillars.
08-07-2012, 08:00 PM
#40
3rd Gear Member
Thread Starter
Join Date: Sep 2009
Location: Ohio
Posts: 756
I'm only sharing this because we've heard some that have had issues with the Dynacorn rockers.
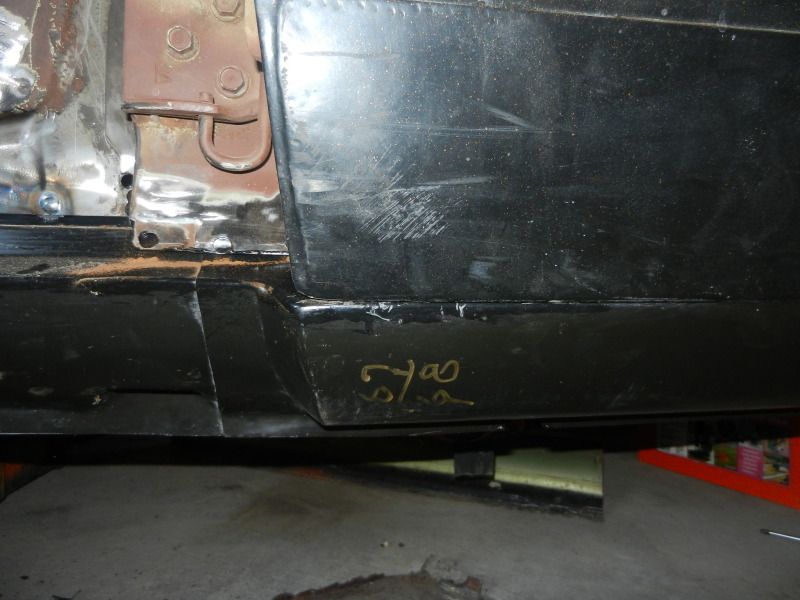
We wanted to hang the door before finishing up welding in the new rocker as well as moving on to the other side in case we noticed any problems right away. I guess we still won't know until the floor is in but we found that the door lines up perfect. Don't mind the tight gap, it takes time to get the gaps right and we just were looking for alignment. Plus I think the wacky metal repair to the door is contributing to the lack of space down there, too.
We wanted to hang the door before finishing up welding in the new rocker as well as moving on to the other side in case we noticed any problems right away. I guess we still won't know until the floor is in but we found that the door lines up perfect. Don't mind the tight gap, it takes time to get the gaps right and we just were looking for alignment. Plus I think the wacky metal repair to the door is contributing to the lack of space down there, too.