1970 Mach 1 restoration on a tight budget
 12-17-2011, 10:28 PM
#1
2nd Gear Member
Thread Starter
Join Date: Oct 2009
Location: texas
Posts: 190
I have been a mustang fan all my life. My first car in high school was a 1969 fastback. About 18 months ago, I did a full restoration on an original 1969 S code coupe. It was a fun project and took me about a year to finish. I sold it a few months ago and have been searching for my next project for a while. I finally found one I really wanted to attempt.
The car is an H code 1970 mach 1. The car had been sitting for years and will require a full restoration but was priced right I enjoy restoring old mustangs so look forward to getting it back on the road.
I should start by saying that since I have a limited budget, I will be doing most of the work myself and try to restore or repair existing parts whenever possible to keep the cost down. Ok, so time to post up some pictures of the car fresh from the barn.

Pretty rough shape but definately has potential
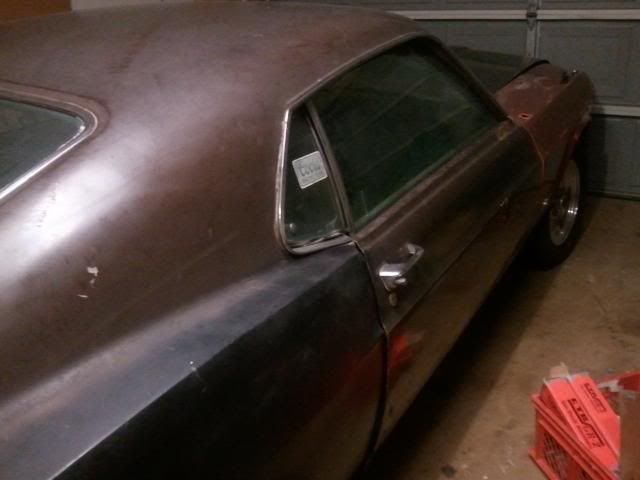
body isn't bad and all glass was there although windshield is cracked
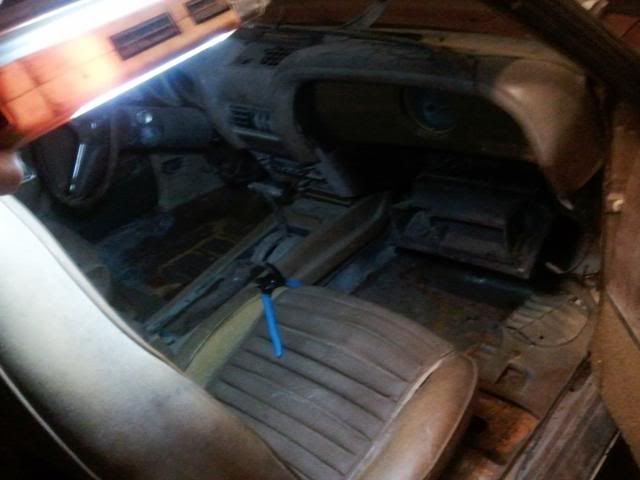
interior is mostly there but pretty rough shape. Floors going to need replacement
going to take alot of work to whip it back into shape but its got potential
The car is an H code 1970 mach 1. The car had been sitting for years and will require a full restoration but was priced right I enjoy restoring old mustangs so look forward to getting it back on the road.
I should start by saying that since I have a limited budget, I will be doing most of the work myself and try to restore or repair existing parts whenever possible to keep the cost down. Ok, so time to post up some pictures of the car fresh from the barn.
Pretty rough shape but definately has potential
body isn't bad and all glass was there although windshield is cracked
interior is mostly there but pretty rough shape. Floors going to need replacement
going to take alot of work to whip it back into shape but its got potential
 12-17-2011, 10:34 PM
#2
2nd Gear Member
Thread Starter
Join Date: Oct 2009
Location: texas
Posts: 190
so my first project was to get to work on the interior. I pulled the seats and replaced or patched the rusted floorboards. Replacement floorboards are cheap and I have a mig welder so just a matter of taking the time to get it done.
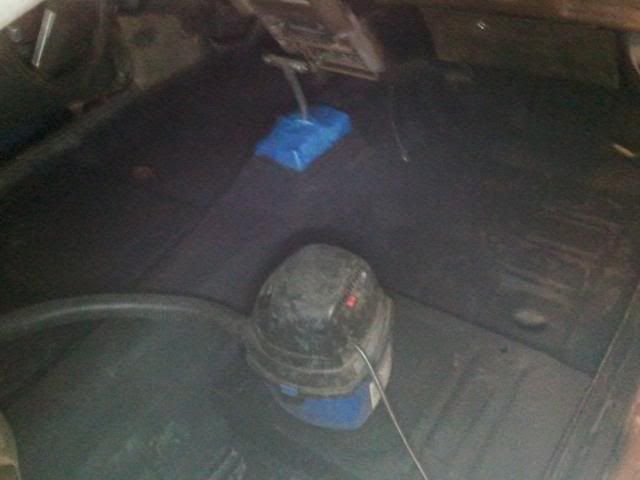
basic work done and first coat of por laid down
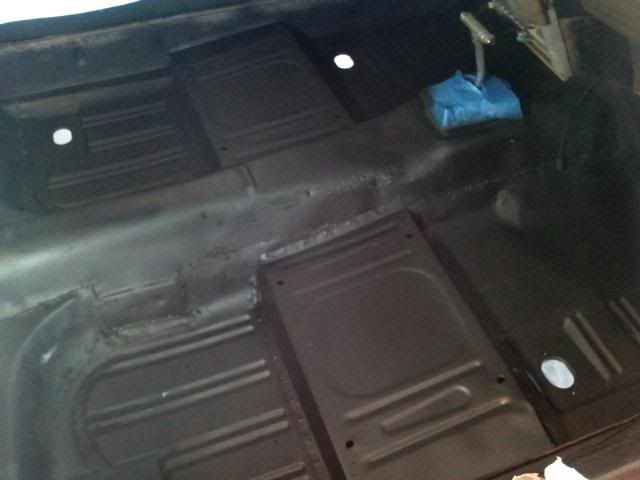
followed up with some sanding and application of sound deadening undercoating on the floor.
basic work done and first coat of por laid down
followed up with some sanding and application of sound deadening undercoating on the floor.
12-17-2011, 10:56 PM
#3
2nd Gear Member
Thread Starter
Join Date: Oct 2009
Location: texas
Posts: 190
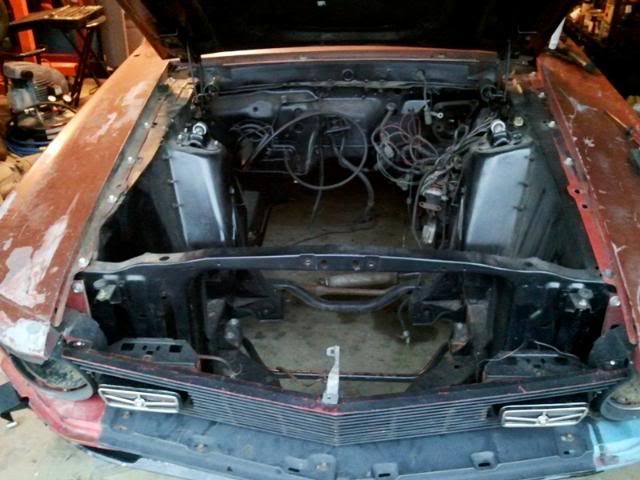
Time to move my attention to the engine compartment. The car had suffered some front end damage and previous owner had pulled the 351C with tranny still attached to do some work on the front end. Shock towers were replaced as were some of the suspension bits and pieces and car had a new hood plus a box of original parts including sportlights, turn signals, hood tie downs, etc.
A coat of paint was applied to the engine compartment so it would be ready for the engine later.
Then it was time to dive in on the fenders and grill/headlights. Pulled the sport light pieces from the boxes of parts and assembled everything. Grill had some breaks and cracks but after some careful work with jb weld, and some sheet metal reinforcement on the mounts, it was back in usable condition. Then pulled the passenger side fender and did the rough metal work to straighten things out followed by sanding and a couple coats of primer. Next was the headlight assembly which was all torn down and repaired as needed and cleaned up with fresh glass black paint.
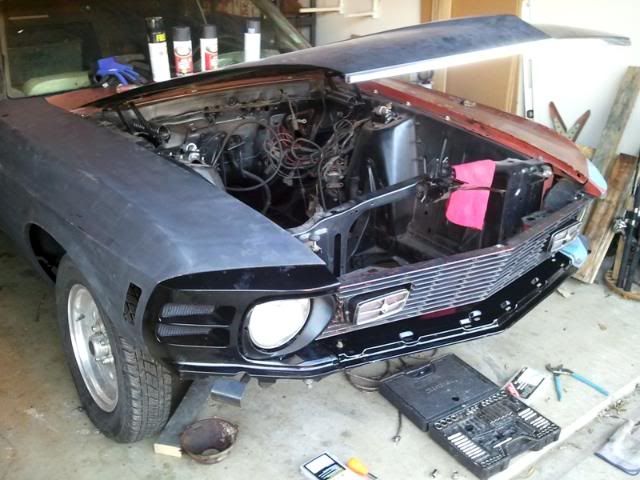
parts just loosely installed to test fitment
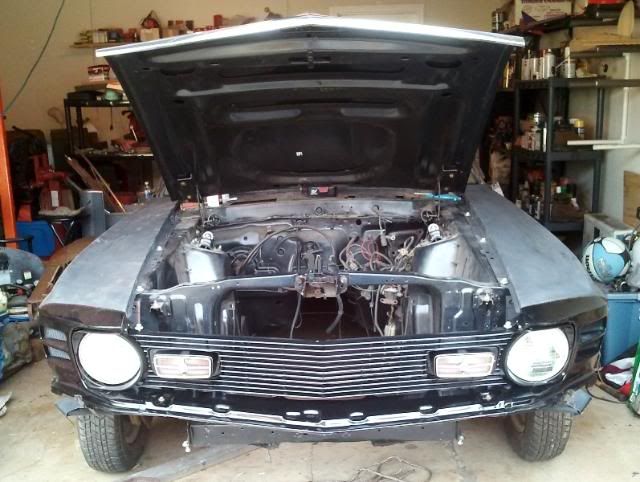
that gets me caught up to today where I repeated the process for the drivers side fender and headlight assembly along with the lower valance which was really in crappy shape. I hammered out the valance as straight as i could get it and put a single coat of primer on. Then hammered out the dents in the fender and put a couple coats of primer on it. I also cleaned up and repaired the drivers side headlight assembly but was losing light as I shot the paint on it so have it curing out in the garage and will loosely fit up the drivers side stuff tomorrow to see how it is looking.

ran out of time today so still need to clean up the sanding dust and re-assemble the drivers side stuff tomorrow
That gets me caught up on the status of the mach 1 resoration. Tomorrow I will re-assemble the drivers side stuff and then can move back to the interior. I have new carpet I need to install and then start working on replacing the vinyl on the front buckets.
A coat of paint was applied to the engine compartment so it would be ready for the engine later.
Then it was time to dive in on the fenders and grill/headlights. Pulled the sport light pieces from the boxes of parts and assembled everything. Grill had some breaks and cracks but after some careful work with jb weld, and some sheet metal reinforcement on the mounts, it was back in usable condition. Then pulled the passenger side fender and did the rough metal work to straighten things out followed by sanding and a couple coats of primer. Next was the headlight assembly which was all torn down and repaired as needed and cleaned up with fresh glass black paint.
parts just loosely installed to test fitment
that gets me caught up to today where I repeated the process for the drivers side fender and headlight assembly along with the lower valance which was really in crappy shape. I hammered out the valance as straight as i could get it and put a single coat of primer on. Then hammered out the dents in the fender and put a couple coats of primer on it. I also cleaned up and repaired the drivers side headlight assembly but was losing light as I shot the paint on it so have it curing out in the garage and will loosely fit up the drivers side stuff tomorrow to see how it is looking.
ran out of time today so still need to clean up the sanding dust and re-assemble the drivers side stuff tomorrow
That gets me caught up on the status of the mach 1 resoration. Tomorrow I will re-assemble the drivers side stuff and then can move back to the interior. I have new carpet I need to install and then start working on replacing the vinyl on the front buckets.
12-17-2011, 10:57 PM
#5
2nd Gear Member

Join Date: Feb 2010
Location: Ohio
Posts: 315
12-17-2011, 11:09 PM
#6
2nd Gear Member
Thread Starter
Join Date: Oct 2009
Location: texas
Posts: 190
I'm just an amateur at restorations but have fun with it. I enjoy restoring old cars so when I have a project, I throw alot of time at it till I get it done. I hope to have this one driving by summer and finished by next thanksgiving which will be the 12 month mark.
12-18-2011, 07:05 PM
#7
2nd Gear Member
Thread Starter
Join Date: Oct 2009
Location: texas
Posts: 190
Only had a few hours to spend working on the car today but did get the headlight bucket all assembled along with the drivers side fender and the lower valance. Next step was to remove the cowl cover and sand it down and get a coat of primer on it. The front end still needs work before it is ready to shoot paint but it looks alot better than it did when I got the car. I think my next step will be to try my hand at installing new vinyl on the bucket seats. Never done bucket seats before so will be interesting to see how it goes.

12-29-2011, 07:26 PM
#8
2nd Gear Member
Thread Starter
Join Date: Oct 2009
Location: texas
Posts: 190
just a quick update on the progress. I worked on the doors this week. Had to cut out a bad hinge on the drivers door and put a replacement in with new bushings to fix a bad sagging issue. Then I had to get to work on the tired window regulators which are now working pretty smooth. Then I pulled the junk door panels and bought replacements. Pulled the old trim pieces and installed in the new deluxe panels and test fitted them. Going to hold off on installing the panels until I get the new mirrors installed and fix some rust in the lower door area.
Once I got to a good stopping point on that, I moved on to the ratty seats. I originally planned to just put new upholstery on the original seats but unfortunately it didn't go as easy as planned. I discovered one of the seat rails was totally rusted to the frame and would require alot of work to restore. After hours of fighting with it, I decided to look for new seats and lucked out to find a pair of 69 highbacks at a reasonable price. Picked them up and went to work. I used the bottoms from the 69 seat and the original tops since they were still in pretty good condition. Carved some foam to fill in a few wear spots and did some preventative rust proofing on the frames before installing the new mach 1 seat covers.
Next step will be the headliner which I hate but it makes sense to get it done before I install new carpet and seats.
12-30-2011, 06:31 PM
#9
2nd Gear Member
Thread Starter
Join Date: Oct 2009
Location: texas
Posts: 190
I have had some extra free time to work on the mustang. Here is a list of the things I have got done since last time:
1. cut out bad drivers side door hinge and replaced it with new hinge and bushings to cure a bad sagging problem.
2. pulled off the old ratty door panels and got new aftermarket panels. To keep cost down, I am re-using the pony emblems, aluminum accent panels and the original door lights. I buffed them out and test fitted a panel athough I won't install them formally until I get the rust holes fixed in the lower door section.
3. Repaired the tired old window regulators which now roll up and down easily.
4. Cleaned off all the old headliner and batting from the roof. Rust treated the roof and installed new batting. Still need to install the headliner but thats a 2 person job so gonna have to get a buddy to help with that part.
5. Pulled the ratty old bucket seats out and removed the old vinyl. Treated the rust and added foam as needed and installed new OEM vinyl. One of the seat bottoms was rusted out so I had to get a doner seat bottom from a junked 69 but I think seats came out looking pretty good.
6. Since the rear seat never gets used and the original was not too bad, i decided to save some money and just clean up the original rear seat and dye it black. Not perfect but should work.
So thats what I got done this week. Still tons to do but slowly making progress.
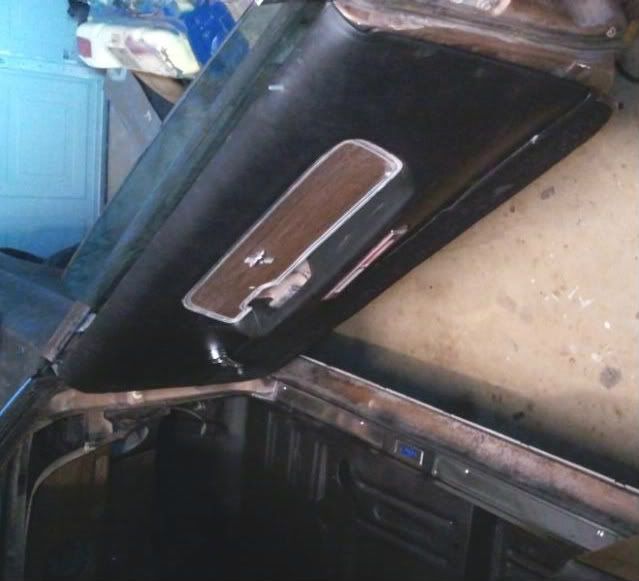
test fit of the new door panel
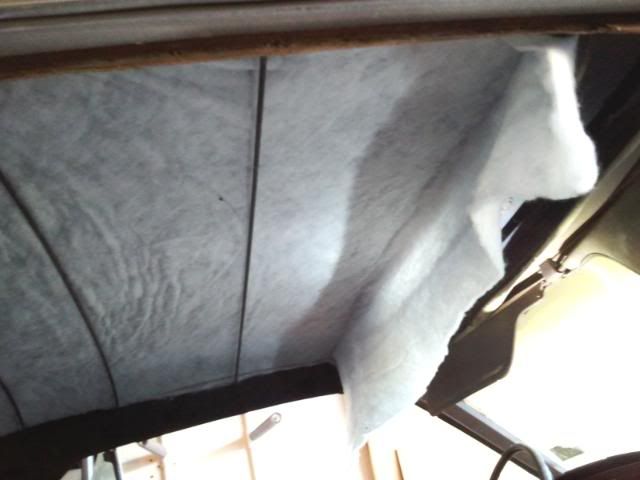
Installing the batting so I am ready for the headliner
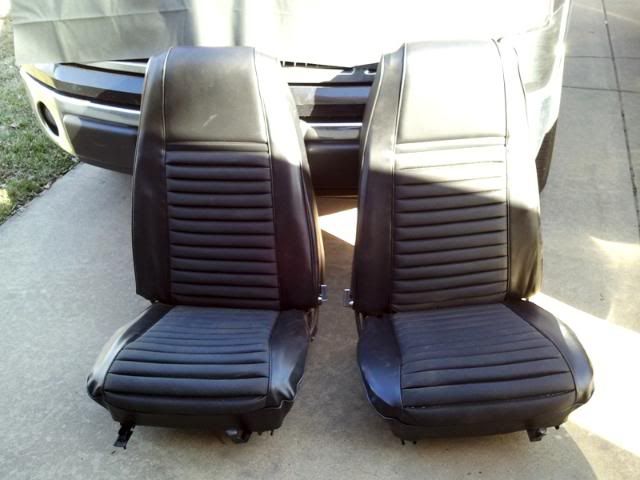
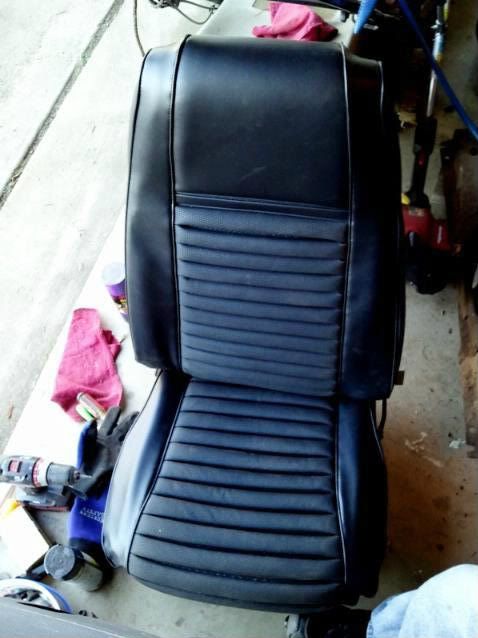
the newly rebuilt bucket seats
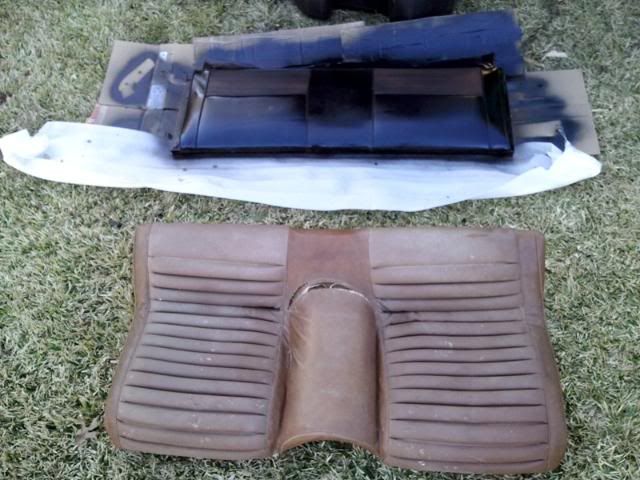
the rear seat top already dyed and the bottom still original

first coat of dye on the bottom and I ran out of dye so will have to finish up tomorrow
1. cut out bad drivers side door hinge and replaced it with new hinge and bushings to cure a bad sagging problem.
2. pulled off the old ratty door panels and got new aftermarket panels. To keep cost down, I am re-using the pony emblems, aluminum accent panels and the original door lights. I buffed them out and test fitted a panel athough I won't install them formally until I get the rust holes fixed in the lower door section.
3. Repaired the tired old window regulators which now roll up and down easily.
4. Cleaned off all the old headliner and batting from the roof. Rust treated the roof and installed new batting. Still need to install the headliner but thats a 2 person job so gonna have to get a buddy to help with that part.
5. Pulled the ratty old bucket seats out and removed the old vinyl. Treated the rust and added foam as needed and installed new OEM vinyl. One of the seat bottoms was rusted out so I had to get a doner seat bottom from a junked 69 but I think seats came out looking pretty good.
6. Since the rear seat never gets used and the original was not too bad, i decided to save some money and just clean up the original rear seat and dye it black. Not perfect but should work.
So thats what I got done this week. Still tons to do but slowly making progress.
test fit of the new door panel
Installing the batting so I am ready for the headliner
the newly rebuilt bucket seats
the rear seat top already dyed and the bottom still original
first coat of dye on the bottom and I ran out of dye so will have to finish up tomorrow