A 65 Coupe Restomod
 02-15-2013, 10:13 AM
#11
4th Gear Member

Join Date: Sep 2007
Location: Colorado
Posts: 1,458
Thanks. It was the kit from mustang depot. Before they had the metal frame/fiberglass hoods, which what i would use now. Not too worried about cracking around the fenders, I guess time will tell. I may even convert it back a more original look to the front end in the future, which is what is great about these cars.
I am going to go with 7" headlights in lieu of the 5.5" inchers that are in there now. I think the larger ones look wayyyy better. NoReins has a post about the headlights in her thread.
I am going to go with 7" headlights in lieu of the 5.5" inchers that are in there now. I think the larger ones look wayyyy better. NoReins has a post about the headlights in her thread.
 02-16-2013, 07:39 AM
#13
3rd Gear Member
Join Date: Sep 2009
Location: Ohio
Posts: 756
Nice job! What brand of epoxy are you using? Just curious. I like the front end you chose (even though it looks like an Eleanor front end that you didn't initially want!  It will continue to grow on you, I promise!
It will continue to grow on you, I promise!
 02-17-2013, 12:02 PM
#16
1st Gear Member
Thread Starter

Join Date: Feb 2013
Location: AL
Posts: 141
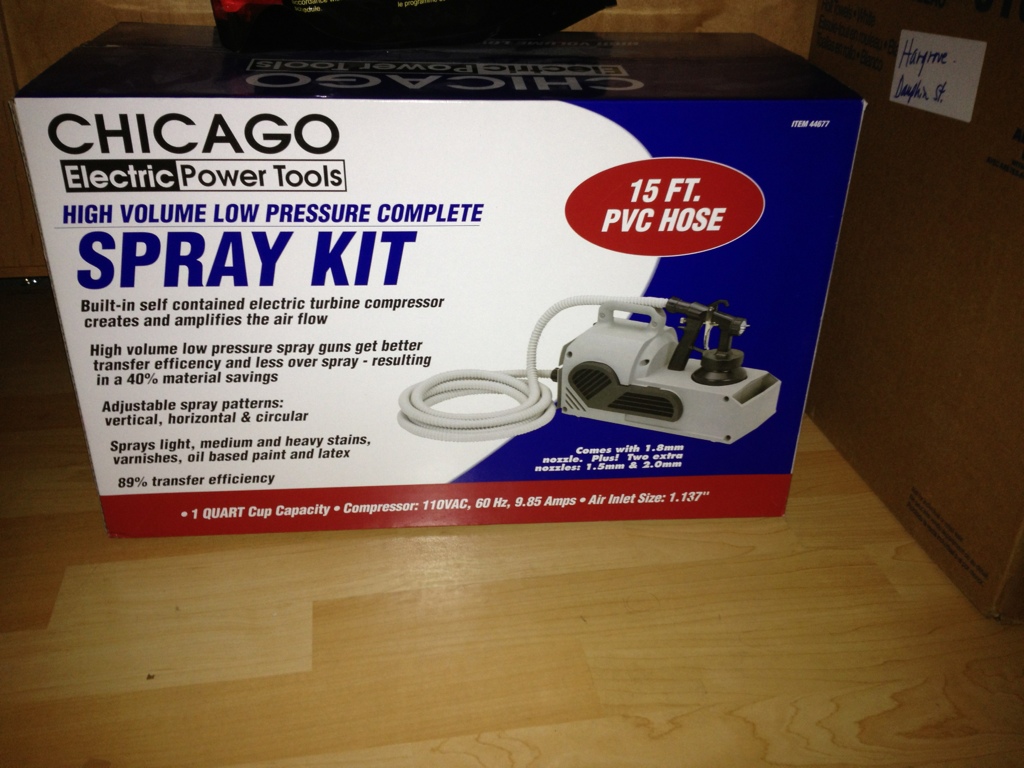
I picked up the electric HVLP today. I'm a little disappointed to find that it is a siphon feed not a gravity feed. I don't know if I will be able to use it for BC/CC or not, but it should be fine for hi-build. The good news is that it is only rated at 9.5 amps. Since I've never seen anything lower than a 15 amp breaker, I shouldn't have any problems with tripping the power at the storage unit.
02-17-2013, 04:06 PM
#17
2nd Gear Member

Join Date: Jan 2009
Location: Iowa and Afghanistan
Posts: 249
I picked up the electric HVLP today. I'm a little disappointed to find that it is a siphon feed not a gravity feed. I don't know if I will be able to use it for BC/CC or not, but it should be fine for hi-build. The good news is that it is only rated at 9.5 amps. Since I've never seen anything lower than a 15 amp breaker, I shouldn't have any problems with tripping the power at the storage unit.

Also, real HVLP heats the paint prior to delivery, and does not require inline driers, etc..
that's a real HVLP rig.
I've owned the Harbor Freight unit, and the nozzle is good enough to paint a building; I wouldn't paint a car with it. If you want to use it, use a high quality paint that flows well, and be prepared for a lot of sanding.
Have you painted using HVLP before? People either love it or hate it. I used to paint airplanes using only HVLP and thing it's the way to go. Properly set up, you should have nearly zero overspray and the paint goes on incredibly uniformly and it's extremely fast.
02-17-2013, 05:04 PM
#19
3rd Gear Member
Join Date: Sep 2009
Location: Ohio
Posts: 756
02-18-2013, 10:15 PM
#20
1st Gear Member
Thread Starter
Join Date: Feb 2013
Location: AL
Posts: 141
This morning I got on the phone looking for someone who stocked the U-Pol primer line locally, so that I could buy some reducer, and maybe find some of the FAST activator since it has been so cold lately. Turns out there is one about 2 miles from where I've stored the car, and they said they would be happy to trade my normal activator for fast, even thought I didn't by it from them.
Tonight I tried to make all the preparations today, so that tomorrow I could just show up and prime the jambs, then get everything ready for the big day wednesday.
First I pulled the car outside so that I could clean it. While I had the car outside, I used a propane heater to get the room as hot as I could:
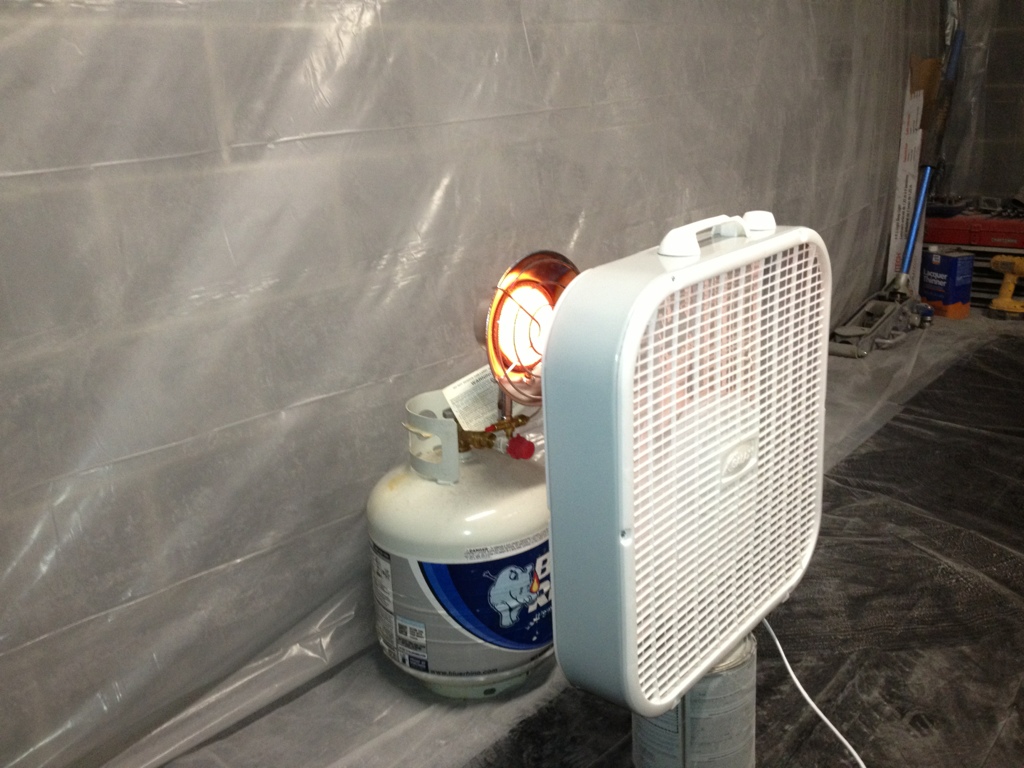
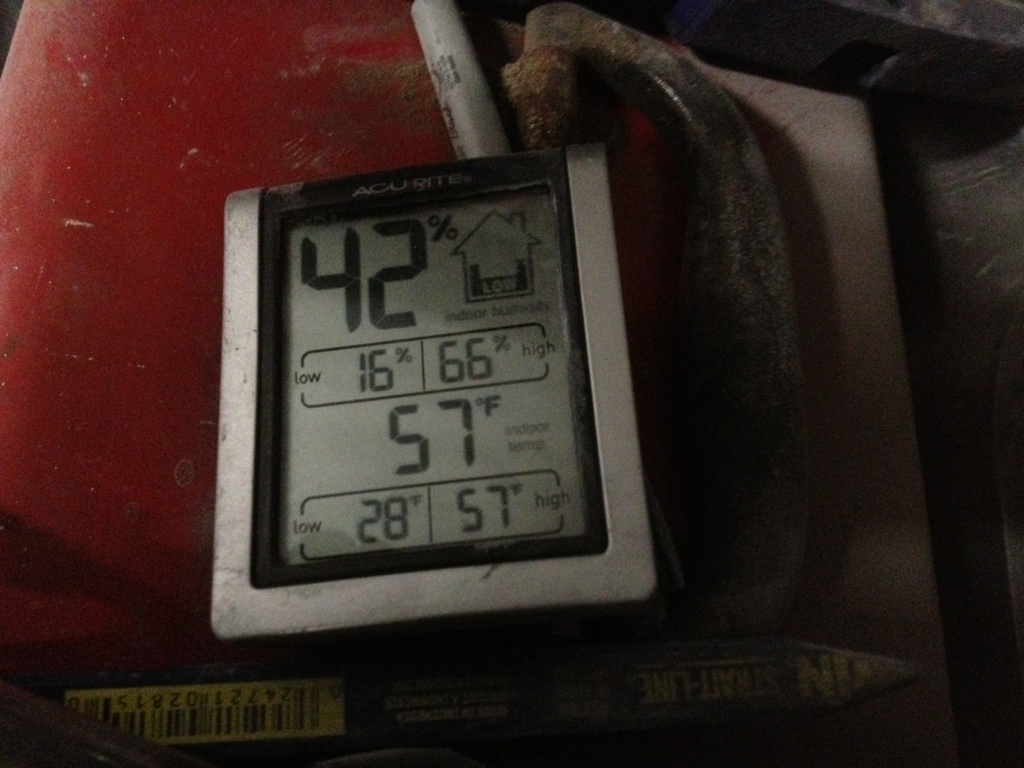
I raised the temperature from 43 to 57 in about 25 minutes. It platued about there too, and I wasn't really able to get it up higher.
PSA: Please remember to never use one of those in a closed room. When I was ready to come back inside I used the fan to circulate fresh air in for 5 minutes before I went back inside.
While the car was outside I blew it off really good with some compressed air:

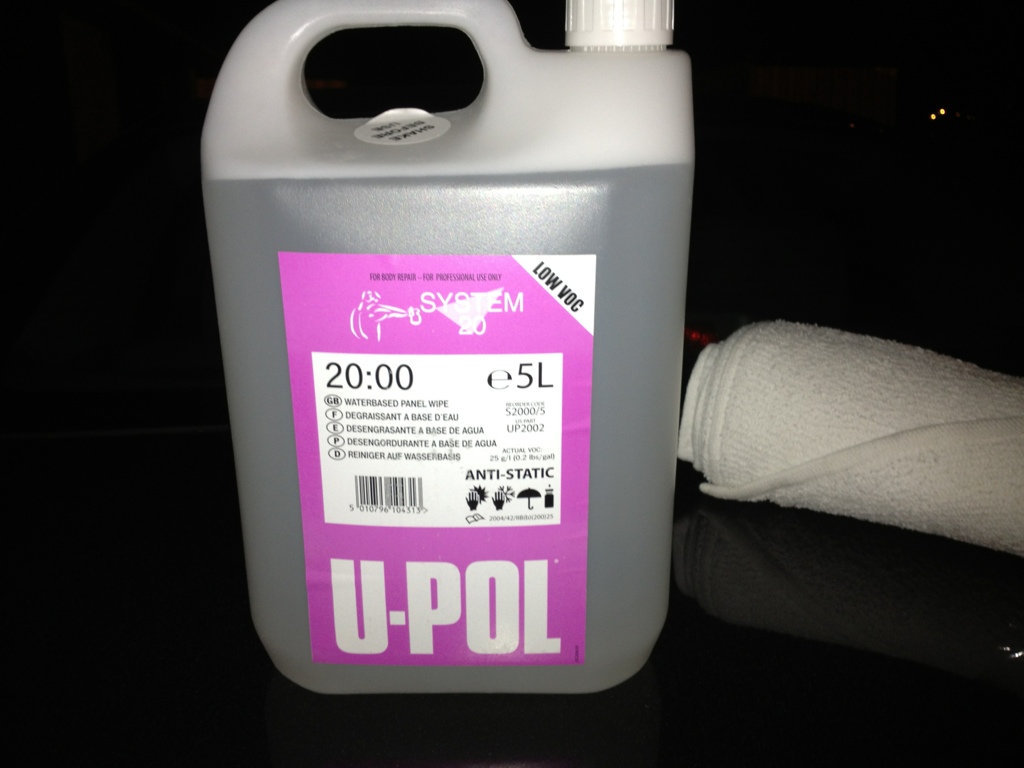
Then I wiped down every inch of it with wax and grease remover from U-Pol
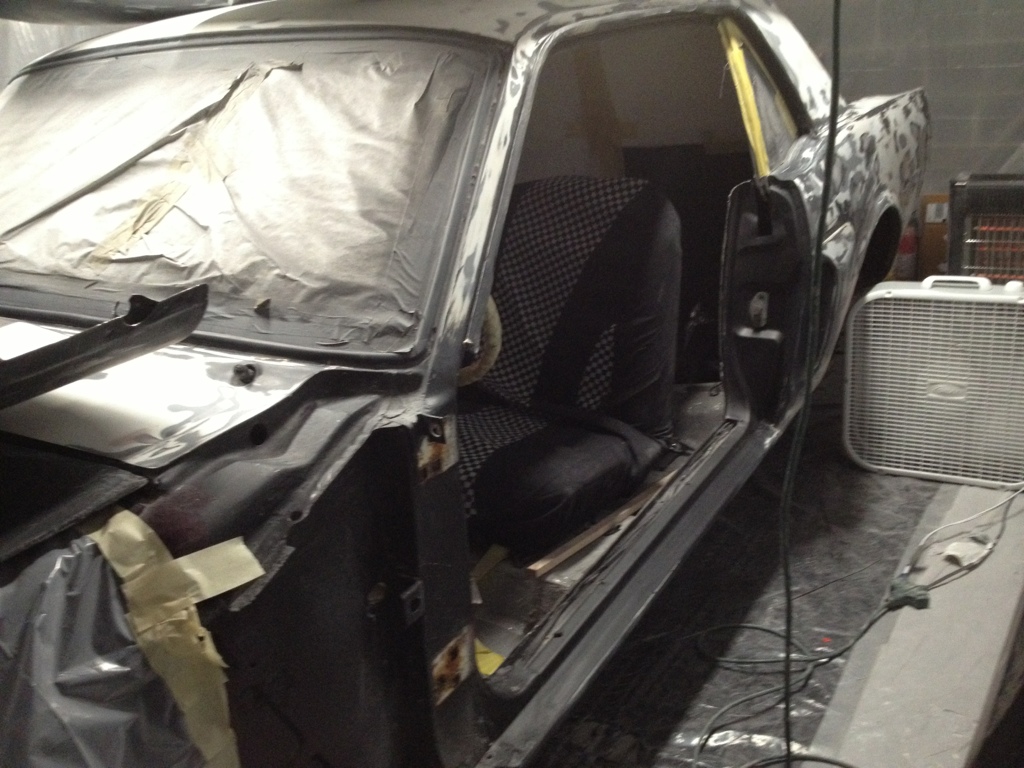
Once I was sure I had all the dust and oils off. I pulled it back inside and took the rear wheels off (for access to the wells) and taped off the engine compartment:
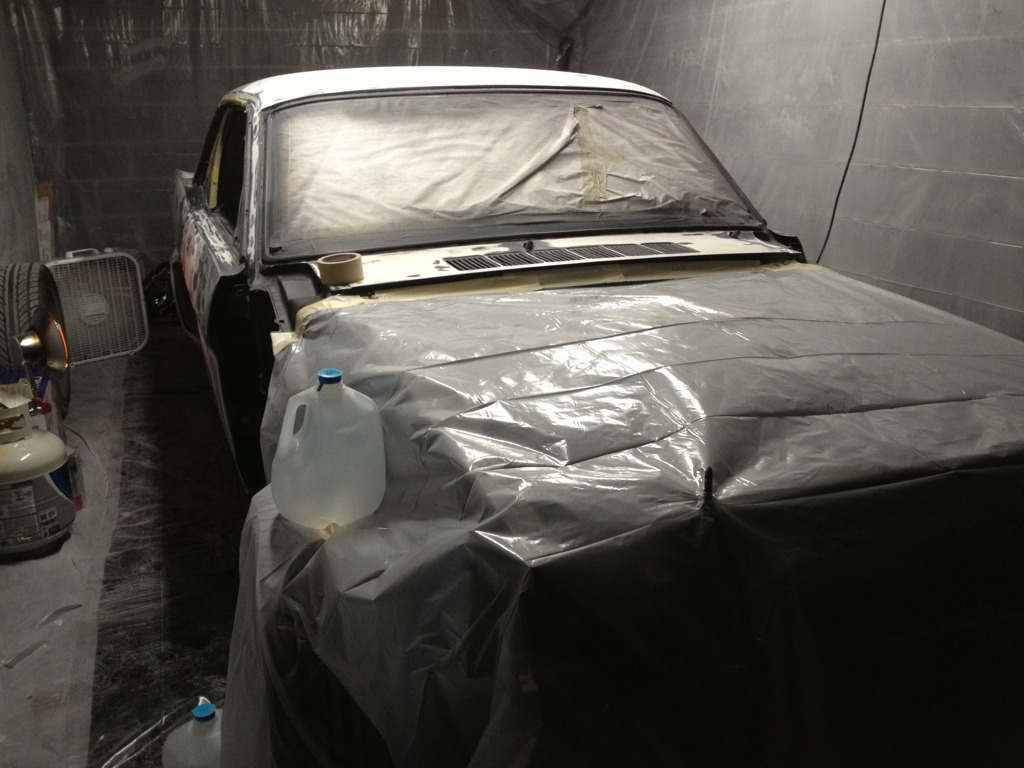
I decided I didn't have enough room in the unit to open the doors wide enough for proper spraying of the jambs, so I pulled the doors. I had hoped to avoid it because it took so long to align, but I will just have to deal with that when the time comes:
After that I tacked everything off twice.
I still had about 30 minutes before I needed to head out, so I decided to go ahead and get the electric HVLP out and clean it out really good to make sure it didn't have any oils in it, and to get the 2.2 tip installed. I'm sure glad I decided to get it out tonight. While I was trying to straighten the hose out (it was really stiff from packing) The hose tore right in half:
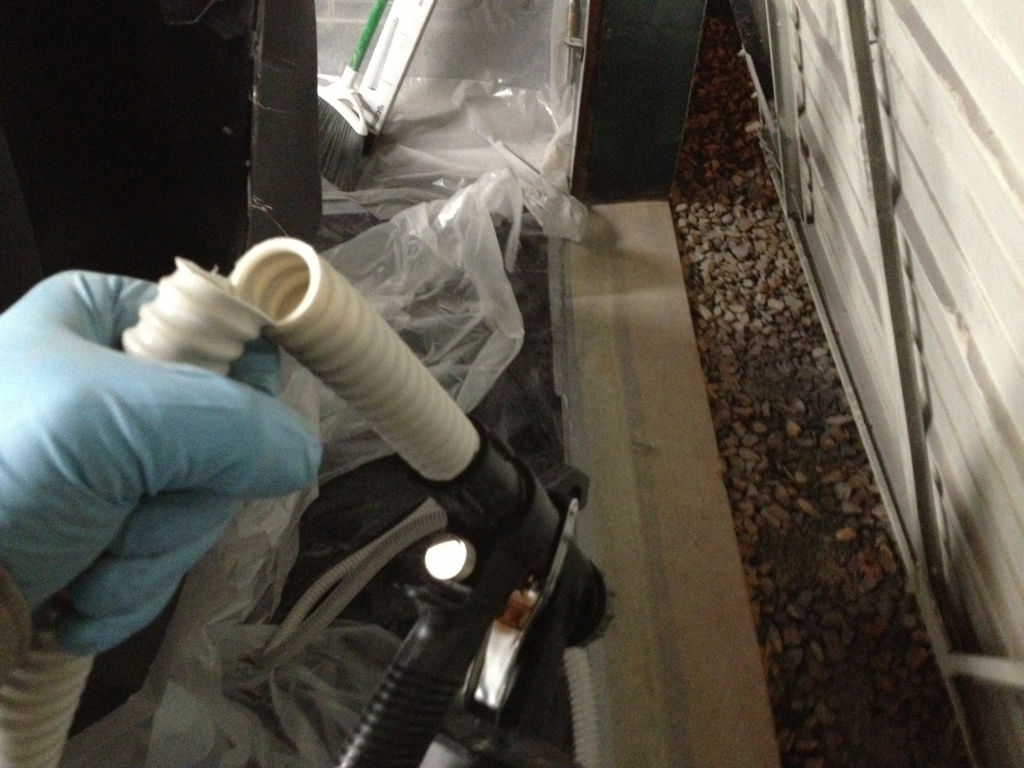
I suppose it is possible that I just got a bad one, or it could be the unit is an even bigger POS than everything else HF sells.
Tomorrow I'll be forced to leave work early and waste and hour going to HF to exchange it. And since I'm on a schedule, I'm thinking about buying a compressor + generator so that I can shoot with a standard HVLP if I have to. I really hope it doesn't come to that, buying a compressor and a generator seems like overkill just to spray some primer. I've heard of people rolling out the primer with foam roller before. It might take a little longer to block if I did that, but I might consider it.
Tonight I tried to make all the preparations today, so that tomorrow I could just show up and prime the jambs, then get everything ready for the big day wednesday.
First I pulled the car outside so that I could clean it. While I had the car outside, I used a propane heater to get the room as hot as I could:
I raised the temperature from 43 to 57 in about 25 minutes. It platued about there too, and I wasn't really able to get it up higher.
PSA: Please remember to never use one of those in a closed room. When I was ready to come back inside I used the fan to circulate fresh air in for 5 minutes before I went back inside.
While the car was outside I blew it off really good with some compressed air:
Then I wiped down every inch of it with wax and grease remover from U-Pol
Once I was sure I had all the dust and oils off. I pulled it back inside and took the rear wheels off (for access to the wells) and taped off the engine compartment:
I decided I didn't have enough room in the unit to open the doors wide enough for proper spraying of the jambs, so I pulled the doors. I had hoped to avoid it because it took so long to align, but I will just have to deal with that when the time comes:
After that I tacked everything off twice.
I still had about 30 minutes before I needed to head out, so I decided to go ahead and get the electric HVLP out and clean it out really good to make sure it didn't have any oils in it, and to get the 2.2 tip installed. I'm sure glad I decided to get it out tonight. While I was trying to straighten the hose out (it was really stiff from packing) The hose tore right in half:
I suppose it is possible that I just got a bad one, or it could be the unit is an even bigger POS than everything else HF sells.
Tomorrow I'll be forced to leave work early and waste and hour going to HF to exchange it. And since I'm on a schedule, I'm thinking about buying a compressor + generator so that I can shoot with a standard HVLP if I have to. I really hope it doesn't come to that, buying a compressor and a generator seems like overkill just to spray some primer. I've heard of people rolling out the primer with foam roller before. It might take a little longer to block if I did that, but I might consider it.

