A 65 Coupe Restomod
 02-19-2013, 11:11 PM
#21
1st Gear Member
Thread Starter

Join Date: Feb 2013
Location: AL
Posts: 141
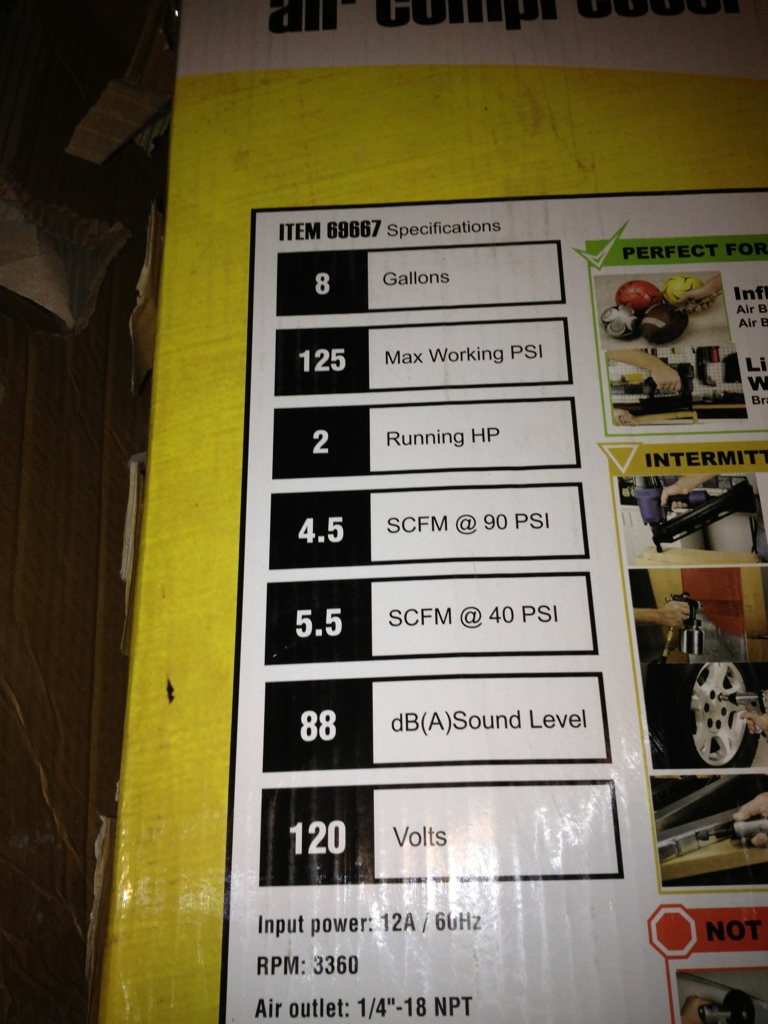
After thinking about it all night, I decided that I didn't want to screw around with the electric HVLP. I just wasn't convinced I could get enough flexibility from the hose to be able to get all the angles I needed in my cramped working area. I was so happy with how my $10 purple harbor freight pneumatic HVLP laid down the epoxy, I decided to give a go with the high build. I spent an hour looking at all the compressors I could get locally from Walmart, Lowes, Home Depot, and Harbor Freight. The compressor I've been using back home is a 2HP with 3.8scfm@90psi and 4.6scfm@50psi. The purple gun says it requires 6SCFM@50psi, but I've been running it at 35psi with no problems on epoxy. I decided on a 8 gallon horizontal, 2HP from harbor freight. It was on sale for the exact same price as the electric gun I was taking back, and it was rated at 4.4scfm@90psi, and 5.5scfm@40psi. As a bonus, it was only rated at 13.5Amp@120V, so I could power it off of the shop's power.
I was however worried about powering the lights and fans off of the same 15amp circuit as the compressor, because if I trip the breaker, I have no way to reset it, and I'll be done for a day or two until the owner gets by to flip it back. So I was planning to run my small 1000W generator for them, but while browsing around Harbor Freight looking for HVLP tips I saw a 750w power inverter on sale for $19. I figured I would spend more than $19 on gas at current prices running the generator, so I picked it up:
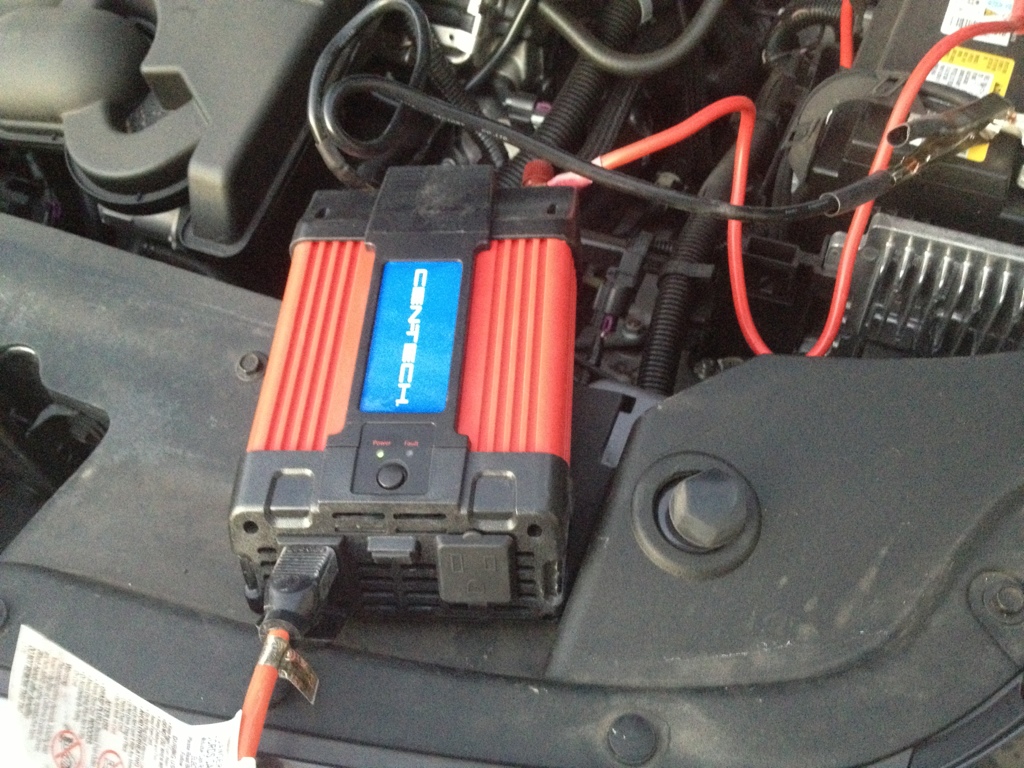
It ran four fluorescent lights and two 20" box fans no problem.
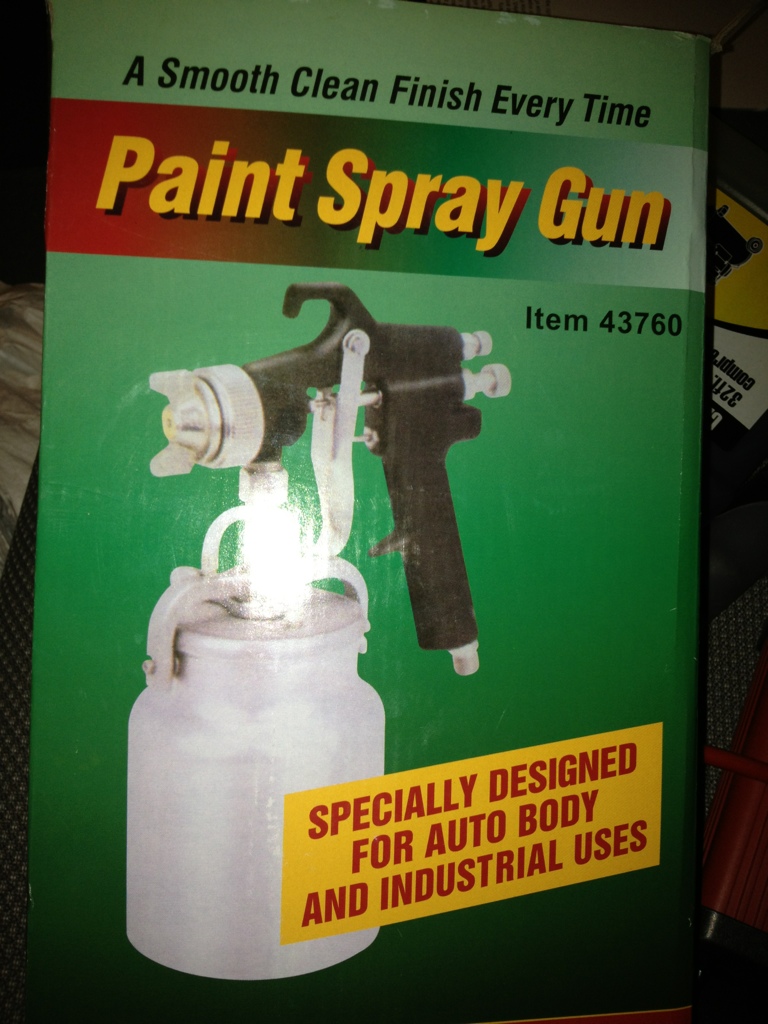
I wanted to pick up another purple HVLP gun just like mine back home, but the biggest one they had was a 1.5mm tip, and they don't carry extra tips. So instead I picked up this thing, which has approximately a 2.1mm tip:
I also hooked up an inline desecator right at the compressor, and the small moisture trap in the line right before the gun:
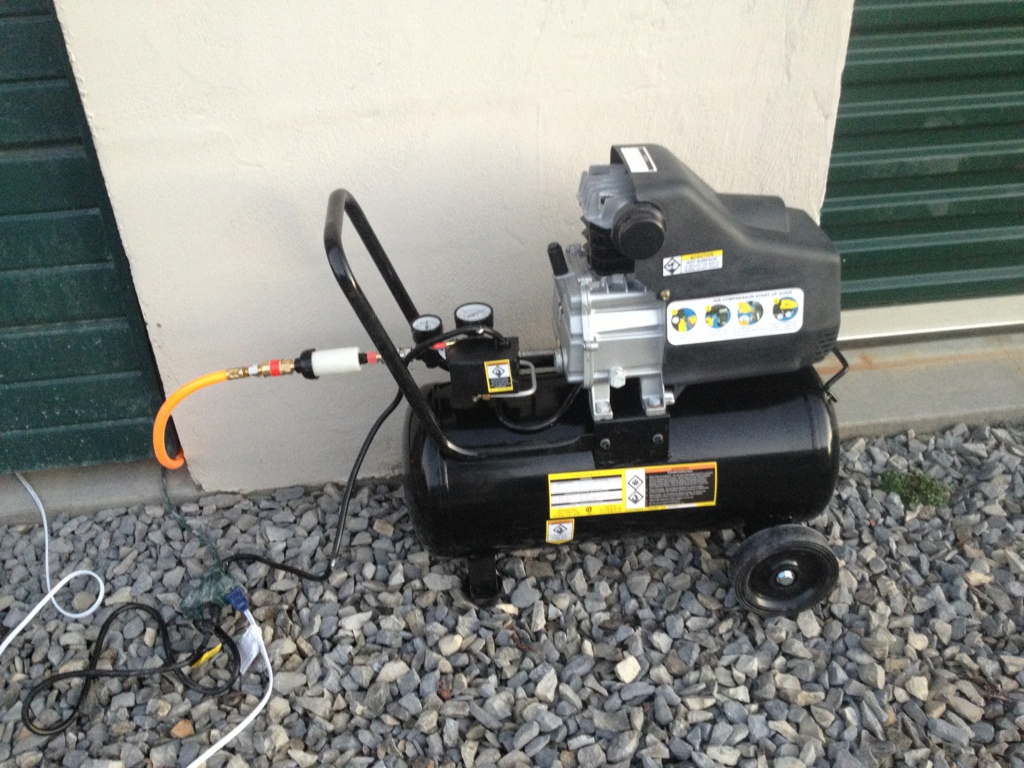
I have to say, I'm impressed with the little compressor. It is not oil free, but the oil free ones always seem to be rated about 30% less SCFM that the oil ones, so I'm willing to make that trade off. it is also very very quiet. I was shocked at how quiet it was.
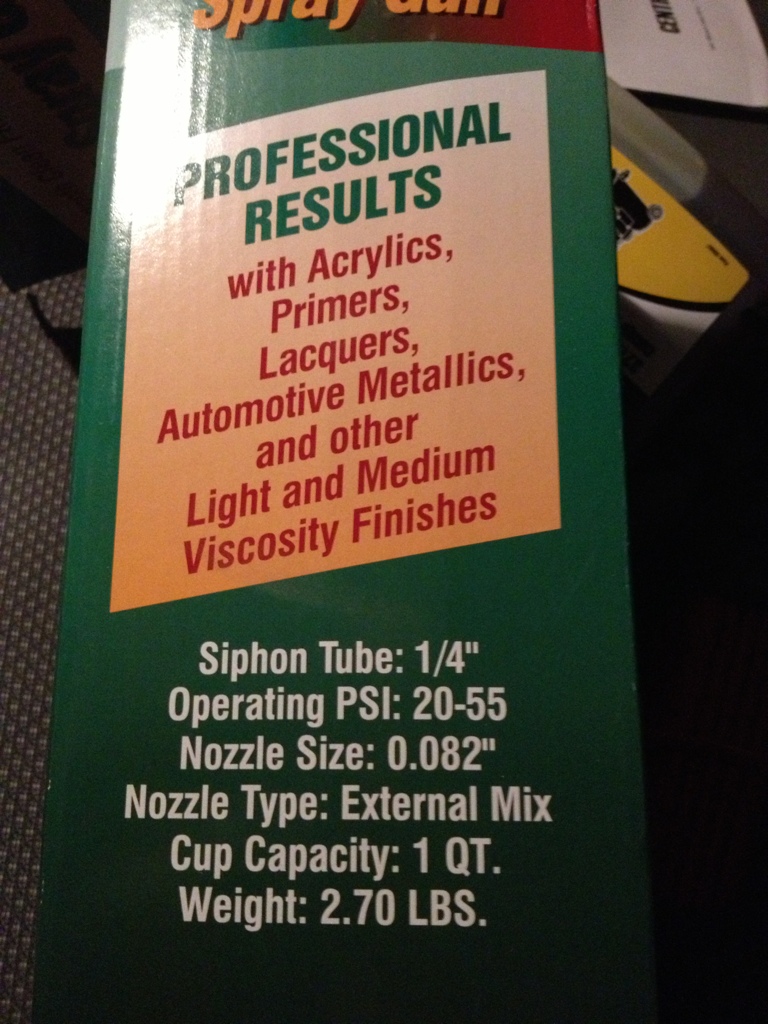
While I was really impressed with the compressor, I was mortified at how horrible the gun was. I knew a siphon gun would use more SCFM than the gravity feed, plus I was spraying a thicker material, but I couldn't get the stuff to hardly move at all. Even cut 4:1:0.5 with reducer, I had to run at the max PSI rating of the gun (55) and have the flow adjustment wide open to get a small 1" spray pattern. Even then it would sputter on me occasionally. The literature stated 4SCFM@50psi, which the compressor supported, but I think the gun probably needed close to 12SCFM@50psi.
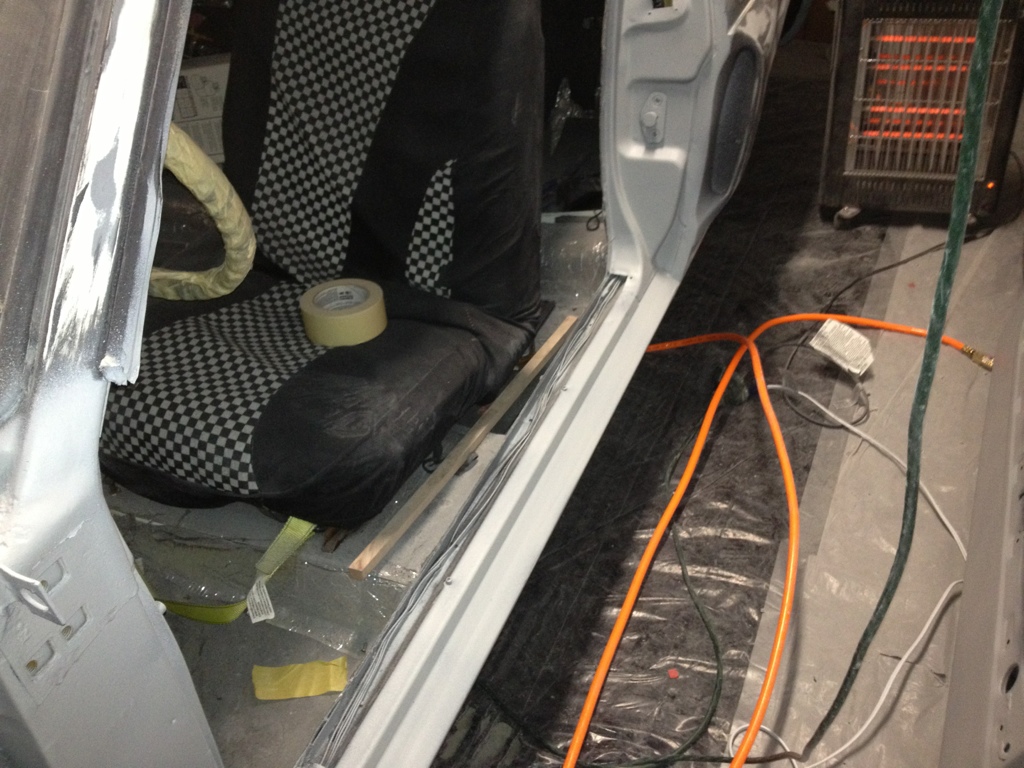
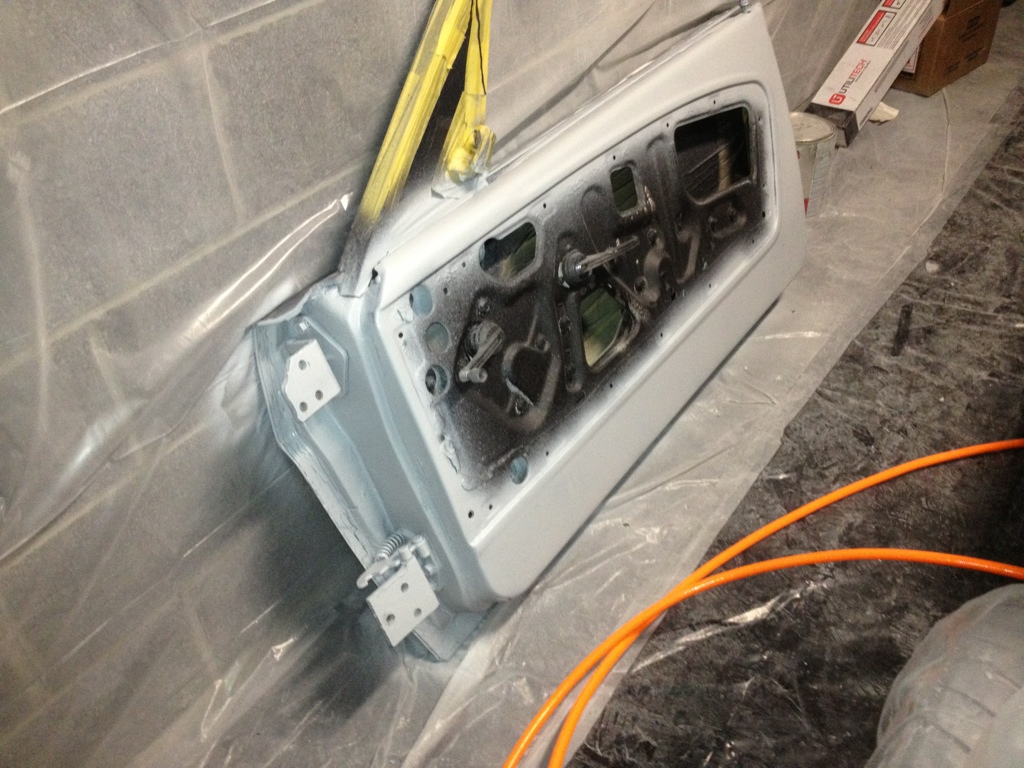
Painting was so slow, it took me over an hour just to do the underside of the hood, the edges of the inside doors, the door jambs, and the backsides of the fenders:

So as much as it pains me, I've decided I will have to wait until next week to spray the body in hi build. It is going to set me back a few days on my really tight schedule, but it is better than screwing things up. Not only will I be able to order a gun that will work, but as a bonus, it is getting up into the 60's early next week.
I looked through the first ten pages of results for HLVP on amazon, and then clicked on every gun that had a 1.8 or bigger tip. Then I looked at every gravity feed that was rated at less than 5SCFM@50psi. I looked through all the reviews until I found some that had intelligent comments, and decided on a Neiko 2.0 HLVP. I've never heard of it, but it had great reviews for spray ability, even with latex paint, which should be about the same thickness as the high build. I don't know how durable it will be, but I only need to use it once or twice.
I was however worried about powering the lights and fans off of the same 15amp circuit as the compressor, because if I trip the breaker, I have no way to reset it, and I'll be done for a day or two until the owner gets by to flip it back. So I was planning to run my small 1000W generator for them, but while browsing around Harbor Freight looking for HVLP tips I saw a 750w power inverter on sale for $19. I figured I would spend more than $19 on gas at current prices running the generator, so I picked it up:
It ran four fluorescent lights and two 20" box fans no problem.
I wanted to pick up another purple HVLP gun just like mine back home, but the biggest one they had was a 1.5mm tip, and they don't carry extra tips. So instead I picked up this thing, which has approximately a 2.1mm tip:
I also hooked up an inline desecator right at the compressor, and the small moisture trap in the line right before the gun:
I have to say, I'm impressed with the little compressor. It is not oil free, but the oil free ones always seem to be rated about 30% less SCFM that the oil ones, so I'm willing to make that trade off. it is also very very quiet. I was shocked at how quiet it was.
While I was really impressed with the compressor, I was mortified at how horrible the gun was. I knew a siphon gun would use more SCFM than the gravity feed, plus I was spraying a thicker material, but I couldn't get the stuff to hardly move at all. Even cut 4:1:0.5 with reducer, I had to run at the max PSI rating of the gun (55) and have the flow adjustment wide open to get a small 1" spray pattern. Even then it would sputter on me occasionally. The literature stated 4SCFM@50psi, which the compressor supported, but I think the gun probably needed close to 12SCFM@50psi.
Painting was so slow, it took me over an hour just to do the underside of the hood, the edges of the inside doors, the door jambs, and the backsides of the fenders:
So as much as it pains me, I've decided I will have to wait until next week to spray the body in hi build. It is going to set me back a few days on my really tight schedule, but it is better than screwing things up. Not only will I be able to order a gun that will work, but as a bonus, it is getting up into the 60's early next week.
I looked through the first ten pages of results for HLVP on amazon, and then clicked on every gun that had a 1.8 or bigger tip. Then I looked at every gravity feed that was rated at less than 5SCFM@50psi. I looked through all the reviews until I found some that had intelligent comments, and decided on a Neiko 2.0 HLVP. I've never heard of it, but it had great reviews for spray ability, even with latex paint, which should be about the same thickness as the high build. I don't know how durable it will be, but I only need to use it once or twice.
 02-20-2013, 09:48 PM
#22
1st Gear Member
Thread Starter
Join Date: Feb 2013
Location: AL
Posts: 141
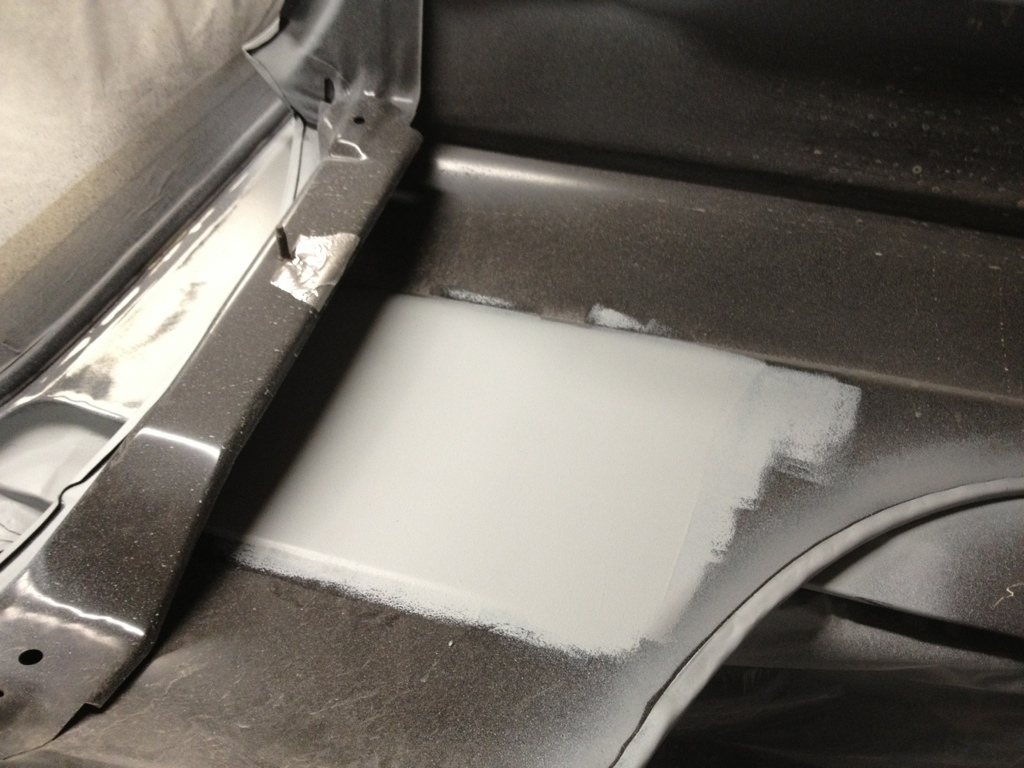
Slow night tonight. Couldn't do too much until my new spray gun comes in. I used a 4" foam roller to touch up the door jambs where the air hose hit it while it was wet, then put a little on the bottoms of the doors:
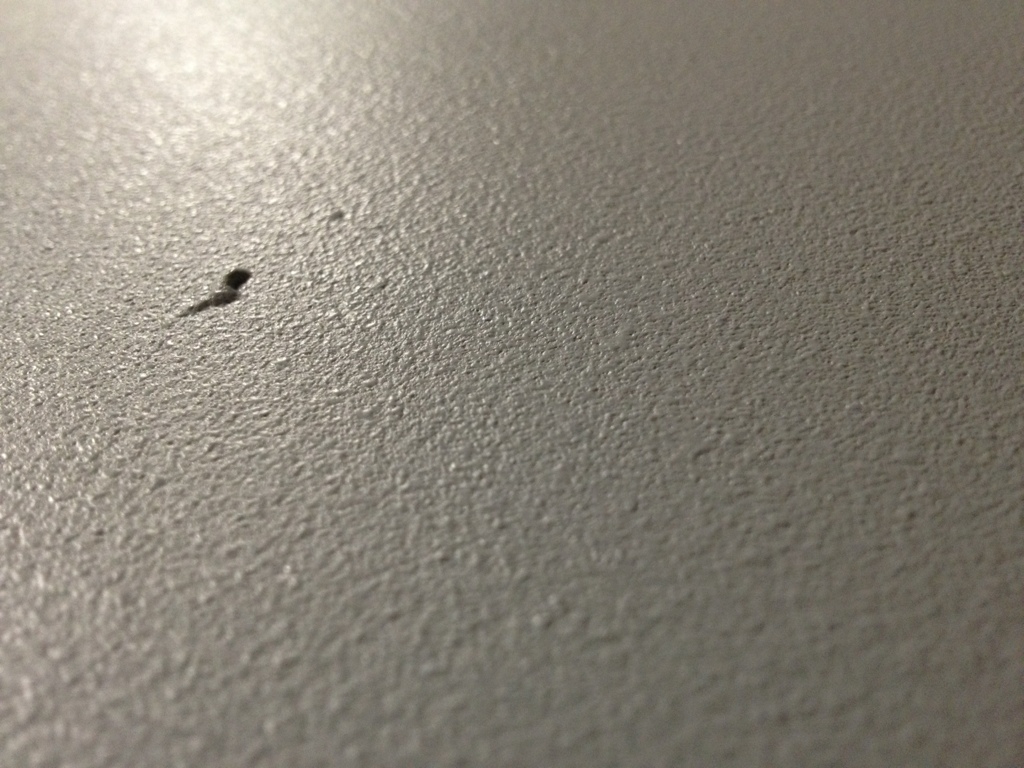
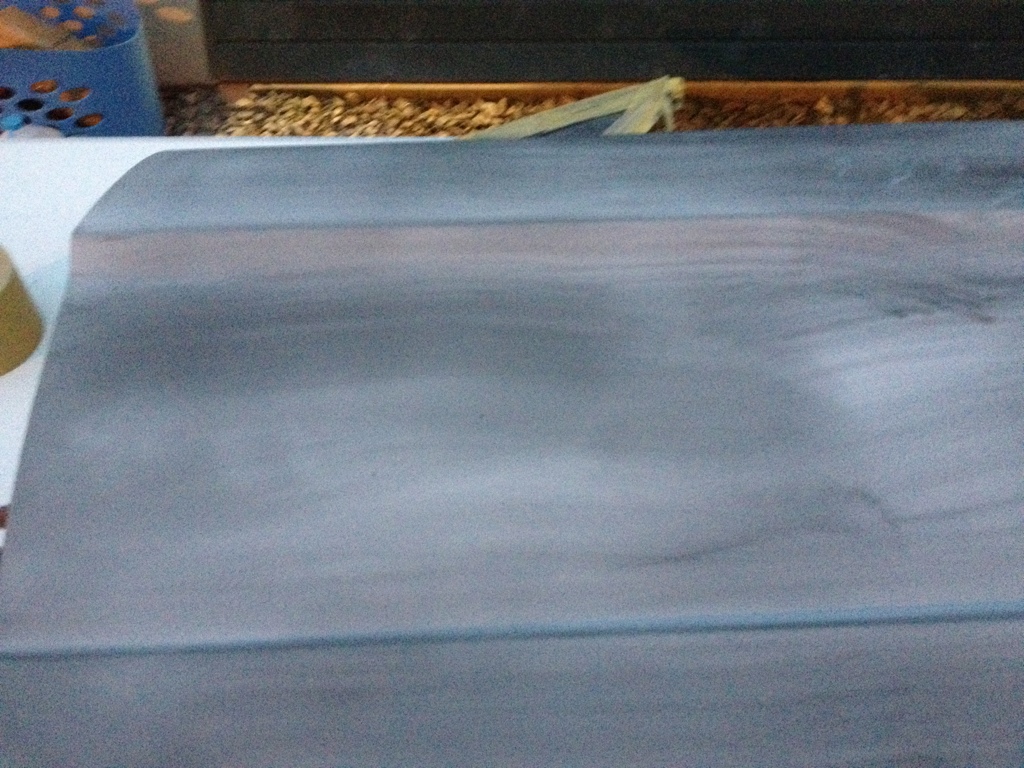
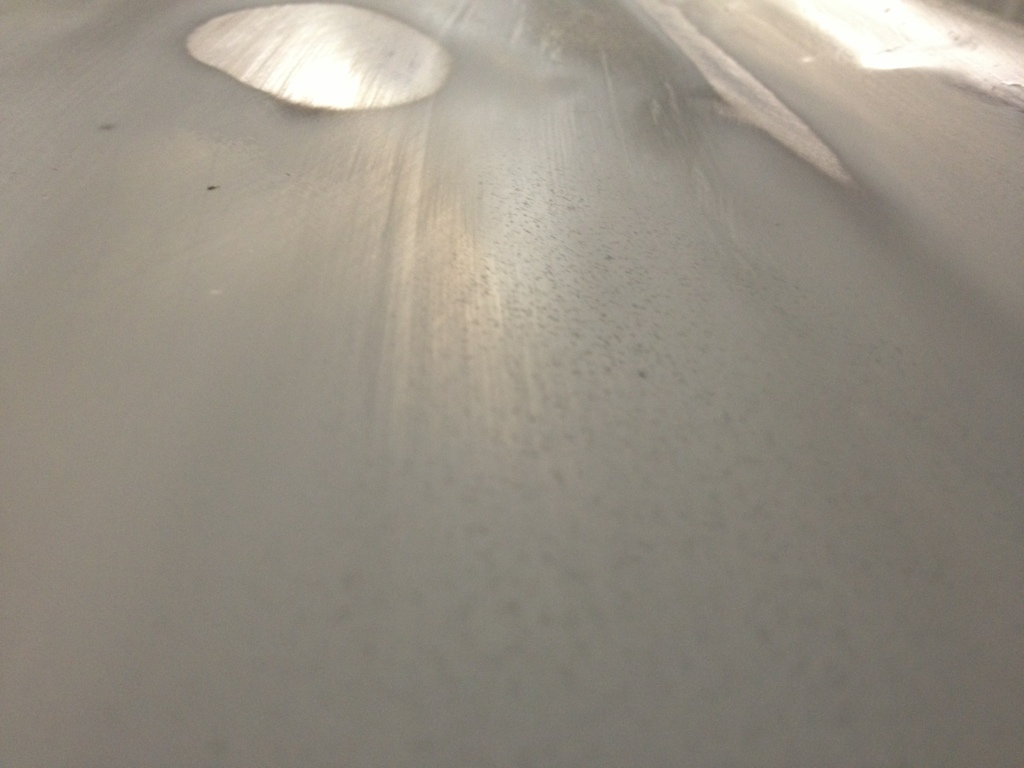
Here is a close up of what rolled hi-build primer looks like. I put a thin tacky coat on with a really dry roller, then came back five minutes later with a wet roller. It has some significant orange peel, and I wouldn't want to block an entire car that was done with a roller. But for doing small repairs, it would probably take less time to block out the peel then it would to setup and then clean a gun. I rolled it with a disposable foam roller and a disposable paint tray. I threw away $2.25 in supplies and cleaned up in less than a minute.
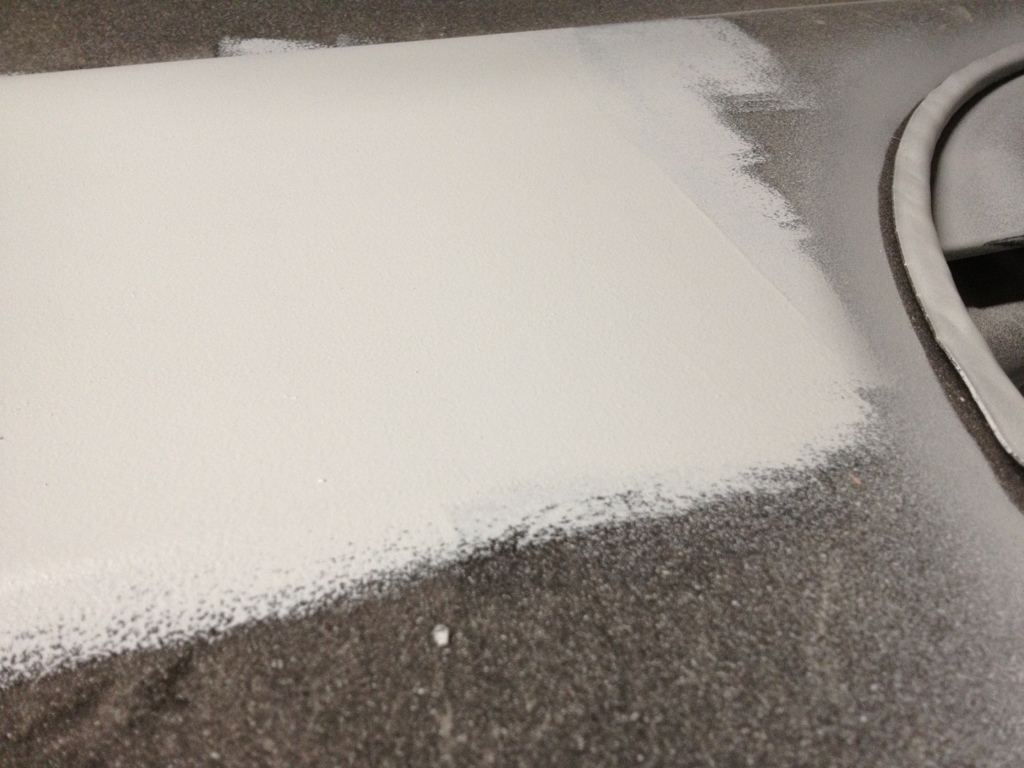
Here is a close up of what rolled hi-build primer looks like. I put a thin tacky coat on with a really dry roller, then came back five minutes later with a wet roller. It has some significant orange peel, and I wouldn't want to block an entire car that was done with a roller. But for doing small repairs, it would probably take less time to block out the peel then it would to setup and then clean a gun. I rolled it with a disposable foam roller and a disposable paint tray. I threw away $2.25 in supplies and cleaned up in less than a minute.
02-21-2013, 10:35 PM
#23
1st Gear Member
Thread Starter
Join Date: Feb 2013
Location: AL
Posts: 141
The new HVLP was waiting at the door today. After dinner I tried it out. It laid the paint better, but still not great. I had been cutting the U-Pol 4:1:0.5, so I decided to go 4:1:0.75. What a huge difference that makes. I couldn't believe it. Since I was going a little thinner, I laid 4 coats instead of 3. Tonight I finished the nose, deckled, and fenders. The orange peel was pretty heavy, in fact not any better than the roller I would say. However it is much faster than the roller. I also had a problem with some sort of stringy "boogers" dropping off before I thinned it. Not too sure what caused that. The only run I got was around the fog light hole, where it let it puddle a little bit and then it ran down. Guess I should have laid the nose flat to spray those holes.
02-22-2013, 08:32 PM
#24
1st Gear Member
Thread Starter
Join Date: Feb 2013
Location: AL
Posts: 141
Apparently Delta Airlines thought it was more important for me to stay in TN and work than to go home and see my little girls.
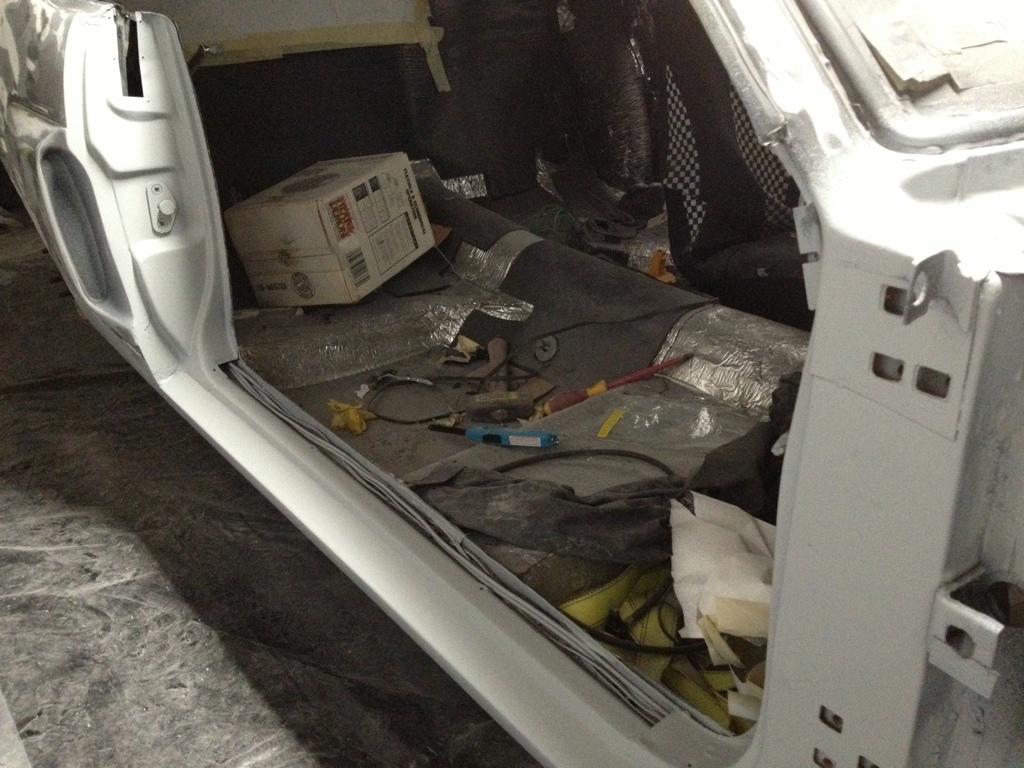
Trying to make lemonade of lemons.... The doors got primed tonight and the rest of the car will be primed tomorrow night. I'll start blocking on Sunday.
Trying to make lemonade of lemons.... The doors got primed tonight and the rest of the car will be primed tomorrow night. I'll start blocking on Sunday.
02-23-2013, 10:00 PM
#25
1st Gear Member
Thread Starter
Join Date: Feb 2013
Location: AL
Posts: 141
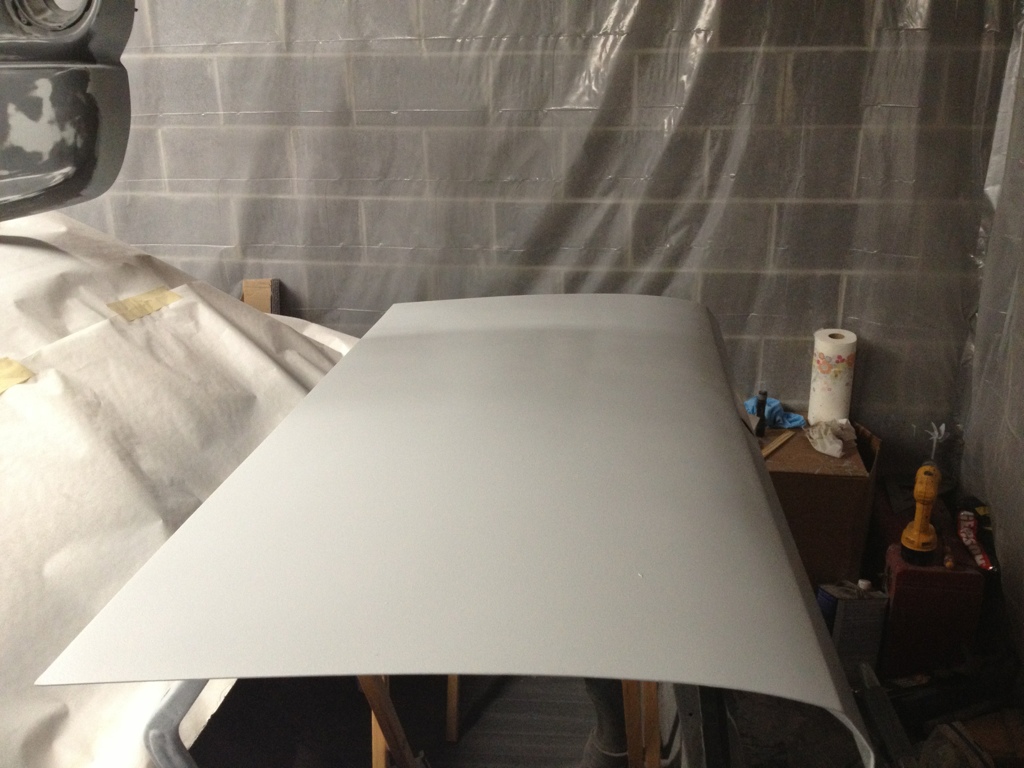
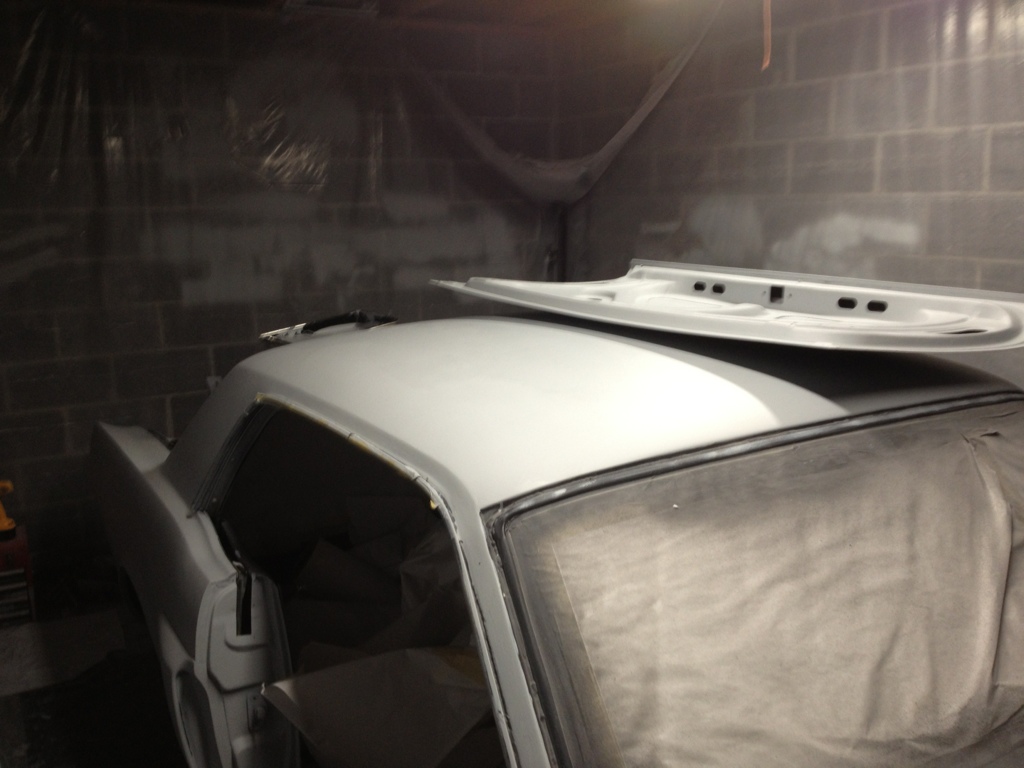
I finished laying high build today. I used the HVLP to cut in the edges, but it was struggling so bad to lay any paint, then I used roller to do the roof and quarters. You can see some seams where the roller strokes would overlap, but it should block out pretty easy.
I also got started blocking the doors. I want to get them hung back on the car because I am running out of room to set all my panels.
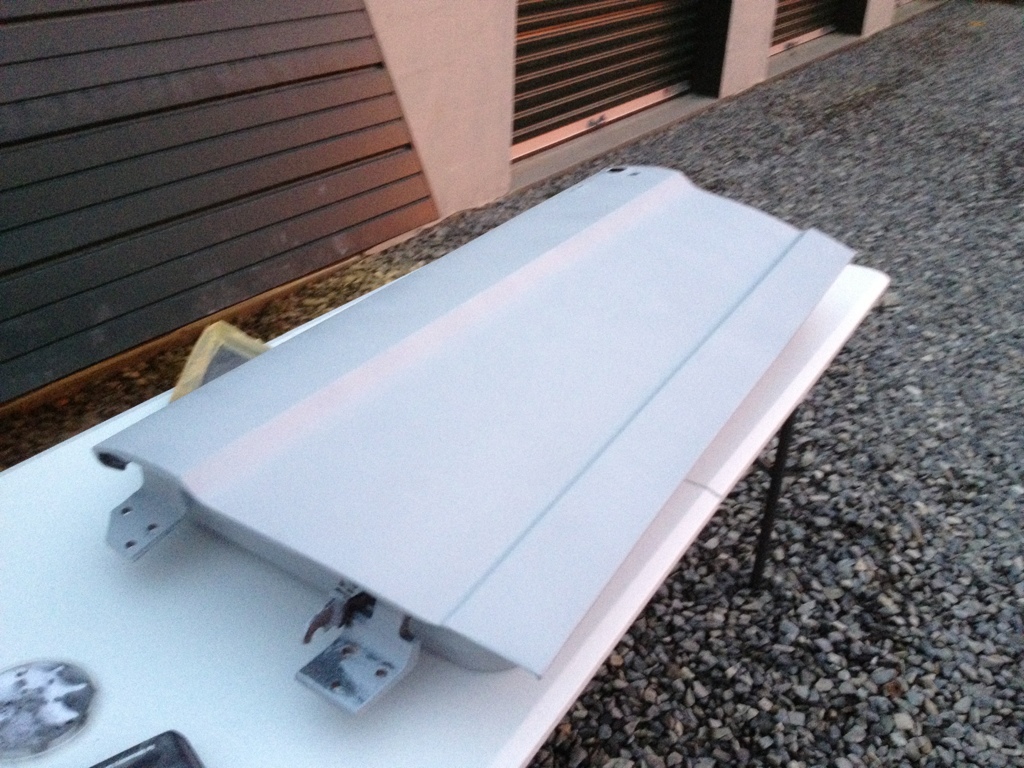
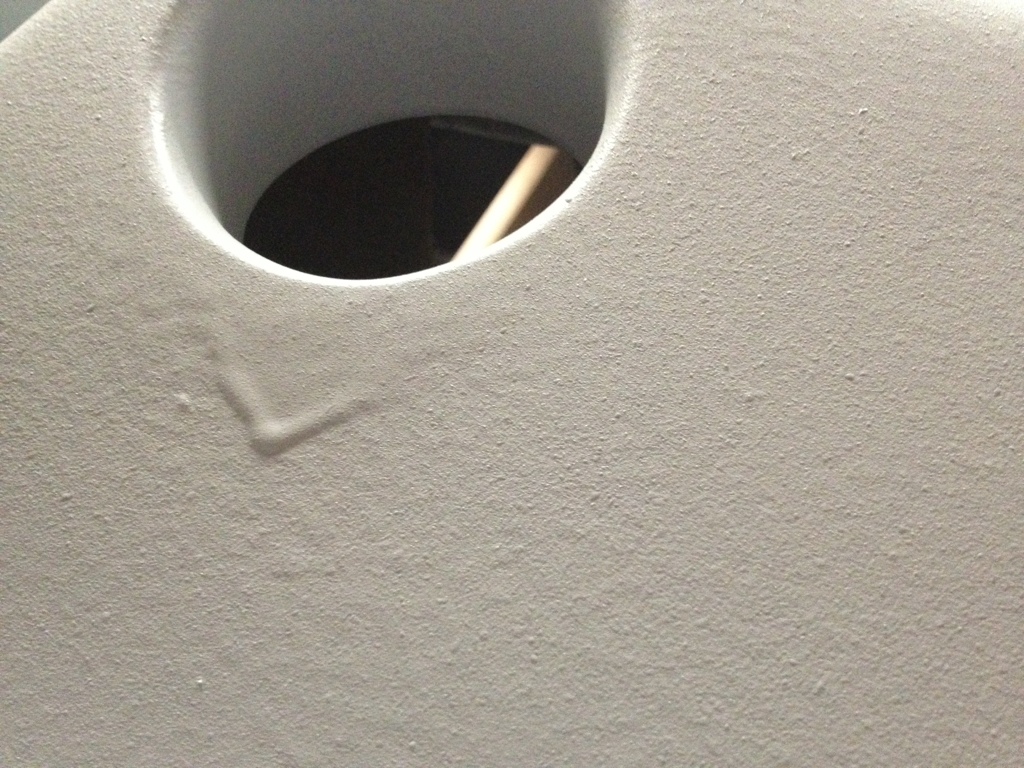
The problem is, I obviously can't tell when a panel is straight. Because I thought my doors were good except for maybe one spot, but I was really wrong:
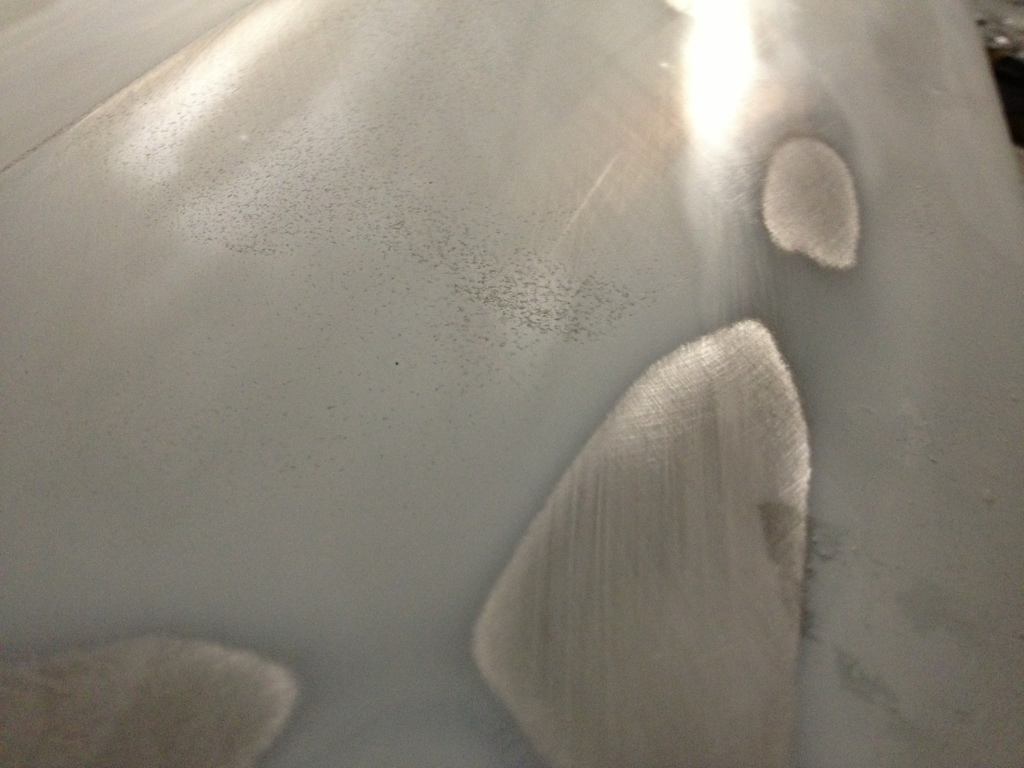
I added a skim coat of body filler to about the half the door that I'll sand off tomorrow and re-prime.
I also got started blocking the doors. I want to get them hung back on the car because I am running out of room to set all my panels.
The problem is, I obviously can't tell when a panel is straight. Because I thought my doors were good except for maybe one spot, but I was really wrong:
I added a skim coat of body filler to about the half the door that I'll sand off tomorrow and re-prime.
02-26-2013, 07:30 PM
#27
2nd Gear Member
Join Date: Oct 2012
Location: Puerto Rico
Posts: 204
JESUS!!! That's an intimidating story, for sure! I just bought a '65 "restomod" coupe about 4 months ago, and although it runs and drives, it needs a ton of work (large and small) all around. Have already dropped 3K on parts and such, and haven't even got to the really big stuff yet (like a paint job!). I don't know what you're sinking into that ride...but I can tell it's way over my budget! At least you have a better place to work on it than I do....mine is sitting in an open one-car carport, so it's hard to do really serious work. My wife has been pretty understanding, though...so far. GOOD LUCK!!
02-26-2013, 11:34 PM
#28
1st Gear Member
Thread Starter
Join Date: Feb 2013
Location: AL
Posts: 141
The amount of money I've sunk into this car can never ever be revealed, lest SWMBO ever find it. I've probably blown at least 5K just screwing things up and re-doing them, or changing my mind on what I want. I'm lucky enough to have a salary job, but qualify for overtime. I've kinda just been using any OT for the car, since my salary covers the bills.
The best advice I have for you now, while you are early in the game is to spend the time to make sure you like your plan. Look at all the forums, threads, image searches, and then do some drawings. Make sure you like your plan and that you are going to be happy with your car, because changing your mind will kill you down the road. Also don't make sacrafices in your plan for the sake of budget or time. Because in the end you will spend way more time and money that you ever planned on, and you'll be kicking yourself and "saying for just a little more (in terms of percentages of total spent) I could have had what I really wanted."
The best advice I have for you now, while you are early in the game is to spend the time to make sure you like your plan. Look at all the forums, threads, image searches, and then do some drawings. Make sure you like your plan and that you are going to be happy with your car, because changing your mind will kill you down the road. Also don't make sacrafices in your plan for the sake of budget or time. Because in the end you will spend way more time and money that you ever planned on, and you'll be kicking yourself and "saying for just a little more (in terms of percentages of total spent) I could have had what I really wanted."
02-26-2013, 11:35 PM
#29
1st Gear Member
Thread Starter
Join Date: Feb 2013
Location: AL
Posts: 141
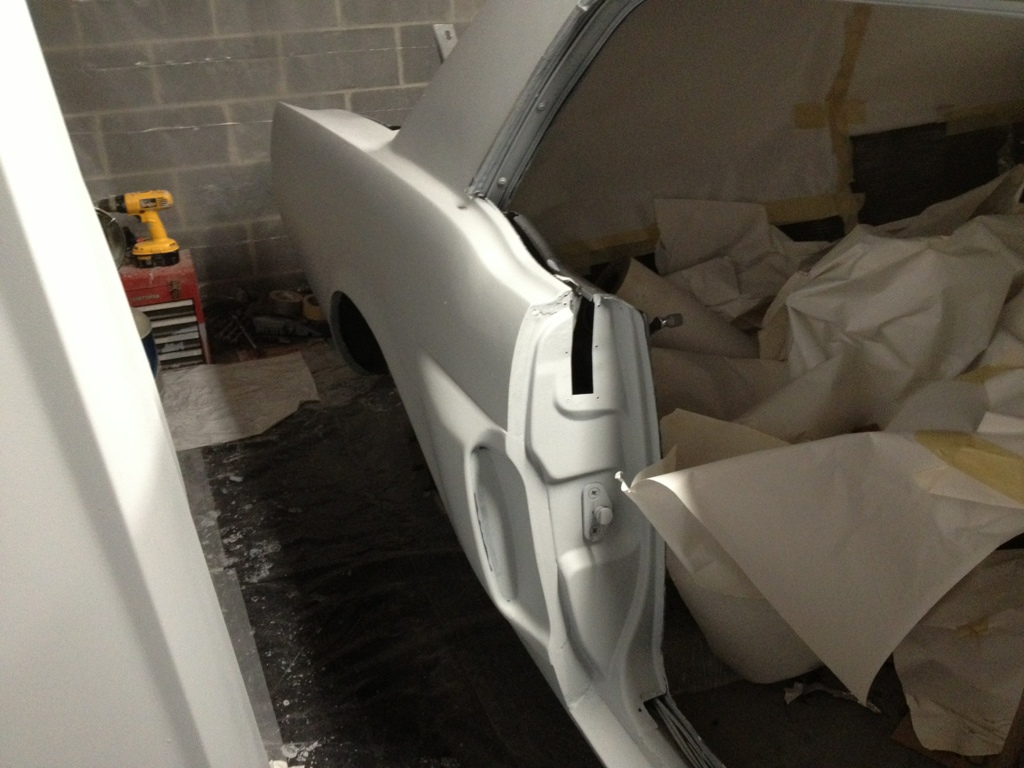
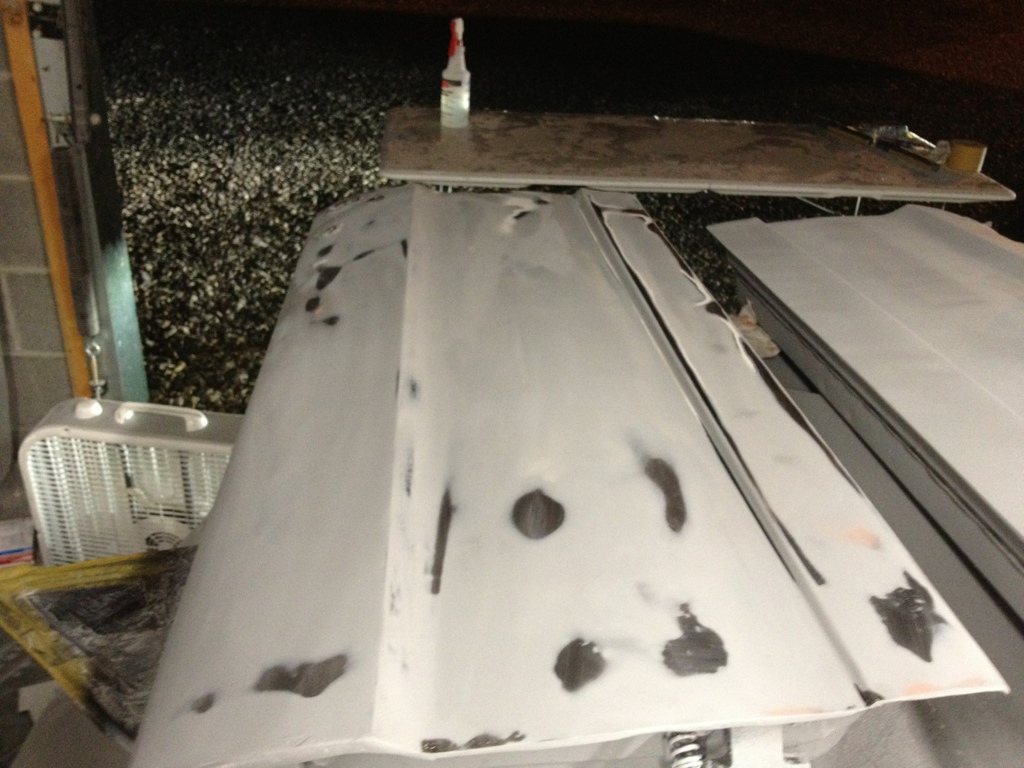
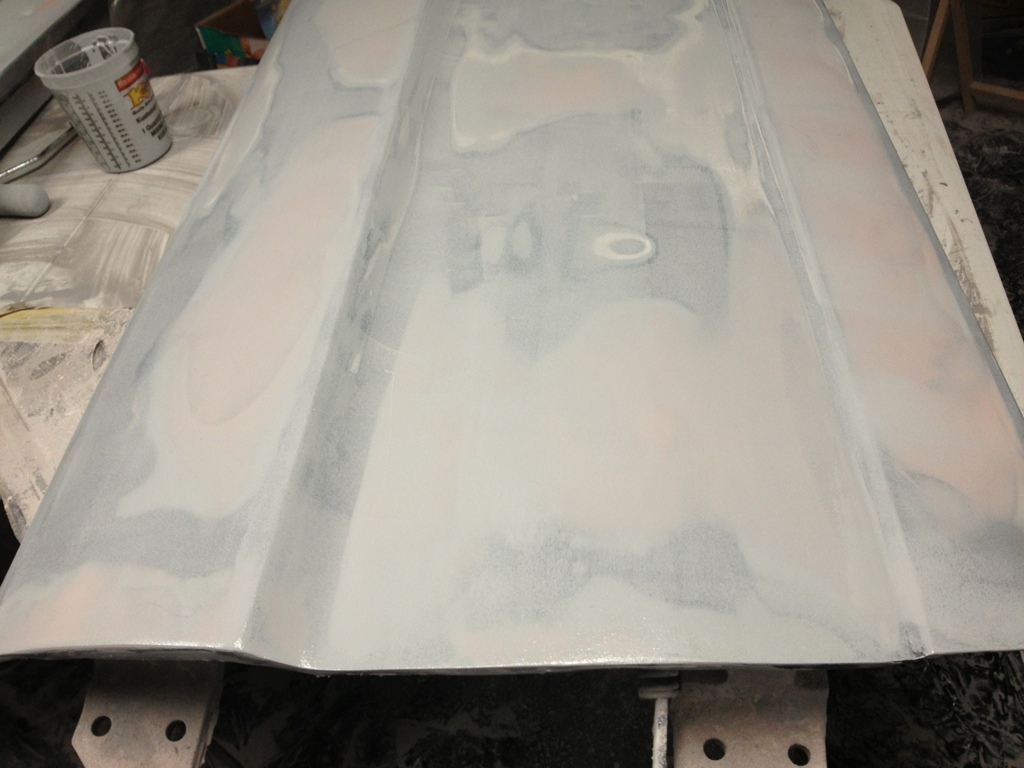
Tonight was the third straight night of working on the doors. I hope those are the hardest part of the car to shape, because they are kicking my butt. Tonight I felt good enough about them to put another round of primer on. I think one of my problems is that I just don't have enough compressor to spray the U-Pol, that stuff is thicker than syrup. I had such good luck rolling the roof and quarters, that I decided to roll the doors this time. Much easier to do in a storage unit than spraying anyway:
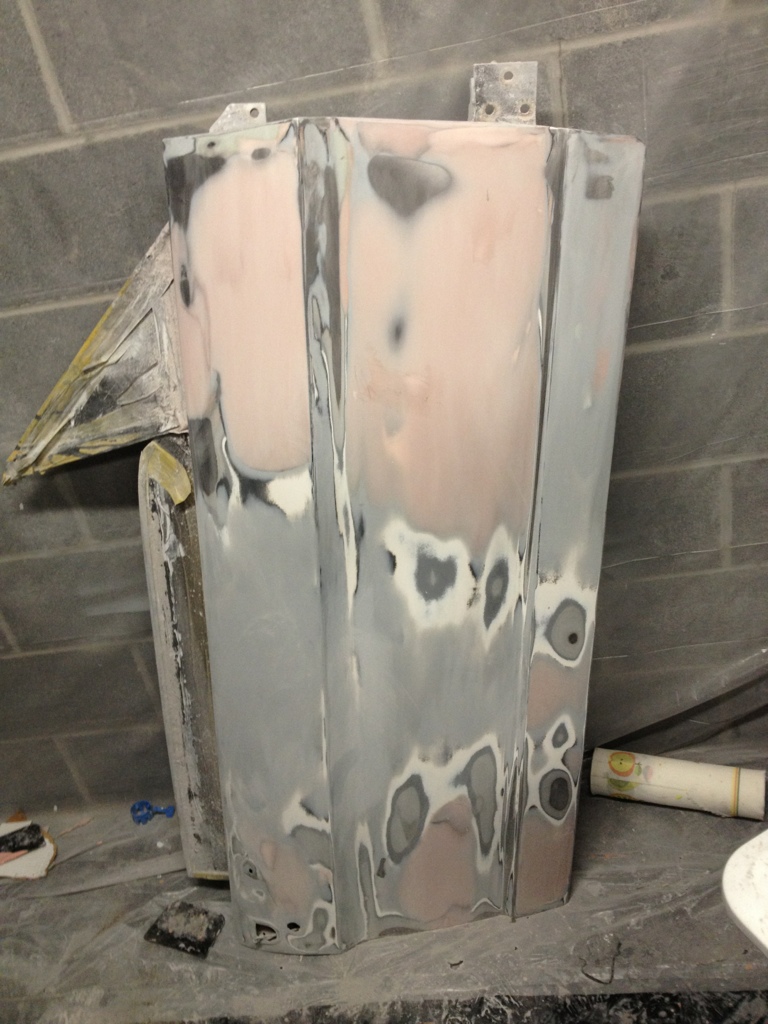
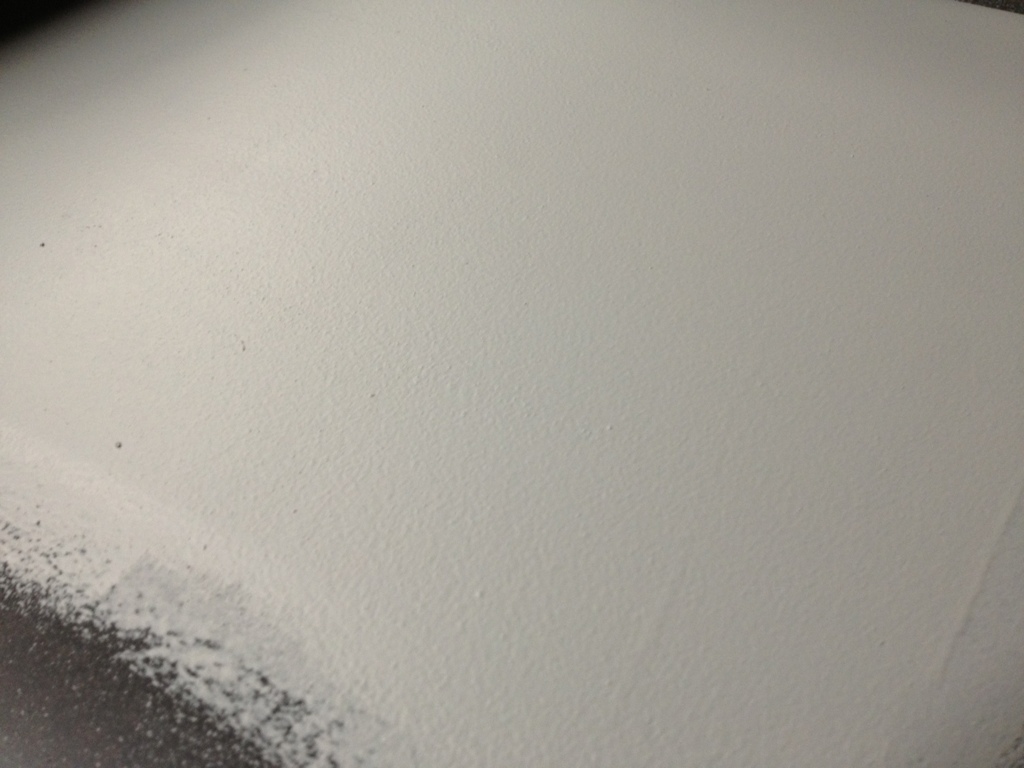
The first coat of primer I roll on very dry, so that it creates a nice tacky surface for the next layer.
I only wait about two minutes after the first layer before I lay a second coat:
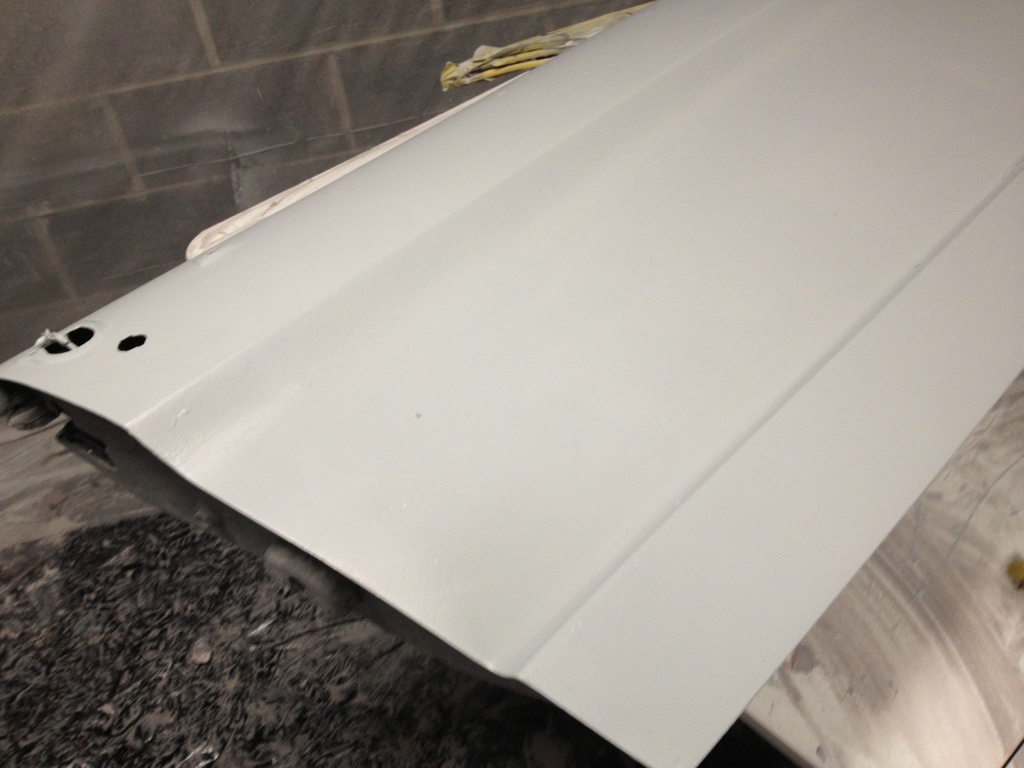
And then the third:
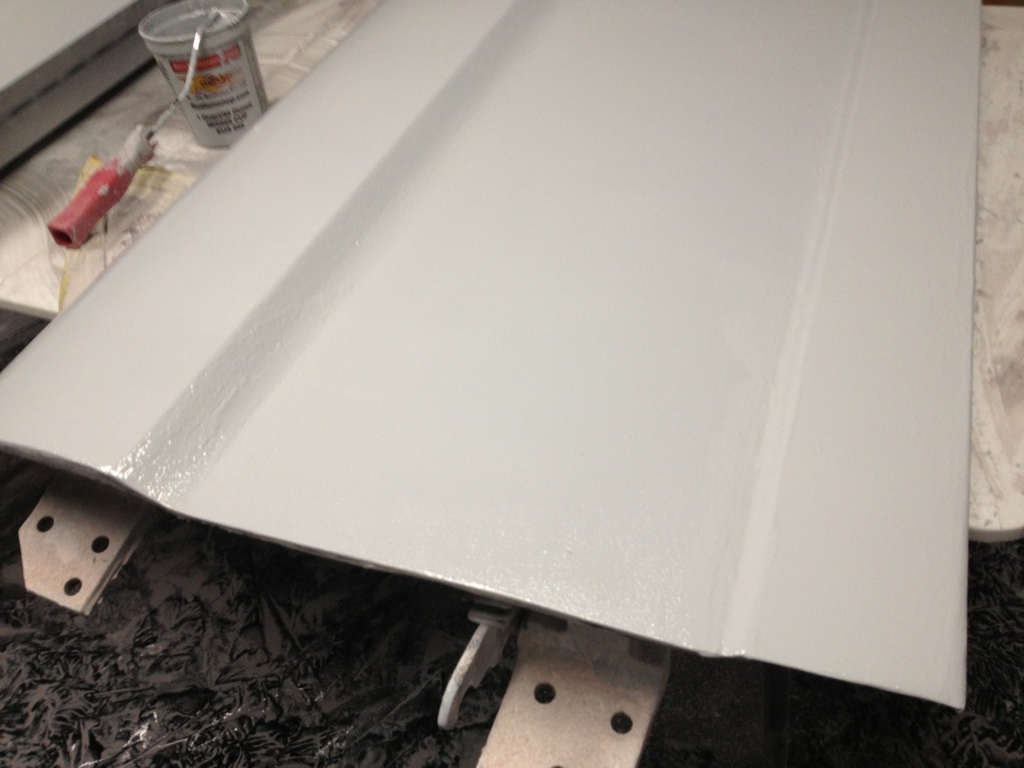
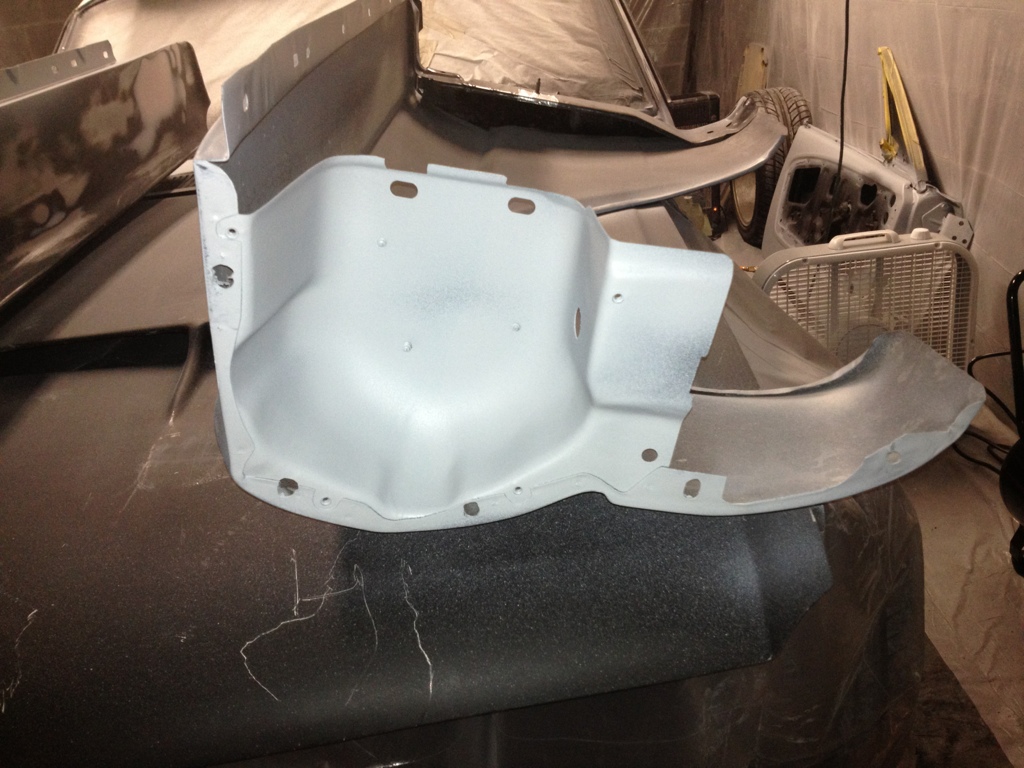
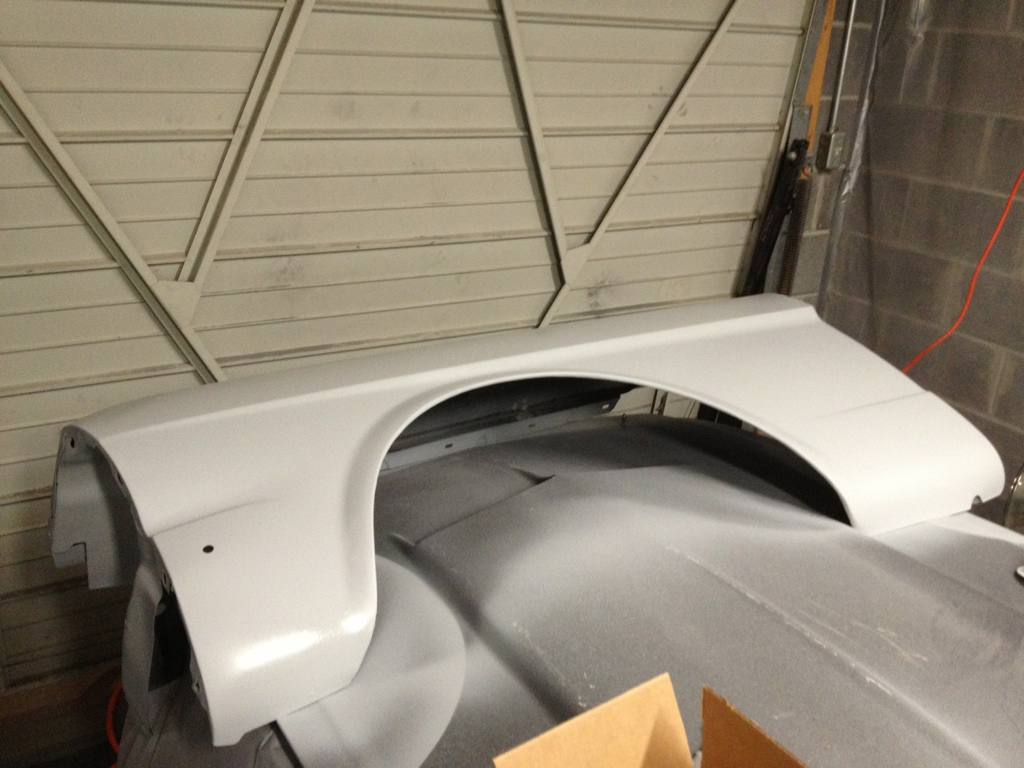
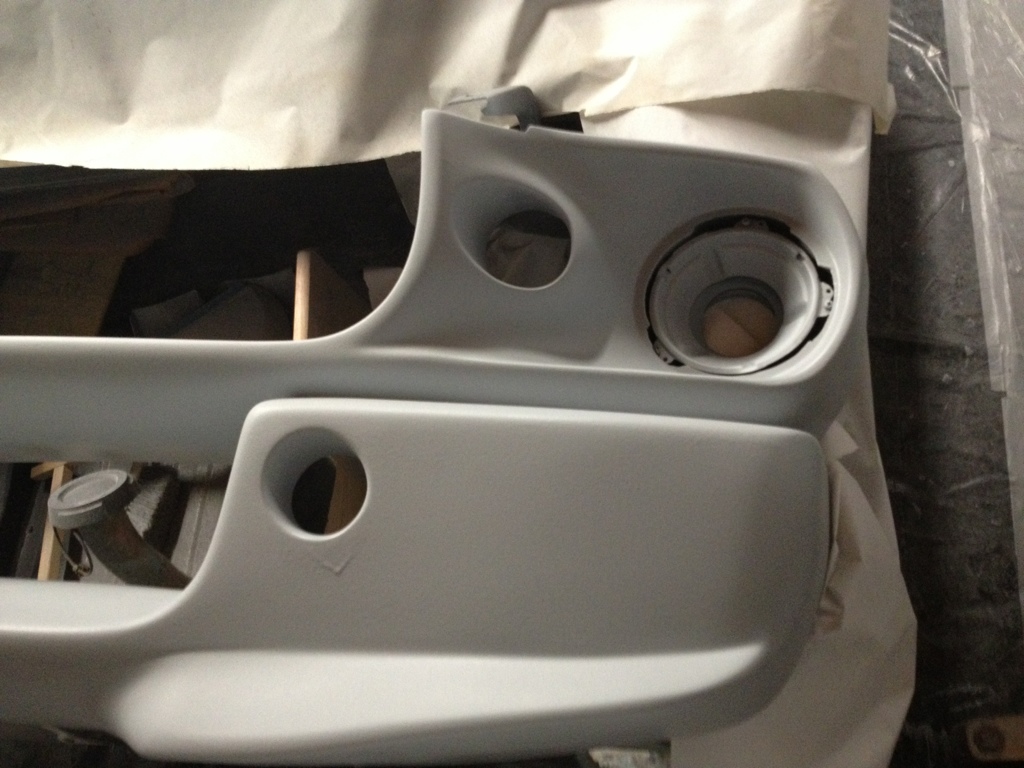
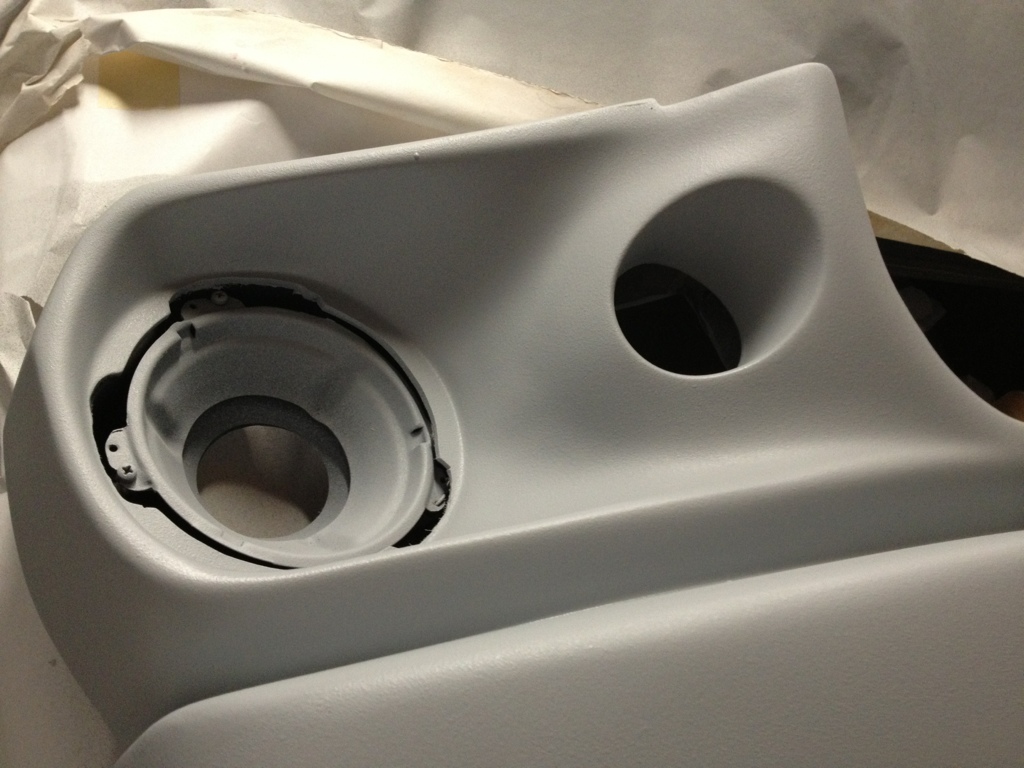
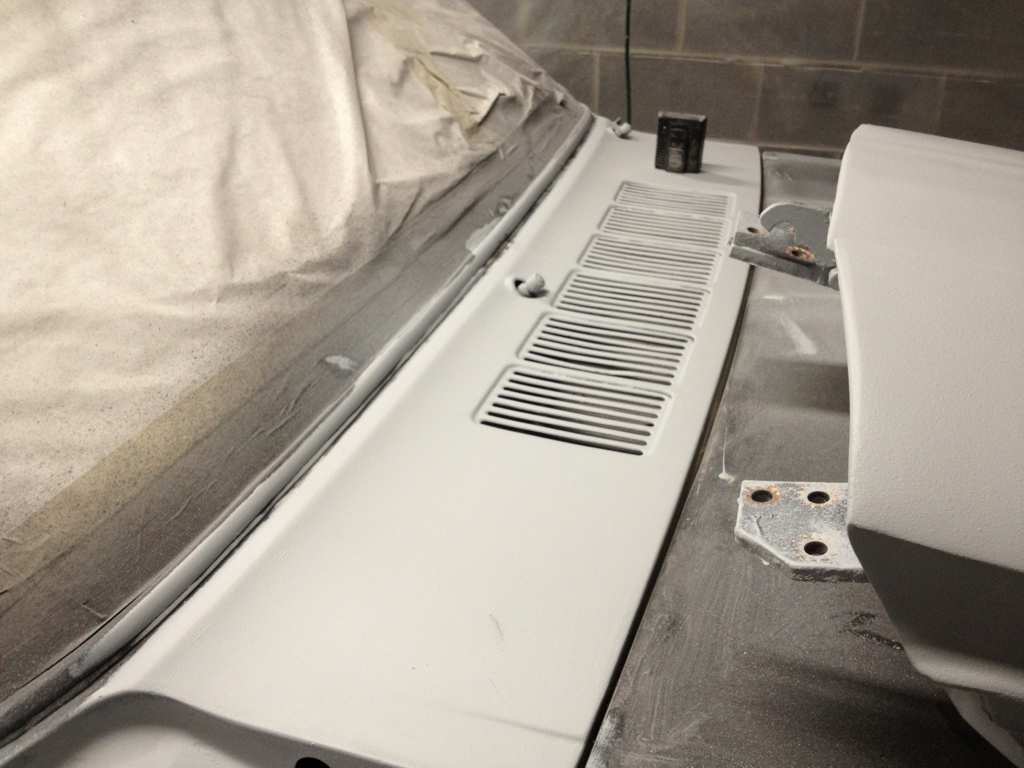
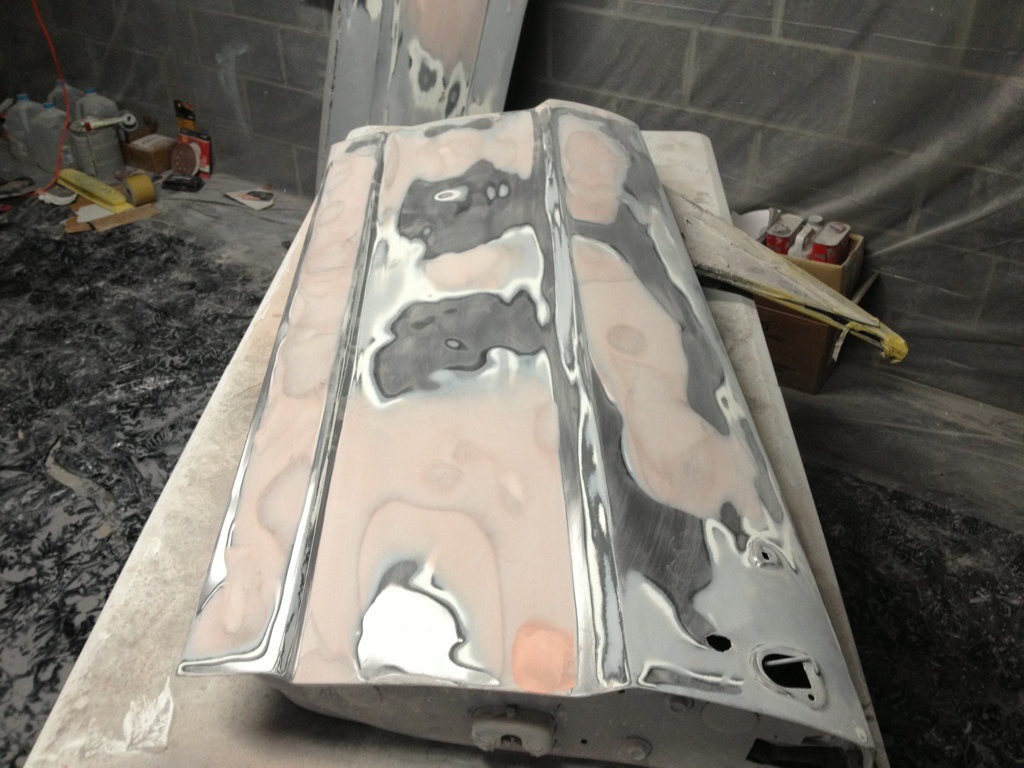
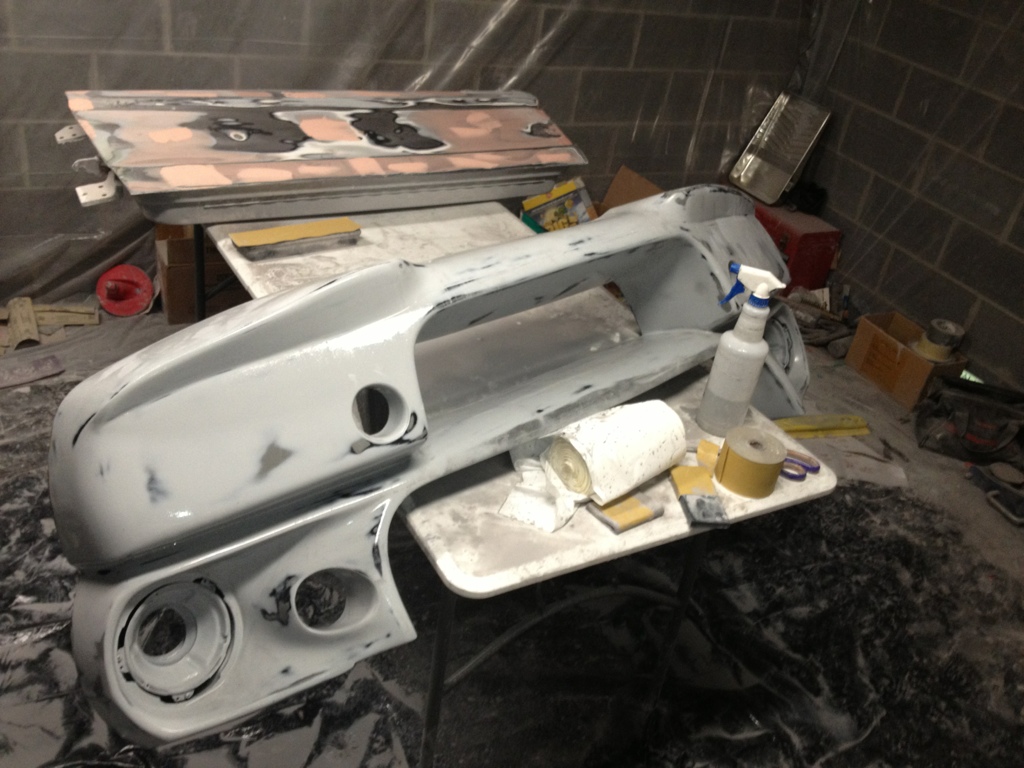
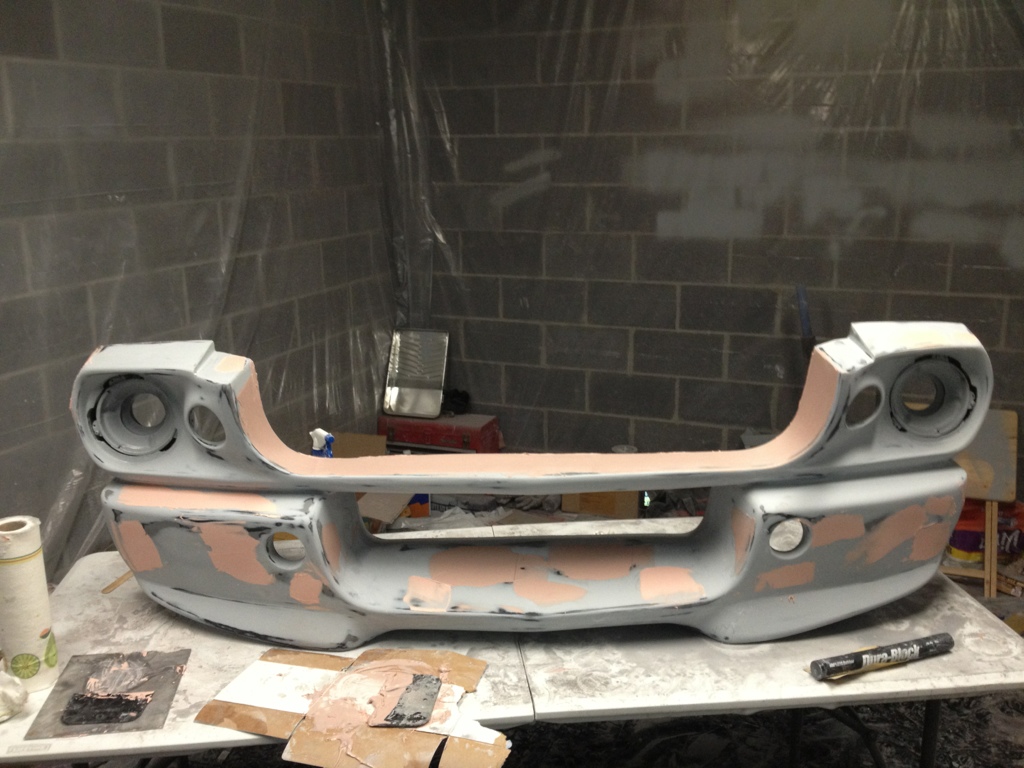
I also did some work on the nose. After blocking, I had a lot of pinholes in the fiberglass to fill, and then some filler on the top of the bridge and in the divots where I took out the bottom fog lights. You probably couldn't see it for the grill, but I decided to smooth it anyway. The stuff on top of the bridge and in the fog light divots is body filler, then rest is just glaze for pinholes:
The first coat of primer I roll on very dry, so that it creates a nice tacky surface for the next layer.
I only wait about two minutes after the first layer before I lay a second coat:
And then the third:
I also did some work on the nose. After blocking, I had a lot of pinholes in the fiberglass to fill, and then some filler on the top of the bridge and in the divots where I took out the bottom fog lights. You probably couldn't see it for the grill, but I decided to smooth it anyway. The stuff on top of the bridge and in the fog light divots is body filler, then rest is just glaze for pinholes: