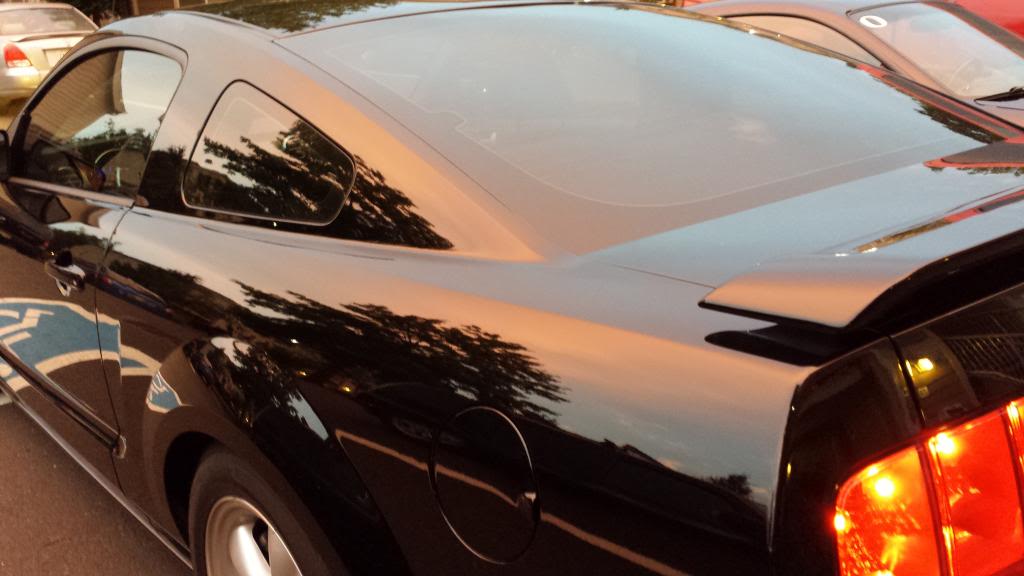
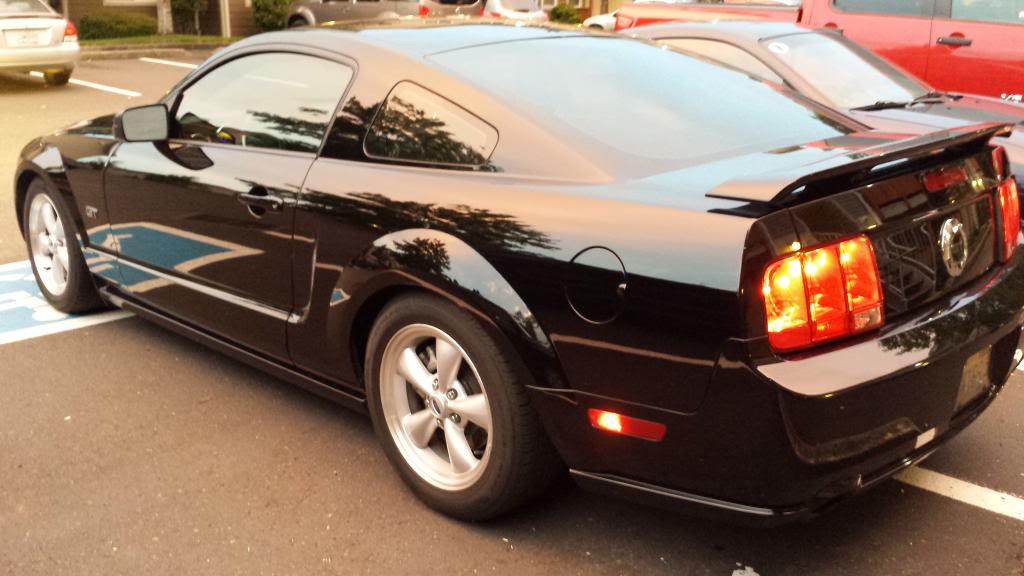
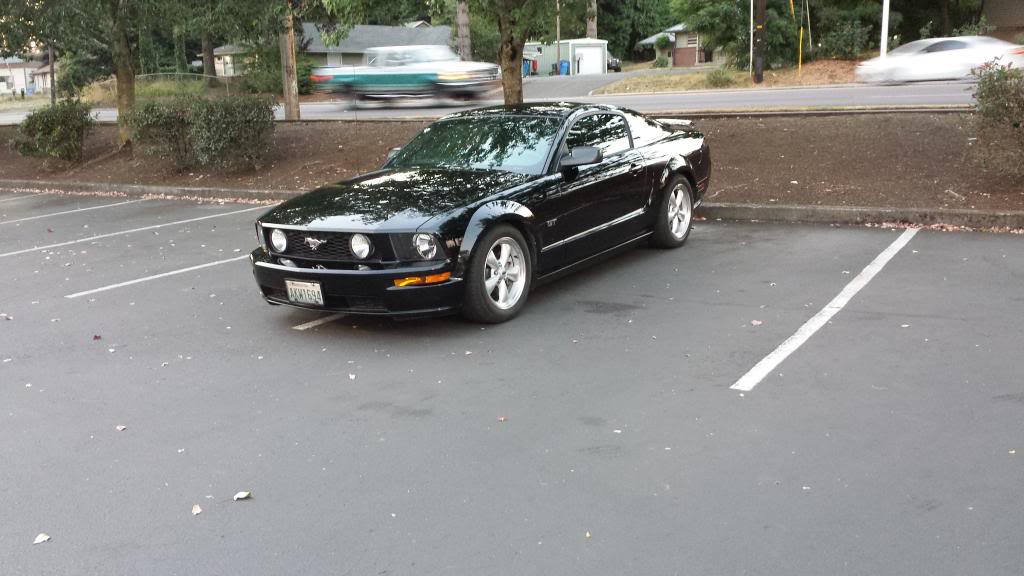
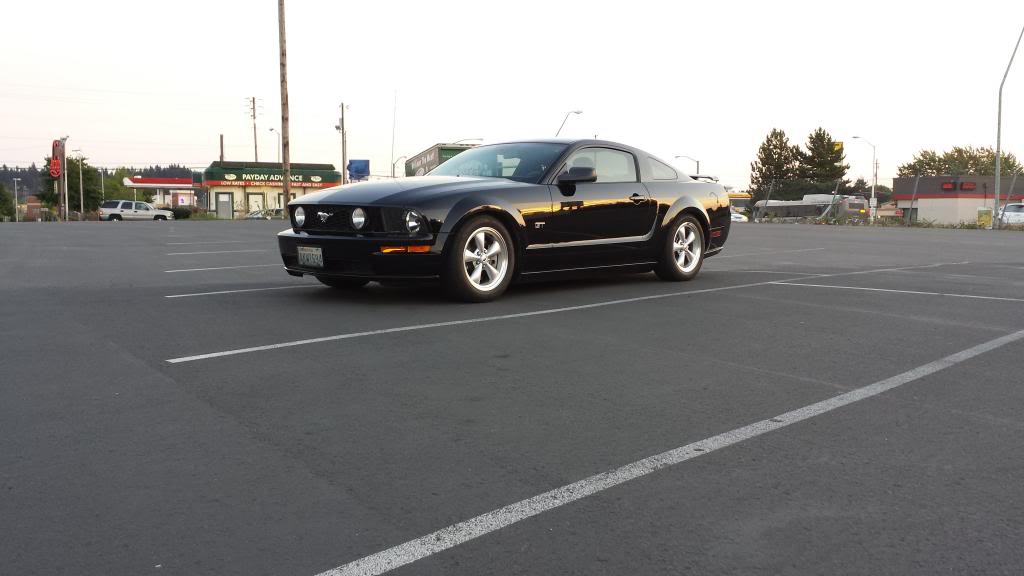
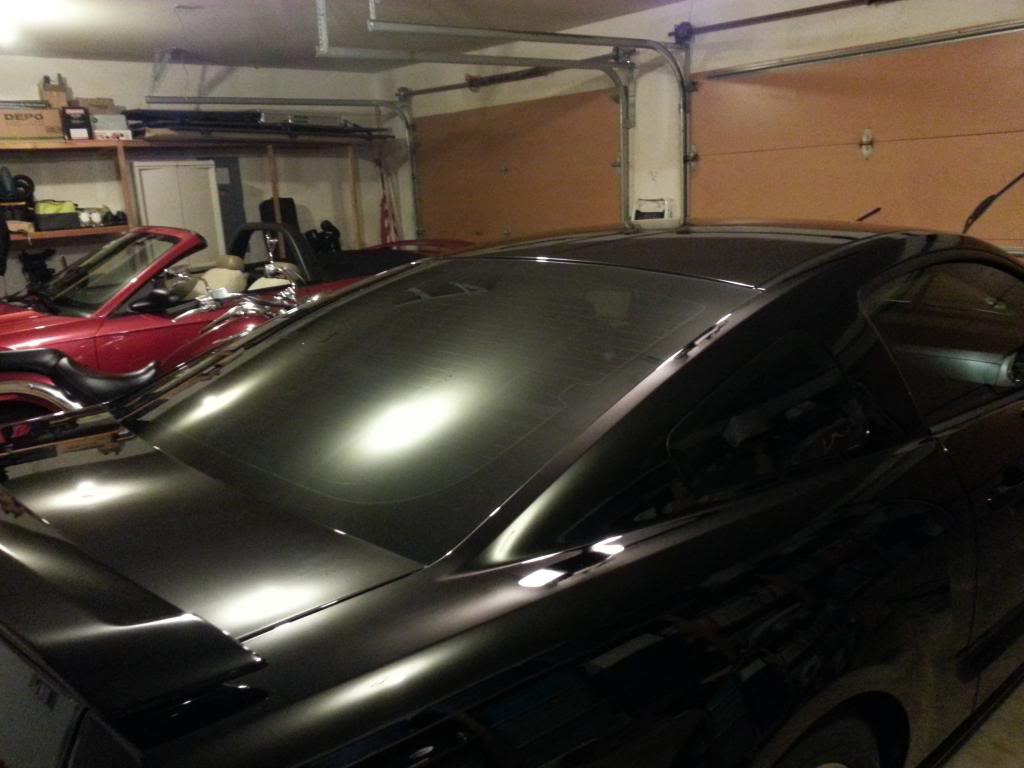
Detailed the paint, I'd say she looks pretty nice...
 09-27-2013, 02:52 AM
#1
1st Gear Member
Thread Starter

Join Date: Jan 2013
Location: Washington
Posts: 92
Tools: Meguiars G110V2, Meguiars Foam Cutting Pad, Meguiars Foam Finishing Pad, Chinchilla Microfiber Towels, Cobra Microfiber Towels
Products: Meguiars Ultimate Compound, Meguiars Ultimate Polish, Ultima Paint Guard Plus, Ricardo Yellow Clay, Griot's Garage Speed Shine, Meguiars Ultimate Quick Detailer
Process - Paint: Clay (twice-over), Compound (2 stages and scratch reduction), Polish (1 stage), Sealant (3 stages)
Process - Glass: Clay (once-over), Compound (1 stage), Sealant (3 stages)
Time: Five-ever. Seriously, I spent well over 20 hours on it.
I'm most proud of how the windows turned out...A lot can come from a short amount of time spent detailing your windows! The part that took the longest BY FAR was the scratch reduction and swirl removal, both parts of the compound step. Also, the front bumper was not finished in any of these pictures (still needed more compound cutting), and there are a plethora of paint chips on the hood that are probably visible in some pictures. I'm going to replace the hood eventually, so I'm not worried about them. Let me know what you guys think!


 09-27-2013, 03:04 AM
#3
1st Gear Member
Thread Starter
Join Date: Jan 2013
Location: Washington
Posts: 92
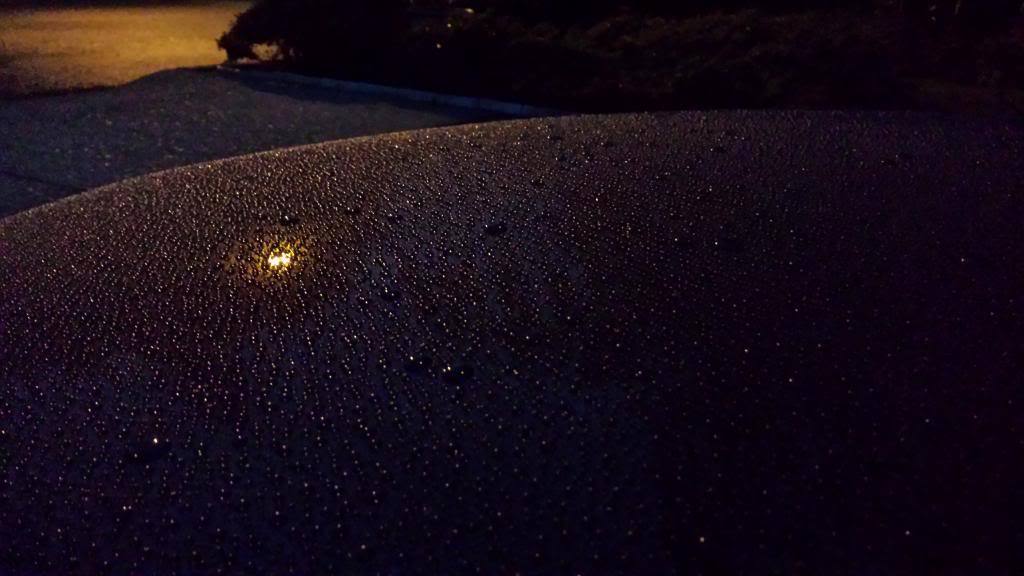
Hahaha thanks! I made an effort to make sure that absolutely no swirl marks were visible, period, under any light.
It could be even deeper if I slapped a layer of carnuaba wax on top, but I only do that for shows (which I haven't been to since I finished detailing it, what a crime!)
It could be even deeper if I slapped a layer of carnuaba wax on top, but I only do that for shows (which I haven't been to since I finished detailing it, what a crime!)