1991 Honda CRX Drag Car Build
 11-19-2012, 04:45 PM
#11
hmmm...
Problem...
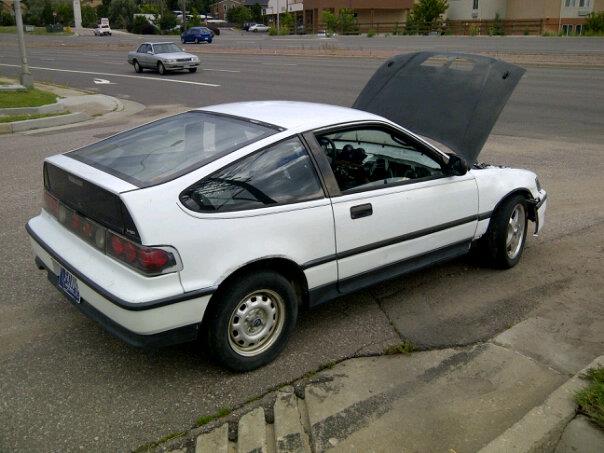
The car starts amazing... Drives amazing... gets warm/really hot and then dies at idle and wont start again... Not for anything...
Ignitor? Idk we will find out tomorrow....Pictures from today....
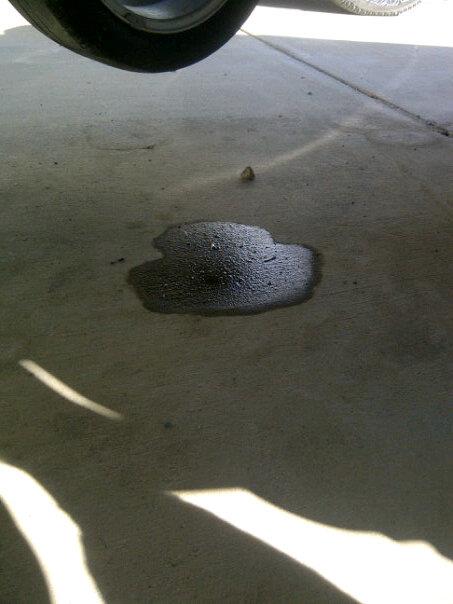
Broken down on the side of the road...
Cockpit as is now...
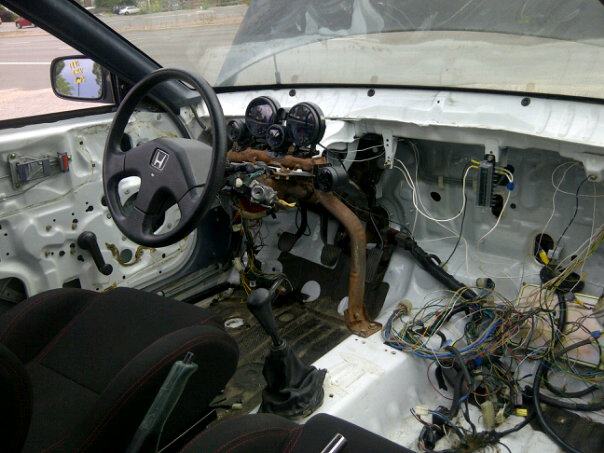
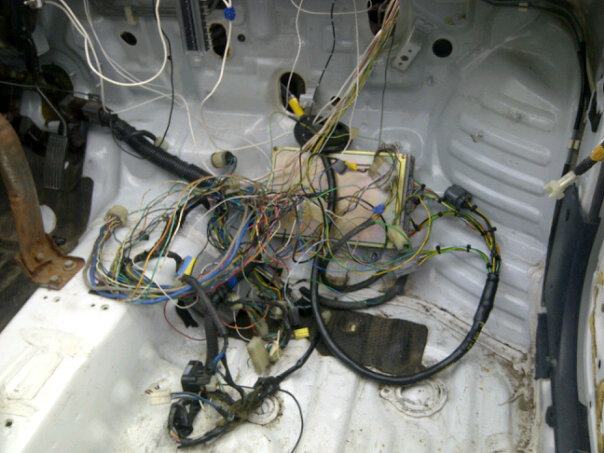
Current wiring mess... Pulling out what I dont want or need...
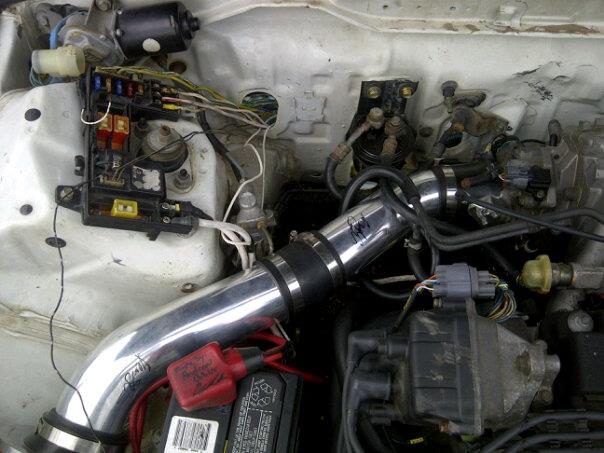
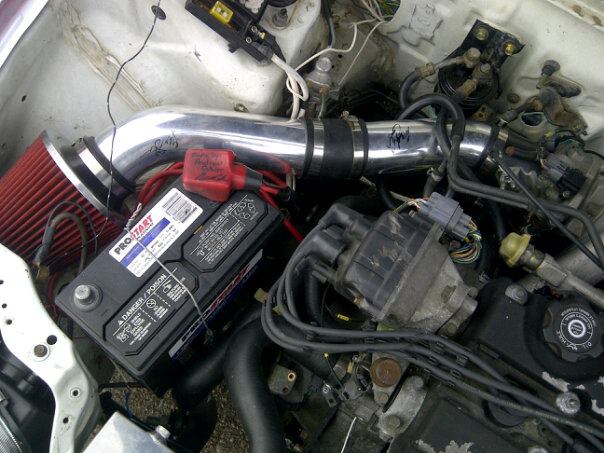
once again the custom intake lol...
all my wires lol...wooohoooo looks clean!
I need to paint engine pieces...
Got Drag Radials??
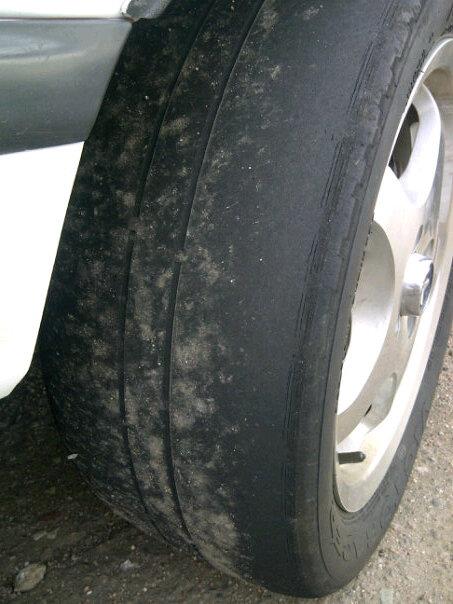
I barley do lol...
Problem...
The car starts amazing... Drives amazing... gets warm/really hot and then dies at idle and wont start again... Not for anything...
Ignitor? Idk we will find out tomorrow....Pictures from today....
Broken down on the side of the road...
Cockpit as is now...
Current wiring mess... Pulling out what I dont want or need...
once again the custom intake lol...
all my wires lol...wooohoooo looks clean!
I need to paint engine pieces...
Got Drag Radials??
I barley do lol...
 11-19-2012, 04:46 PM
#12
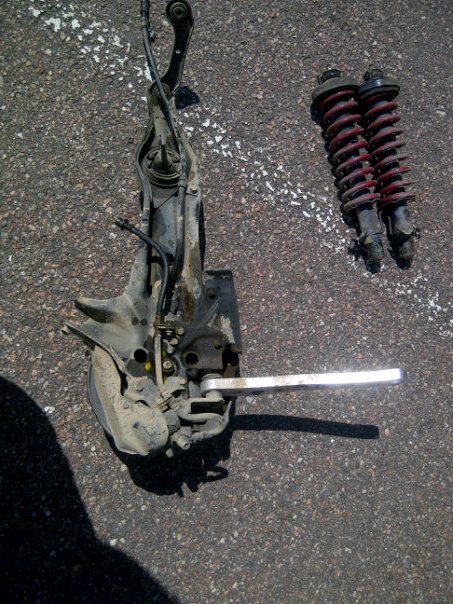
Well I decided to hit up a craigslist add from a guy that was parting out a wrecked 1990 CRX Si... I had some good pickens!
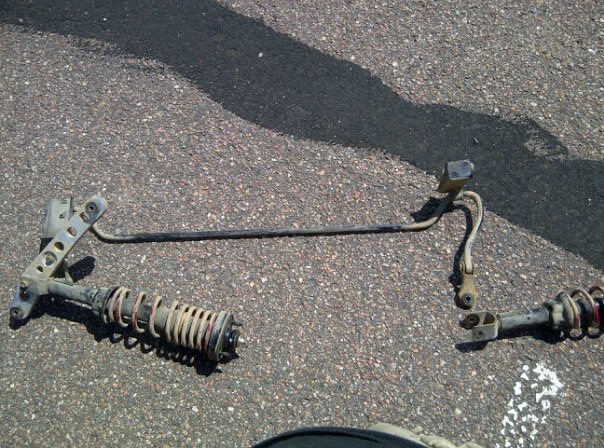
4 x Eibach Sportline Springs and shocks & Struts
Ebay rear Lower Control Arms
90 Si Rear Sway bar
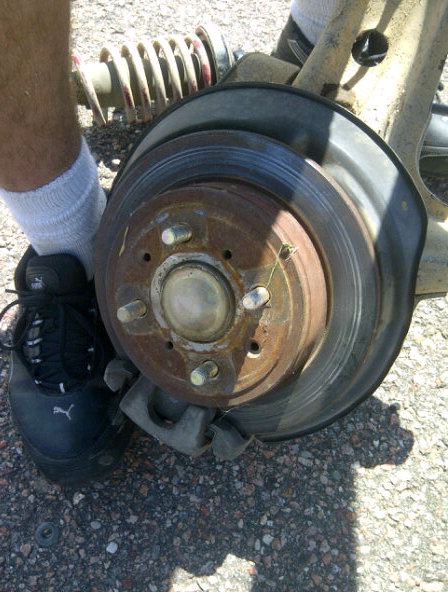
90 Si Rear Disc brake setup
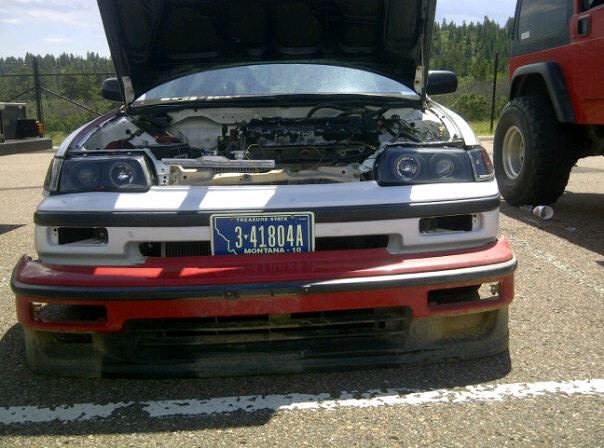
90 Si front bumper (Red)
90 Si Throttle Cable (for my buddy)
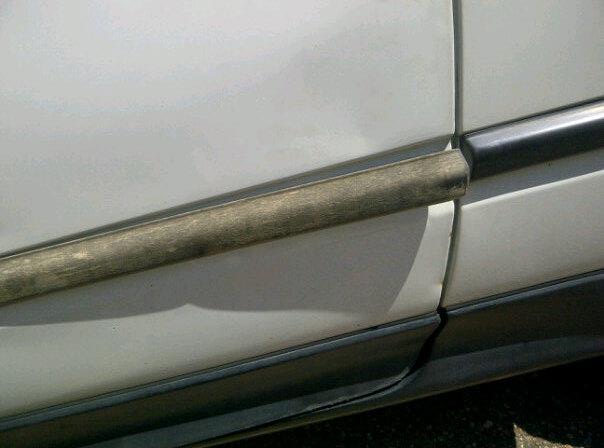
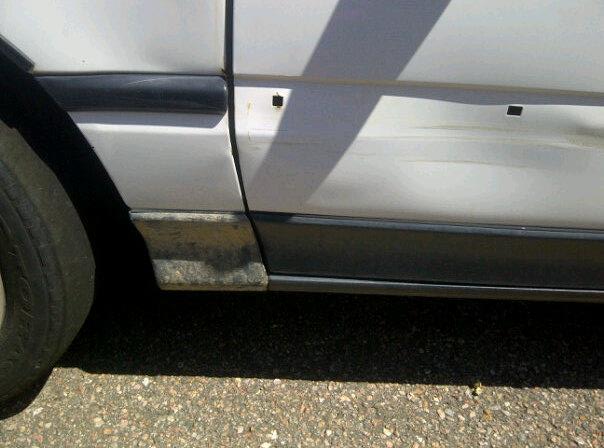
2 x Lower fender moldings.. Behind the wheel under the door almost.. I didnt have them
1 x Drivers door molding (middle)
1 x Underhood Fuse box cover.

My girl's jeep. It hauls everything I buy for the rex.
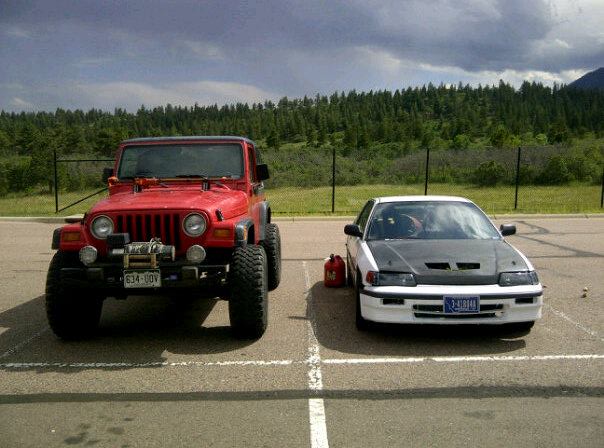
So all in all I think I did pretty dang good for $200 and the guy helped my pull it all off. I am still debating going back and yanking the whole wiring harness for $60. Engine and Interior. Well I am SUPER excited to get all of this stuff on, but I packed it all into the CRX to wait to be trailer-ed back home to MT before any more work will happen.
4 x Eibach Sportline Springs and shocks & Struts
Ebay rear Lower Control Arms
90 Si Rear Sway bar
90 Si Rear Disc brake setup
90 Si front bumper (Red)
90 Si Throttle Cable (for my buddy)
2 x Lower fender moldings.. Behind the wheel under the door almost.. I didnt have them
1 x Drivers door molding (middle)
1 x Underhood Fuse box cover.
My girl's jeep. It hauls everything I buy for the rex.
So all in all I think I did pretty dang good for $200 and the guy helped my pull it all off. I am still debating going back and yanking the whole wiring harness for $60. Engine and Interior. Well I am SUPER excited to get all of this stuff on, but I packed it all into the CRX to wait to be trailer-ed back home to MT before any more work will happen.
11-19-2012, 04:46 PM
#13
On the road...
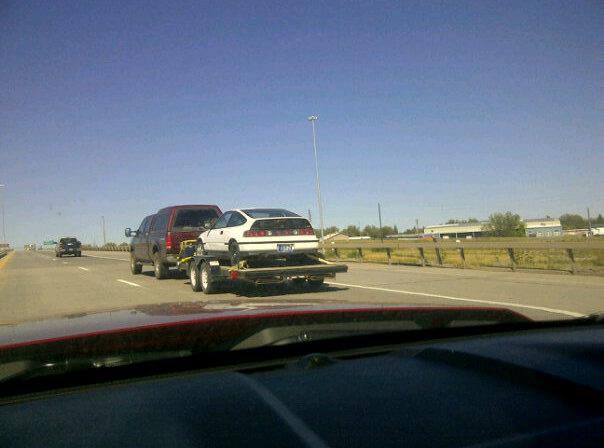
Still driving...
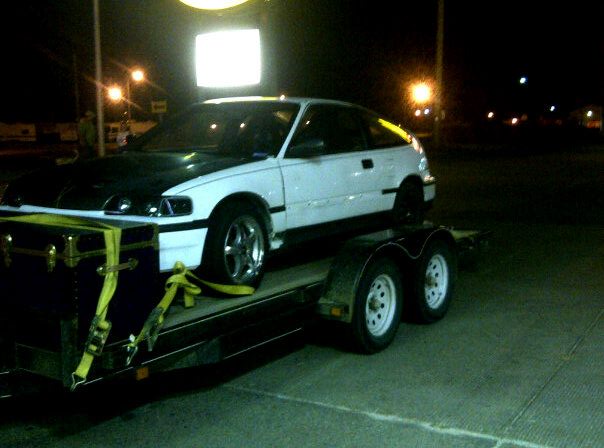
Finally home!
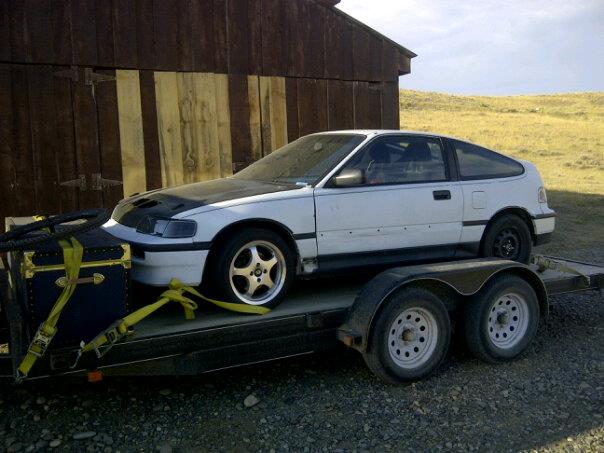
New home! Now starts more work!
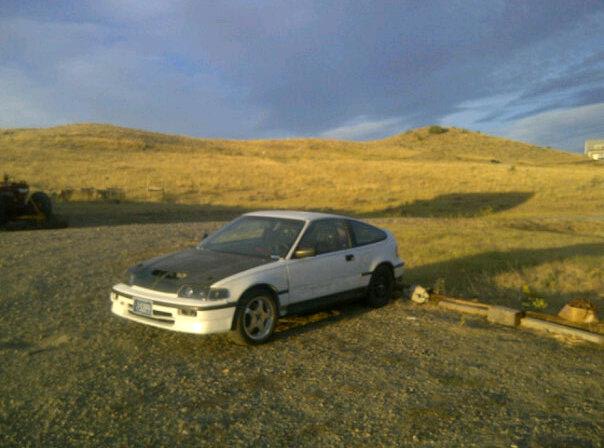
What I am driving until the Honda is ready.
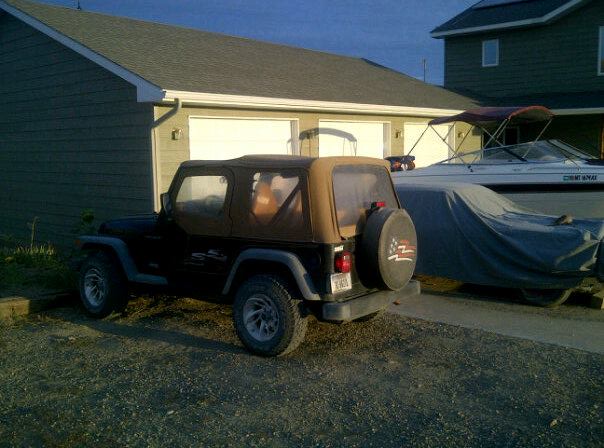
Under the tarp is an 70ish Cutlass... A 72 Olds 442 is in the Garage too!

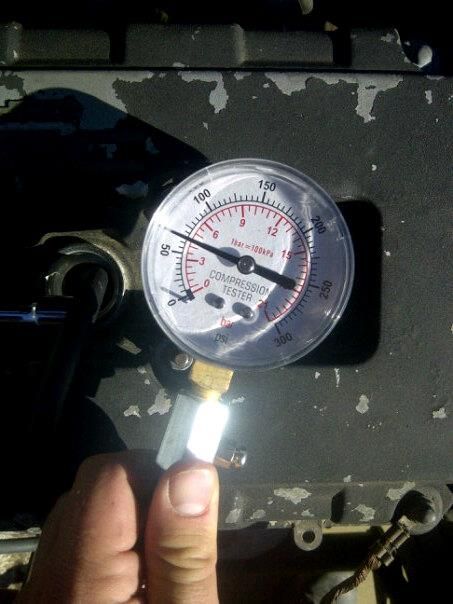
Cylinder #2
Still driving...
Finally home!
New home! Now starts more work!
What I am driving until the Honda is ready.
Under the tarp is an 70ish Cutlass... A 72 Olds 442 is in the Garage too!
Cylinder #2
11-19-2012, 04:47 PM
#14
Well Cylinder number one has 0 compression.
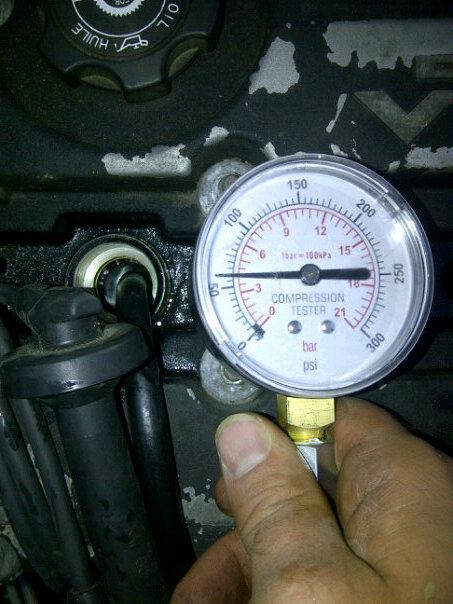
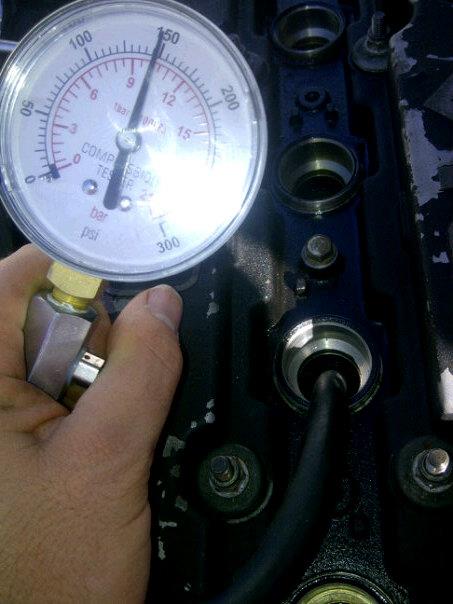
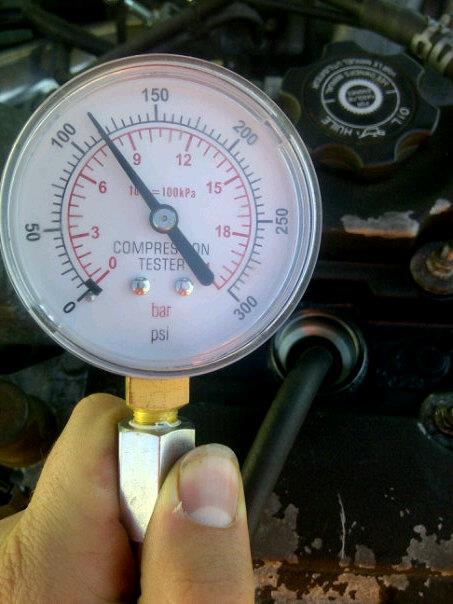
Cylinder number 2 has this much compression.
Cylinder number 3 has 0 compression.
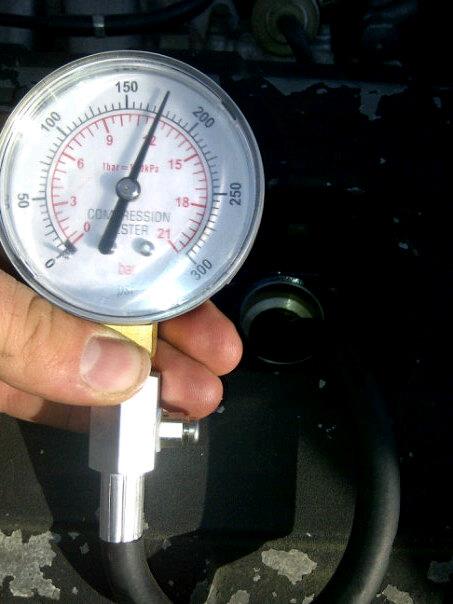
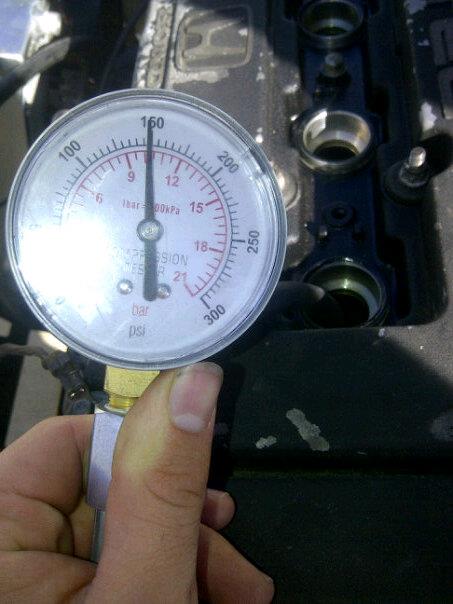
And cylinder number 4 has this much compression.
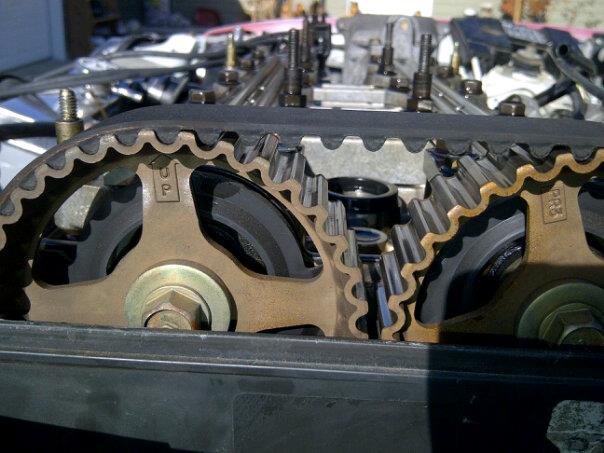
Time to pull the valve cover at least...

And looking at the cam gears, I dont believe this is right....
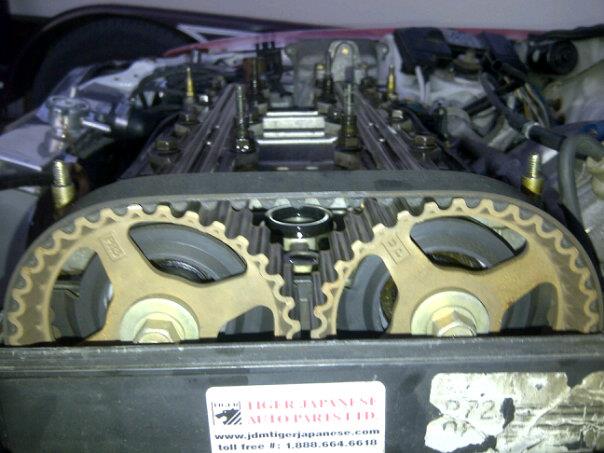
If I am correct, the UP ARROWs on each cam gear should point up together correct?!?!
Looks like my cam timing is way effed up.
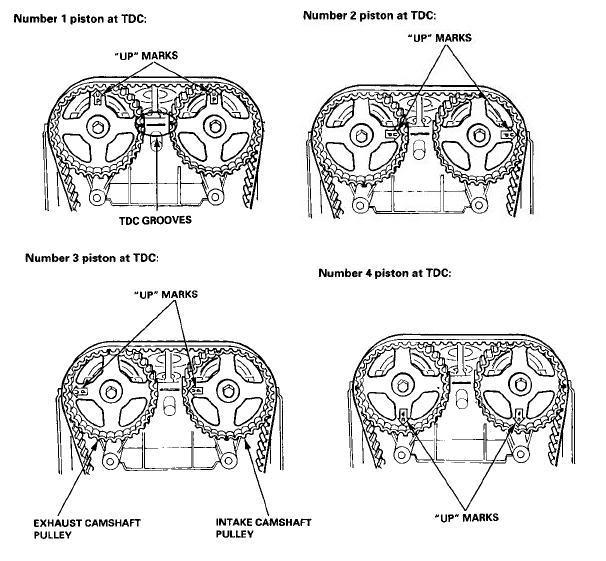
So the correct way to set cam timing is what????
Cylinder number 2 has this much compression.
Cylinder number 3 has 0 compression.
And cylinder number 4 has this much compression.
Time to pull the valve cover at least...
And looking at the cam gears, I dont believe this is right....
If I am correct, the UP ARROWs on each cam gear should point up together correct?!?!
Looks like my cam timing is way effed up.
So the correct way to set cam timing is what????
11-19-2012, 04:49 PM
#15
im not big on metallic greens... but if it works for you then great!
for sure man...
thanks...
sounds sweet man get on it!
Thanks a ton! I was waiting for someone to say this. I did it yesterday actually, but still no luck...
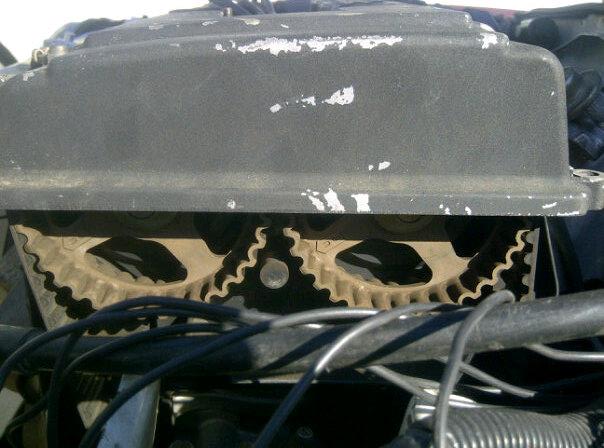
Top Dead Center.... Right????
Before I pulled the belt and spun both cams until they faced directly up....
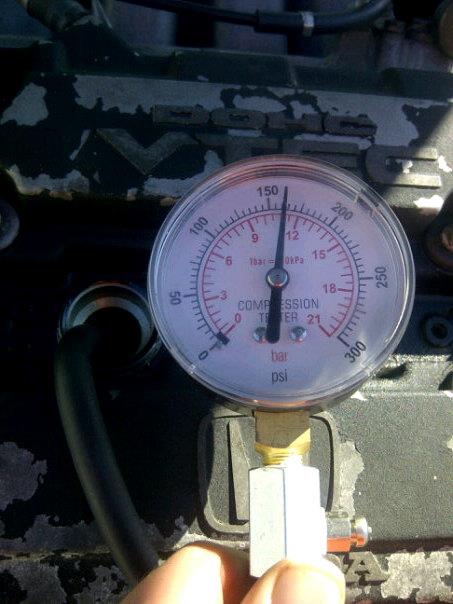
Compression in Cylinder #1 after putting it all back together....

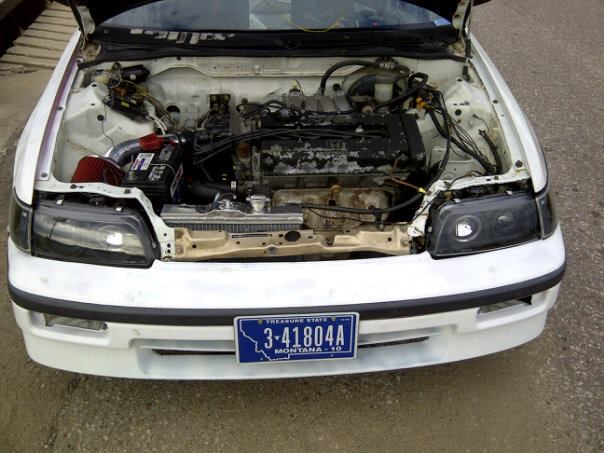
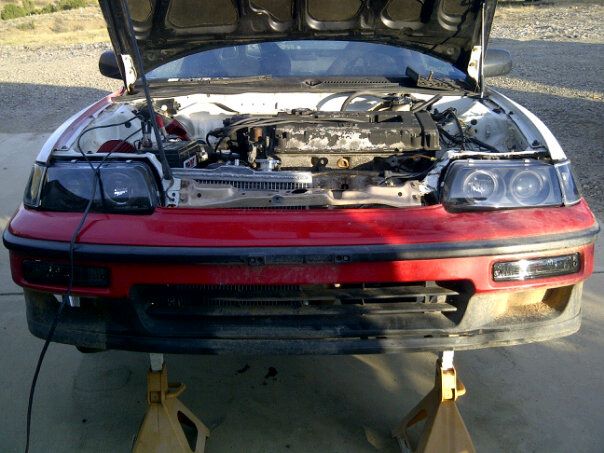
New bumper on...
So I still have low compression which means a bent valve at this point.... Let me know if I am wrong...
So I will pull the head tomorrow most likely.
First of all uh oh!
Second of all... Here are the cams... Both UP marks shown...
unplugged distributor and the injectors...

Still smells heavily like gas... I wonder if they are stuck open....
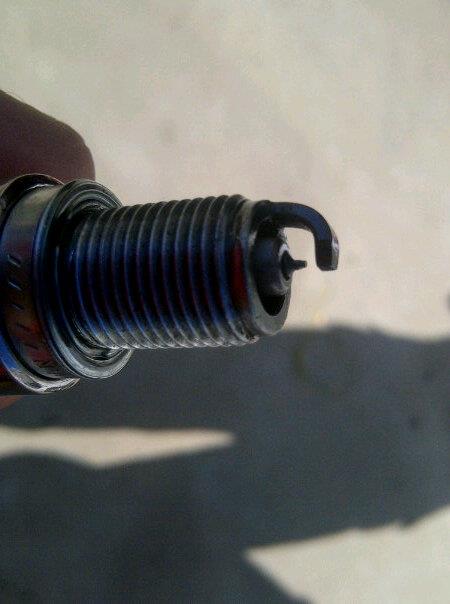
PLugs look fine, just soaked with gas...
Cylinder Numero 1 = 150 ish
Cylinder Numero 2 = 150 ish
Cylinder Numero 3 = 160 ish
Cylinder Numero 4 = 115 ish and damnitttttt
So if I get a general sense of yes you are phucked go get a valve job, that is what I will do....
for sure man...
thanks...
^ @ mtflyboy25 - Yes the arrows should be pointing in the exact same direction and when the notch on your crank pulley lines up with the TDC mark on your timing belt cover the two "up" arrows will be pointing straight up (in respect to the angle at which the engine block is positioned). So the arrows would be rotated slightly counter clockwise from 12 o'clock.
To fix your problem, pull off the upper timing belt cover, set your crank pulley to TDC by lining up the notch with the TDC indication mark on the lower timing belt cover, loosen your timing belt tensioner so that you can slide the belt off the cam gears, then it will just take some patience and a few tries to get the cam gear TDC marks in the center of the two wheels to line up while you ensure the the two "UP" are pointing relatively straight up and both in the same direction. Then, while ensuring the cam gears don't move, reinstall the timing belt starting with the exhaust gear and then the intake gear. Once you think you have it, rotate the engine 2 - 3 cycles to ensure all your TDC marks are lining up properly each time. Rotating the engine counter clockwise will re-apply tension to the belt and you can then re-tighten the tension adjustment bolt.
If you don't know how to do these steps, let me know and i will send you a link to a manual that will show you how to identify the components / procedural steps you need to fix your timing... I hope this helped.
Top Dead Center.... Right????
Before I pulled the belt and spun both cams until they faced directly up....
Compression in Cylinder #1 after putting it all back together....
New bumper on...
So I still have low compression which means a bent valve at this point.... Let me know if I am wrong...
So I will pull the head tomorrow most likely.
First of all uh oh!
Second of all... Here are the cams... Both UP marks shown...
unplugged distributor and the injectors...
Still smells heavily like gas... I wonder if they are stuck open....
PLugs look fine, just soaked with gas...
Cylinder Numero 1 = 150 ish
Cylinder Numero 2 = 150 ish
Cylinder Numero 3 = 160 ish
Cylinder Numero 4 = 115 ish and damnitttttt
So if I get a general sense of yes you are phucked go get a valve job, that is what I will do....
11-19-2012, 04:49 PM
#16
CRAP...
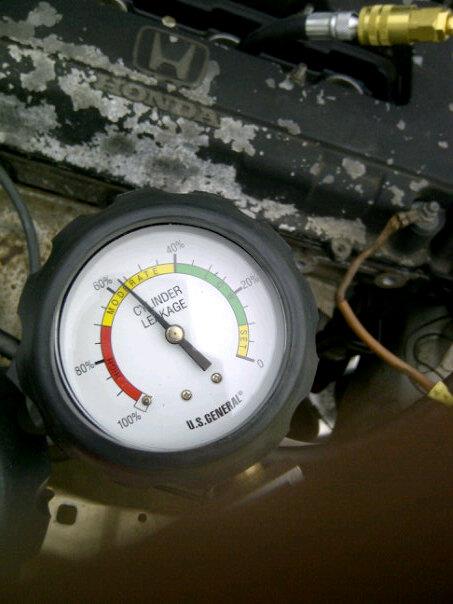
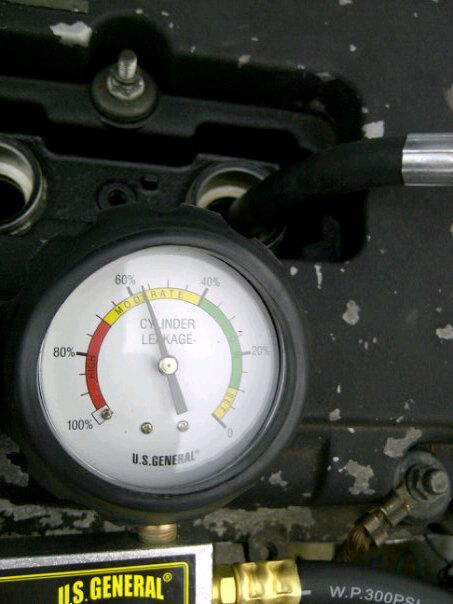
i stopped after this.... So I couldnt figure out where the air was leaking though, which uh sucks more.... So now I have NO idea what to do, but I think the engine is coming out for a full rebuild....
i stopped after this.... So I couldnt figure out where the air was leaking though, which uh sucks more.... So now I have NO idea what to do, but I think the engine is coming out for a full rebuild....
11-19-2012, 04:57 PM
#18
11-19-2012, 04:57 PM
#19

 11-19-2012, 05:00 PM
#20
Well I am back home finally. I called my shop and they said the car should be finished by wednesday... AWESOME!
Oh and I got this little guy in the mail to stop my head from leaking....

So this is how the dash is going to look from now on!

I haz a center console now! With a hole for my stereo! Which will eventually be a mini glovebox for the need info or maybe just a big legit switch panel, idk.


oh and I also now have door panels. They really finish off the car. Looks great. I still have all my aluminum pieces wrapped in plastic which is why they looks messed up.


New lowered seat bracket!


One side needed to be a little higher to be level...

well we pulled out some stuff...

Then we decided to decorate!


Oh and I got this little guy in the mail to stop my head from leaking....
So this is how the dash is going to look from now on!
I haz a center console now! With a hole for my stereo! Which will eventually be a mini glovebox for the need info
or maybe just a big legit switch panel, idk.oh and I also now have door panels. They really finish off the car. Looks great. I still have all my aluminum pieces wrapped in plastic which is why they looks messed up.
New lowered seat bracket!
One side needed to be a little higher to be level...
well we pulled out some stuff...
Then we decided to decorate!