Wanna read a build thread? Click me... (Fink's M112 Build)

 06-01-2011, 09:19 AM
#24
5th Gear Member
Thread Starter
Join Date: Jan 2008
Location: Canada
Posts: 3,306
Finally an update for you guys... and its pretty big:
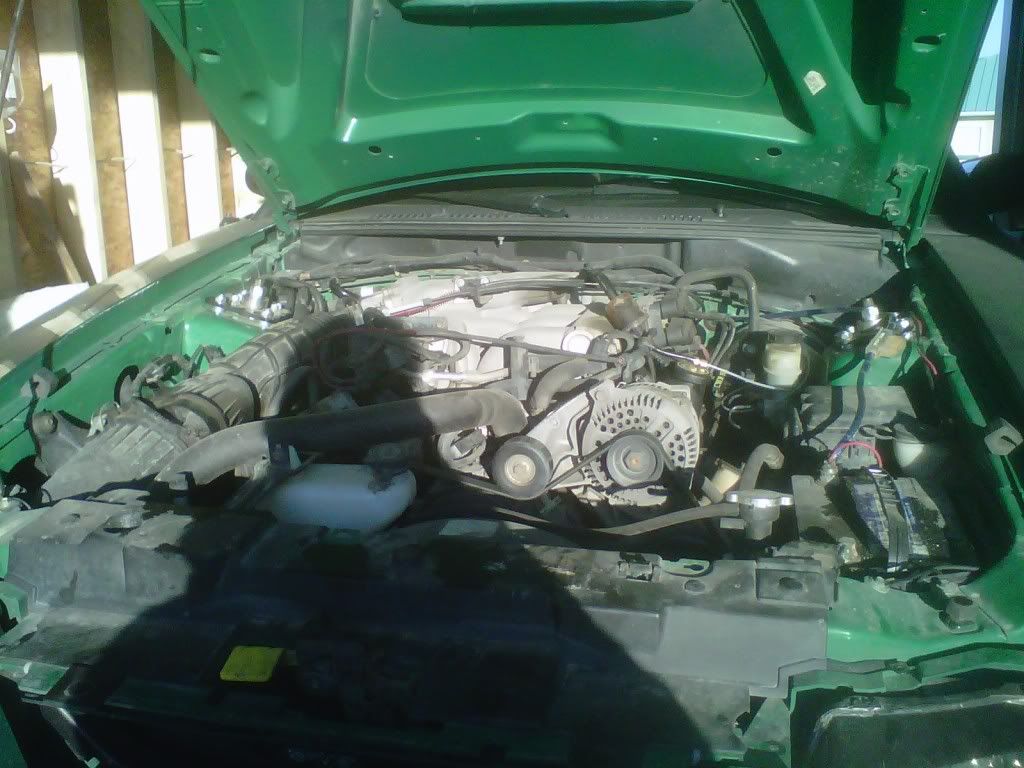
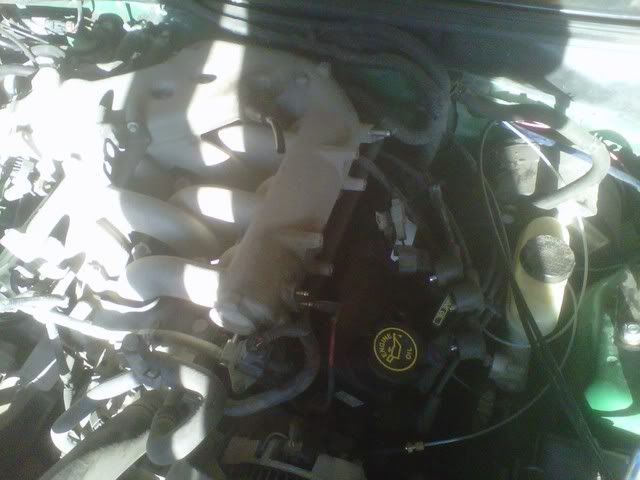
Just a pic of the engine.
Hoodless!
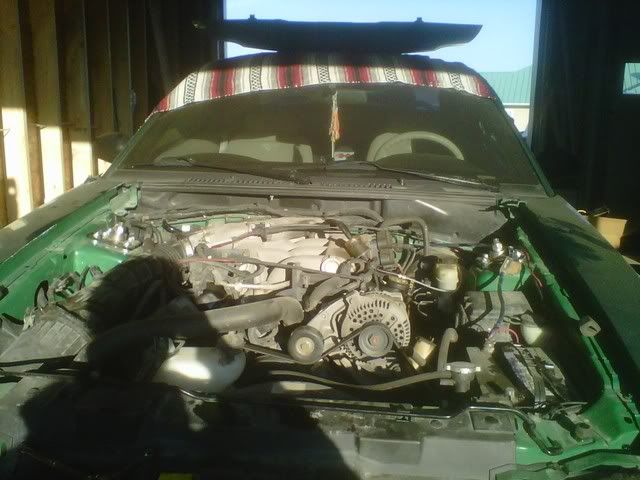
Air intake removed.

Disconnect all connectors/vaccum lines associated with the upper intake.
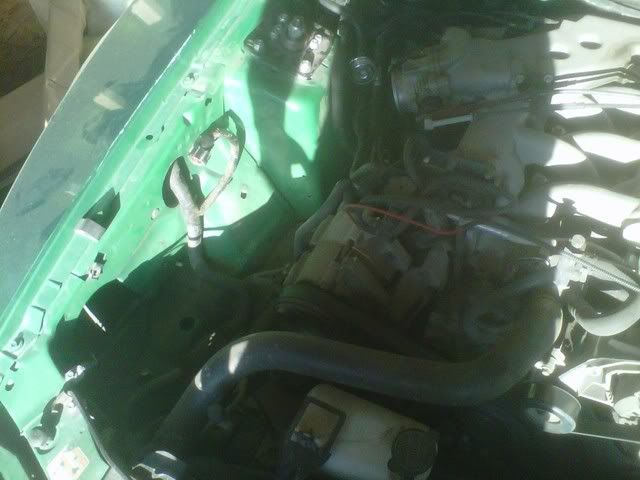
Coil pack removed along with a couple vaccum lines.
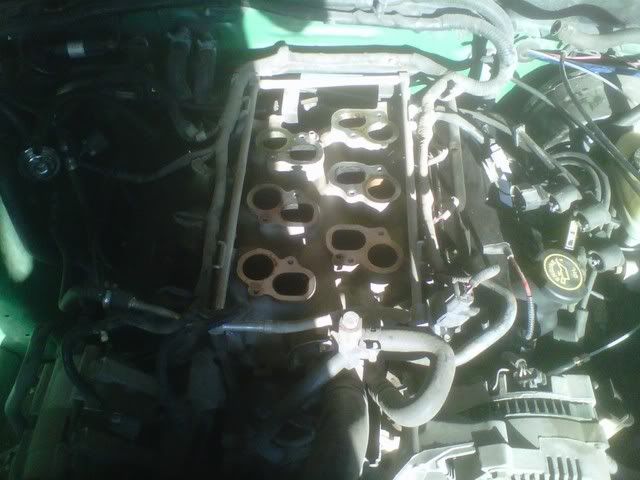
upper intake removed.
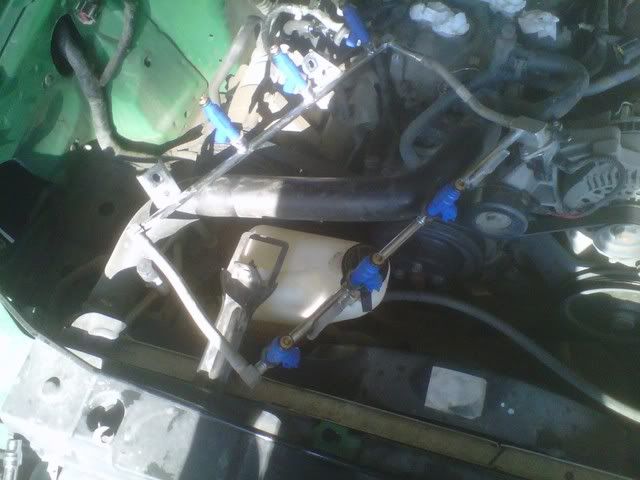
fuel rail removed. Be careful for dirt around the injectors. I didnt have a nozzle for an air compressor so I just used a screwdriver and vaccum.
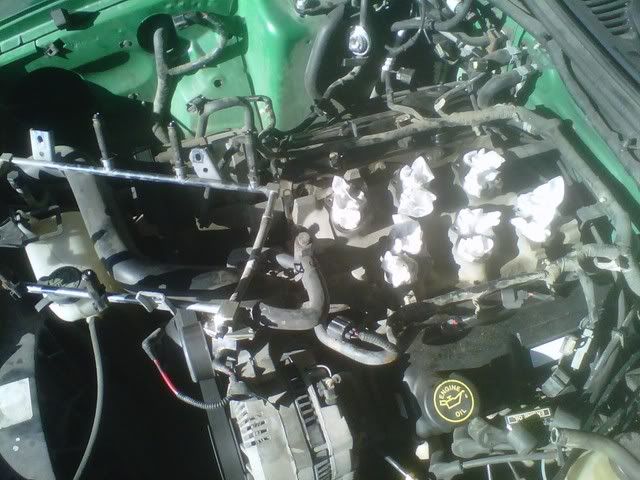
stock injectors removed and 39ers put in their place.

Just to show how the injectors are held onto the fuel rail.
I broke 5/6 injector connectors, the little tab that holds the connector to the injector. Should I just double zip tie them to the injectors until I can get new connectors?
Just a pic of the engine.
Hoodless!
Air intake removed.
Disconnect all connectors/vaccum lines associated with the upper intake.
Coil pack removed along with a couple vaccum lines.
upper intake removed.
fuel rail removed. Be careful for dirt around the injectors. I didnt have a nozzle for an air compressor so I just used a screwdriver and vaccum.
stock injectors removed and 39ers put in their place.
Just to show how the injectors are held onto the fuel rail.
I broke 5/6 injector connectors, the little tab that holds the connector to the injector. Should I just double zip tie them to the injectors until I can get new connectors?
06-01-2011, 10:21 AM
#25
Good progress. 
Take a wet rag with some cleaner on it and clean that harness!
Another thing you could do is put duck tap over the intake ports and plug the injector holes then degrease the entire engine.
Of course, tape off all of the electrical plugs and vacuum ports.
I Tripple Wal-Mart bagged my alternator. :P
To dry, use a shop vac with a small section of garden hose taped to the end (About 12") and set it to blow and use it as a high power air cannon to blow all the water out.
It worked great every time I did it like that.
As for the broken clips on the injector plugs, mine broke too but they stay down just fine but securing them would be the best thing to do as you dont want one of those losing contact under boost.
Last edited by NeoTokyo; 06-01-2011 at 10:26 AM.
06-01-2011, 05:09 PM
#29
5th Gear Member
Thread Starter
Join Date: Jan 2008
Location: Canada
Posts: 3,306
The clips never broken. The little tabs in the harness connectors(the things you push in to take them off) broke. Im just zip tying them for now. definitely dont want one popping off when Im driving.
06-01-2011, 05:56 PM
#30
5th Gear Member
Thread Starter
Join Date: Jan 2008
Location: Canada
Posts: 3,306
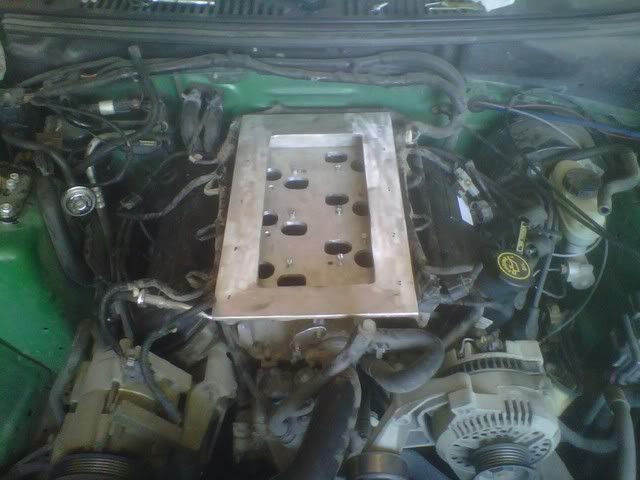
adapter plate test fitted for clearance issues. Need to pry the heater core/bleeder hard lines to clear, also the driver side fuel rail to clear the fuel pressure sensor/regulator(w.e that is)
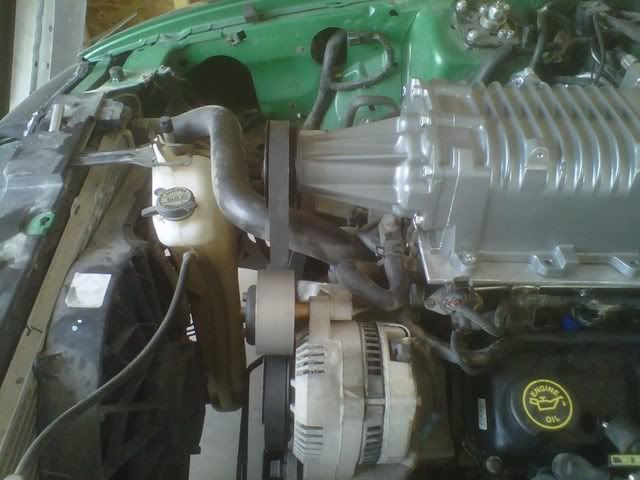
M112 fitted, further adjustments to bleeder hard lines need to be made to clear the snout. Idler pulley also added and belt alignment test before drilling of mounting holes.
The way I did the mount holes was get the M112 square to the adapter while also being aligned with the belt. Then drill the forward most 2 holes, insert bolts and tighten. then continue drilling until you get to the back. Then take the adapter+M112 off and drill the final holes. BUT BE CAREFUL WHEN DRILLING WITH THE M112 ON THE CAR, FUEL RAILS ARE DIRECTLY BELOW WHERE YOU DRILL!!!

Just a shot to show how much high the M112 sits.
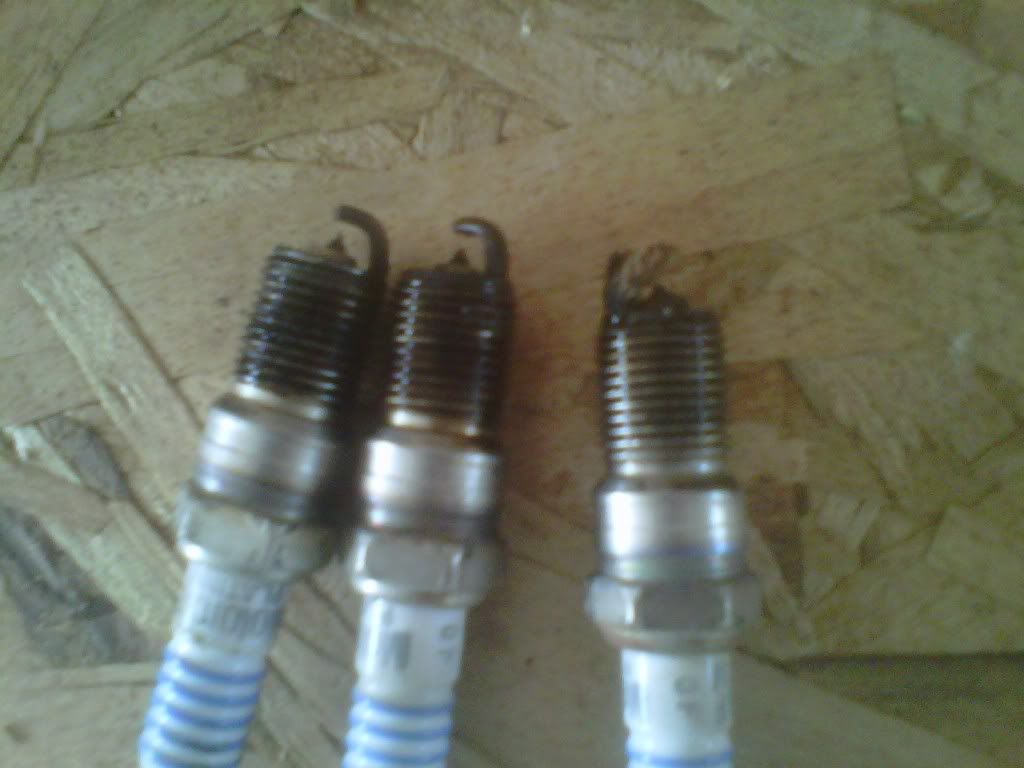
Pulley plugs 4,5,6. In order in the pic. WTF is the build up on plug 6?
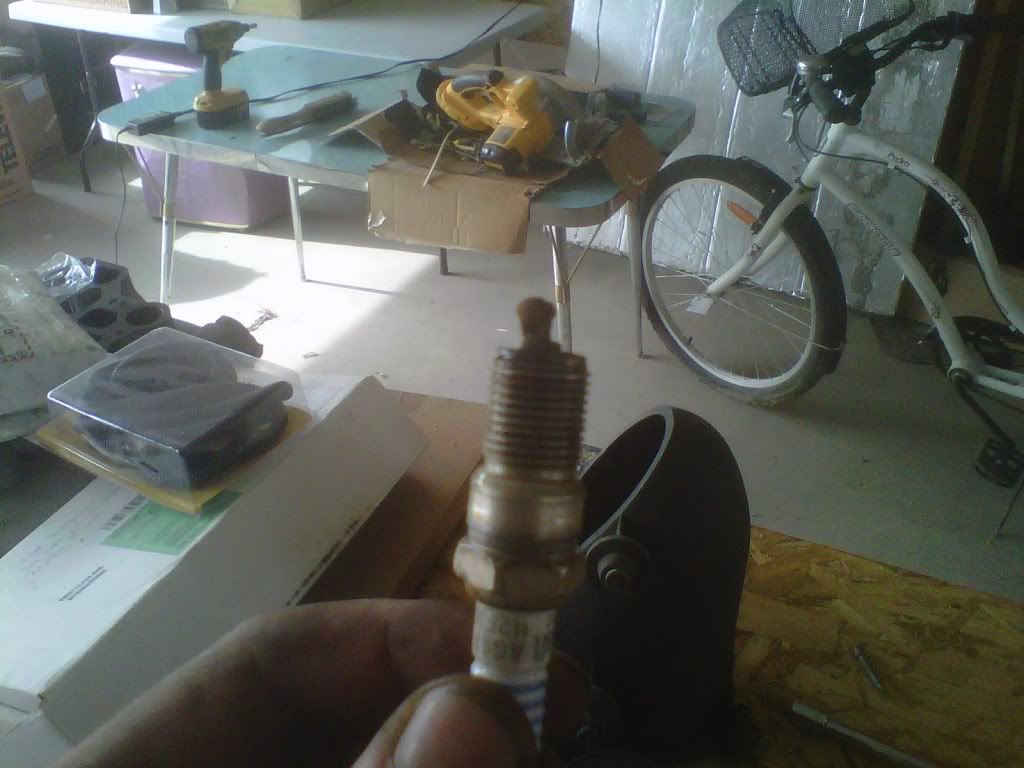
Closer pic of plug 6. Any ideas?

