05 S197 V6 shifter hates me (pic inside)
 04-28-2012, 02:38 PM
#1
Thread Starter

Join Date: Apr 2012
Posts: 2
I know it's a relatively minor problem, yet it's been like this since I purchased the car about 3 years ago. When I shift down to drive, for example, the little red light (sticker in this case) still shows that the shifter's reading park. It doesn't effect the driving of the car at all, just cosmetical. Along with the plastic piece that should follow the shifter **** itself.
VV Is what's happening. If you can think of how to fix it, I'd truly appreciate it. And if this is in the wrong forum, I apologize, and move it where it needs to be. Thanks in advance. (ps don't mind it being dirty, it was a long time coming, and cleaned 'er up today)
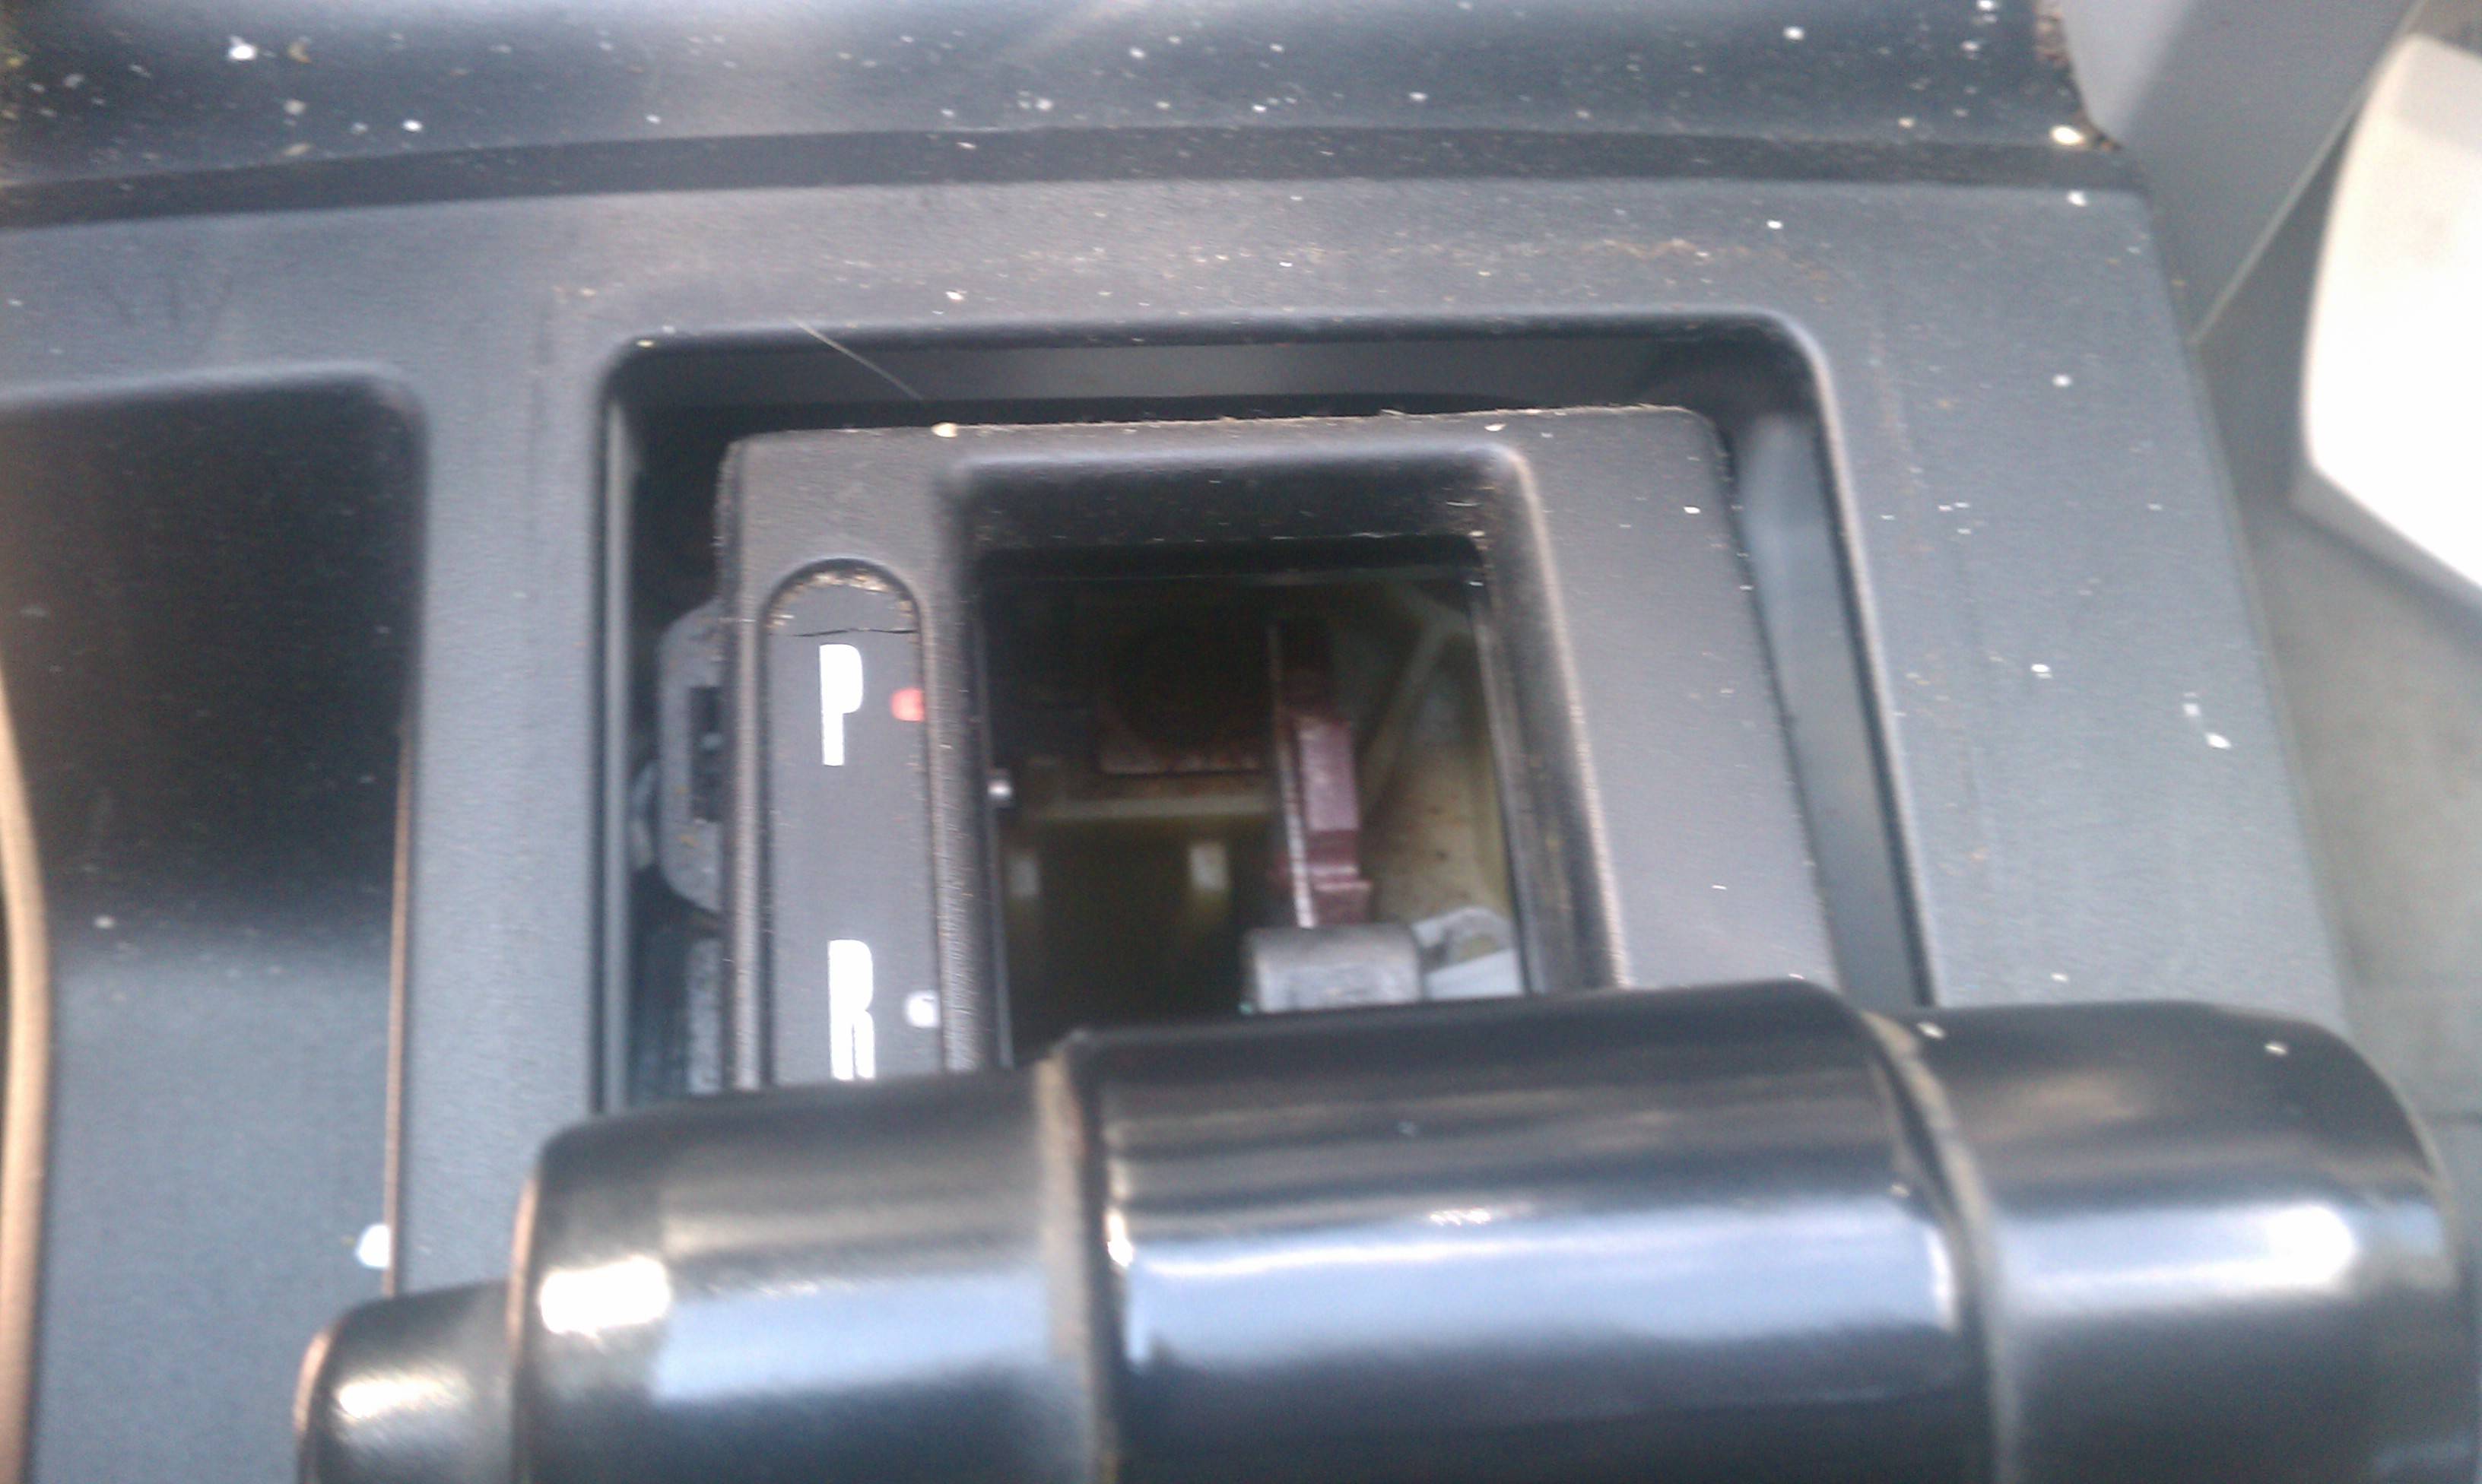
VV Is what's happening. If you can think of how to fix it, I'd truly appreciate it. And if this is in the wrong forum, I apologize, and move it where it needs to be. Thanks in advance. (ps don't mind it being dirty, it was a long time coming, and cleaned 'er up today)

 04-28-2012, 03:00 PM
#3
Thread Starter
Join Date: Apr 2012
Posts: 2
No, definitely didn't steal your car. Been loyally paying for 3 years and just about done paying on it. Either way.. sorry for the retardedly enormous image. And hopefully someone here has some sort of suggestion on fixing it. It bothers me quite a bit.
04-30-2012, 09:18 PM
#8
1st Gear Member
Join Date: Mar 2011
Location: Mid TN
Posts: 99
Mine did this and actually, this isn't a hard fix. It takes a little while and requires some patience.
1. Remove the shifter trim and console.
2. Work the sliding dust cover back to where it belongs. It is probably wadded up underneath. Make sure it is in the track and slides properly.
3. Butt the two ends together and using quality super glue, place two or three drops on the joint (like you are tack welding it together). This is where the patience come in. Hold the ends together until they are dry.
4. After the tacks have cured, put some more dabs of super glue and allow them to dry.
5. After all tacks are dry, put a bead of super glue down across the butt joint. The smaller the better.
Mine worked fine after everything dried. Just make sure you don't shift until all the glue is dry. Give it several hours or longer to be safe.
05-07-2012, 11:30 AM
#10
1st Gear Member
Join Date: Mar 2011
Location: Mid TN
Posts: 99
"Super Glue fumes and discolors the plastic..."
Yes, Super Glue does discolor the plastic a little. However, if you are careful and don't apply it like fingerpaint, it is minimal. The repair on mine is less than 1/8" thick and only visible when shifter is in 1st gear. For $5, I can live with the repair as opposed to seeing a gaping hole all the time.
Yes, Super Glue does discolor the plastic a little. However, if you are careful and don't apply it like fingerpaint, it is minimal. The repair on mine is less than 1/8" thick and only visible when shifter is in 1st gear. For $5, I can live with the repair as opposed to seeing a gaping hole all the time.