My $1300, 2005 Mustang
 04-06-2015, 03:49 PM
#281
6th Gear Member
Join Date: Jan 2007
Location: Southeast Virginia
Posts: 6,409
austinkli, I got to agree with you on the rocker stripes. I have them on mine and I like it. Some on this forum would say remove it while others kinda of like it. That's what's nice about modding....you make it YOUR own.
 04-06-2015, 03:54 PM
#282
My bad, I didn't really research your year model, mine has them from roush for the V6 but yours are here
http://www.americanmuscle.com/0509-chin-spoilers.html
http://www.americanmuscle.com/0509-chin-spoilers.html
 04-09-2015, 09:47 AM
#284
1st Gear Member
Thread Starter

Join Date: Jan 2014
Location: Ga
Posts: 141
Need some help guys. What should I use to get this stuff off of my door panel? I want to get the red vinyl put on soon. In the mean time, I need to get this fabric and sticky stuff off of here. It's the backing that was on the factory vinyl.

Here's a few close ups so you can see what I mean about it. It's not just a sticky residue, it's got fibers all over it.


Here's a few close ups so you can see what I mean about it. It's not just a sticky residue, it's got fibers all over it.
04-09-2015, 09:45 PM
#285
1st Gear Member
Join Date: Mar 2011
Location: Mid TN
Posts: 99
"Need some help guys. What should I use to get this stuff off of my door panel? "
I hate to be the barer of bad news, but you can't. That is some industrial-strength glue. Clean it the best you can, otherwise the new spray adhesive won't stick. Get some foam backed headliner material at the fabric store for new padding. Using heavy-duty upholstery adhesive, mount the headliner to the door panel. Then do the vinyl. Make sure you put some extra glue around the edges.
Tip: Get twice as much material as you need, because the first time is a learning experience.
04-09-2015, 10:06 PM
#286
4th Gear Member
Join Date: Mar 2014
Location: Austin, Texas
Posts: 1,155
"Need some help guys. What should I use to get this stuff off of my door panel? "
I hate to be the barer of bad news, but you can't. That is some industrial-strength glue. Clean it the best you can, otherwise the new spray adhesive won't stick. Get some foam backed headliner material at the fabric store for new padding. Using heavy-duty upholstery adhesive, mount the headliner to the door panel. Then do the vinyl. Make sure you put some extra glue around the edges.
Tip: Get twice as much material as you need, because the first time is a learning experience.
I hate to be the barer of bad news, but you can't. That is some industrial-strength glue. Clean it the best you can, otherwise the new spray adhesive won't stick. Get some foam backed headliner material at the fabric store for new padding. Using heavy-duty upholstery adhesive, mount the headliner to the door panel. Then do the vinyl. Make sure you put some extra glue around the edges.
Tip: Get twice as much material as you need, because the first time is a learning experience.
04-10-2015, 05:27 AM
#287
2nd Gear Member
Join Date: Oct 2009
Location: FL
Posts: 357
Meanwhile... as to that sticky foamy stuff... I just kinda rolled it under my thumb... the foam comes off and once that's all clear, you're good to go.
There's a writeup on how to do the panels in here somewhere...
Ah yes... here you go:
https://mustangforums.com/forum/2005...gging-fix.html
I did mine (though I just re-attached the existing) and if you follow the instructions on the contact cement can to the letter... you'll do fine. I'm in SW FL and the panel is still on there just fine.
GOOD LUCK! (^_^)
04-10-2015, 09:00 AM
#288
+1 to that.
Meanwhile... as to that sticky foamy stuff... I just kinda rolled it under my thumb... the foam comes off and once that's all clear, you're good to go.
There's a writeup on how to do the panels in here somewhere...
Ah yes... here you go:
https://mustangforums.com/forum/2005...gging-fix.html
I did mine (though I just re-attached the existing) and if you follow the instructions on the contact cement can to the letter... you'll do fine. I'm in SW FL and the panel is still on there just fine.
GOOD LUCK! (^_^)
04-22-2015, 06:12 PM
#289
1st Gear Member
Thread Starter
Join Date: Jan 2014
Location: Ga
Posts: 141
Well I haven't updated in a bit. Car was out of commission for a bit. Wife took it in to get the new wheels balanced, dropped the car off at work Tuesday last week. I get a call that my cellphone has come in, so I start driving home, and realize I'm cruising on battery power. Alternator is bad.
So car sat in the Publix parking lot for a few days until I went on vacation and could get up there to repair it. Didn't really take any pics of replacing the alternator because well, it's literally 3 bolts, 2 wires, 1 tensioner.


Somebody remarked that my engine bay was disgusting so I decided to finally clean it up a bit. Red clay all over it. The girl that had it lived on a dirt road. I've found this dirt ****ing everywhere!
So I got some of this
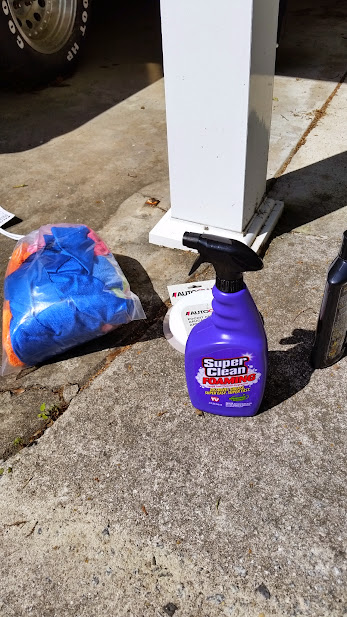
And sprayed it all down. Cover up the alternator and coil pack.

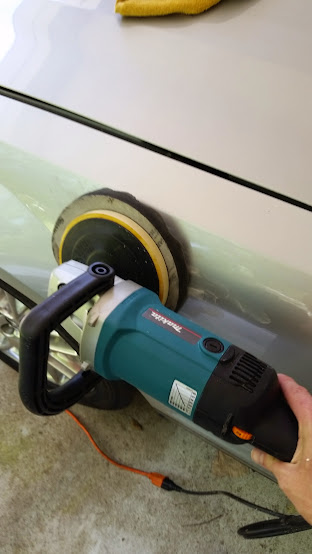
I let that sit for a while and moved on to buffing the car.

The goal was to get these parts that looked like somebody took a scratchy pad to the car fixed. I was incredibly amazed by how well the rest of it came out.
Disclaimer: I'm not very good at this. This is like my 3rd time in 10 years buffing a car.


So I took a couple pics of the changes, but it was a little time consuming so not a lot of pics here. Unfortunately some of the most amazing changes, I didn't get before pics on because I didn't expect the scratches to come out.


I was incredibly shocked this came out.

Figured I'd go spray the motor down some more.
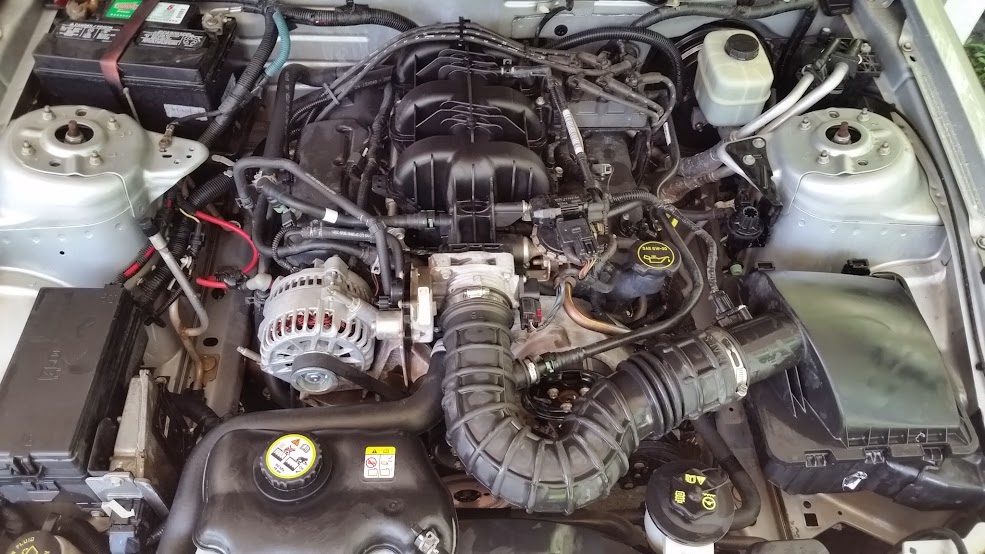
All this and more came off my motor

Got the roof

Shining up


This looks like a burn in the paint. Anyway, it's much less noticeable now. Still there, but doesn't jump out at you as bad.

Buffed but not waxed yet

All waxed up. Feels so smooth.


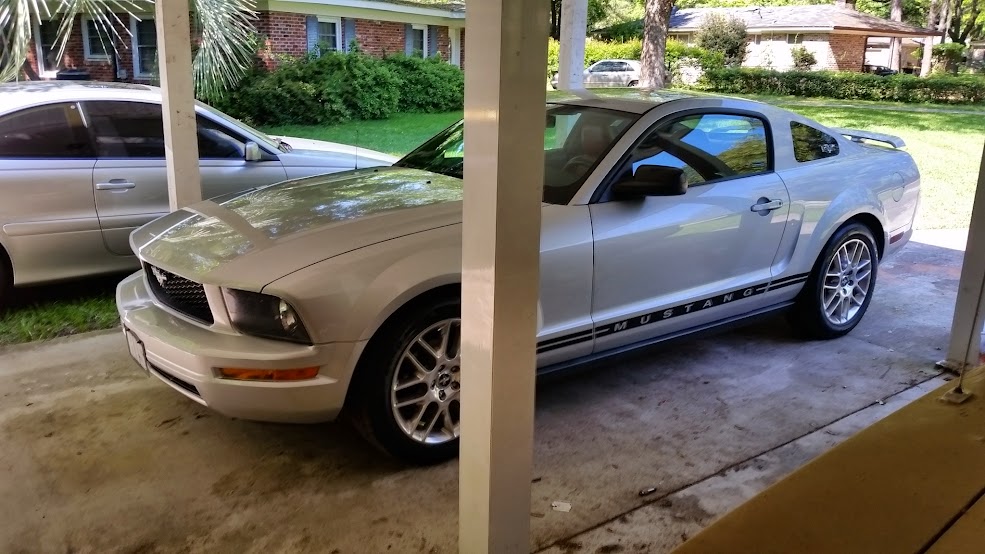
Next on the agenda is to take some "back to black" to the trim pieces.
So car sat in the Publix parking lot for a few days until I went on vacation and could get up there to repair it. Didn't really take any pics of replacing the alternator because well, it's literally 3 bolts, 2 wires, 1 tensioner.
Somebody remarked that my engine bay was disgusting so I decided to finally clean it up a bit. Red clay all over it. The girl that had it lived on a dirt road. I've found this dirt ****ing everywhere!
So I got some of this
And sprayed it all down. Cover up the alternator and coil pack.
I let that sit for a while and moved on to buffing the car.
The goal was to get these parts that looked like somebody took a scratchy pad to the car fixed. I was incredibly amazed by how well the rest of it came out.
Disclaimer: I'm not very good at this. This is like my 3rd time in 10 years buffing a car.
So I took a couple pics of the changes, but it was a little time consuming so not a lot of pics here. Unfortunately some of the most amazing changes, I didn't get before pics on because I didn't expect the scratches to come out.
I was incredibly shocked this came out.
Figured I'd go spray the motor down some more.
All this and more came off my motor
Got the roof
Shining up
This looks like a burn in the paint. Anyway, it's much less noticeable now. Still there, but doesn't jump out at you as bad.
Buffed but not waxed yet
All waxed up. Feels so smooth.
Next on the agenda is to take some "back to black" to the trim pieces.