Ford Mustang and Mustang GT 1994-2014: How to Install Rearview Backup Camera
Rearview cameras are becoming standard on newer models of most vehicles. If your Mustang doesn't have one, here's how to install one for a lot less than you might think.
This article applies to the Ford Mustang and Ford Mustang GT (1994-2014).
Driving and parking anywhere today can be a risky proposition. Having a backup camera is great insurance policy to protect against potential problems in tight spaces. Fortunately, installing one in your Ford Mustang has become a lot easier with all of the aftermarket options available today. This article covers the installation process step by step.

Materials Needed
- License plate mounted backup camera
- Trim removal kit
- 3/8" ratchet
- 8" extension
- 7, 10 and 11mm socket
- Razor blade
- Silicone
- Heat shrink tubing and heat gun
- Zip ties
Step 1 – Choose a backup camera system
A quick search online for a backup camera will give you an idea of the many options available today. One of the more popular options are the cameras that mount to the license plate either as a straight bar that is attached to the top or bottom holes, or a complete frame replacement unit.
The less expensive models require the wiring into your existing system, where you already have a screen with an external video input option. More expensive kits come with a stereo replacement and embedded screen, or as a rearview mirror replacement.
For this tutorial, we will be installing the simple license plate mounted camera that plugs into your existing video display. The camera will mount to your license plate—that's the easy part. To run the wire from the trunk to the center console will involve some prep work.
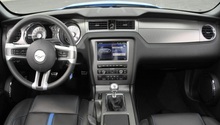
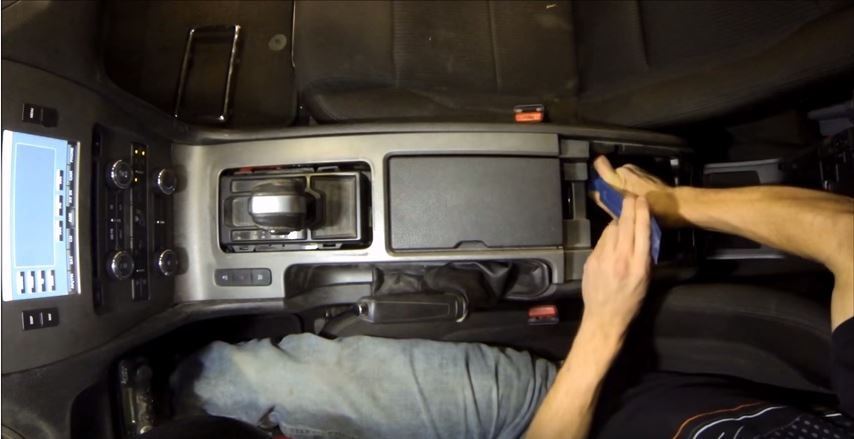
Step 2 – Remove the interior trim panels
- First, open up the center console by prying off the trim panel around the shifter.
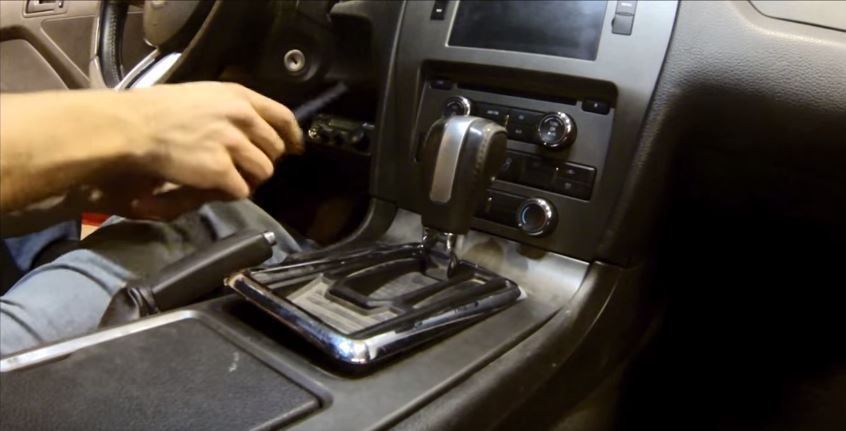
- Open the bottom part of the console and use a trim removal tool to carefully pull up the console.
- Disconnect the wire connectors from underneath the console before pulling it off.
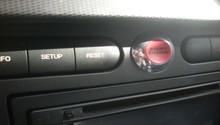
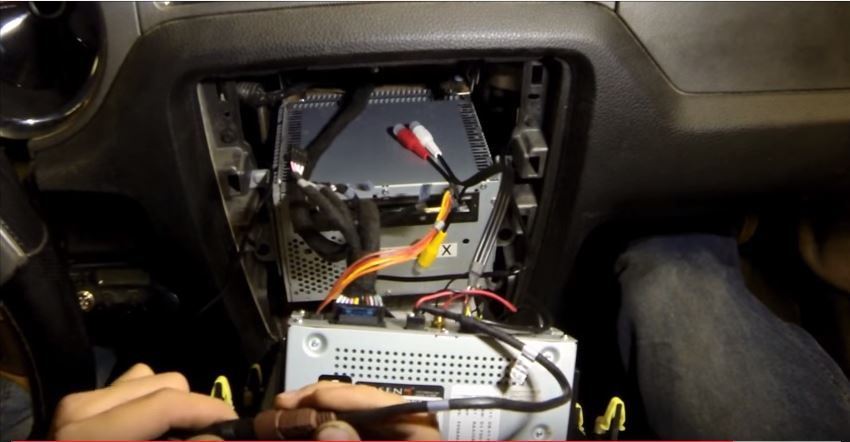
- Remove the two 7mm screws located underneath the stereo.
- Then pry off the stereo cover. You can let the unit rest forward against the shifter for now.

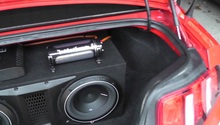
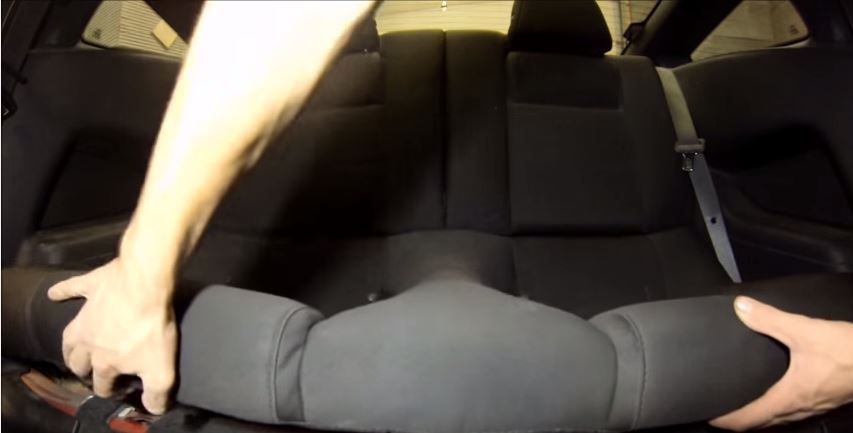
Step 3 – Prep the trunk
- Push both front seats forward to gain access to the back seats.
- Then remove the back seats by lifting them up from the bottom.
- Once they are lifted, you will feel a clip underneath the center of each seat. Push the tab in and pop the seat off.
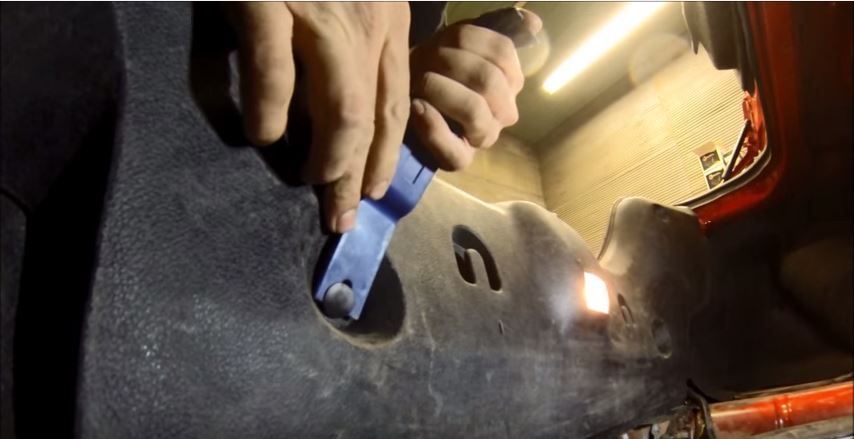
- Now it's time for the trunk. Pop the lid and remove the trunk liner.
- Remove the trim by prying off the retaining clips.
- Then disconnect the trunk light and remove the interior piece.
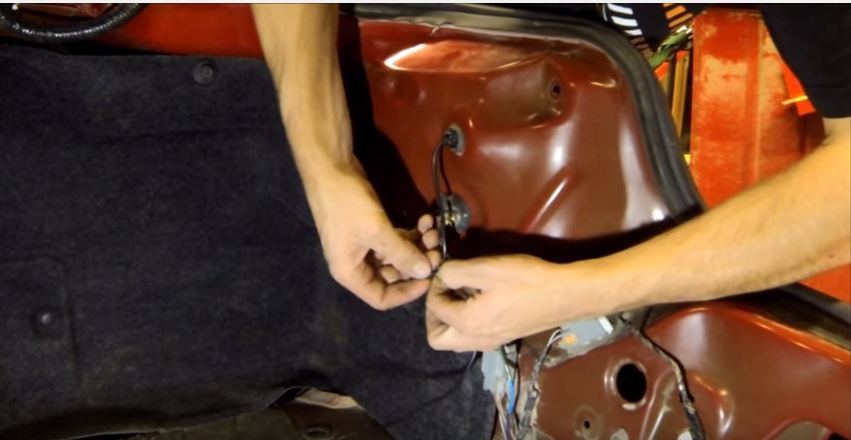
- Remove the passenger tail light assembly by unscrewing the three nuts holding it in place.
- Then unplug the assembly's wire harness connector.
- Pry off the trim piece on top of the license plate.
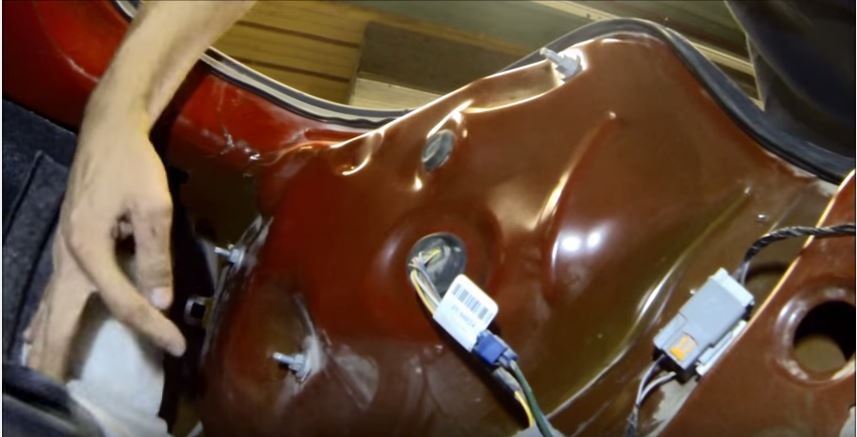
Figure 6. Remove the tail light. 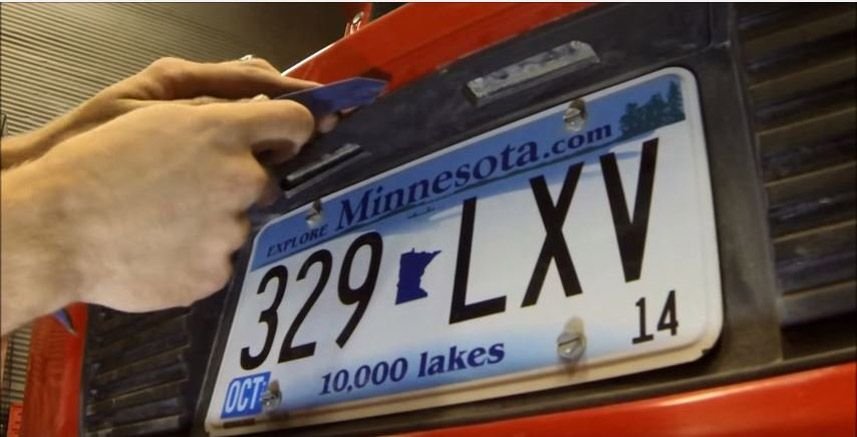
Figure 7. Pry off trim above the rear license plate.
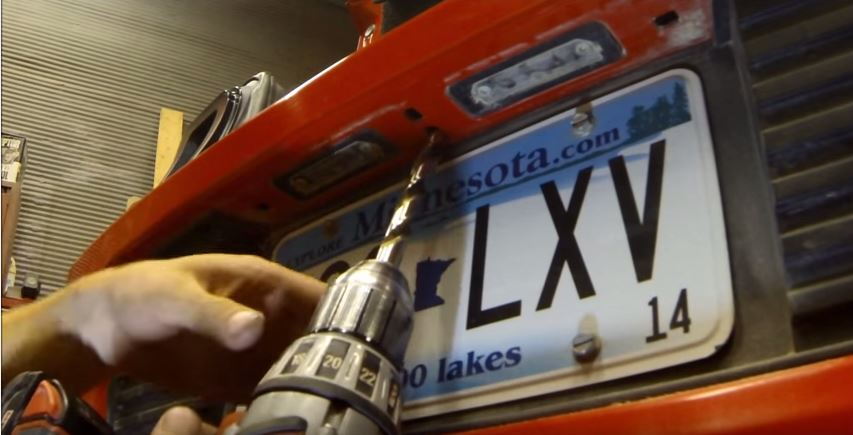
- Whichever rear camera model you choose, you will need to run the wire through the top of this trim piece. First measure the diameter of the largest plug.
- Once you have done so, drill that size hole through the trim piece as well as through a second hole. Always be cautious when drilling to avoid hitting other trim pieces or nearby wires.
Step 4 – Route the camera wire
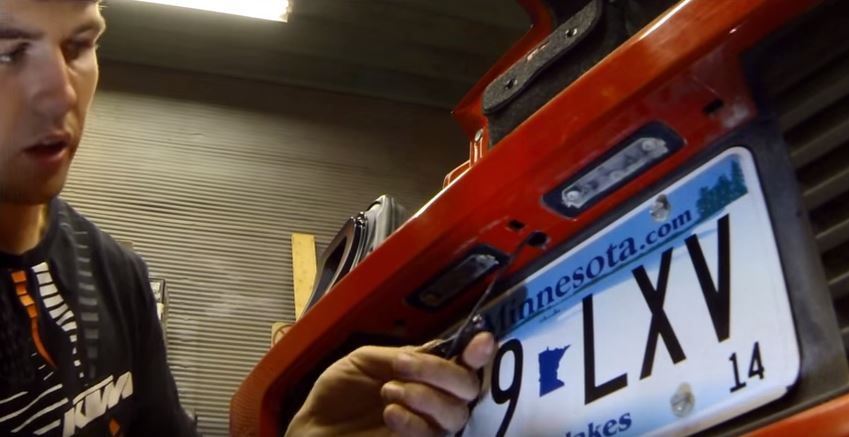
- Fish another wire from the tail light cavity to the hole above the license plate.
- Once you're ready to mount the camera, tape and secure the wire to make sure it does not get damaged.
- Pull the wire through the bumper and up into the tail light area.
- Reattach the exterior trim and secure any holes with grommets and/or silicon as needed.
- Inside of the trunk, run your camera connector wire through the grommet in the tail light cavity.
- Then connect this connector wire to the extension wire that will run up to the front of the vehicle. Use heat shrink tubing or electrical tape to make sure the wires do not come loose.
- Use silicon to seal any wire entries that might have exterior exposure.

- Zip-tie the extension wire to the tail light wire harness, and continue to tie it along the wire harness as well as into the back seat area.
- Then route the wire along the carpet liner.
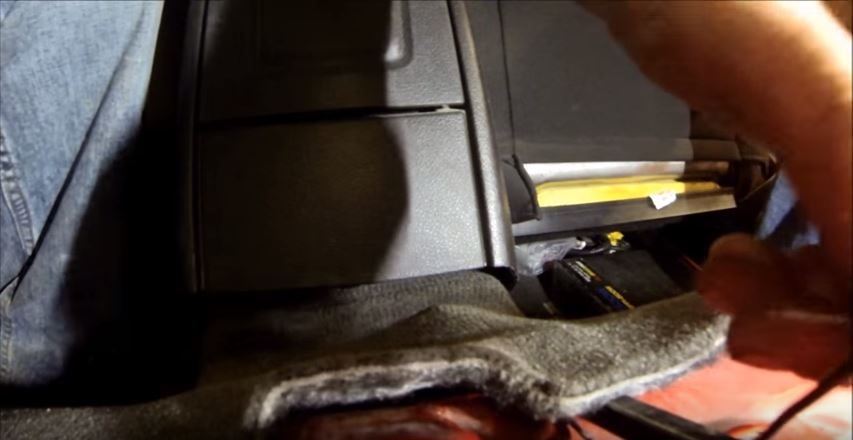
- Once you are at the center point of the rear seats, slide a pry bar under the carpet to the front edge of the center console.
- Pry the carpet up to create a path for you to fish and pull the wire through to the center console.
- Pull the slack tight, so that the wire is well hidden behind the carpet liner in the back seat.
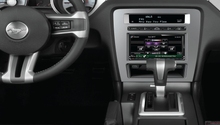
- Fish the camera wire from the console up behind the stereo and connect it.
- Pull all the excess wire though, coil it up, and zip-tie it neatly at the bottom of the console. Leave enough slack behind the stereo just in case.
Step 5 – Test the system and tidy up
- Before closing everything up, be sure to turn everything on and verify that the camera is functioning properly.
- If not, double check your wiring and make sure nothing came loose during the process of running it through the back of the vehicle.
- Go back through and secure all the parts you removed to complete the job, so you can start enjoying your new rearview camera.
Featured Video: Backup Camera Installation
Related Discussion
- Can Anyone Recommend a Good Back-Up Camera - MustangForums.com