Ford Mustang GT 1996-2004: How to Replace Starter
The starter motor receives power from the battery to turn the engine flywheel. It's capable of turning the engine above 250 RPM's. This is when the engines fuel and ignition systems take over, bringing the engine to an idle. The starter motor carries large amounts of current to perform correctly. This creates wear throughout the electrical connections inside the starter.
This article applies to the Ford Mustang GT (1996-2004).
The starter motor contains three sections: the electrical motor, the drive mechanism, and the solenoid. When the driver turns the ignition switch to the start position, an electrical signal is sent to the starter solenoid through a relay. The starter drive pinion gear moves into contact with the teeth on the engine flywheel or flex plate. Inside the starter are commutation brushes. These brushes are only electrically connected to the commutator. Every time a spark occurs between the brushes and the commutator, some wear forms until the starter no longer energizes. The mechanical pinion gear and overrunning clutch have been known to fail mechanically, which can result in a starter becoming jammed against the flex plate.

Materials Needed
- 1/4" 13mm socket (deep and shallow)
- 6"-8" 1/4" extension
- Swivel adapter
- 1/4" ratchet
- 8mm, 10mm, and 12mm wrenches
- Floor jack
- Jack stands (x2)
- Starter motor
Step 1 – Disconnect the negative battery cable
Use an 8mm socket to loosen the negative (black) battery cable nut from the battery terminal. Place the cable in an area where it cannot come into accidental contact with the battery. You can wrap the cable in electrical tape for added protection.

Step 2 – Raise the front of the vehicle
Set the emergency parking brake. Raise the front using a floor jack. Place the floor jack at the correct jacking points behind each front tire, or on the front subframe. Place jack stands below each jacking point. A block of wood can be used between the jack stand and jacking point to reduce damage to the underbody.
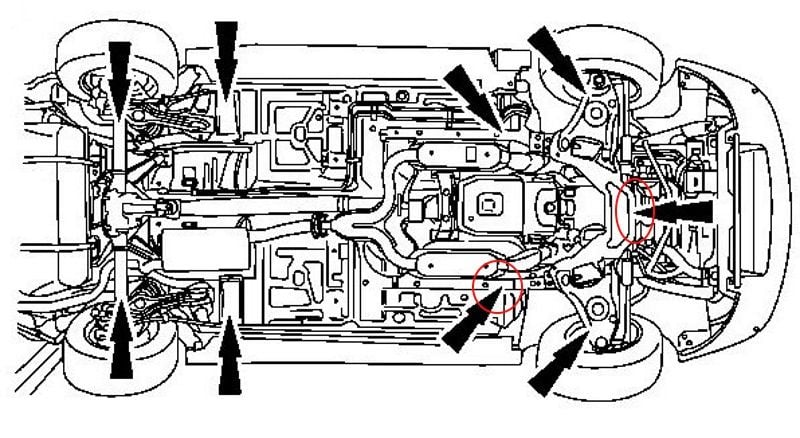
Step 3 – Locate the starter
The starter is on the passenger's side of the engine in front of where the header and mid-pipe meet. There are three bolts and two wires connected to the starter.
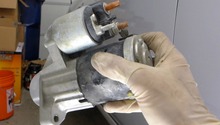
Step 4 – Remove the electrical wiring
There is a positive and negative cable attached to the starter solenoid. The solenoid can be seen above the main starter body. Begin by removing the negative cable nut, and then the positive cable nut. You may start from Step 5 if you feel these cables will be easier to reach with the starter unbolted first.
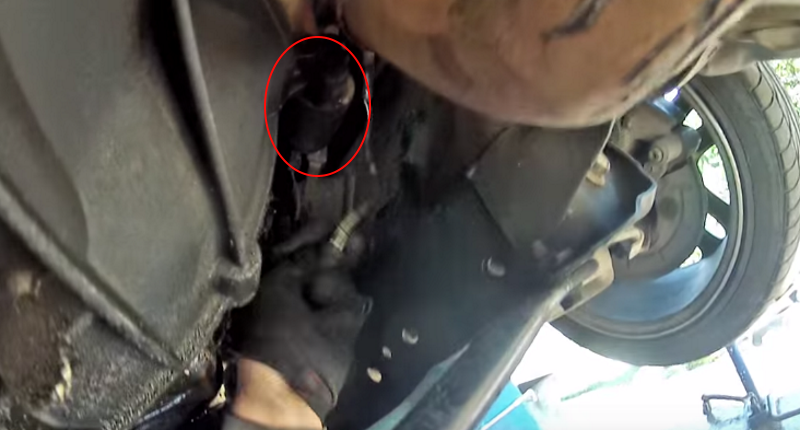
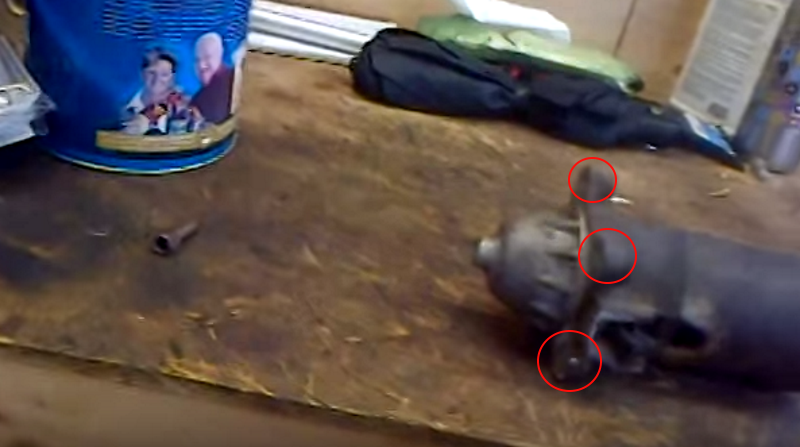
Step 5 – Unbolt the starter
The top mounting bolt is notorious for its difficulty to access. Most people have success removing the bolt by using a long 1/4" drive extension with a 13mm socket and a swivel adapter. The socket is routed through the front of the engine towards the starter around the k-member and motor mount. The other two bolts are much easier to reach.
Step 6 – Install the new starter
Wiggle the new starter into place on the engine. Install the top mounting bolt first. Some owners say they have not had problems leaving this bolt out because of its difficulty to remove and install. Remember to install the negative battery cable when you've completed the procedure.
Featured Video: Trick to Removing Starter From Mustang
Related Discussions
- 4.6 Starter Removal, I Have No Idea - MustangForums.com
- 2002 GT Starter Removal - MustangForums.com
- Starter Replacement - MustangForums.com
- Starter Location - MustangForums.com