Ford Mustang GT 1996-2004: Why is My Car Leaking Oil?
If your Ford Mustang GT is leaking oil, you need to find the leak first. It could be as easy as a broken oil filter or something more serious like a leak between the head gasket and the block.
This article applies to the Ford Mustang GT (1996-2004).
So your Ford Mustang GT is leaking oil, and you need to fix it—yesterday? The first step is to figure out where the leak is coming from, which isn't always the easiest process. Once you find the leak, you need to fix the problem. This article will walk you through the process of finding the leak, and then look at the options for repairing it.

Materials Needed
- Degreaser
- Light colored foot powder
- Paper towels/large piece of cardboard
- Flashlight
Step 1 – Find the leak
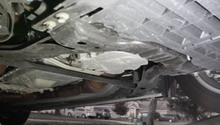
A visual inspection is always the logical first step. Note the position of any leaks under the vehicle and flash a light directly above it to see if you can spot any obvious drips. Check with the engine off and then again after firing it up.
If the oil tends to be covering multiple surfaces, it would be best to get the car lifted and clean the oily areas with degreaser. Oil tends to blend in well with the darker colors in and around the engine, so spray some light colored foot powder around the suspect areas. This will give you a light backdrop to see the oil drips, and the powder will just wash away afterwards.
Turn the engine on once more, and you should be able to zone in on the leak.

The following are some of the more common leak sources.
Step 2 – Check the oil filter
Simple problems have simple solutions, and those are the ones you hope to find.
The oil filter could be the source of your leak for a number of reasons. It might be punctured, worn out, or misaligned. It could also just need some simple tightening. Once you determine that it is the filter, all you need to do is tighten or replace it, and you can call it a day.

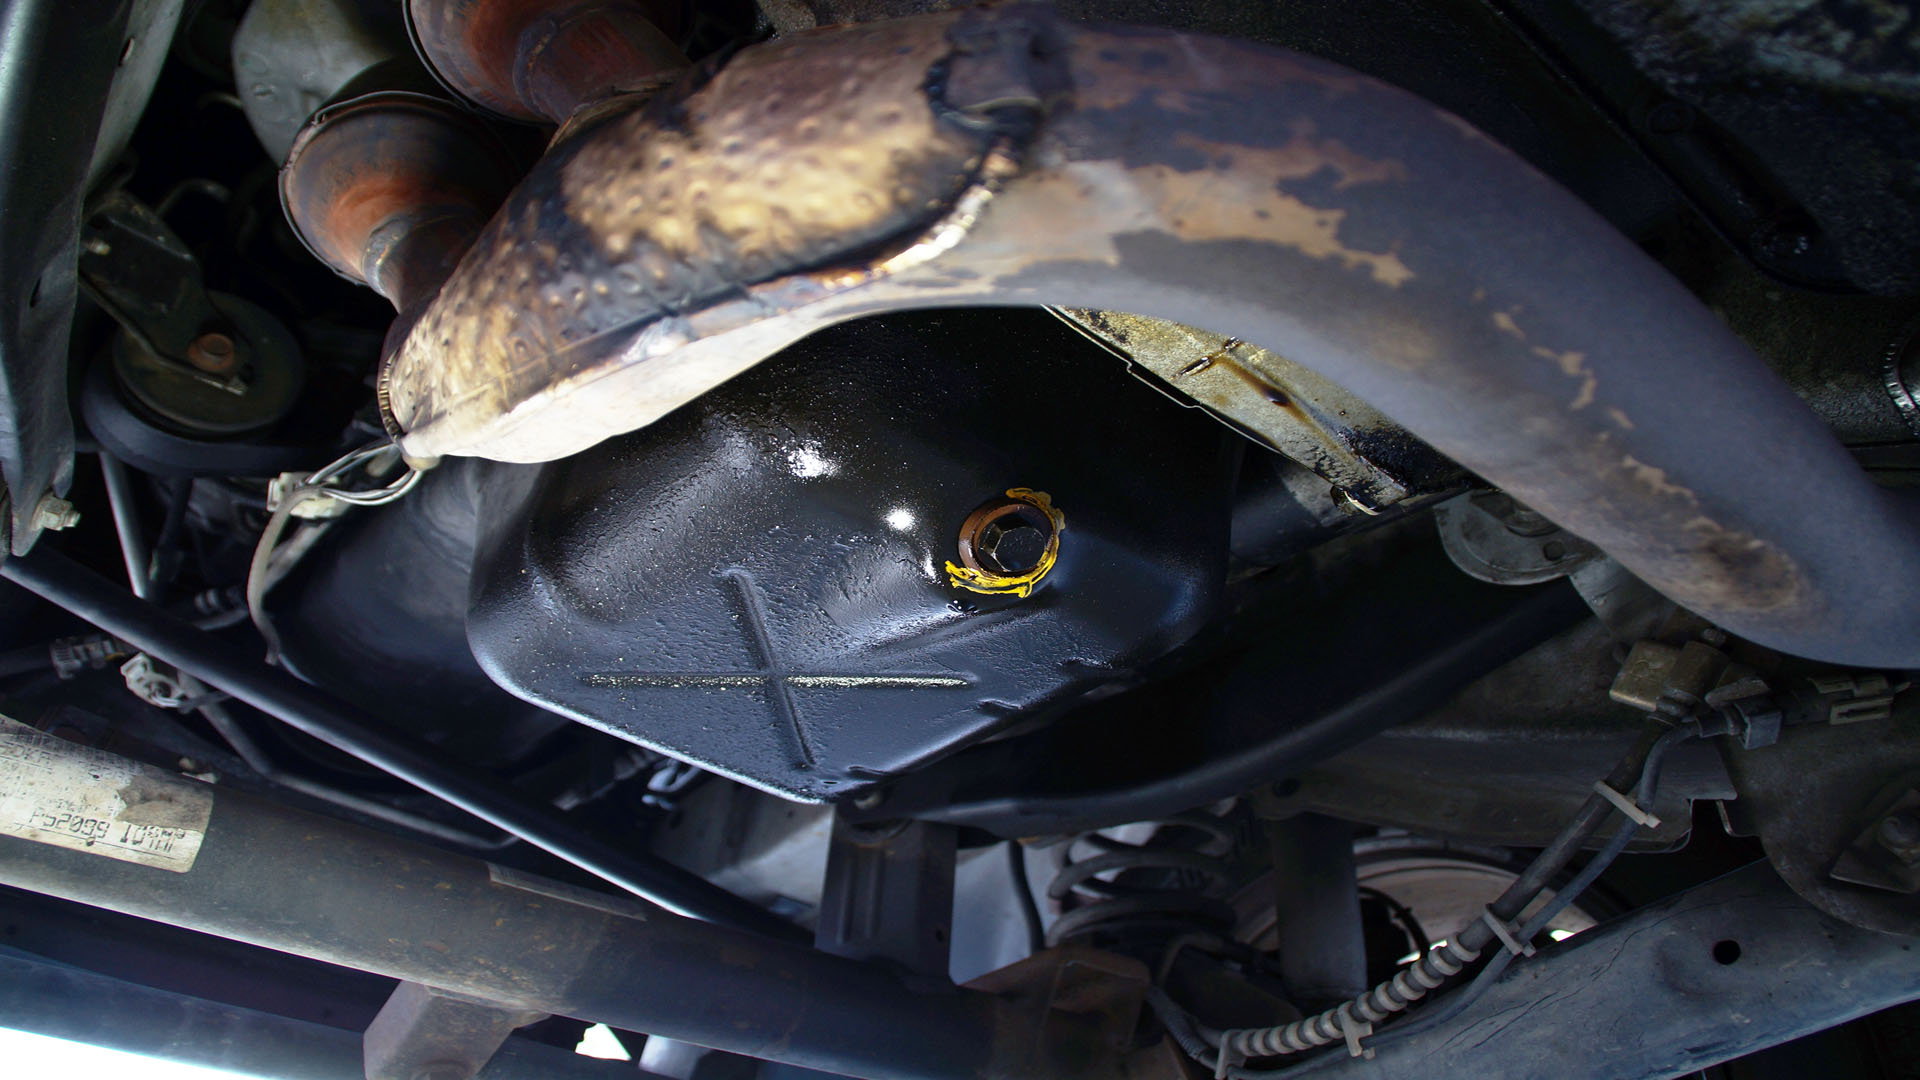
Step 3 – Inspect the oil drain plug
Another simple but common source of oil leaks is the drain plug at the base of the oil pan. Since it is removed and tightened every time you have your oil changed, it's always possible that it might not have been tightened properly, or worse, over-tightened to the point where it stripped the threads. Most plugs have a washer that needs to get replaced every oil change, and it could get worn down (or left out), causing leaks as well.
Tighten or replace the drain plug to fix that leak. In some cases, the stripped threads might require changing out the oil pan.
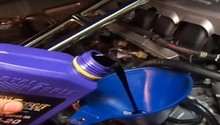
Step 4 – Tighten the oil filler cap
Yes, the oil filler cap can also be the source of an oil leak. Since it is a pressurized system, the cap needs to be completely tightened or it will leak.
Sometimes, the cap becomes worn out and will need to be replaced. Otherwise, simply give it a good tightening and you're done.

Step 5 – Check the gaskets
Gaskets are one of the most common sources of oil leaks, especially in older vehicles. They act as a buffer between two metal sections of the engine, the most common being the ones between the engine block and the head (head gasket), as well as the oil pan.
Over time, oil sludge builds up and increases the oil pressure, putting extra strain on these gaskets and causing them to leak. Damage to the oil pan caused by road debris, large rocks or accidentally running over animals can take its toll on the gasket seal, causing it to leak. There are some products on the market that claim to be able to seal small oil leaks, but as the vehicles age, the gasket would have to be replaced to stop the leak for good.

Related Discussions
- Oil Leaks, Any Thoughts - MustangForums.com
- Car is Leaking Gear Oil - MustangForums.com
- Leaking From Top of Coil - MustangForums.com
- Oil Leak, Can't Tell From Where - MustangForums.com
- Oil Leak Behind Crank Pulley - MustangForums.com