Ford Mustang GT 1996-2014: The Ultimate Exhaust Manifold Guide
Replacing the exhaust manifold in your Ford Mustang GT allows your engine to breathe better and increase its performance. Read on to learn how to do it.
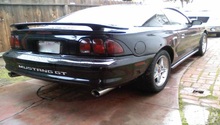
This article applies to the Ford Mustang GT (1996-2014).
Manufacturers usually try to design the exhaust manifolds to be as small as possible to create more room in the engine bay and keep the Ford Mustang GT at a minimal weight. A big part of the engine's power gets sacrificed because of the back pressure of gasses. Aftermarket exhaust headers are designed to have a lengthy pipe for each individual cylinder, which allows the gasses to flow out easier, preventing the back pressure and adding a tremendous amount of power to your Mustang. The exhaust headers have been known to be one of the most effective bolt-on modifications. The process is not easy, as you will need to remove a big number of engine components to access the header. If you're up to the task, read on to learn how you can replace the exhaust manifold on your Ford Mustang GT.
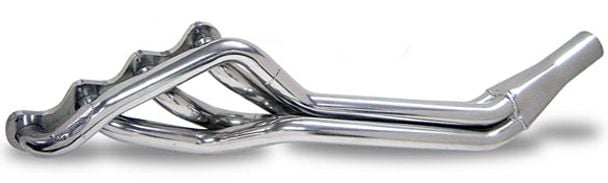
Table of Contents
How to Replace Your Exhaust Manifold

Materials Needed
- Socket set with extension
- Jack and jack stands
- Screwdrivers
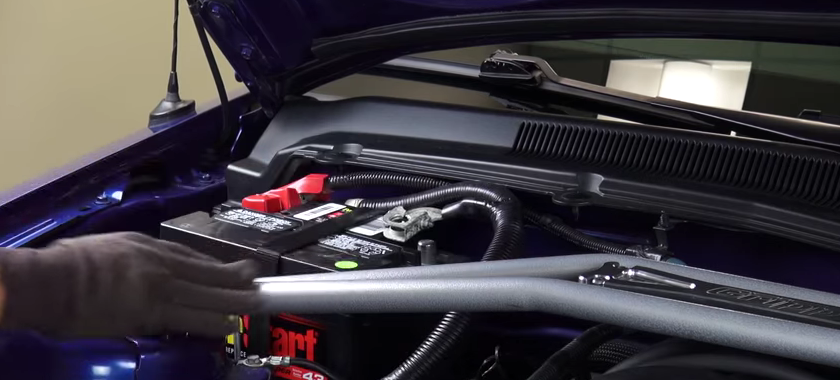
Step 1 – Disconnect the battery
Using your socket, disconnect the negative (black) battery terminal and wrap it in a towel. This will prevent it from touching any metal and creating a spark.
Step 2 – Remove the intake tube
Remove the intake tube from the throttle body and the filter. You can do so by loosening the two clamps: one holding it to the throttle body, and the other one holding it to the air filter.

Step 3 – Remove dipstick tube
Unbolt the dipstick tube from the driver's side of the engine, and then pull it out to remove.

Step 4 – Release steering shaft
Turn the wheel until you see the steering column's bolt, then use your extension to remove it. This column comes out from the driver's side as a continuation of the steering wheel. Remove the bolt, then go inside the car, and pull back on the black part of your steering column to release the top portion of the steering shaft.
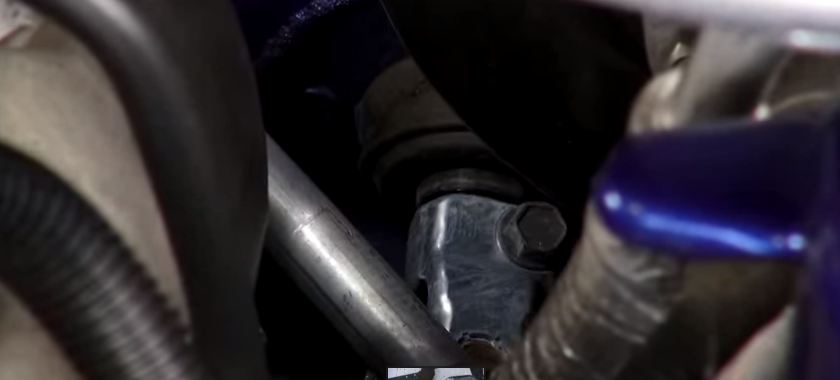
Figure 5. Bolt under the hood, in front of driver's side. 
Figure 6. Pull black part up.
Step 5 – Remove the motor mounts' nuts
Using your long extension, remove the nuts that hold the motor mounts to the frame. You will need to raise the engine a few inches in the next steps. Remove as many exhaust bolts as you can.

Figure 7. Remove motor mounts' nuts. 
Figure 8. Remove as many exhaust bolts as you can.
Step 6 – Raise the car
Raise the front of the car and secure it with jack stands. Remove the four bolts on the exhaust clamps. Pull the pipe back towards the rear of the car to disconnect the tail pipes from the mid-pipes. Then unplug the four oxygen sensors.

Figure 9. Remove clamp. 
Figure 10. Remove four oxygen sensors.
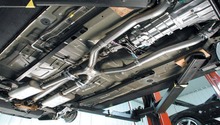
Step 7 – Remove mid-pipe
Using your long socket extension, remove the four bolts holding the mid-pipe to the exhaust manifold. Then, pull the exhaust manifold backwards out of the car.

Figure 11. Remove four bolts holding pipe to manifold. 
Figure 12. Remove mid-pipe.
Step 8 – Remove starter
Remove the three mounting bolts for the starter, and then rest the starter on the k-member. Don't let it hang from its wires.

Step 9 – Raise the engine
Use your jack to raise the engine. Don't jack it up from the oil pan, but rather use a solid part of the engine. Unbolt the motor mounts from the engine block. Then, unbolt the stock exhaust manifold along with its gaskets. Remove the oxygen sensors from the old exhaust and install them in the new one.

Figure 14. Remove engine mount from block. 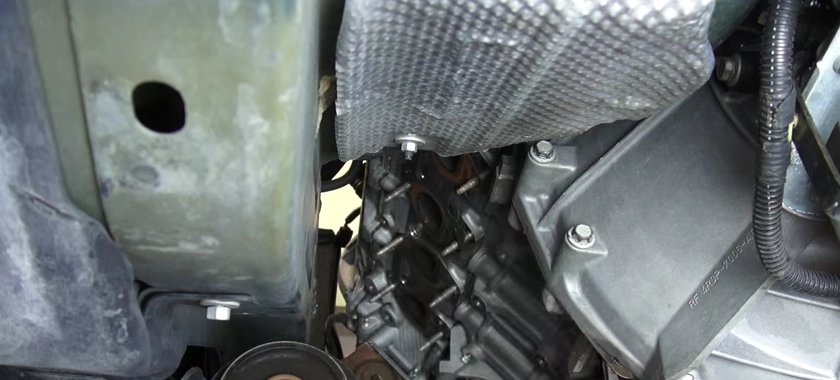
Figure 15. Remove exhaust manifold. 
Figure 16. Swap oxygen sensor.
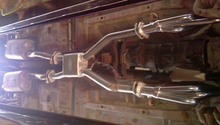
Step 10 – Install new exhaust manifold
Installation is the reverse steps of removal.
- Install gasket and exhaust manifold, then tighten it down.
- Re-install the motor mounts.
- Re-install the starter.
- Gently lower the engine back onto the motor mounts. Tighten the motor mounts' nuts to the frame.
- Install the mid-pipe, and tighten the clamps' four bolts.
- Connect the four oxygen sensors.
- Tighten the four bolts holding the mid-pipe to the exhaust manifold.
- Re-install the steering shaft and tighten its bolt.
- Re-install the dipstick tube and bolt it in place.
- Re-install the intake tube to the air filter and throttle body, then tighten the clamps.
- Finally, reconnect your battery.
Featured Video: Mustang Exhaust Headers
Exhaust Manifold Review
The exhaust manifolds come ready to bolt-on. Of course, bolt-on sounds a lot simpler than it really is. As you can see in the guide above, the process is quite difficult, but the reward is great. The exhaust manifold upgrade will add immediate power to your engine, and it's power that the manifold is bringing. This is power that your engine already has, but just wasn't utilized because the engine was working harder, due to the back wash. These exhaust manifold vary in shapes, prices, and performance. The guide below will help you purchase the right exhaust manifold for you and your Ford Mustang GT.
Ford Racing |
Magnaflow |
BBK | |
|---|---|---|---|
Price |
$320-500 | $700-800 | $500-600 |
Sound |
Medium |
Medium |
Medium |
Construction |
Cast Iron | Stainless Steel | Steel |
Performance Gains |
10-15 hp | 10-15 hp | 8-15 hp |
Warranty |
None | 5 Years | 1 Year |
Best Value: Ford Racing
Ford Racing

Price – $320-500
Sound – Medium
Construction – Cast Iron
Performance Gains – 10-15 hp
Warranty – None
When it comes to parts, who knows better than the manufacturer of your own car? The Ford Racing exhaust manifold is designed specifically for your Mustang GT, and it's made to take your car to the next level without changing too much under the hood. This exhaust manifold has a natural finish to it and is made from heavy duty iron cast. It hugs the engine block a lot better than the OEM headers you have on your GT, which gives you more room under the hood. This product is a great, basic modification; however, it's highly recommended you let a professional install it, because it doesn't even come with an installation guide. Recommended if you're looking for a slight upgrade in performance with an OEM part.
Magnaflow

Price – $700-800
Sound – Medium
Construction – Stainless Steel
Performance Gains – 10-15 hp
Warranty – 5 Years
This beautiful product is not California legal, so if you live there, continue looking else where. This product has been known to reduce harmful emissions while increasing the power of your engine. This product fits easily without special modifications, so just remove the old one and install the new. This American made manifold is seam welded, which means it'll last for a very long time without cracking. When it comes to sound, the Magnaflow gives you more of a growl than a deep roar. Some customers claimed it is slightly larger than the stock manifold, so they had to move their AC lines to install. Recommended if you're looking for a good product with great warranty.
BBK

Price – $500-600
Sound – Medium
Construction: – Steel
Performance Gains – 8-15 hp
Warranty – 1 Year
The BBK is one of the most popular brands that sells exhaust system parts. Their headers are made out of steel and will add a shiny touch to the bottom of your engine bay, due to it shiny chrome finish. A lot of customers complain about the welding, claiming the company decided to weld the pipes to the plate from the inside, which restricted the flow. Some customers sanded the welding down themselves, but it didn't make much sense to many more. If you want to add a deeper sound to your GT, look no more, as this manifold will thicken your notes quite a bit. If you're looking for an easy to install piece of modification, this may be your next purchase. Recommended if you're looking for a reputable product that will increase your performance.
Related Discussions
- Exhaust Sound - MustangForums.com
- Exhaust Manifold Gasket - MustangForums.com
- Shorty vs. Long-tube Headers - MustangForums.com
- Best Long Tubes for 2V 4.6 GT - MustangForums.com