Ford Mustang GT 2005-2014: How to Replace Radiator
Sounds like your old radiator may be clogged or damaged. Fortunately, beyond the cost of a new one, actually replacing the radiator isn't too tough of a job.
This article applies to the Ford Mustang GT (2005-2014).
Your radiator is a key part in keeping your car on the road. Without it, your engine would easily overheat and you'd be replacing it very quickly. It works by taking coolant leaving the engine and feeding it through a series of aluminum fins that have air running across them to cool down the coolant quickly. Whether you're replacing your radiator because the old one is damaged or you're upgrading to a higher performance one, this article will give you the necessary steps it takes to both get the old one out and the new one in.

Materials Needed
- Socket set
- Drive-on car ramps
- Flat head screwdriver
- Channel locks
- Drain pan
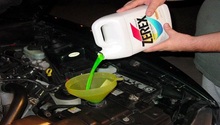
- New engine coolant
Step 1 – Drain coolant
Once you drain the coolant, you won't be able to move the car around. So make sure you park it in a spot that it can sit in while you do the work, as well as a spot that gives you access to get underneath. Since majority of people don't have a car lift in their garage, I suggest pulling it up on a set of drive-on car ramps.
- Remove the radiator reservoir cap.

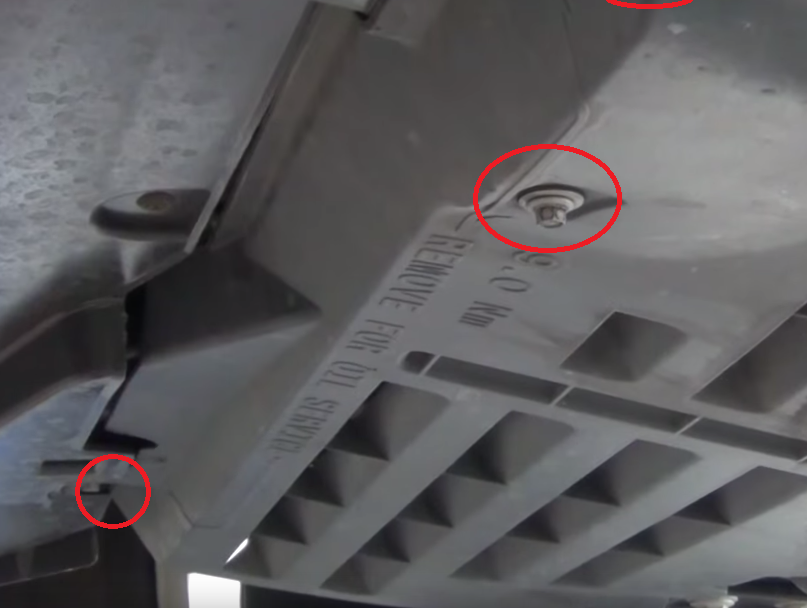
- Working underneath, remove the three bolts holding the radiator shroud.
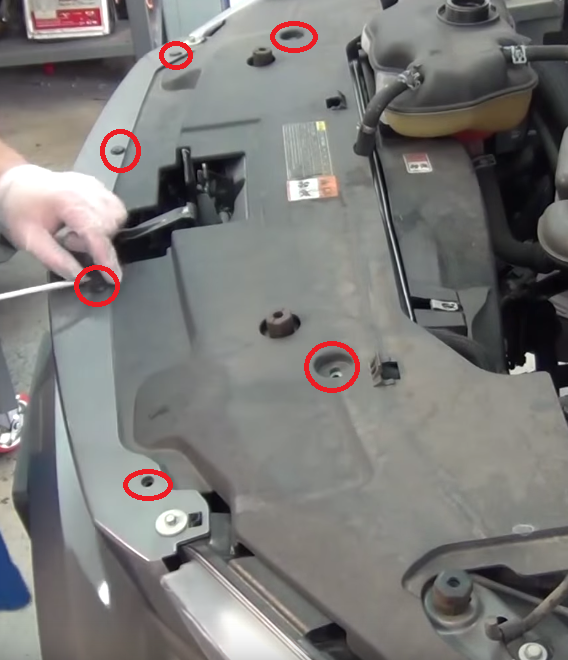
- With the shroud out of the way, remove all the bolts that hold the lower fascia in place.

- Position your drain pan underneath the coolant drain spout.
- Slowly loosen the petcock underneath until coolant begins to flow out the spout. You have two options here, you can either leave it so fluid is only coming out the spot or completely take it off to have the fluid rush out quickly; however, it will get all over your hands doing this.

- Once the fluid has finished draining, tighten the petcock again.
Step 2 – Disconnect radiator hoses
- Remove the six push pins that hold on the top fascia. To remove them, pry out the center pin using a flat head and then pry out the entire pin.
- Remove the two bolts that hold the radiator reservoir in place.

- Using a zip tie or something similar, position the reservoir out of the way.

- Remove the two bolts on each radiator mounting bracket and then remove both of the brackets.

- Using a pair of channel locks or something similar, squeeze together the clamp on the upper radiator hose and then slide it off.

- Using the same process as the previous step, remove the radiator overflow hose.

- Using the same process as the previous step, remove the lower radiator hose where it connects to the engine block below the air intake.

Step 3 – Remove radiator
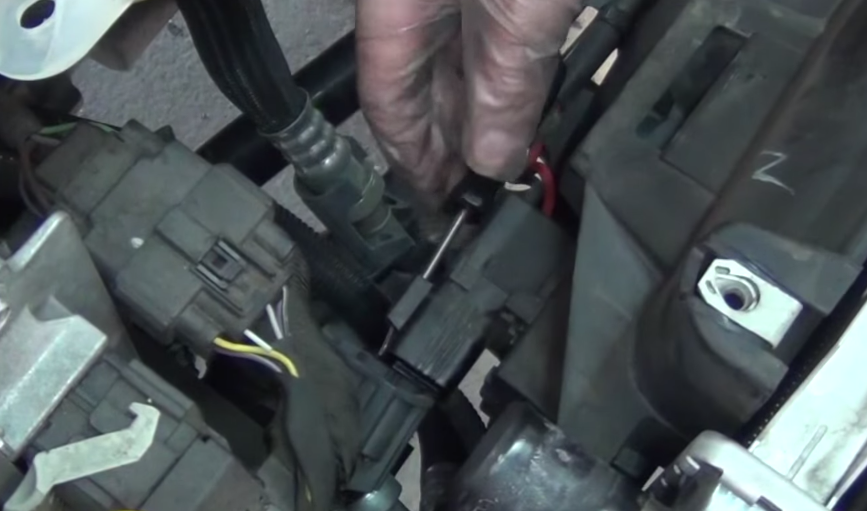
- Disconnect the electrical connection on the fan.
- Remove the four bolts that hold on the A/C condenser. There's a bolt located in each corner.

- With those bolts out of the way, you can pull the radiator out.
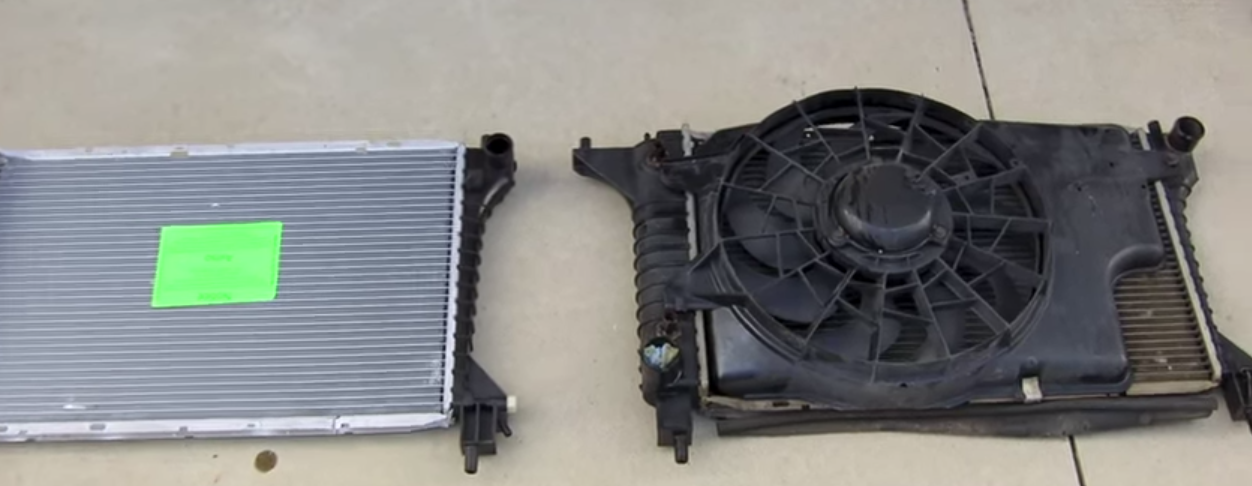
- With the radiator out, you'll need to unbolt the fan from it.
Step 4 – Install
Since you already have the coolant drained and the radiator out, now is the perfect time to replace the radiator hoses if they're old and cracked.
- Attach the fan to the new radiator.
- Slide the radiator into place in the engine bay.
- Re-install the four bolts that hold on the A/C condenser. Tighten to 89 ft-lbs.
- Reconnect the fan electrical connection.
- Reattach the lower, upper, and overflow radiator hoses.
- Reinstall the two radiator brackets to the core support and install the two bolts on both sides. Tighten to 89 ft-lbs.
- Reattach the radiator coolant reservoir with the two bolts.
- Reattach the top fascia using the six push pins.
- Reattach all the bolts that hold on the lower fascia.
- Reattach the lower radiator shroud using the three bolts.
- Fill and bleed the coolant system of any air pockets.
Featured Video: How to Install Radiator
Related Discussions
- A/C Condenser Replacement - YouTube.com
- Replacing Radiator - MustangForums.com
- Mustang Radiator Install - MustangForums.com
- Radiator for Mustang GT - MustangForums.com