Ford Mustang V6 1994-2004: How to Replace Air Filter
Replacing your engine air filter is one of the easiest DIY jobs you can perform on your Mustang. Continue reading to find out how easy.
This article applies to the Ford Mustang V6 (1994-2004).
One of the most simple jobs you can perform on your Mustang is replacing your engine's air filter. This job is so easy, in fact, the only tools that you'll need are your fingers. Why let a professional charge when you can easily perform this job yourself in your own garage in less than five minutes? You'll have a real feeling of accomplishment, even if you have no mechanical skills or abilities at all, by following these simple steps.

Material Needed
- Pliers (optional)
Step 1 – Raise the hood
From inside your car under the steering column, release your hood latch. You should see, hear, and feel your hood pop up about an inch or so. From outside the car in the front center, reach in the opening and feel for the hood latch release lever. Depress the lever with one hand and lift the hood with the other. Once in the air, locate the retaining rod that clips on the fan shield and insert it into the slot on the underside of the hood. Once it is in the the slot, make sure that the hood is secure in place so it does not fall on your head as you work.

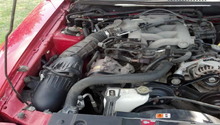
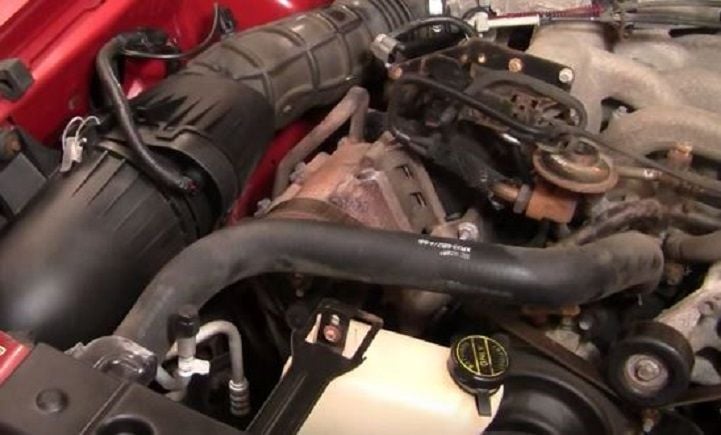
Step 2 – Locate the air filter's housing
The airbox housing is located on the passenger's side of the engine compartment, up near the front. You will immediately see one of the metal latches that seals it shut. The other is to the left, down the side slightly.
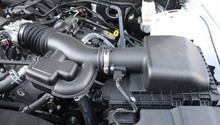
Step 3 – Un-latch the housing clips
Disengage both of the housing clips by pulling up on the flat metal part. If they are too tight to pull up with your hands, a pair of pliers can help facilitate this part of the job. Once the latches are disengaged, grab the rear part of the housing and lift up. It should stay up in place.

Step 4 – Replace old air filter
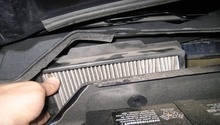
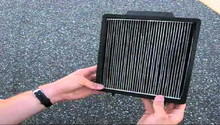
With the rear housing lifted, rear in behind the front of the housing and pull out the old air filter. If it is exceptionally dirty, you may want to consider changing it more often than indicated in your owner's manual. After you remove and set aside your old air filter, insert your new air filter into the air box.

Figure 4. Remove the old air filter from the airbox. 
Figure 5. Install the new air filter.
Step 5 – Reinstall airbox
With the new air filter installed, push the rear of the airbox back into position. Re-clip the retaining clips until you hear and feel them click back into place. Give a little tug on the housing to make sure that it is secure. You don't want to have any leaks around the seal.

Step 6 – Drop the hood and start the car
Drop your hood and start up your car. Let it run for a few minutes and listen for any whistling or unfamiliar sounds. Make sure that no warning lights come on. If they do, they immediately turn back off after the normal cycle completes.

Featured Video: How to Replace Air Filter
Related Discussions
- How Would I Go About Cleaning MAC Air Filter? - MustangForums.com
- Cold Air Intake Air Filter Cold/Heat Shield Cover - MustangForums.com
- Air Filter Fender Well - MustangForums.com
- Air Filter Got Wet?!? - MustangForums.com
- High Pitched Whine After Swapping Air Filters - MustangForums.com