Ford Mustang V6 1994-2004: How to Replace Alternator
On many cars, replacing the alternator is a pretty difficult task. Luckily, the Mustang isn't like most cars and this DIY job is pretty straightforward.
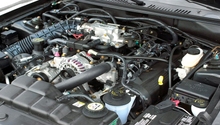
This article applies to the Ford Mustang V6 (1994-2004).
If it's time to change your alternator, you better do it sooner rather than later. The last thing you need is to be stranded on the side of the road. Once you start having troubles from your alternator, it is best to tackle it head on than to wait for a better time and use the old "hit it with a hammer" trick. Don't let the sound of this job scare you away from doing this yourself. While with most cars this is a difficult job, on the Mustang it is relatively easy and straightforward. You have a good chance of getting your hands on a great used alternator for less than $50, whereas a professional is going to charge you for a new one plus labor, leaving you with a hefty bill in hand. Don't shy away from doing this job yourself; you will be proud of your accomplishment and save a big bundle of cash, as well.

Materials Needed
- 3/8 inch ratchet and socket set
- 10mm box wrench
- Flat head screwdriver
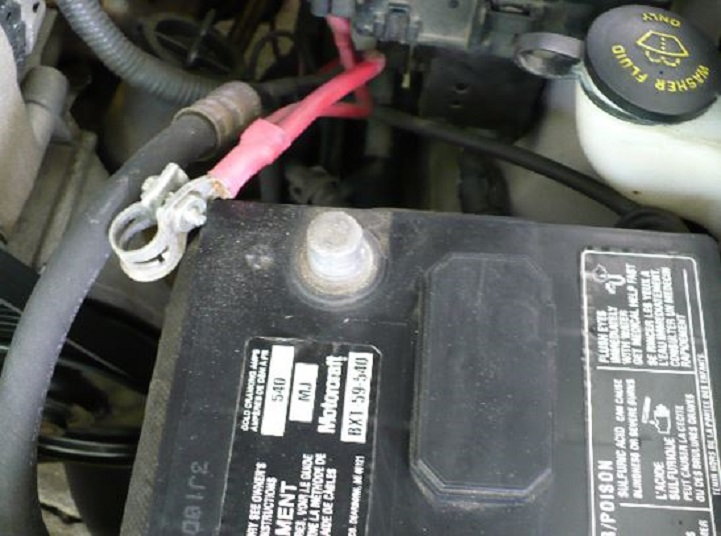
Step 1 – Disconnect your battery
Before working in your engine compartment, it is always a good idea to disconnect your battery before you get started. It is a requirement before working on the alternator or anything electrical in nature. You only need to disconnect the negative (black) terminal, or you can disconnect both and completely remove the battery if you prefer.
Step 2 – Loosen the belt pulley
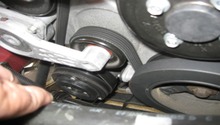
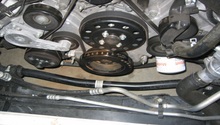
Find the tensioner pulley under the alternator behind the belt. You will notice a square notch or hole in the lower part of this pulley. This hole happens to be 3/8 inch wide and fits perfectly with a 3/8 inch socket drive extension. Put the extension into the hole and attach a ratchet. This is likely the most difficult part of this job, as this tensioner does its job well. If you have a long pipe that fits over the handle of your 3/8 inch ratchet drive, that is perfect. All the leverage you can get will help. Crank on that tensioner-pulley counterclockwise, just enough to create some slack in the belt and to pull it off the alternator.

Warning
Never get your fingers in between the belt and any of the pulleys when you are trying to remove the belt. If the ratchet slips off the tensioner, that belt will smash your fingers into the pulley itself and serious injury will result.
Step 3 – Remove electrical connections
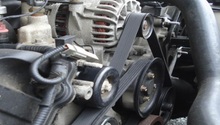
There are two electrical connections on the back end of the alternator. There is one quick-disconnect type of connector that pulls off relatively easily, while the other is bolted on with a 10mm bolt. Lift the rubber boot and then use a box wrench to remove this 10mm bolt. Use a flat head screwdriver to pry up on the base of the connector rather than pulling off by the wires.

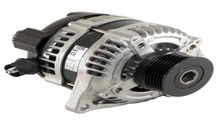
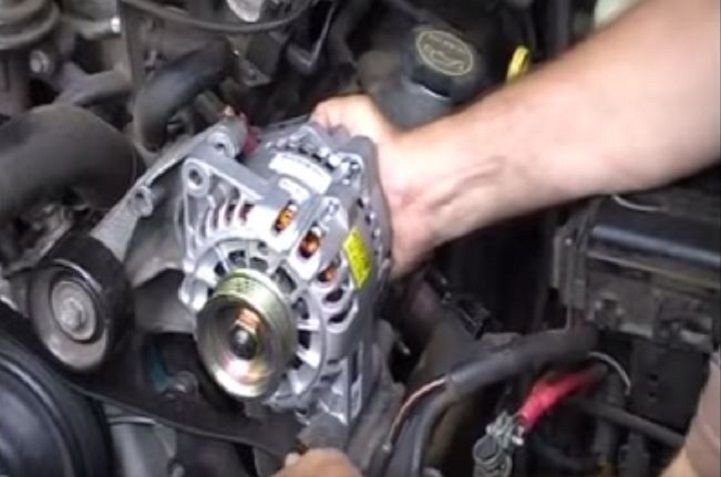
Step 4 – Remove the old alternator
There are now only two bolts remaining. Remove the upper left and lower right bolts from the front of the alternator. These two bolts are the only things that are holding the alternator in place to the bracket. Remove these bolts and the alternator pulls right off.

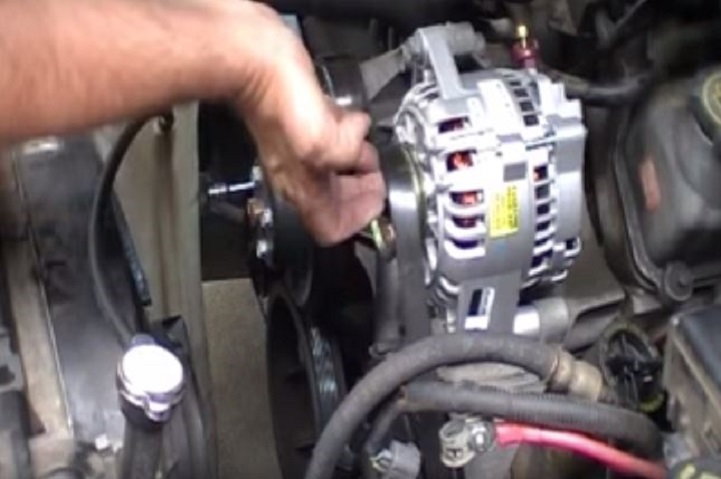
Step 5 – Install the new alternator
Once you have the old alternator off the engine, set it down beside the new alternator. You'll want to double check the mounting points and the electrical connection ports before you try to install the new; this will make the job a little easier for you. Once you have verified you have the correct replacement part, put the new alternator in place, lining up the mounting holes. It is easiest to insert the lower bolt first, followed by the upper bolt, and then tighten them down.
Step 6 – Reconnect electrical connections and battery
Once you have mounted the new alternator, re-connect the electrical connections. Use the 3/8 inch drive to loosen the pulley again and replace the belt. This is actually a good time to just replace the belt with a new one. For the price, it is good insurance that your belt isn't going to break any time soon. Reconnect the battery and take it for a test spin. Pay attention to the sound you hear and the vibrations you feel. Keep and eye on your CEL indicators. If all is well, congratulations on a job well done.
Featured Video: How to Replace Alternator on Ford Mustang
Related Discussions
- How to Replace Alternator? - MustangForums.com
- Signs of a Dying Alternator - MustangForums.com
- 130 Amp versus 110 Amp Alternator - MustangForums.com
- 2002 Alternator/V6 Battery Issue - MustangForums.com