Ford Mustang V6 1994-2004: How to Replace Thermostat
Thermostats generally don't go bad; however, they are prone to sticking open, causing many issues. Replacing it is relatively cheap and very easy.
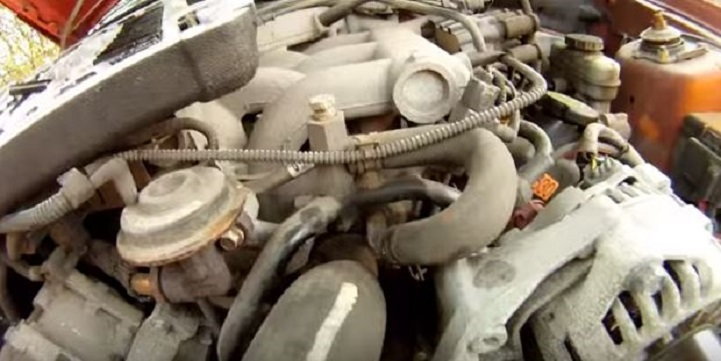
This article applies to the Ford Mustang V6 (1994-2004).
There are many symptoms of a stuck thermostat with these Mustangs. One of the more common issues is a busted upper radiator hose. Overheating engines are another problem that needs addressed very quickly to prevent any further damage to your baby. Fortunately, new thermostats should cost you well under $20. This is a very small price to pay compared to blown head gasket or further engine damage if left unchecked. This job is extremely easy, just about the only thing to worry about is putting the thermostat in backwards. Follow this guide to do the job yourself in a matter of minutes, which should make you extremely happy with the money you will save by not taking it to a professional to do. If you are at all uncertain or worried about messing this job up, shop around for the best price a professional will charge to do it for you.

Materials Needed
- Ratchet and socket set
- Degreaser
- Plastic scraper
- Shop rags
- RTV sealant
While you are doing this job, be sure to check the condition of your radiator hoses and radiator cap. Replace if needed, which is very likely if you've been running for any time with a busted T-stat.
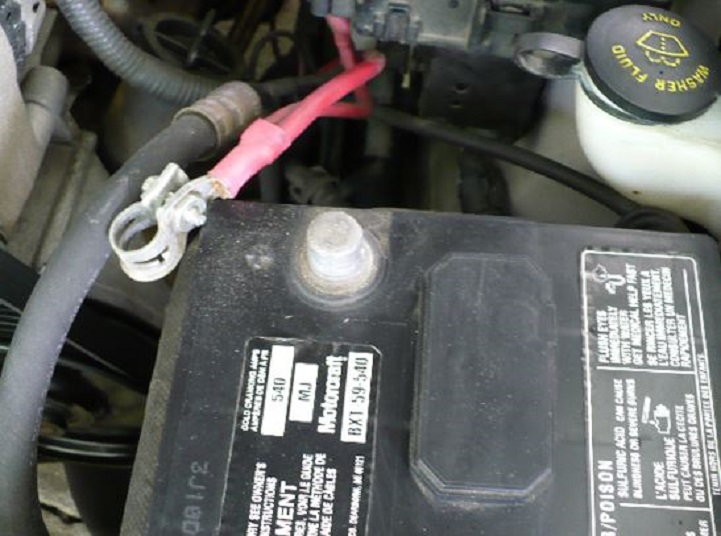
Step 1 – Disconnect your battery
Disconnecting the battery is optional, but highly recommended any time you work under the hood, especially near the fan or when working with any electrical components.
Step 2 – Remove the overflow reservoir (optional)
There is only one 7mm bolt holding the tank in place. Remove the bolt, then pull the tank and set aside. This is not necessary, but it gives you a lot more room to work.

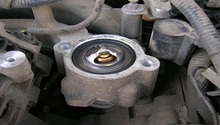
Step 3 – Remove the thermostat housing and thermostat
- Loosen the upper radiator hose clamp on the front of the hose at the radiator.
- Remove the two 8mm bolts at the end of the hose that connect to the thermostat housing.
- Pull the hose and the housing off.
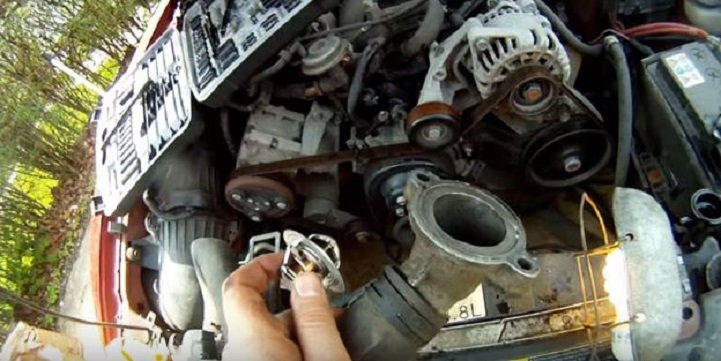
- Remove the old thermostat.
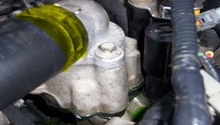
Step 4 – Clean housing's plates and insert thermostat
There may be gasket residue on the end of the housing as well as at the manifold where it attaches. Use a plastic scrape along with some degreaser to get both surfaces nice and clean. You want a tight seal around the thermostat. Many owners will use some RTV sealant on the surfaces to create a nice seal. If you do this, you will have to let the car sit for the recommended cure time before starting your car. Insert the thermostat into the housing attached to the hose. The spring side will be out the outside, as it will be inserted toward the engine. Make sure to orient it this way, as it will not work if you have it backwards.

Figure 4. Make sure that the spring side goes in toward the engine. Note the black RTV coating on the housing. 
Figure 5. Make sure to coat the other end of the housing with RTV, as well.
Step 5 – Install hose and housing back onto manifold
Grab your RTV sealant, if you're using any, and lightly coat the mating surface for the thermostat. With that done, reinstall the new thermostat and upper radiator hose. If you used any sort of sealant, try to minimize moving the thermostat around too much during installation, as it could spread the RTV and disrupt the seal it produces.
Step 6 – Reinstall the overflow reservoir
If you removed the reservoir, reinstall it now.

Step 7 – Refill the reservoir and wait
If you drained the overflow tank before removing, or if you had any coolant spillage, refill the tank with a 50:50 mix of anti-freeze and distilled water. Be sure to not overfill the tank. Wait the recommended time for the RTV sealant to cure, which is generally about an hour. Start the car, check for leaks, and watch the temperature gauge to make sure it is normal. Let the car heat up for about 10 minutes, give it some throttle until you hear the thermostat kick in, turning the fans on. Let the engine cool and recheck the fluid levels. Clean up any spills and admire a job well done.

Featured Video: 2003 V6 Thermostat Replacement
Related Discussions and Video
- 2004 Mustang V6 Thermostat Change - YouTube.com
- Is My Thermostat Going Bad? - MustangForums.com
- 1996 Mustang Overheat When Thermostat is Installed - MustangForums.com
- Busted Thermostat Housing - MustangForums.com