Ford Mustang V6 2005-2014: How to Replace Radiator
Replacing the radiator in your 2005 to 2014 Mustang is a pretty straightforward and easy DIY job. See how to do it here.
This article applies to the Ford Mustang V6 (2005-2014).
The radiator is too much an important part of your engine compartment to let issues go unresolved. If your radiator goes, you will find yourself stranded at the worst possible time. If you continue to drive with a bad one, you will cause significant damage to your pride and joy. Don't let it go, get it replaced sooner rather than later. Don't try to save the money by purchasing leak blocks, as that stuff is only a temporary fix and can cause even more damage if it breaks and gets sucked into your engine. Replacing the radiator is a pretty easy job to do on your own and is relatively inexpensive. If you don't want to tackle this job, find a reputable pro who has significant experience working on these high performance vehicles. A pro will charge you a pretty good chunk of change, so save yourself this extra cash and give this simple DIY job a chance.

Materials Needed
- Various pliers
- 1/4" drive ratchet with 8mm and 10mm sockets with extensions
- Flat head screwdriver
- Box wrenches (ratcheting style are perfect)
- Shop rags
- Catch can or basin
- Large capacity, no-spill funnel
- Replacement upper and lower radiator hoses (if needed)
- Spare push pin connectors (may be necessary)
- Replacement radiator coolant (50:50 premix or regular with plenty of distilled water)
- Power steering fluid (if needed)
Step 1 – Disconnect battery
As it is always the best practice to disconnect the battery while you are working under the hood, it is a virtual requirement while messing with the fan and radiator. Pop the hood and disconnect the battery terminals and make sure that they do not come in contact with the battery until your job is complete.

Step 2 – Jack up your front end (optional)
While is it optional to jack up your front end, it certainly makes it much easier to do this job. If you choose to jack up your Mustang, be sure to use the proper placement for the jack and the stands. Never work under a car using only a floor jack for means of support. Always use your jack stands.

Step 3 – Drain your radiator
Make sure that your engine is completely cooled.
- Remove the radiator cap. This will relieve the pressure in the system and the fluid will flow much quicker.
- Position your catch basin under the drain plug located on the lower left side (passenger's side) of the radiator.
- Find the white drain plug; it has either a long slot or wings to unscrew and remove it.
- Let all the fluid drain completely into your catch can.

Pro Tip
Be sure to wipe up any spills immediately, as radiator fluid is a sweet smelling and tasty deadly toxin to animals as well as pets. Dispose of this waste properly. Oil change and quick lube shops will take your used fluids at no charge and dispose of them properly.
Step 4 – Remove air deflector and cover
Beneath the front bumper under the radiator is the air deflector that must be removed. Just a few screws hold this part in place. Simple to remove. Above the radiator is the cover that is secured with six push pin type connectors. A small flat head screwdriver will take these out easily enough. They are fairly fragile, so it is always a good idea to have some spares in hand.

Figure 4. First, remove this lower air deflector. 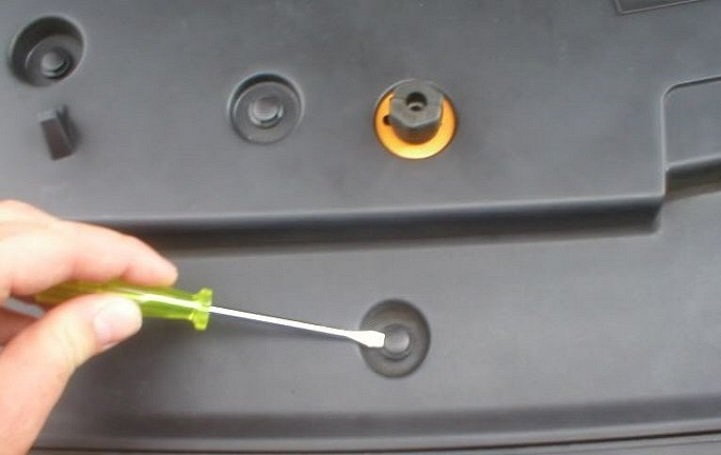
Figure 5. Next, remove the radiator cover from the top by carefully removing the six push pin connectors.
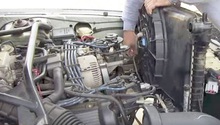
Step 5 – Disconnect the coolant outlet hose
You should see the small coolant outlet hose that connects from the top of the radiator to the overflow tank. Remove this hose by squeezing the clamps that secure it to the nipple. Remove the hose from both ends. Be careful when squeezing the clamps that you don't disengage them totally. They are a pain to put back together. Just squeeze them enough to pop the hose from the connectors at either end.

Step 6 – Remove coolant overflow and power steering tanks
Use a ratchet and 8mm socket to disconnect both the overflow and the power steering reservoirs from the top of the fan shroud.

Step 7 – Remove upper and lower radiator hoses
The same type of clamp is used with the upper radiator hose as was used for the outlet hose, only this one is much bigger and a little more difficult to squeeze. A small screwdriver or large pliers is needed. Only remove enough tension to pop the hose off. You only need to remove the end attached to the radiator, but you may wish to remove both ends, especially if you have a replacement hose. Now is a great time to inspect this hose and replace if needed. The lower radiator hose is connected in the same way. This entire hose will need to come off and, once again, replace if needed.

Figure 8. Remove the large upper radiator hose from the radiator and either tuck it out of the way, or you may wish to remove it entirely. 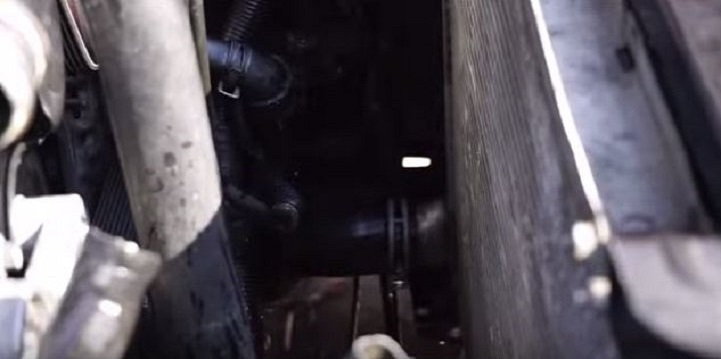
Figure 9. Disconnect the lower radiator hose at both ends. You will likely get some fluid spillage from this step.
Step 8 – Remove radiator mounting brackets
There are two mounting brackets that hold the radiator in place to the front of the frame. These are secured by four 8mm bolts. Remove the bolts with a ratchet and 8mm socket, then set them aside.

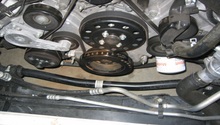
Step 9 – Remove front and side mounting bolts from radiator
There are a few more bolts to remove before the radiator can be lifted out. You will find a bolt on either side toward the bottom of the radiator. A ratchet with extension works best to remove them. The next two bolts are toward the top section of the radiator, but mounted on the front side towards your grill. A socket will not likely fit for these because it's pretty close quarters here. A flat ratcheting box wrench works well here; a regular box wrench will work as well, but it will just take a little longer.

Figure 11. Remove the bolts from the lower sides of the radiator. 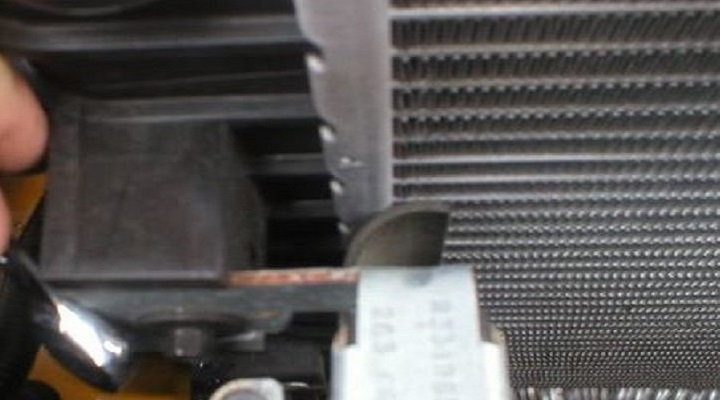
Figure 12. Radiator front mounting bolt.
Step 10 – Replace radiator and reinstall
With all the mounting bolts and brackets off, the radiator can now be carefully lifted out. Simply slide the new radiator back in place, but be very careful so you do not bend or break any of the cooling fins. Once the new radiator is installed, simply follow the steps in reverse to button her back up. This job is made a little easier if the fan assembly was removed as well, but it is not a necessary step. You just have to be a little more careful when removing and replacing the radiator.
- Replace the side and front mounting bolts.
- Replace the radiator bracket mounts from the top and onto the frame.
- Reattach the lower and then the upper radiator hoses. Use your new ones if you are replacing these items, as well.
- Reinstall the coolant and power steering tanks.
- Reattach the coolant outlet hose from the reservoir to the top of the radiator.
- Replace the lower air deflector and the radiator cover.
- Reconnect battery.

Step 11 – Replace fluids
- Make sure that the drain plug is completely installed from the lower left side of the radiator.
- Remove the radiator cap and insert a large capacity no-spill funnel.
- Fill the radiator with a 50:50 premix solution, or use distilled water only if mixing your own.
- Fill the radiator fluid overflow reservoir to the cold line as marked.
- Check your power steering fluid level and refill as needed.
- Start your car and let it get warm.
- Turn your air on maximum heat and maximum blower settings to make sure you have heat.
- If there is no heat coming out, you will need to burp your cooling system using the valve on the left side of the engine compartment. Just loosen the valve enough until the fluid starts spraying out and then tighten it back down.
- Check that your thermometer gauge is normal. Rev the engine to ensure the thermostat opens. If it is bouncing at this point, you may want to consider replacing your thermostat, which is another extremely easy DIY job.
- Drop your car and take it for a test drive.

Related Discussions and Site
- Replacing Radiator - MustangForums.com
- Hesitation After Replacing Radiator - MustangForums.com
- How to Bleed My Radiator - MustangForums.com
- Ford Service Manual: Replacing Radiator -iihs.net