Ford Mustang V6 and Mustang GT 1994-2014: How to Install a Spoiler
Are you interested in adding some more flair to your Ford Mustang? Spoilers are an inexpensive way to do just that.
This article applies to the Ford Mustang V6 and Mustang GT (1994-2014).
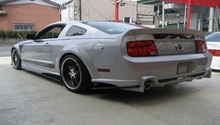
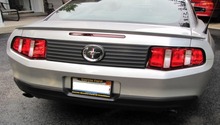
Spoilers were first used to help improve the down-force on a race car's chassis, but now it's one of the most popular accessories you can install on your car. They come in all shapes and sizes; some add a more aggressive flair, while others are more subtle, such as the OEM trunk lip pieces. Although their installation varies according to the type of spoiler being installed, the procedures are fairly similar and may require you to drill a few holes into your body panels. However, any work you do is small enough to be completely reversible. Use these following instructions to install a basic aftermarket spoiler on your Ford Mustang V6 or GT

Materials Needed
- 3M double sided tape
- Drill
- Silicone
- Adhesive remover
- Putty Knife
- Heat gun
- Fishing line
The following steps assume you have an OEM spoiler already installed. If you do not, skip Steps 1 through 3.
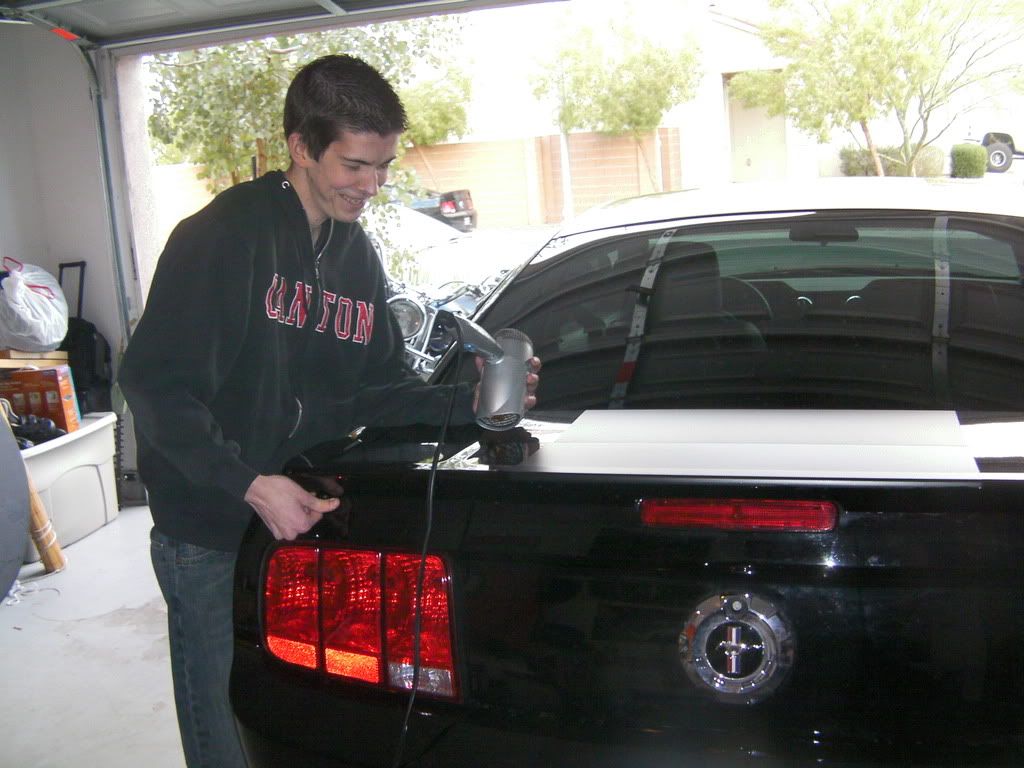
Step 1 – Loosen the spoiler mounting screws and adhesive
Open the trunk and locate the mounting screws, then remove them. With the screws off, grab your heat gun and begin to warm the adhesive from the old spoiler. Once the adhesive tape is loose enough, take the adhesive remover and liberally apply some on the glue.
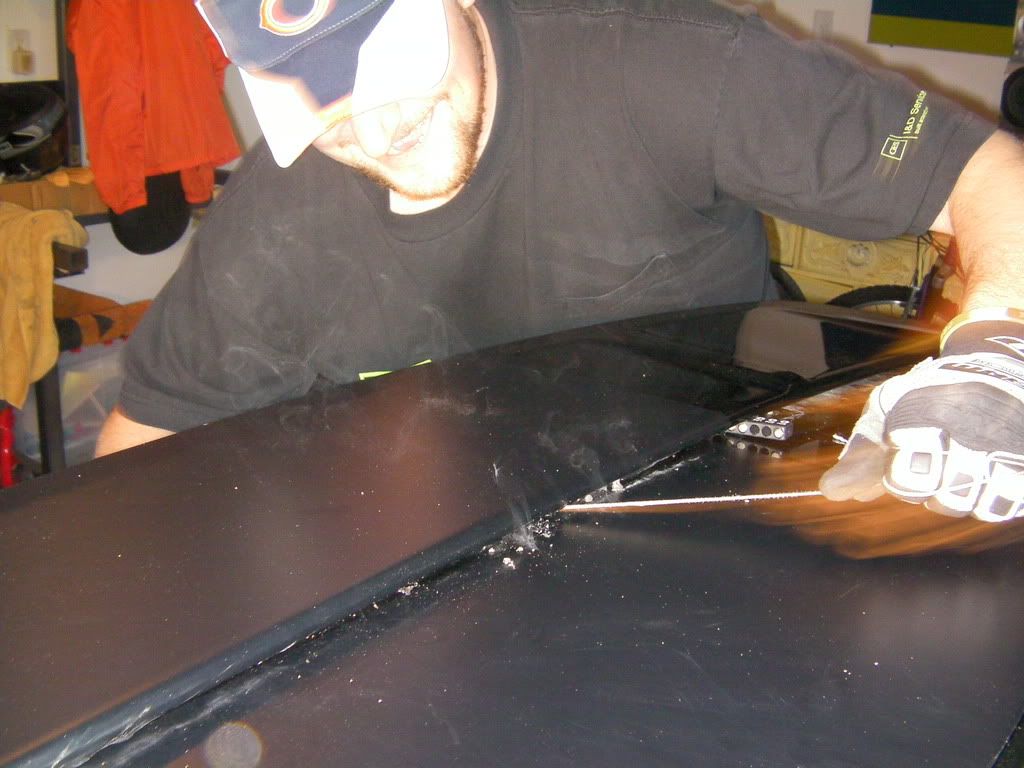
Step 2 – Cut the adhesive material
- Gently pry the spoiler up just enough to slide in some fishing line.
- While wearing gloves, take the fishing line and begin sawing the adhesive material off.
- Work your way all the way through from one side to the other.
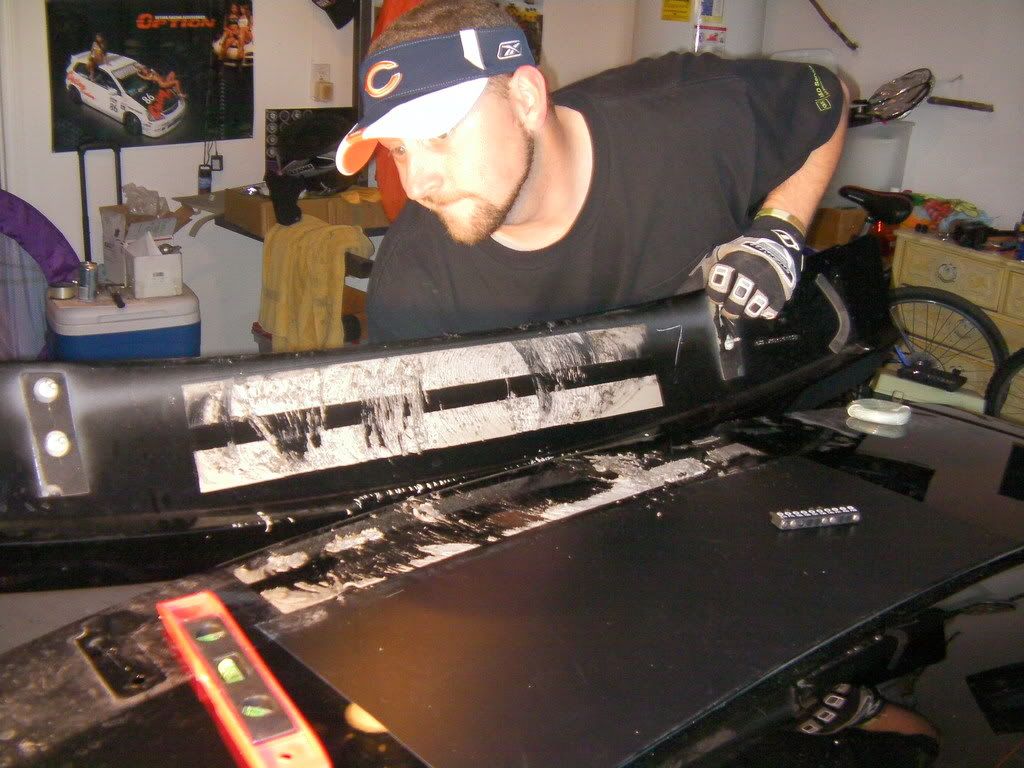
Step 3 – Remove the adhesive tape
Now you'll have a large patch of tape still stuck on the chassis. Again, apply some adhesive remover and allow some time for it to soak. After a few minutes, take the putty knife and remove the excess adhesive material.

Step 4 – Measure, measure, measure
With the old spoiler removed, use the template that arrived with the new spoiler and measure the mounting location. You'll have to be extremely precise, as to avoid mounting a crooked spoiler. If all the required holes are there, align the spoiler and use some masking tape to hold it in place.
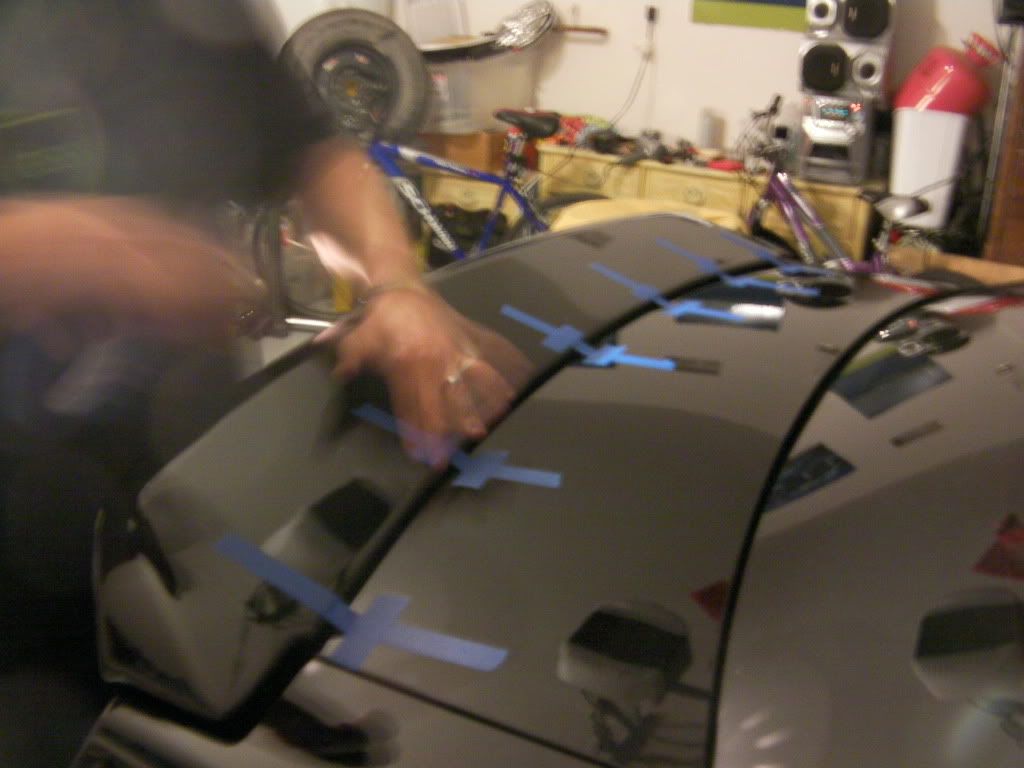
- If you need to make additional holes, use the template as a guide.
- Mark off where each hole is supposed to be.
- Drill straight down into the panel.
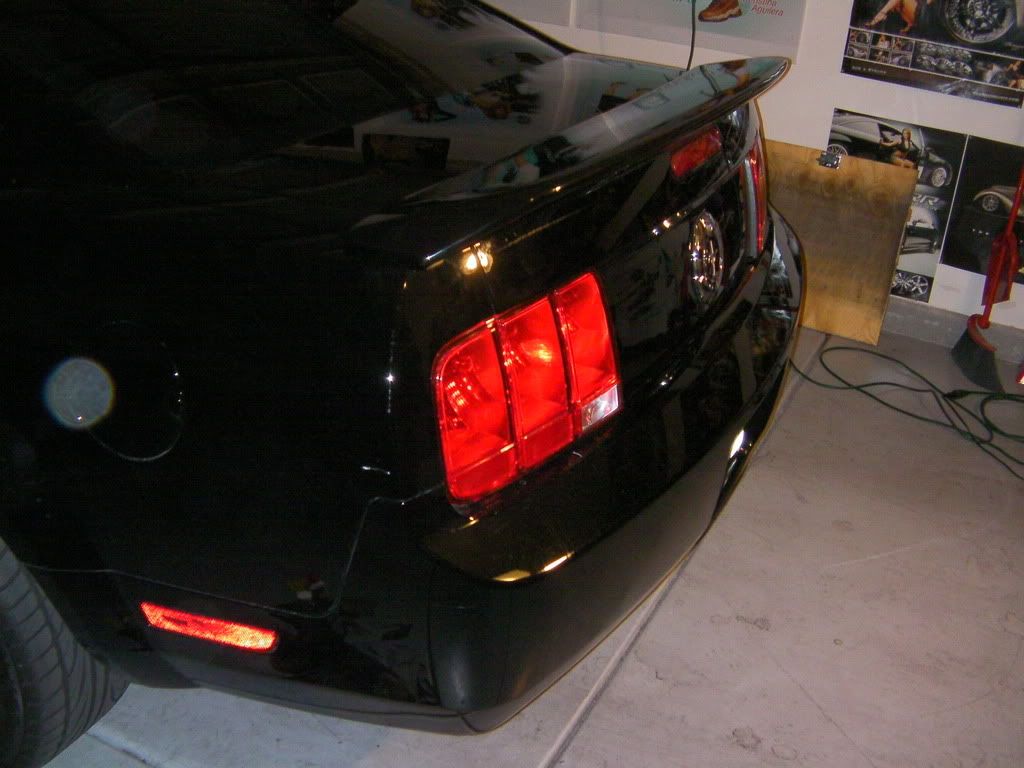
Step 5 – Mount the new spoiler
- Apply double-sided tape onto the bottom of the spoiler and mount it into place.
- Tighten the spoiler screws.
- Take a step back and admire your work.
Related Discussion
- GT500 Spoiler Install! Walkthrough and Tons of Pics - MustangForums.com