Ford Mustang V6 and Mustang GT 1994-2014: How to Install LED Dash Lights
If you want to spice up the dashboard on your Ford Mustang, then this DIY is for you. Here's how to replace the dashboard light bulbs to possibly any color you want.
This article applies to the Ford Mustang V6 and Mustang GT (1994-2014).
The Ford Mustang and Mustang GT have nice dashboard lighting. It's "nice" in that it's there and gets the job done. However, after a while, you get used to it and it becomes normal. If you want to change your dashboard light to LED bulbs, or if you have a specific colored bulbs in mind, this procedure will show you how to swap the old ones with whatever new ones you may want to install. The process isn't the easiest, but the results are worth it.

Materials Needed
- Flat head screwdriver
- Wrench and sockets
- Torx screwdriver
- Towel
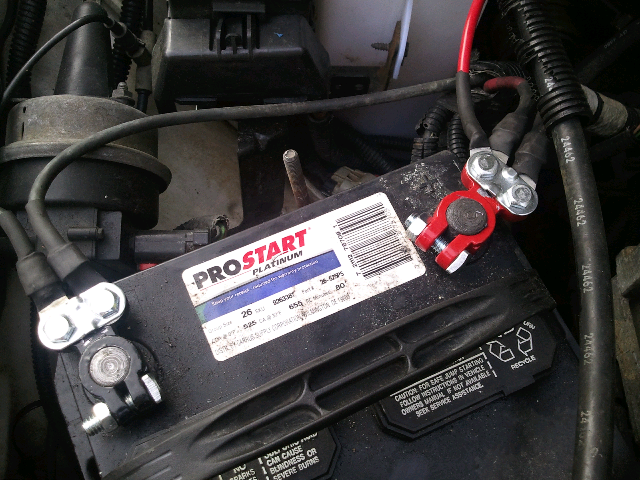
Step 1 – Disconnect the battery
Open the hood and disconnect the negative (black) battery terminal. Wrap it in a towel to avoid it touching any metal.
Step 2 – Remove the headlight switch
Remove the headlight switch panel by prying it up using your flat head screwdriver. Using your Torx screwdriver, remove the two screws holding it in place.

Step 3 – Remove instrument panel trim
Remove the instrument panel's trim by removing the two screws holding it in place on top, and then remove the other four bolts holding the gauge's bezel in place.

Figure 3. Remove the two screws. (MikeFordMustang.com) 
Figure 4. Remove four bolts. (MikeFordMustang.com)
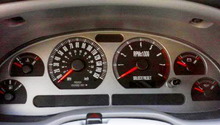
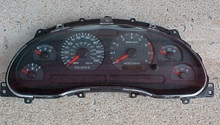
Step 4 – Remove cluster
Tilt the cluster, bottom out first, to get it out. The bulbs are located on the back of it, so remove any connectors preventing you from tilting it; be sure to do so gently.
Turn the bulbs counterclockwise to remove. Then install the new ones in place.

Figure 5. Tilt the cluster and pull out. 
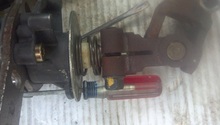
Figure 6. Remove the connectors. 
Figure 7. Remove the bulbs.
Step 5 – Re-install cluster
After you've replaced the bulbs, place the cluster back into place. You will need to insert its tilter, and then pull it back into normal position when you're in place. Tighten the four screws holding the cluster in place, then place the trim in place and tighten the two Torx screws on top. Install the headlight switch back and tighten its two screws. Reconnect the battery's negative (black) terminal, and enjoy your dashboard light.

Figure 8. Replace the bulbs. 
Figure 9. Tighten four screws. 
Figure 10. Tighten two trim screws. 
Figure 11. Install headlight switch.
Related Discussions and Sites
- Gauge Cluster Write-Up - MikeFordMustang.com
- LED Dashboard Light - MustangForums.com
- Change Dashboard Lights - eHow.com