Ford Mustang V6 and Mustang GT 2005-2014: How to Replace Fender
If you hit the fender of your Ford Mustang, sometimes the cheapest solution is to just replace it. Here's how to do it yourself.
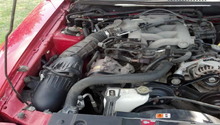
This article applies to the Ford Mustang V6 and Mustang GT (2005-2014).
The fender on your Ford Mustang is a part that is susceptible to being hit. Whether it's your fault or someone else's, the fixes have to be done. Auto body shops charge a lot of money for body work, and it's not something you can really do at home. Many people find great deals on fenders online, and some choose to go to car graveyards in search for fenders in pristine condition. Weigh your options and if you discover that a new fender will cost you less than the body work, this read will be your guide to saving money.


Materials Needed
- Flat head screwdriver
- Phillips head screwdriver
- Ratchet and sockets (with extension)
Step 1 – Remove headlights
Pull up on the two tabs on top of the headlight. You can pull them up by hand, but if it's too tight, use your flat head screwdriver to pry it up gently. Remove them and pull the headlight out. Remove the two light bulb connectors, thus freeing the headlight assembly, and pull it out all the way.

Figure 2. Pull up on the two tabs at each headlight. 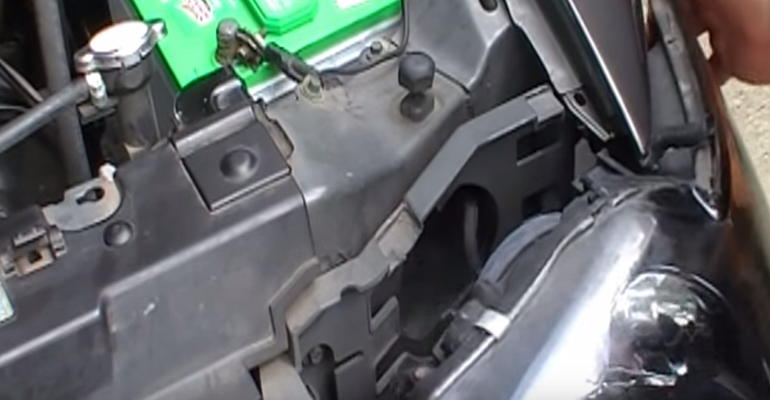
Figure 3. Pull the headlight out. 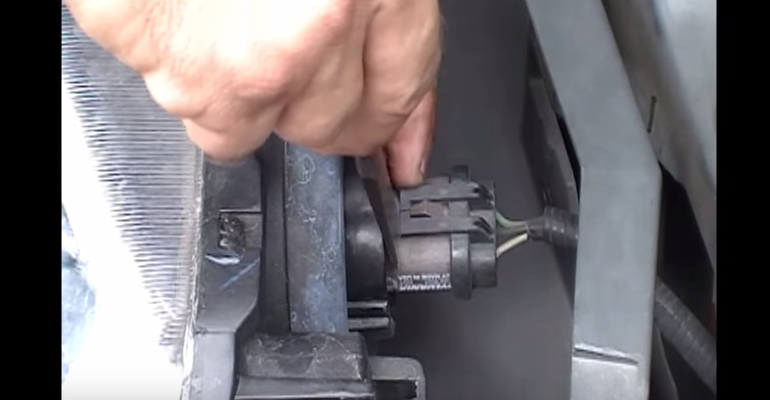
Figure 4. Remove bulb connectors and pull headlight out all the way.
Step 2 – Remove fender bolts
Remove the two 8mm bolts behind where the headlight was located. Then, remove two Phillips head screws along the rim of the wheel well; one on the front and one on the back. Locate the two 8mm bolts inside your fender when you open the door. Use your ratchet along with an extension to remove those. Finally, remove the other three 8mm bolts on top of the fender under the hood.
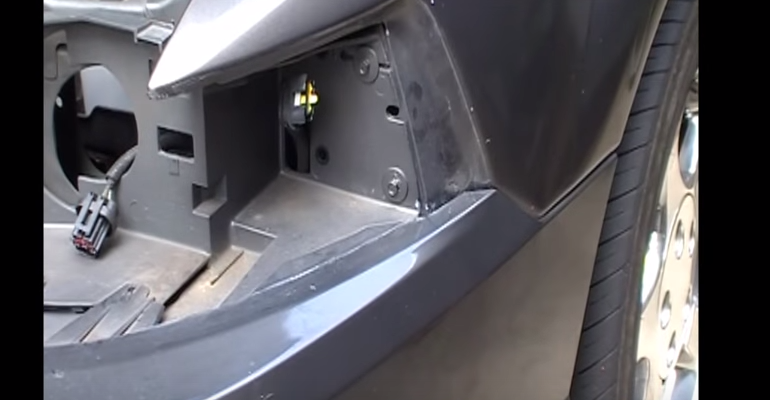
Figure 5. Two 8mm bolts. 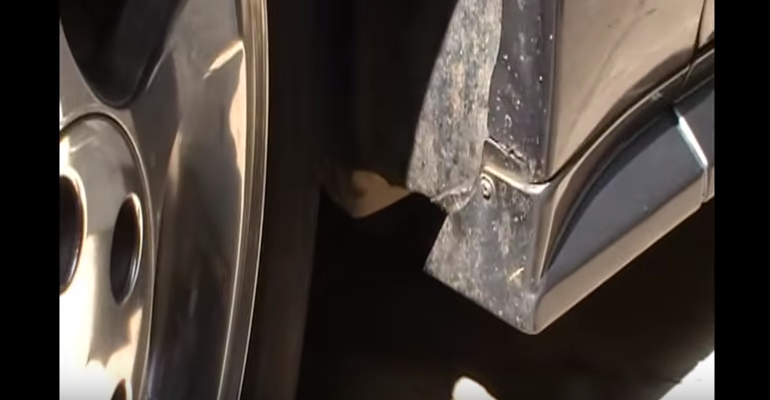
Figure 6. Other screw is across from this one. 
Figure 7. Remove two 8mm bolts inside the door.
Step 3 – Remove splash guard bolts
In order to remove the splash guard, you will need to pull off the side skirt trim. Simple pry it down, and then slide it forward to remove. Locate the two 8mm bolts holding the splash guard in place and remove them.
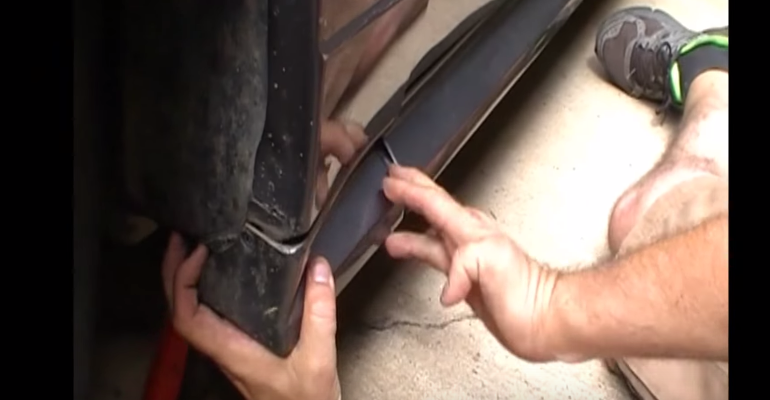
Figure 8. Remove side trim. 
Figure 9. Locate two 8mm splash guard bolts. 
Figure 10. Remove splash guard bolts.
Step 4 – Remove two remaining bolts
There are two 11mm bolts left behind the wheel well. You can work with the wheel on, but you will gain much more room if you remove it. Simply raise the car to secure it on jack stands, remove the wheels, and locate the two bolts between the bumper and wheel well.
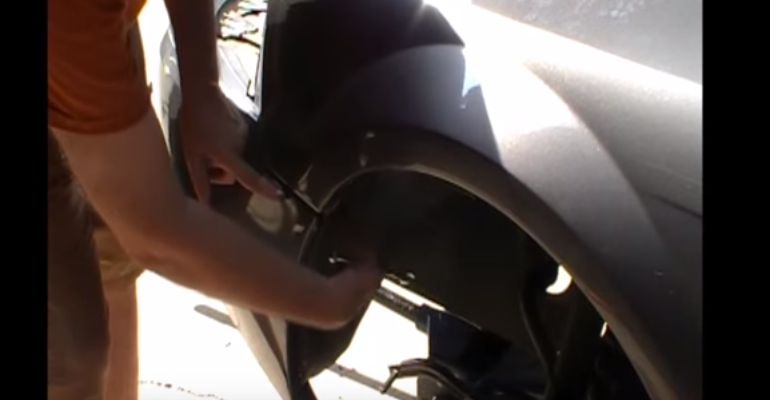
Step 5 – Remove fender
Pry off the plastic housing where your headlight sits. Lift the fender up and pull it back at the same time to remove.

Figure 12. Gently pry the headlight housing away from the fender. 
Figure 13. Pull the fender up and out to remove.
Step 6 – Install the new fender
Installation is the reverse of removal.
- Align the new fender and put it in place.
- Lock the headlight housing back with the fender.
- Bolt the two 11mm bolts between the bumper and the wheel well.
- Tighten the two 8mm bolts holding the splash guard with the fender.
- Install the side trim back by sliding it backwards in place.
- Tighten the two 8mm bolts through the door from the inside.
- Tighten the two screws on the trim of the wheel well.
- Tighten the two 8mm bolts behind the headlight.
- Put the headlight back in place and connect the connectors.
Featured Video: Ford Mustang Front Fender
Related Discussions
- How to Remove Fender - MustangForums.com
- GT Emblem on Front Fender Removal - MustangForums.com
- Removing GT Emblem from Front Fender - MustangForums.com