Ford Mustang V6 and Mustang GT 2005-2014: How to Replace Tail Lights
You can fix your broken tail light by swapping it out for a new one. The process is very straightforward, and here's how to do it.
This article applies to the Ford Mustang V6 and Mustang GT (2005-2014).
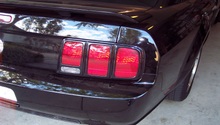
So you return to your Mutang in the parking lot to find out that somehow your tail light got cracked. After cycling through expletives, you calm down and realize that you just need to swap it out. Whether it's replacing a single broken tail light or the complete set, the process is fairly straightforward. Save yourself a bundle by replacing your own tail lights. This article will show you how to do it, step-by-step.

Materials Needed
- Ratchet with 12mm socket
- Replacement tail lights
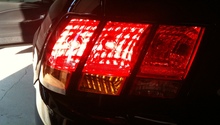
The cost of replacement tail lights can vary a great deal depending on whether you choose to go with brand new OEM replacements or aftermarket lights. You can also save hundreds by picking up a used set on Ebay. Keep in mind that there are many Mustang owners who simply upgrade their factory tail lights and sell their old ones for a big discount. Some do it right away, giving you the chance to pick up a nearly new set of lights for a steal of a deal.
Step 1 – Peel back the plastic trunk molding
In order to get to the tail light mounting bolts, you will first need to get the molding out of the way. First, remove the thumb screw as shown in Figure 1. That will allow you to get access to the tail light mounting bolts in the next step.

Step 2 – Remove the mounting bolts
Peel back the plastic cover and remove the three tail light mounting bolts as shown in Figure 2. You will need a 12mm socket to remove them. You may have to peel back some of the carpet lining to get access to the remaining bolts.

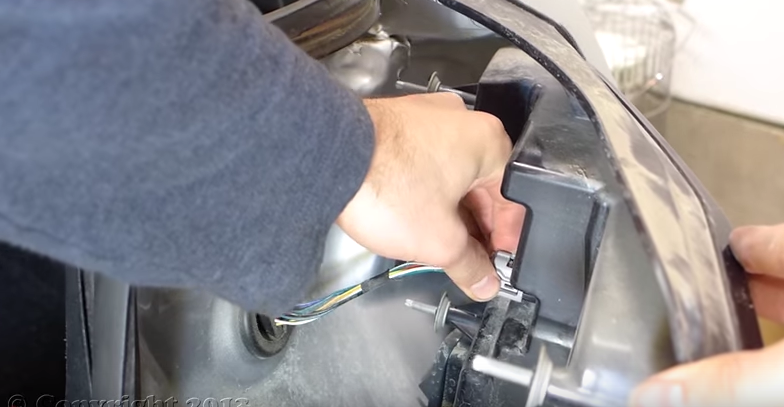
Step 3 – Pull off and disconnect the tail light
With the bolts removed, pull off the tail light and disconnect the wire harness as shown in Figure 3.
Step 4 – Install the new tail light
Install your new tail lights by reversing the process above, and you're back in business! Test them to make sure everything is lined up correctly.

Related Discussion and Video
- Replacing Bulb in 2013 Tail Lights - Mustangforums.com
- Ford Mustang Rear Bumper Cover and Taillight Removal - Fifth Generation - Youtube.com