Headlight Covers -Tint or Plastic?

 04-27-2009, 11:22 AM
#12
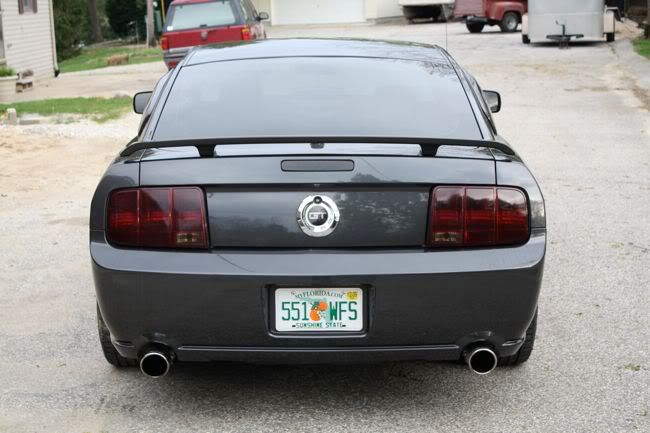
Before:
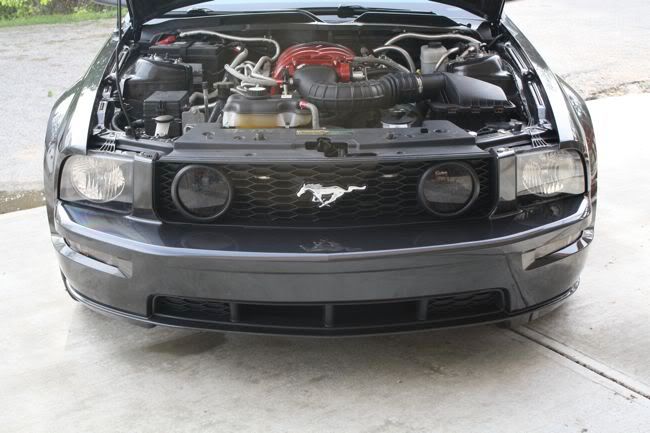


One for kicks!
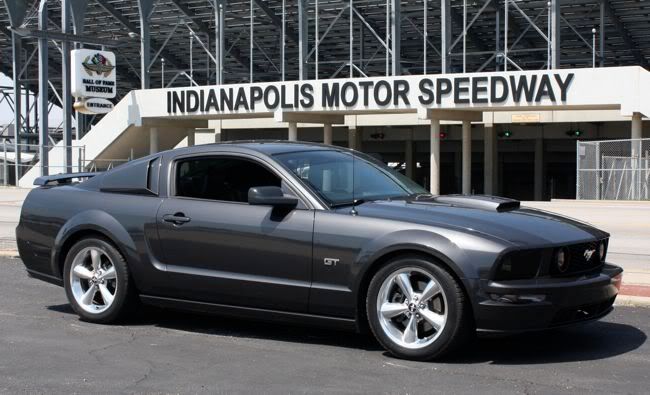
Thanks for looking - I'm probably going to end up painting these. I want to paint my hood, roof, trunk, wing and lights black. Along with some black wheels - all in time.
One for kicks!
Thanks for looking - I'm probably going to end up painting these. I want to paint my hood, roof, trunk, wing and lights black. Along with some black wheels - all in time.
Last edited by -SHIFTY-; 04-27-2009 at 08:47 PM.
04-27-2009, 02:20 PM
#13
2nd Gear Member

Join Date: Sep 2008
Location: Florida
Posts: 211
One for kicks!
Thanks for looking - I'm probably going to end up painting these. I want to paint my hood, roof, trunk, wing and lights black. Along with some black wheels - all in time.
Thanks for looking - I'm probably going to end up painting these. I want to paint my hood, roof, trunk, wing and lights black. Along with some black wheels - all in time.
04-27-2009, 02:46 PM
#14
6th Gear Member
I have a product called LASER VEIL (which is a laser absorbing paint) that I used to coat my fogs and headlights. It had the added benefit of tinting them. Unfortunately, my sprayer was FUBAR so I brushed it on and, up close, you can see where it ran a little. Sorry, but I don't have pics. It DID tint rather well and you can make it as light or dark as you want depending on how many light coats you put on. The stuff isn't cheap but it helps reduce the "punch thru" distance from the LEO's laser gun until he can get a good lock on you so you might stand half a chance of reacting.
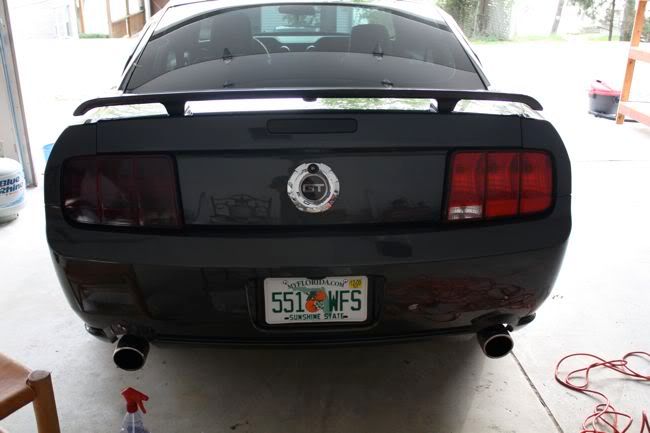
I just picked up another sprayer and hope to retreat the lenses (the stuff can be removed with alcohol and elbow grease) plus I hope to coat the tail lights.
I just picked up another sprayer and hope to retreat the lenses (the stuff can be removed with alcohol and elbow grease) plus I hope to coat the tail lights.
04-27-2009, 03:11 PM
#15
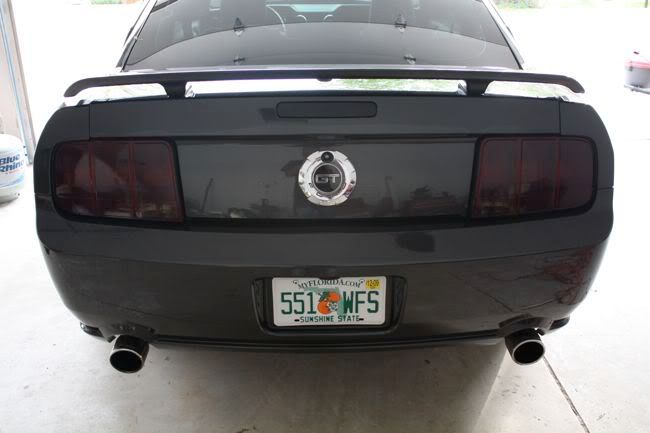
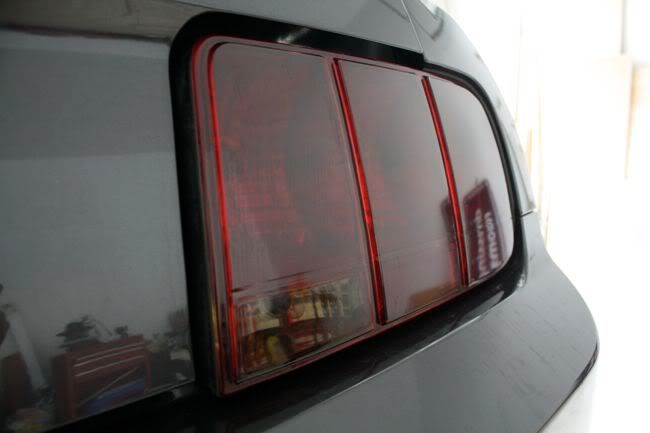
tinting was a breeze - just make sure your surface is COMPLETELY clean! look at the third to last pic - that tint was like butter. I'm telling you for the 100% satisfaction go with paint. Tint leaves a little red showing on the sides - and paint is for those sticklers **** about everything little thing, it just looks completely better - I'm one of them!
good luck - tint is not to bad - $35 for all the way around including markers and turns
good luck - tint is not to bad - $35 for all the way around including markers and turns
 04-27-2009, 06:11 PM
#17
2nd Gear Member
Join Date: Sep 2008
Location: Florida
Posts: 211
tinting was a breeze - just make sure your surface is COMPLETELY clean! look at the third to last pic - that tint was like butter. I'm telling you for the 100% satisfaction go with paint. Tint leaves a little red showing on the sides - and paint is for those sticklers **** about everything little thing, it just looks completely better - I'm one of them!
good luck - tint is not to bad - $35 for all the way around including markers and turns
good luck - tint is not to bad - $35 for all the way around including markers and turns
04-27-2009, 06:43 PM
#18
Clean the surface good - take your time
I mixed a bottle of water with soap - sprayed the surface so its good and wet all over (thats what she said) lol...
Pealed the tint back (I purchased pre cut vinyls on ebay) sprayed BOTH sided of the tint - apply to surface wet soapy surface.
I used a small vinyl squeegee wrapped in a soft cloth also sprayed down with the soapy water (to prevent small scratchs)
Now start from the middle and work your way out with the squeegee - more soapy water you have the more play you will have with the vinyl or tint
Apply heat where needed to smooth our any creases if you mess up (BE PATIENT) the tint will stretch a bit
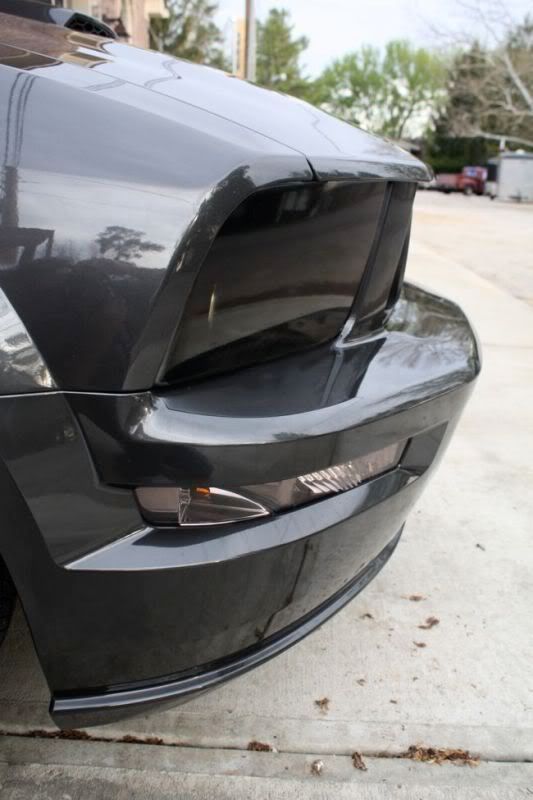
Also a nice trick - don't trim your tint - it comes about 1/8 to big for the light - if you heat up the tint nice and slow you can form it to the light - I tucked the tint under a bit - this takes a little time with six pieces but looks 10x better
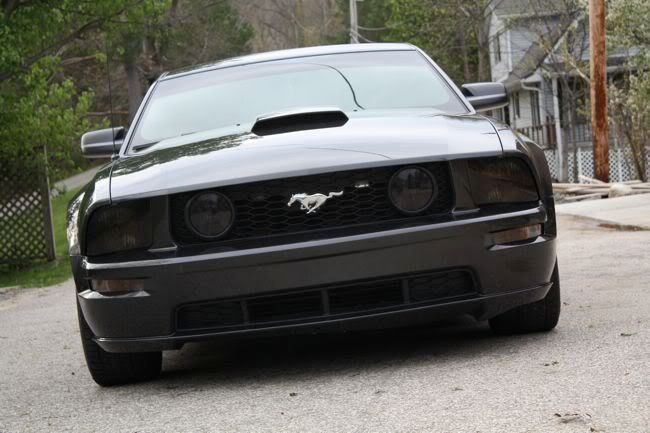
also no bubbles to report - look at that front light close up shot - smooooth as butter - we'll see how the summer heat treats it though...?
Good luck man
Ebay bro - i'll find the supplier if you want - just search 'mustang headlight cover'
I mixed a bottle of water with soap - sprayed the surface so its good and wet all over (thats what she said) lol...
Pealed the tint back (I purchased pre cut vinyls on ebay) sprayed BOTH sided of the tint - apply to surface wet soapy surface.
I used a small vinyl squeegee wrapped in a soft cloth also sprayed down with the soapy water (to prevent small scratchs)
Now start from the middle and work your way out with the squeegee - more soapy water you have the more play you will have with the vinyl or tint
Apply heat where needed to smooth our any creases if you mess up (BE PATIENT) the tint will stretch a bit
Also a nice trick - don't trim your tint - it comes about 1/8 to big for the light - if you heat up the tint nice and slow you can form it to the light - I tucked the tint under a bit - this takes a little time with six pieces but looks 10x better
also no bubbles to report - look at that front light close up shot - smooooth as butter - we'll see how the summer heat treats it though...?
Good luck man
Ebay bro - i'll find the supplier if you want - just search 'mustang headlight cover'
Last edited by -SHIFTY-; 04-27-2009 at 06:46 PM.
04-27-2009, 07:14 PM
#19
2nd Gear Member
Join Date: Sep 2008
Location: Florida
Posts: 211
Clean the surface good - take your time
I mixed a bottle of water with soap - sprayed the surface so its good and wet all over (thats what she said) lol...
Pealed the tint back (I purchased pre cut vinyls on ebay) sprayed BOTH sided of the tint - apply to surface wet soapy surface.
I used a small vinyl squeegee wrapped in a soft cloth also sprayed down with the soapy water (to prevent small scratchs)
Now start from the middle and work your way out with the squeegee - more soapy water you have the more play you will have with the vinyl or tint
Apply heat where needed to smooth our any creases if you mess up (BE PATIENT) the tint will stretch a bit
Also a nice trick - don't trim your tint - it comes about 1/8 to big for the light - if you heat up the tint nice and slow you can form it to the light - I tucked the tint under a bit - this takes a little time with six pieces but looks 10x better
also no bubbles to report - look at that front light close up shot - smooooth as butter - we'll see how the summer heat treats it though...?
Good luck man
Ebay bro - i'll find the supplier if you want - just search 'mustang headlight cover'