How To: Install GT, GT/CS, or GT500 Rear Bumpers
 10-02-2009, 10:15 PM
#1
4th Gear Member
Thread Starter
Join Date: Aug 2008
Location: FL
Posts: 1,173
Well, I've been wanting to get a new bumper for a LONG time and finally its here! Anyway I found some info on how to do this, but it was all scattered around in different places so I wanted to bring it all together into one simple "How-To"
I ordered the CT/CS rear bumper from ford (part #: 6r3z6320049ba) total was $355, plus $100 for paint. If you want a GT500 rear bumper the GT/CS and the GT500 are EXACTLY the same, the only difference is when you get it painted. On the GT/CS bumper it has the "orange-peel" texture all the way around on the bottom just like the GT500, which is why i didnt paint it like a GT/CS. If you want it to look like a CS the you'd have to sand down the "orange-peel" area below the dividing line on the sides, it doesn't look like it would be too much work.
Tools Required:
Rivet Gun
5/16 Wrench
11 mm Deep Drive Socket
Small Philips Screw Driver (a thumb drive with a philips head works better)
Needle Nose Pliers
Razor Blade
Zip-Ties
Materials:
(8-10) 5/16 pop-rivets
Single Sticky Sided Foam Pads
Steps:
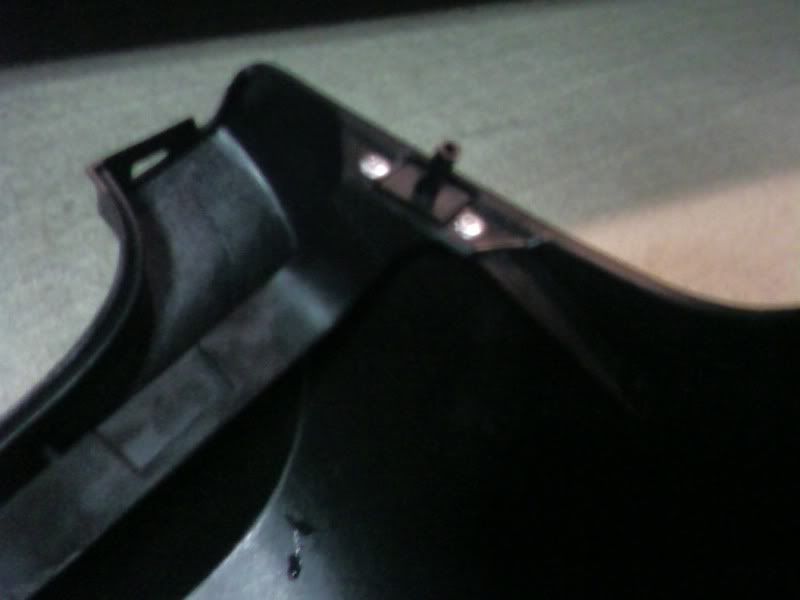
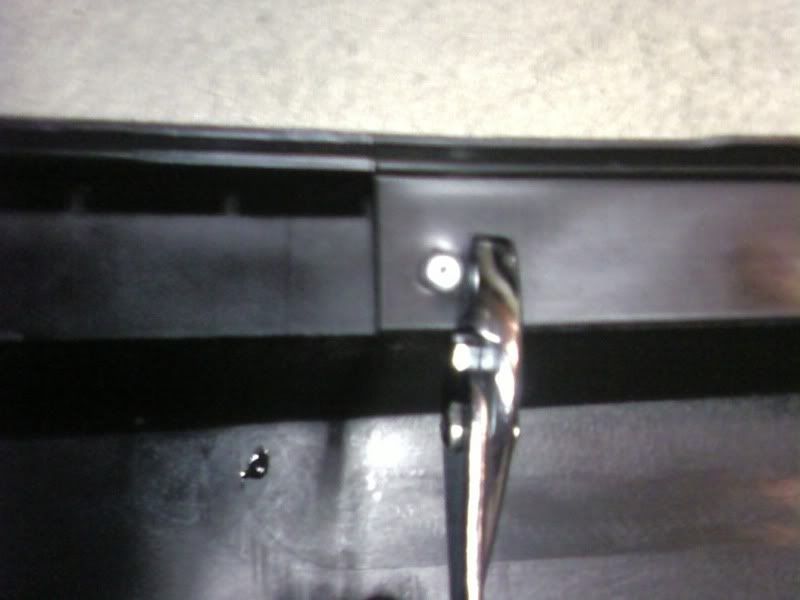
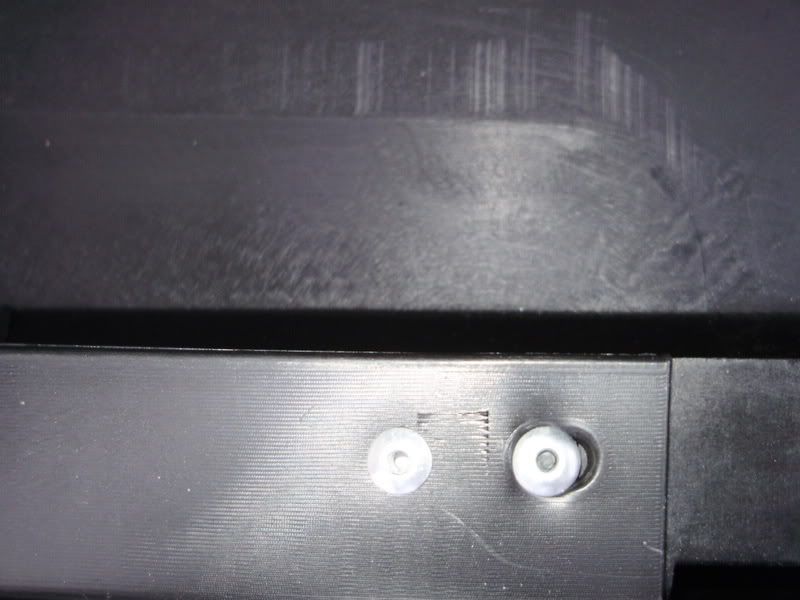
1. BEFORE PAINT!! Install the support bar that goes under the rear bumper with the tabs pointing down. Attach using 8 pop-rivets. Two next to the tab on either side, and four along the back. Using pliers to bring the brace and bumper closer together will help the pop-rivets hold better. (we added extra rivets (2), one on either end, for extra holding power.)
2. Paint Fascia
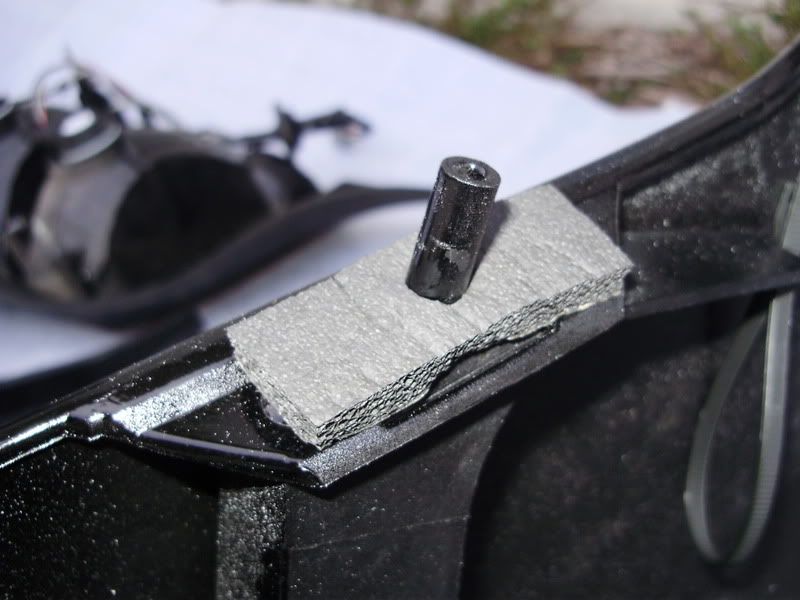
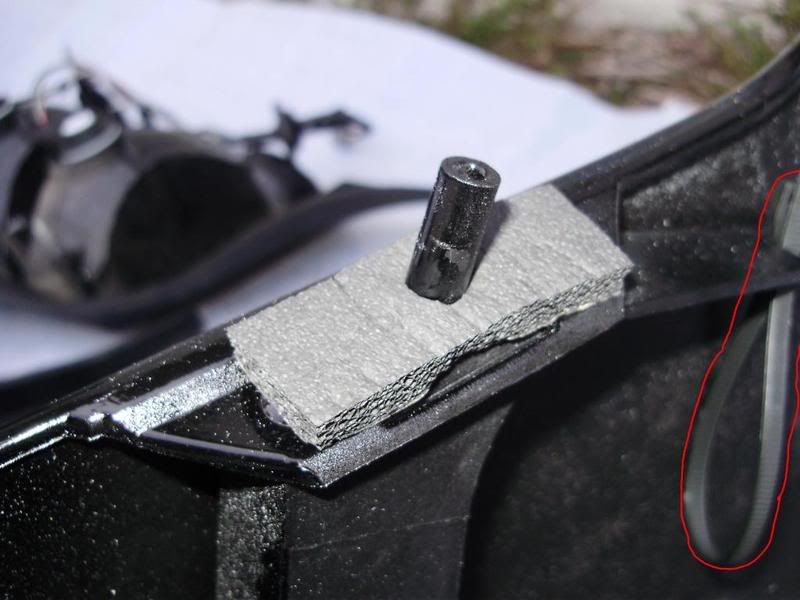
3. Apply the foam pads around the tubes that come off of the support bracket.
4. Disconnect the battery using the 5/16 in wrench.
5. Remove the liner on the floor of the trunk.
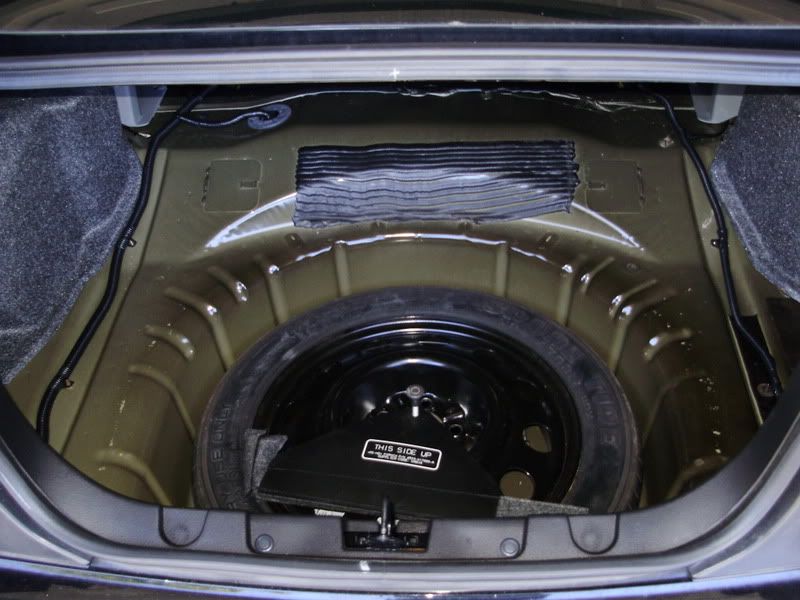
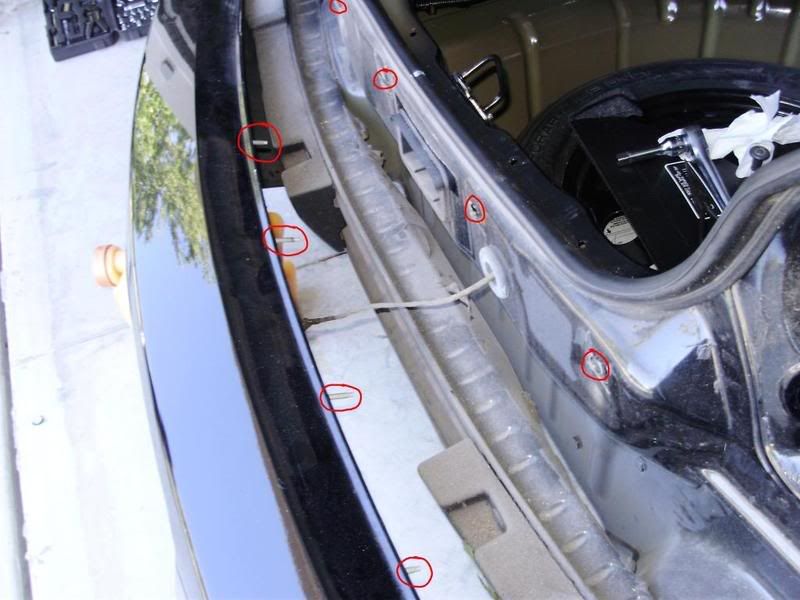
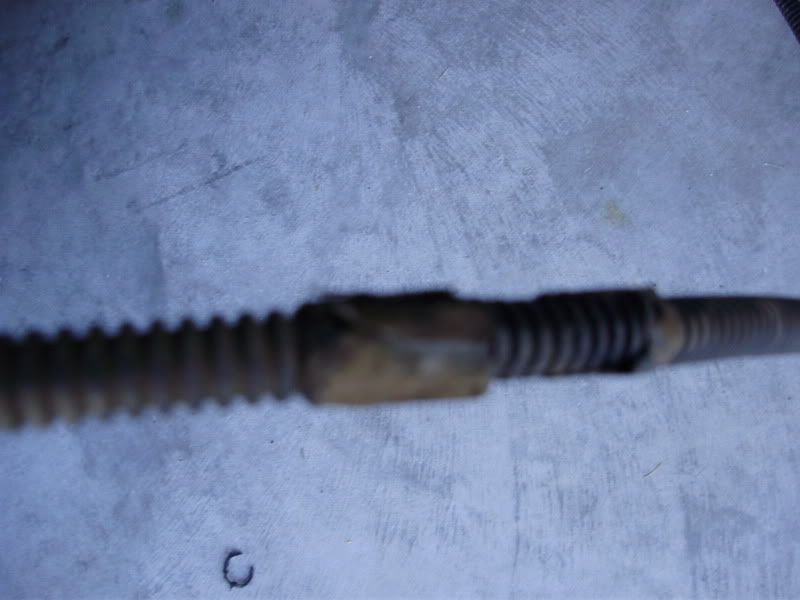
6. In the trunk remove the 4 pop-pins and 2 large screw-on retainers that hold the rear trunk panel. The easiest way to remove the pop-pins is to use your fingernails to gently pull them out. The 2 large screw-on retainers can be removed by gently persuading the rear panel towards the front of the car and unscrewing them at the same time.
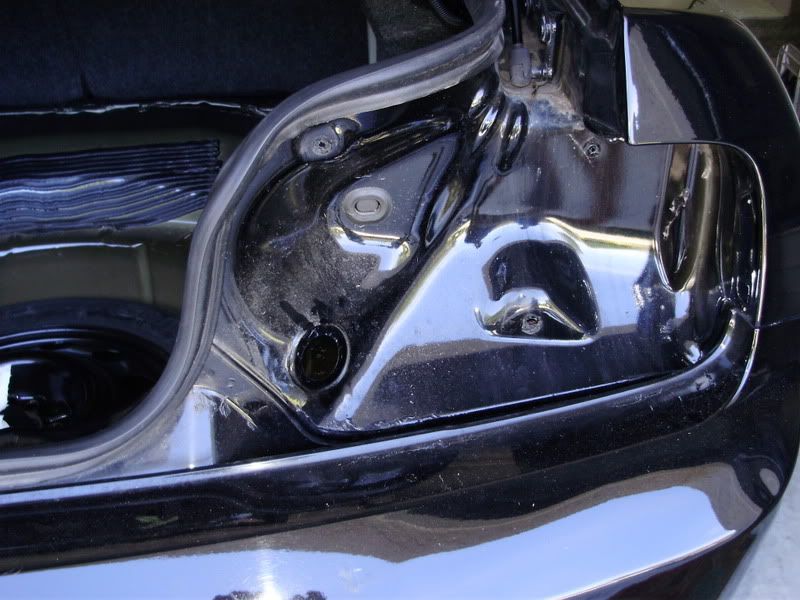
7. Remove the (6) 11mm nuts that hold on the rear tail lights. (3) on either side.
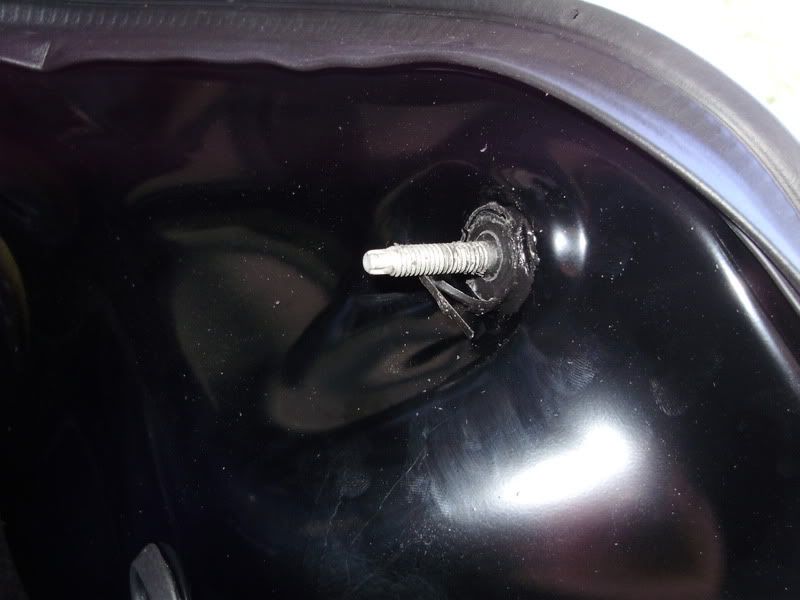
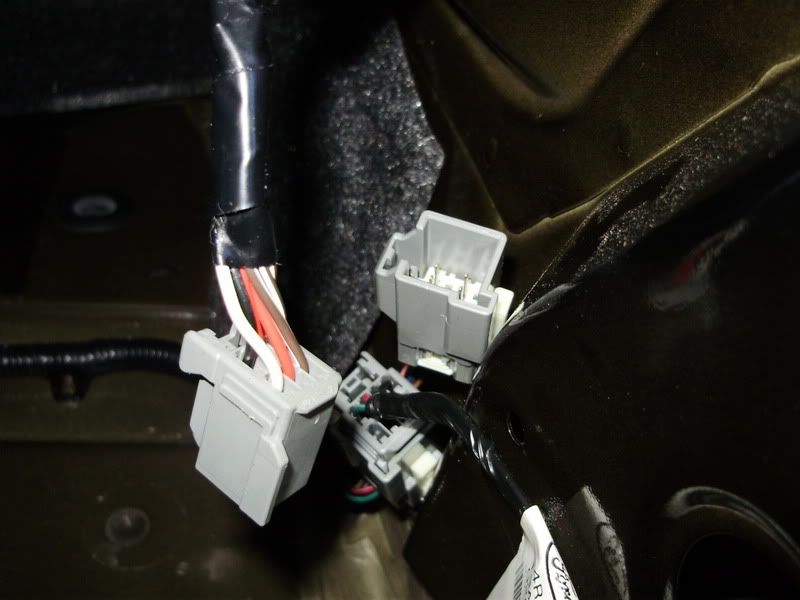
8. Disconnect the wiring from the rear tail lights to the wiring harness. They come out simply by pressing in the tab on the side and pulling out. Remove both. Push out the rubber seal from the inside pushing out, then take the tail light off. Repeat for other side.
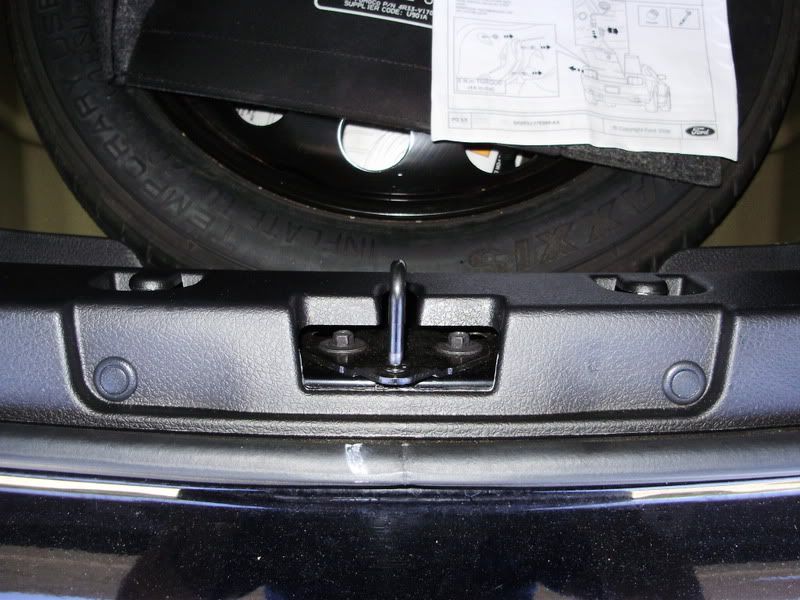
9. There will be (4) 11mm nuts on the inside on the trunk that the rear trunk cover covered up. This is where the DEEP DRIVE SOCKET is critical, the nuts are way in there and you can barely reach them with your fingers. *Don't worry if you end up dropping a nut, there are holes below the nuts that will let you get to them if you drop one inside the sheet metal piece.
*these (4) bolts through the holes in the metal are accessed from inside the trunk.
10. *OPTIONAL* you can lift the car up at this point to access the remaining retainers.
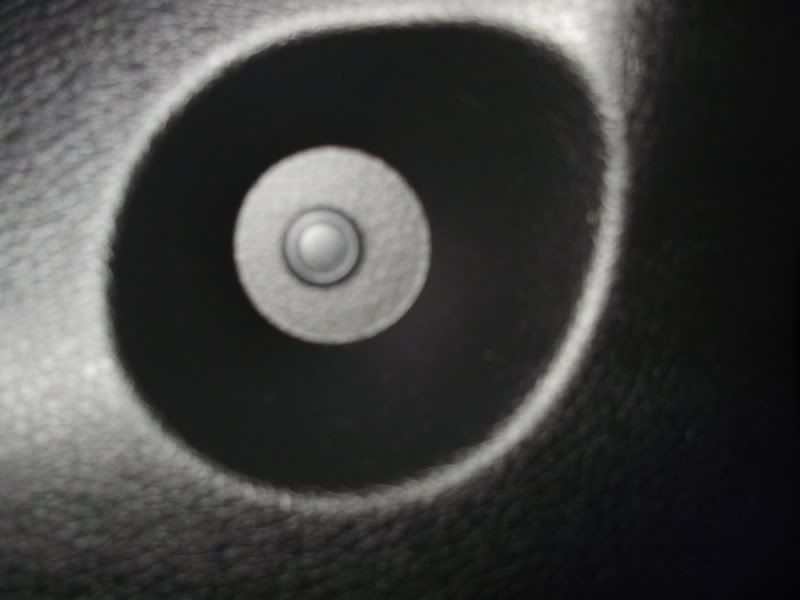
11. Use the Small Screw Driver (or Thumb Drive) to remove the (4) small screws behind the rear tires. (2) on either side.
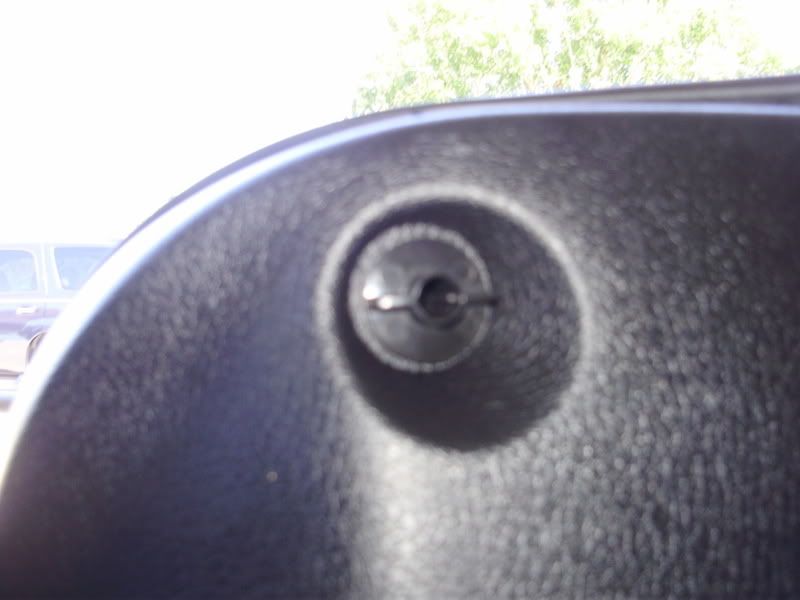
12. Crawl under the rear of the car. There are (3) tabs that come off the bumper and are held to the car by (3) pop-pins. These I found VERY hard to remove by hand and reverted to using a small flat blade screwdriver to get them out.
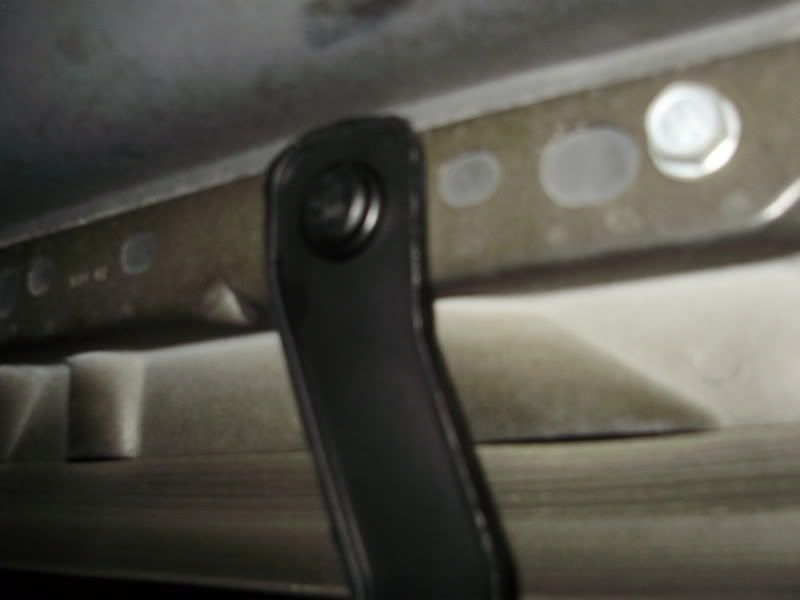
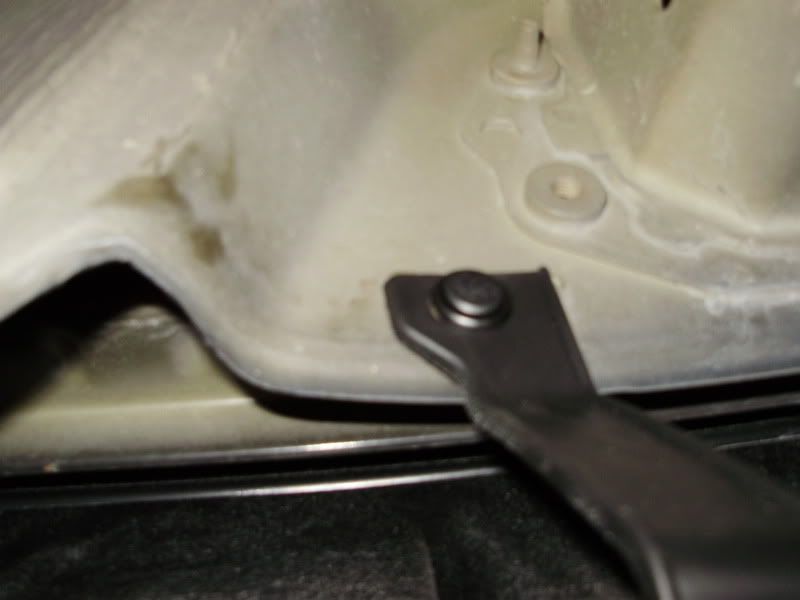
13. Gently remove the old bumper by pulling the sides begind the tires away from the car a little, then the bumper should come off by gently pulling back. WARNING: DO NOT PULL IT TOO FAR FROM THE CAR!!!!! The bumper is still attached via a wiring harness. To remove the wiring harness reach behind the bumper, just behind the rear wheels to the quarter panel reflectors, there is a tab, squeeze it together then push out. Then light comes out of its housing by unscrewing it just 1/2 a turn. Repeat for the other side. Remove the license plate light by unscrewing the (2) plastic screws on either side of the light. This light also comes out by unscrewing it 1/2 a turn.

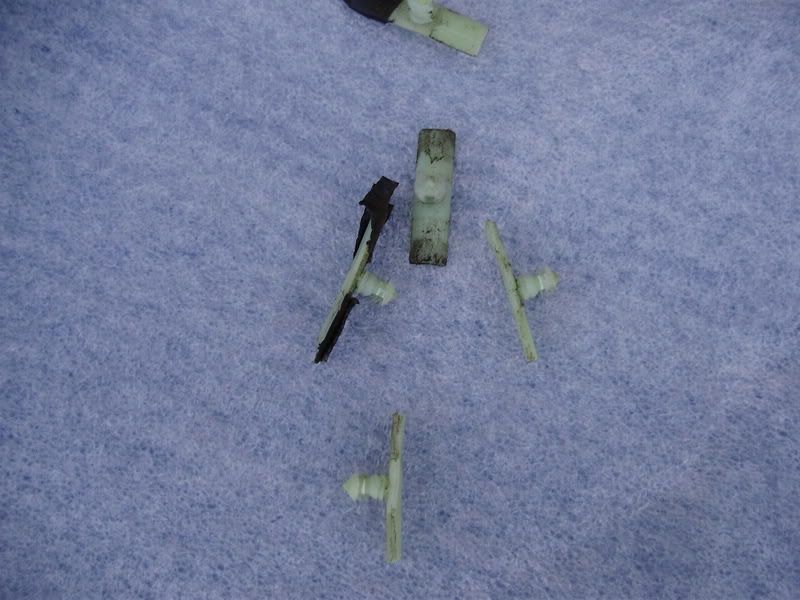
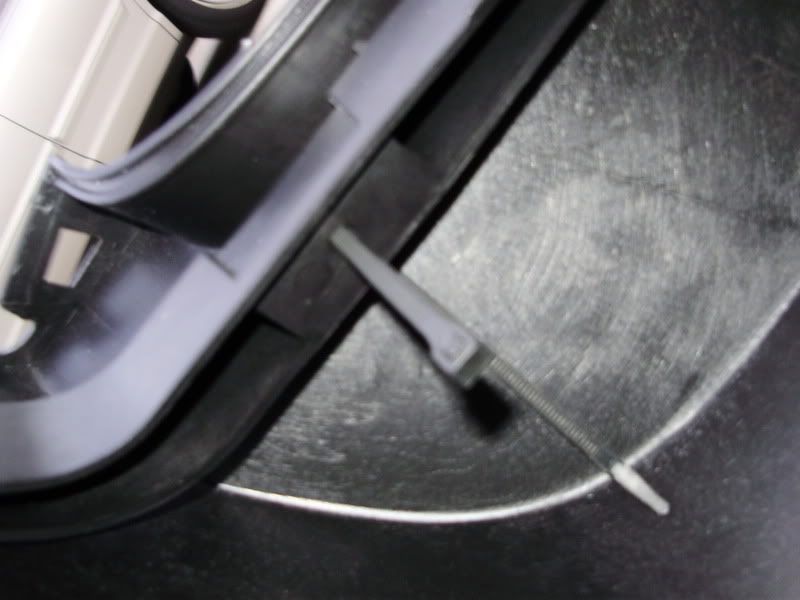
14. Here's where it gets tricky....The wiring harness is held on with these tree clips and electrical tape. You can try to pull them out using needle nose pliers, but you may end up breaking a few. I chose to cut the electrical tape VERY CAREFULLY with a razor knife, thus the harness came off the old bumper and then i just draped it over the back of the car. (*leave some tape on the harness so you'll know where the zip-ties will go to attach the harness back to the new bumper)
take note to the post below to save some time and effort for this step
https://mustangforums.com/forum/6552719-post18.html
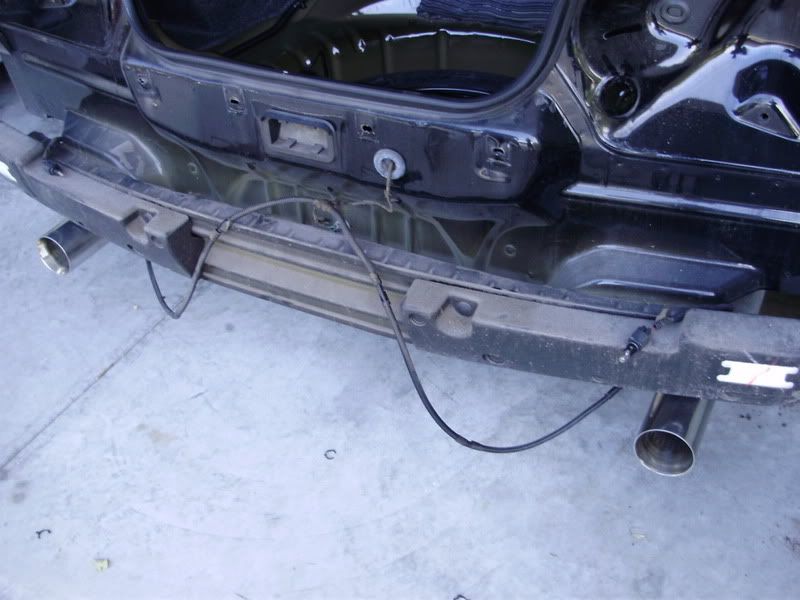
15. Without clips, I used zip-ties to reattach the wiring harness to the new bumper. I threaded one through each hole in the support that was put on in step #1. Use the old bumper as a template with the clips still in it, there are 8 different holes. The two holes on the end of the tabs i make a loop with a tie and put it through the hole, ran the harness through it, then sinched it tight.
16. Tighten each zip-tie securely, which now holds the harness in place on the new bumper.
17. Reverse steps 13-4. And enjoy your new rear bumper!!!
I have to thank my dad for helping me with this one, and his patience from him to allow me to make this "how-to"
I ordered the CT/CS rear bumper from ford (part #: 6r3z6320049ba) total was $355, plus $100 for paint. If you want a GT500 rear bumper the GT/CS and the GT500 are EXACTLY the same, the only difference is when you get it painted. On the GT/CS bumper it has the "orange-peel" texture all the way around on the bottom just like the GT500, which is why i didnt paint it like a GT/CS. If you want it to look like a CS the you'd have to sand down the "orange-peel" area below the dividing line on the sides, it doesn't look like it would be too much work.
Tools Required:
Rivet Gun
5/16 Wrench
11 mm Deep Drive Socket
Small Philips Screw Driver (a thumb drive with a philips head works better)
Needle Nose Pliers
Razor Blade
Zip-Ties
Materials:
(8-10) 5/16 pop-rivets
Single Sticky Sided Foam Pads
Steps:
1. BEFORE PAINT!! Install the support bar that goes under the rear bumper with the tabs pointing down. Attach using 8 pop-rivets. Two next to the tab on either side, and four along the back. Using pliers to bring the brace and bumper closer together will help the pop-rivets hold better. (we added extra rivets (2), one on either end, for extra holding power.)
2. Paint Fascia
3. Apply the foam pads around the tubes that come off of the support bracket.
4. Disconnect the battery using the 5/16 in wrench.
5. Remove the liner on the floor of the trunk.
6. In the trunk remove the 4 pop-pins and 2 large screw-on retainers that hold the rear trunk panel. The easiest way to remove the pop-pins is to use your fingernails to gently pull them out. The 2 large screw-on retainers can be removed by gently persuading the rear panel towards the front of the car and unscrewing them at the same time.
7. Remove the (6) 11mm nuts that hold on the rear tail lights. (3) on either side.
8. Disconnect the wiring from the rear tail lights to the wiring harness. They come out simply by pressing in the tab on the side and pulling out. Remove both. Push out the rubber seal from the inside pushing out, then take the tail light off. Repeat for other side.
9. There will be (4) 11mm nuts on the inside on the trunk that the rear trunk cover covered up. This is where the DEEP DRIVE SOCKET is critical, the nuts are way in there and you can barely reach them with your fingers. *Don't worry if you end up dropping a nut, there are holes below the nuts that will let you get to them if you drop one inside the sheet metal piece.
*these (4) bolts through the holes in the metal are accessed from inside the trunk.
10. *OPTIONAL* you can lift the car up at this point to access the remaining retainers.
11. Use the Small Screw Driver (or Thumb Drive) to remove the (4) small screws behind the rear tires. (2) on either side.
12. Crawl under the rear of the car. There are (3) tabs that come off the bumper and are held to the car by (3) pop-pins. These I found VERY hard to remove by hand and reverted to using a small flat blade screwdriver to get them out.
13. Gently remove the old bumper by pulling the sides begind the tires away from the car a little, then the bumper should come off by gently pulling back. WARNING: DO NOT PULL IT TOO FAR FROM THE CAR!!!!! The bumper is still attached via a wiring harness. To remove the wiring harness reach behind the bumper, just behind the rear wheels to the quarter panel reflectors, there is a tab, squeeze it together then push out. Then light comes out of its housing by unscrewing it just 1/2 a turn. Repeat for the other side. Remove the license plate light by unscrewing the (2) plastic screws on either side of the light. This light also comes out by unscrewing it 1/2 a turn.
14. Here's where it gets tricky....The wiring harness is held on with these tree clips and electrical tape. You can try to pull them out using needle nose pliers, but you may end up breaking a few. I chose to cut the electrical tape VERY CAREFULLY with a razor knife, thus the harness came off the old bumper and then i just draped it over the back of the car. (*leave some tape on the harness so you'll know where the zip-ties will go to attach the harness back to the new bumper)
take note to the post below to save some time and effort for this step
https://mustangforums.com/forum/6552719-post18.html
15. Without clips, I used zip-ties to reattach the wiring harness to the new bumper. I threaded one through each hole in the support that was put on in step #1. Use the old bumper as a template with the clips still in it, there are 8 different holes. The two holes on the end of the tabs i make a loop with a tie and put it through the hole, ran the harness through it, then sinched it tight.
16. Tighten each zip-tie securely, which now holds the harness in place on the new bumper.
17. Reverse steps 13-4. And enjoy your new rear bumper!!!
I have to thank my dad for helping me with this one, and his patience from him to allow me to make this "how-to"
Last edited by Stang-aholic; 01-05-2012 at 11:43 PM.


 10-05-2009, 08:06 PM
#5
2nd Gear Member

Join Date: Jul 2005
Location: Orlando, FL
Posts: 177
I just did the same thing on my black GT, but I did the GT/CS front bumper also. I had the body shop paint all the sections gloss black, and I think it looks awesome. These bumpers look way better than the factory GT bumpers, both front and rear. I get a lot of comments on it!
Enjoy it, and where in FL are you? I'm in Orlando
Enjoy it, and where in FL are you? I'm in Orlando
10-05-2009, 08:23 PM
#6
I love these write ups! .. simply because you have one extra tool that we wouldn't have - your camera!
To actually stop at each and every step and take pictures - absolutely a god-send for those of us wanting to make the same change/upgrade someday down the road.
Thread Bookmarked
Looks great, and thanks again.
To actually stop at each and every step and take pictures - absolutely a god-send for those of us wanting to make the same change/upgrade someday down the road.
Thread Bookmarked
Looks great, and thanks again.
 10-05-2009, 09:48 PM
#9
Nice write up..i found when i did mine the middle tab under the bumper didnt go anywhere prob because its a V6 but i drilled a hole and bolted her up so she was nice and rigid!
also instead of zip ties i riveted it together
also instead of zip ties i riveted it together
Last edited by Lethaldosage423; 10-05-2009 at 10:04 PM.

