Speed of Sound (SOS) switch plate install (w/pics & vid)
#1
I made the decision to swap out my Shaker 500 head unit with the latest Alpine DVD unit and also add a rear camera and a shift light. I wanted to be able to switch on/off the TR-7 video bypass, rear camera, and the Raptor shift light. I could have opted for some cheap toggles (which wouldâve looked tacky), but instead found an awesome looking switch plate made by Speed of Sound.
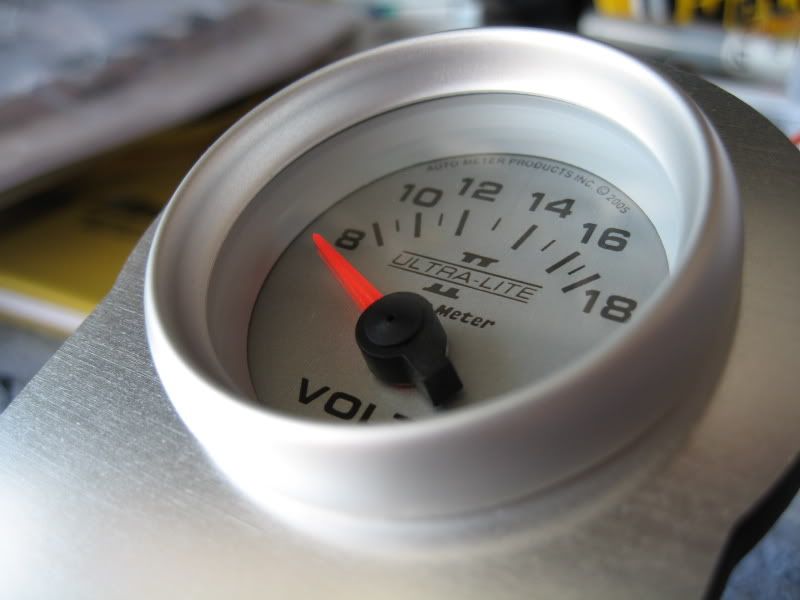
I ordered the 4 toggle switch layout with a 2 1/16â gauge opening for no particular reason other than I really like this layout. I chose an Auto Meter Ultra-Lite II Voltmeter gauge and it fit the bill perfectly.
The SOS switch plate comes pre-wired with leads for easy connections. According to SOS, the switches and wires are sufficient for low-amperage (up to 15 amps maximum) applications. Any high-amperage applications will require heavier gauge wiring and relays.
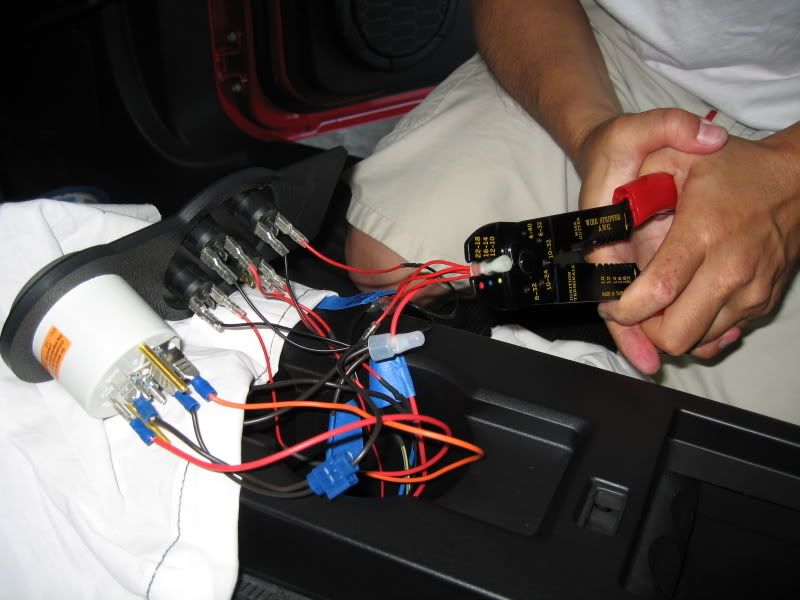
Each switch has 3 prongs and typically get wired this wayâŚ
BLACK â Connected to common vehicle ground (used to illuminate the switchâs LED)
RED (center) â Connected to either a constant 12V or switched 12V depending on your application
RED (opposite end on black) â Connected to accessory circuit 12V in (In my case, Positive lead on Raptor, rear camera, and voltmeter)
Note: The Negative leads off the accessories get grounded to a common ground, NOT TO THE NEGATIVE LEAD ON THE SWITCH!
Switch panel


Auto Meter gauge
A Dremel was used to make a small hole in the bottom of the rear cup holder (after removal of the short cup base; pulls right out) to feed all the wires up to the switch panel.
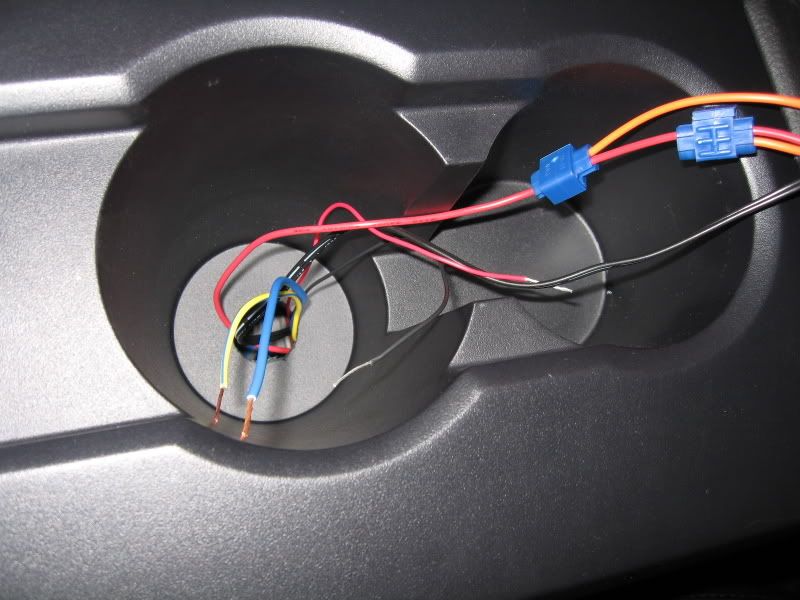
My mess
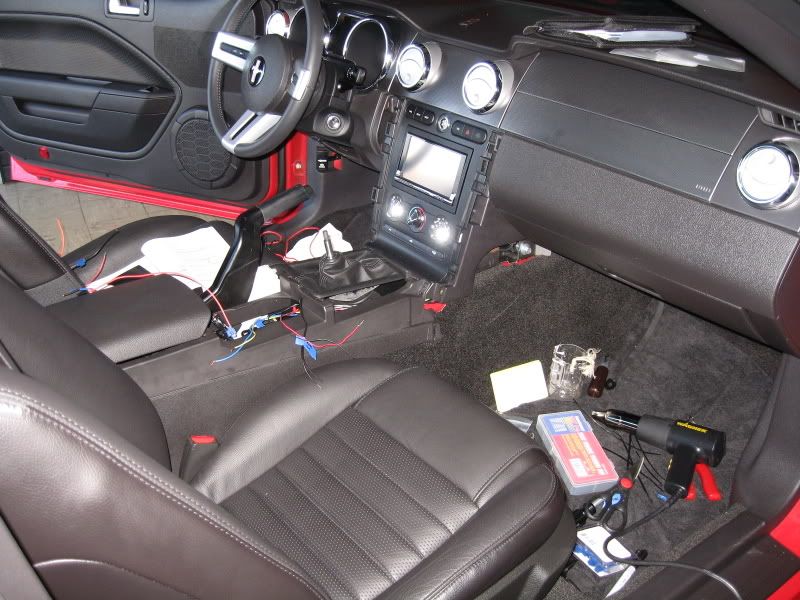
The wiring can get a bit confusing so it may be a good idea to tape off each accessory and label it. Key here is to take your time and do one wire at a time.
Tip: To make soldering, heat shrinking, or wire twisting task easier, disconnect the spade terminal from the switch.
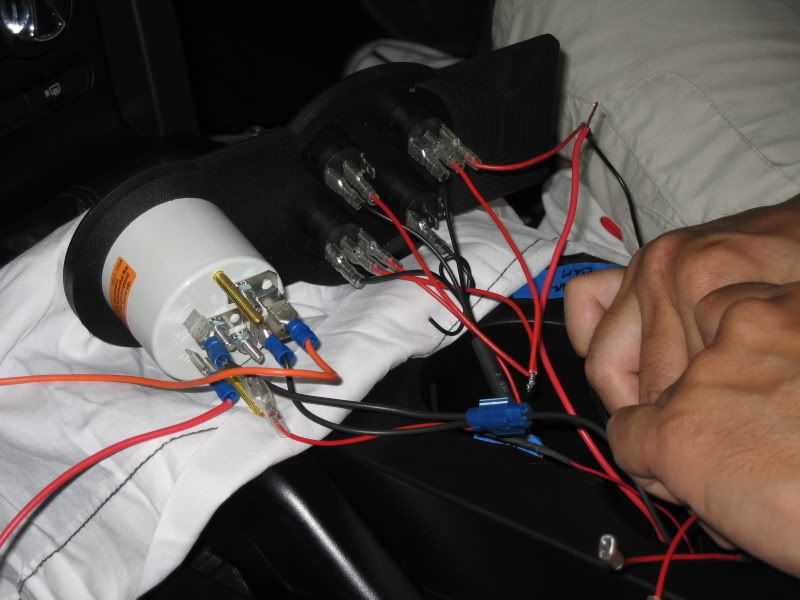
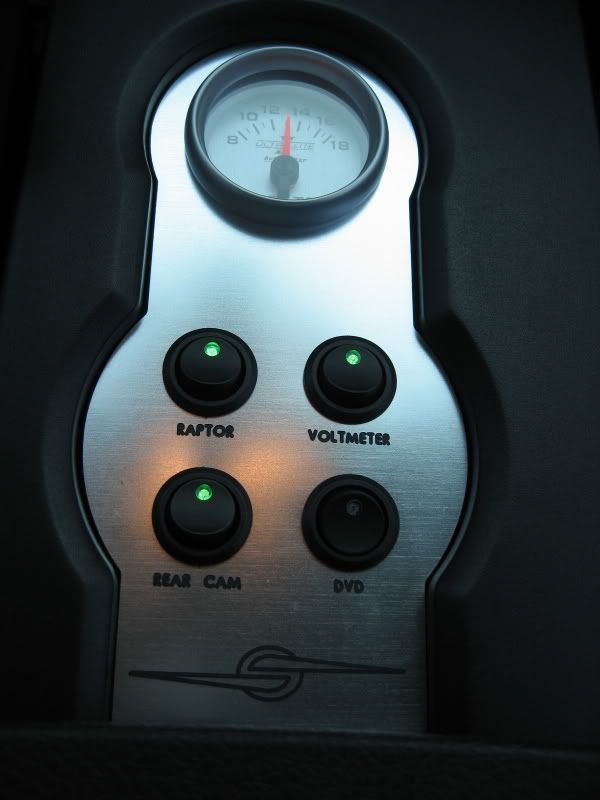
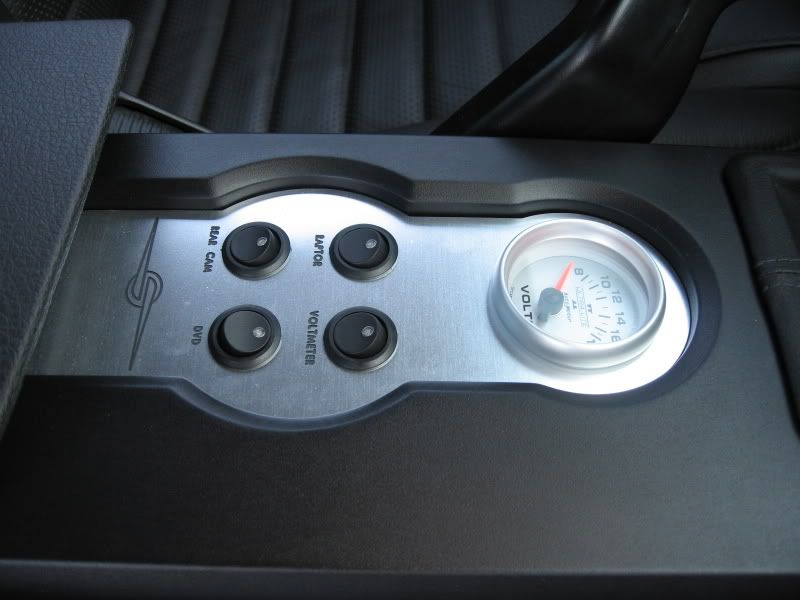
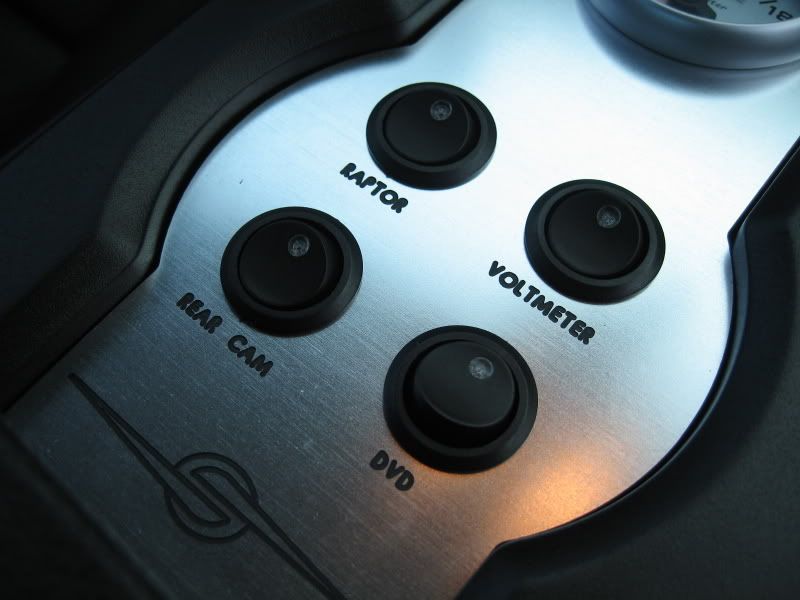
Each switch controls the Raptor shift light, rear camera, DVD video bypass, and the voltmeter.
Here are some pics and one video of the completed project.
Note: The reason why you donât see the âDVDâ LED switch illuminated is because the video bypass circuit that the switch interrupts is less than 12V (or is momentary). I removed the Negative terminal off this switch since it isnât needed.


I ordered the 4 toggle switch layout with a 2 1/16â gauge opening for no particular reason other than I really like this layout. I chose an Auto Meter Ultra-Lite II Voltmeter gauge and it fit the bill perfectly.
The SOS switch plate comes pre-wired with leads for easy connections. According to SOS, the switches and wires are sufficient for low-amperage (up to 15 amps maximum) applications. Any high-amperage applications will require heavier gauge wiring and relays.
Each switch has 3 prongs and typically get wired this wayâŚ
BLACK â Connected to common vehicle ground (used to illuminate the switchâs LED)
RED (center) â Connected to either a constant 12V or switched 12V depending on your application
RED (opposite end on black) â Connected to accessory circuit 12V in (In my case, Positive lead on Raptor, rear camera, and voltmeter)
Note: The Negative leads off the accessories get grounded to a common ground, NOT TO THE NEGATIVE LEAD ON THE SWITCH!
Switch panel


Auto Meter gauge

A Dremel was used to make a small hole in the bottom of the rear cup holder (after removal of the short cup base; pulls right out) to feed all the wires up to the switch panel.

My mess

The wiring can get a bit confusing so it may be a good idea to tape off each accessory and label it. Key here is to take your time and do one wire at a time.
Tip: To make soldering, heat shrinking, or wire twisting task easier, disconnect the spade terminal from the switch.


Each switch controls the Raptor shift light, rear camera, DVD video bypass, and the voltmeter.
Here are some pics and one video of the completed project.
Note: The reason why you donât see the âDVDâ LED switch illuminated is because the video bypass circuit that the switch interrupts is less than 12V (or is momentary). I removed the Negative terminal off this switch since it isnât needed.


#2
Wow thats cool as fu*k!!!!!! I want that! How much did it all cost you for that SOS thing the player and the rear camera? If you don't mind me asking.
#4
ORIGINAL: s2k
Wow thats cool as fu*k!!!!!! I want that! How much did it all cost you for that SOS thing the player and the rear camera? If you don't mind me asking.
Wow thats cool as fu*k!!!!!! I want that! How much did it all cost you for that SOS thing the player and the rear camera? If you don't mind me asking.
The switch panel can be ordered directlyfrom SOS (see hyperlink in post 1). The rear cam I got off ebay, it's the Lorex SG4933R waterproof color camera, costs around $100. The Alpine model is the IVA-W205, a friend over at Alpine used his employee discount and hooked me up. [8D]
#7
ORIGINAL: TinPony
Awesome, I guess you don't drink coffee or soda
Awesome, I guess you don't drink coffee or soda

To be honest, I rarely used the cupholders anyway, so I don't miss them at all.
#8
ORIGINAL: 157db
More flash than function IMO.
More flash than function IMO.
Not that I have to explain myself... but yes, I did use a few of those quick splices, and 2 crimp caps, but everything else is shrink tubed. Behind the stereo, all my power and ground wires, and voltage regulator are soldered and heat shrinked.
Could I have made all my electrical connections aircraft quality? Sure I could have. But I'm pretty sure I'll be fine the way it's all connected.
I have the voltmeter hooked up to the switch simply because I had 1 extra switch available. Sure, I could have ordered the 3 switch configuration, but I just liked the look of the 4 better. And since I couldn't think of anything to hook up to the 4th switch, I just went with a simple voltmeter. It's trivial more than anything, but it is more accurate than the +/- gauge in the dash.
btw, that poor soul that'll inherit my jalopy will be my son. [8D]
#10
ORIGINAL: TacoBill
I did use a few of those quick splices, and 2 crimp caps, but everything else is shrink tubed. Behind the stereo, all my power and ground wires, and voltage regulator are soldered and heat shrinked.
ORIGINAL: 157db
More flash than function IMO.
More flash than function IMO.
you can get at Auto-Zone?[:@]


