
SLP Line Lock Video Works!
 03-29-2008, 07:56 PM
#1
5th Gear Member
Thread Starter

Join Date: Dec 2006
Location: Redding, CA
Posts: 4,552
Sactown and I did the install this morning and here is the finished result.
I hit the REV limiter a few times. . .
http://www.youtube.com/watch?v=rDRRHfbQAzo
DISCALIMER: Neither me or Sactown are mechanics. Follow all instructions in the kit as they direct. These are just some more helpful hints.
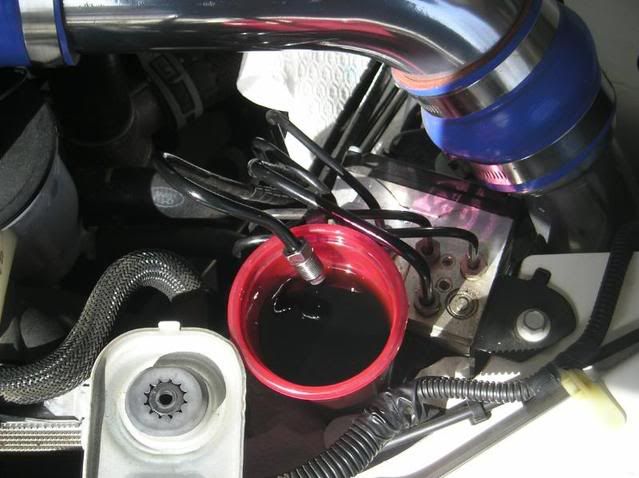
First start to drain the fluid from the line you wil be replacing. It takes a little bit so you can place a cup under the line and remove/prep other things while it's draining.
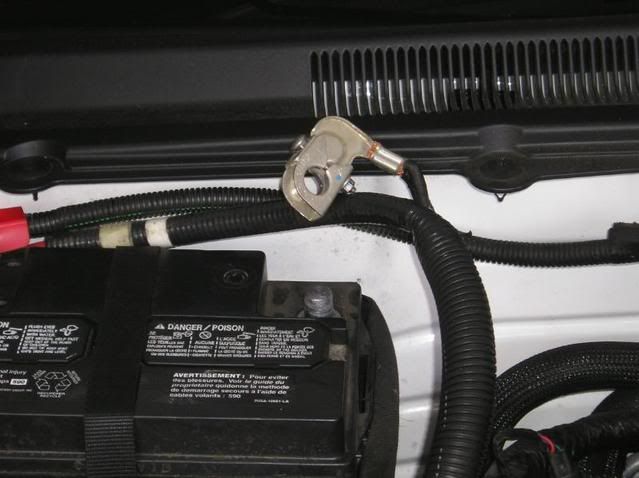
Disconnect the battery. 8mm wrench for that
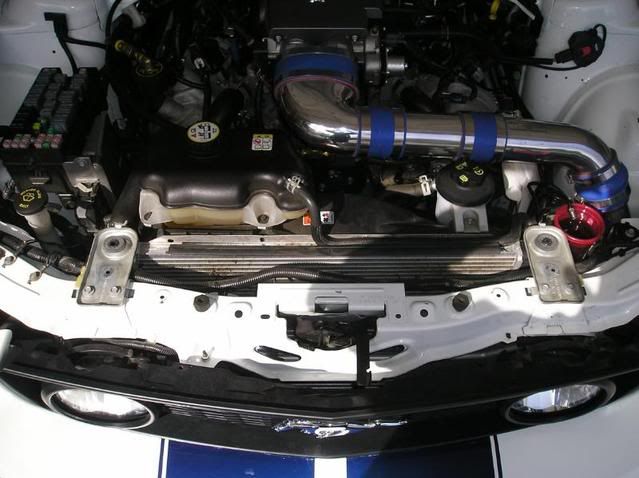
While the brake fluid is still draining, remove the front cover and set it aside. There will be some wiring that gets put under the cover. The wire gets laid betweeen the white painted portion and the radiator. It comes sheathed and protected so you don't have to worry about heat and what not.
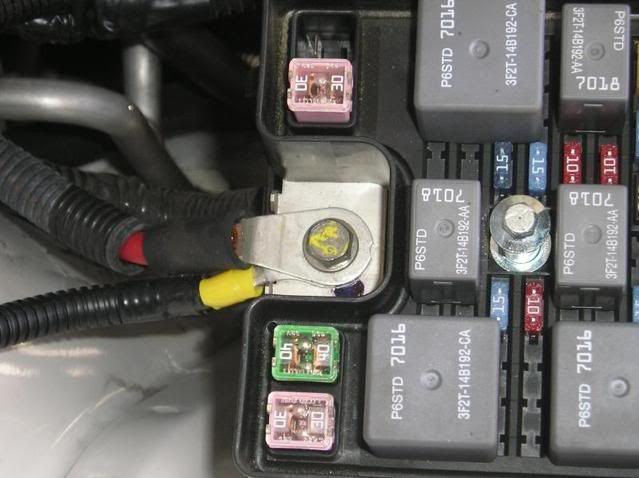
Remove this cover on the fuse box. Your power source will come from right where the bolt with the yellow paint is.
It looks like this with the power lead connected.
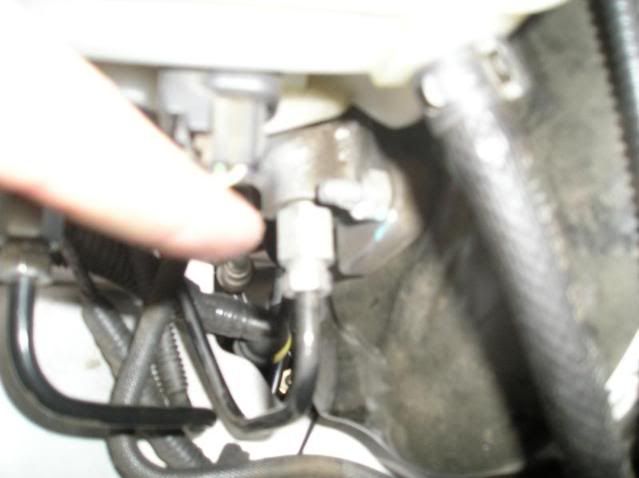
Remove the brake line from the car after the line drains completely into your cup. If you blow into the master cylinder it will force the rest of the brake fluid out so when you remove the line it doesn't drip on your car. Make sure you unscrew the rear connection on the master cylinder.
Next is preassembling the solanoid and placing it in a position that fits. You will have to move some things out of the way. We found it easier to remove the entire left front strut/spring assembly and drill from the outside in. Time consuming, but the holes were straight and exact. Even a 90 degree drill didn't give us enough room to drill from the inside.
SPRING ASSEMBLY
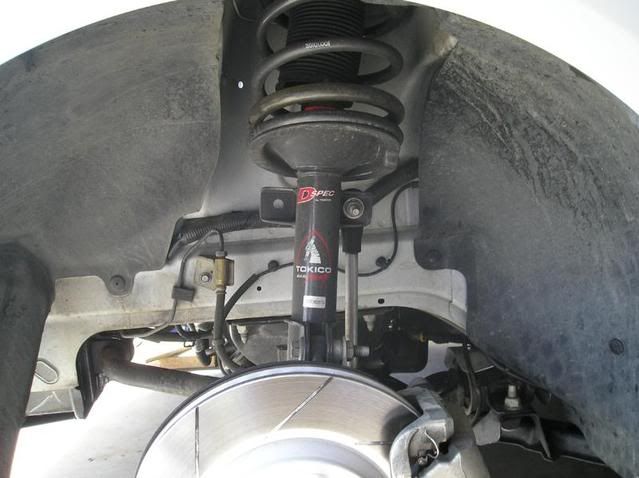
You can see there are some items moved out of the way in this picture. Everything kind of just folds away or gets unbolted and shifted to the side.
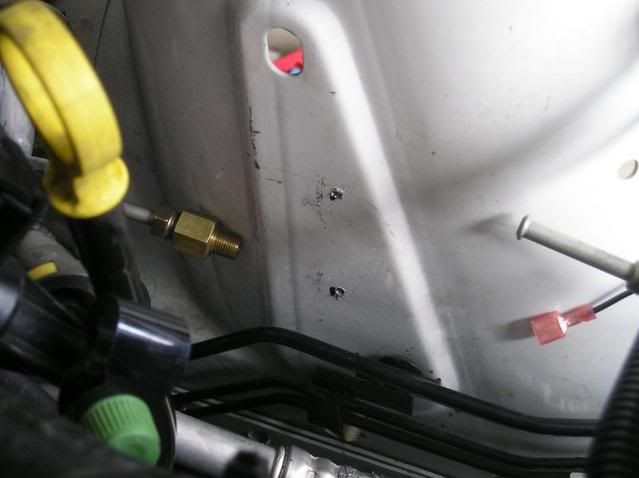
Here are the mounting holes in the engine bay.
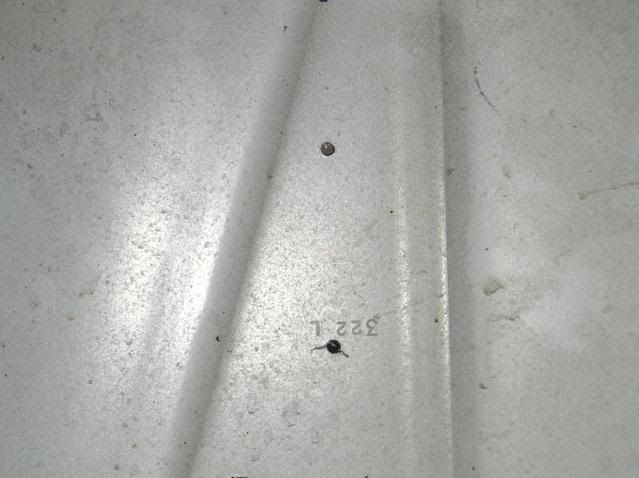
And from the outside where you drill from. The reason for taking off the strut assembly is to be able to drill straight into the engine bay.
Here is what it looks like after it's installed.
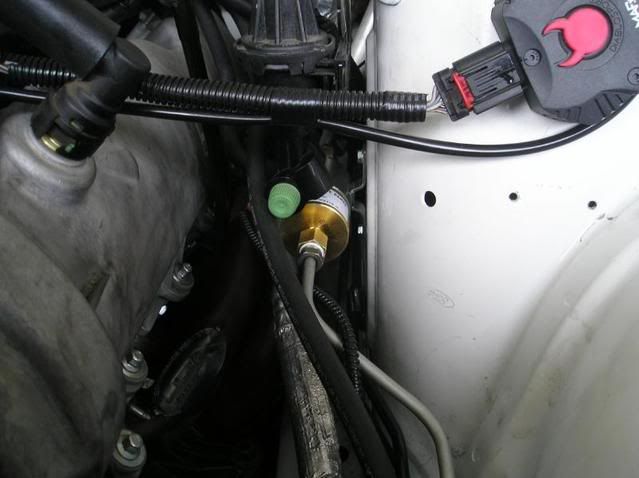
You can barely see the solaniod after all the surrounding pieces are put back into place. The two red connections are power in/out. Looks tighter than it is in there.

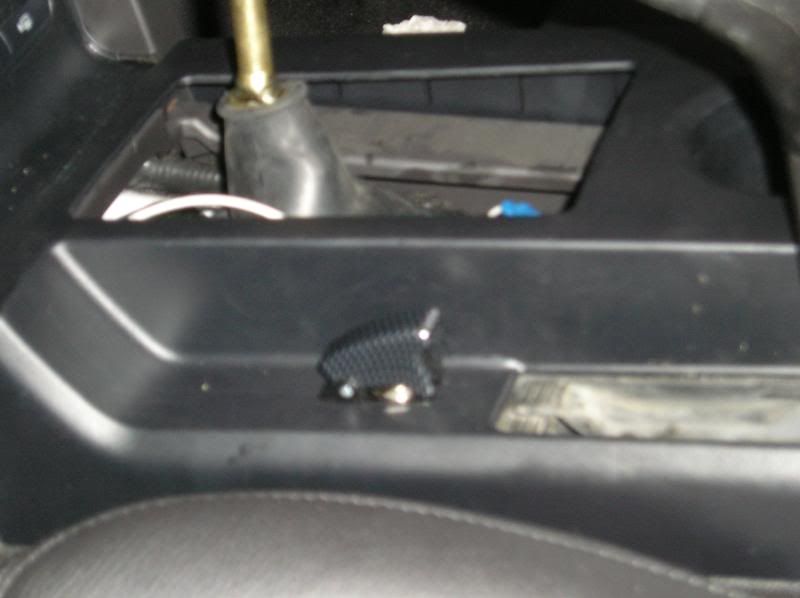
Switch mounting.
I choose to mount my switch next to my emergency brake. It's out of they way and I already had a hole there from when I had nitrous. It took some "customizing" under the switch to get it to fit and look correct but the finished product was just right IMO.
We mounted Sactown's switch next to his turn signal indicator. This was much easier and probably saved an hour of install time compared to my switch location. Behind the turn signal indicator is a natural void with plenty of room to work. The dash comes apart easy (two bolts down below).
I mounted the ground onto one of the shock tower bolts.
Things you will need for the install is normal socket set, jack stands/ramps, thread sealer (brake line assembly), locktite (for sway bar end link), floorjack, wire stripper and crimping tool, wire connectors of your choice,( I had to lengthen the wire on mine but not on Sactowns), 3 small bottles of DOT 3 brake fluid or one big bottle (cheaper).
Kitty litter or a bucket to catch the brake fluid when you bleed the brakes.
When routing the wire from the engine bay to the interior I went through a small hole between theleft front fender that feeds right into where there is a small panel that can be removed and access is gained into the dash area.
Or you can go through the firewall.
I need a nap now.


 03-29-2008, 09:00 PM
#6
5th Gear Member
Thread Starter
Join Date: Dec 2006
Location: Redding, CA
Posts: 4,552
ORIGINAL: Stkjock
Nice pics... like the switch placement - mine's similar
lol....is that the bottom of a childs sippy cup catching the brake fluid?
Nice pics... like the switch placement - mine's similar
lol....is that the bottom of a childs sippy cup catching the brake fluid?