Paxton 2200 H.O. Install PICS (lots & lots of pics)
 07-30-2008, 06:24 PM
#1
3rd Gear Member
Thread Starter

Join Date: Feb 2008
Location: western ma
Posts: 732
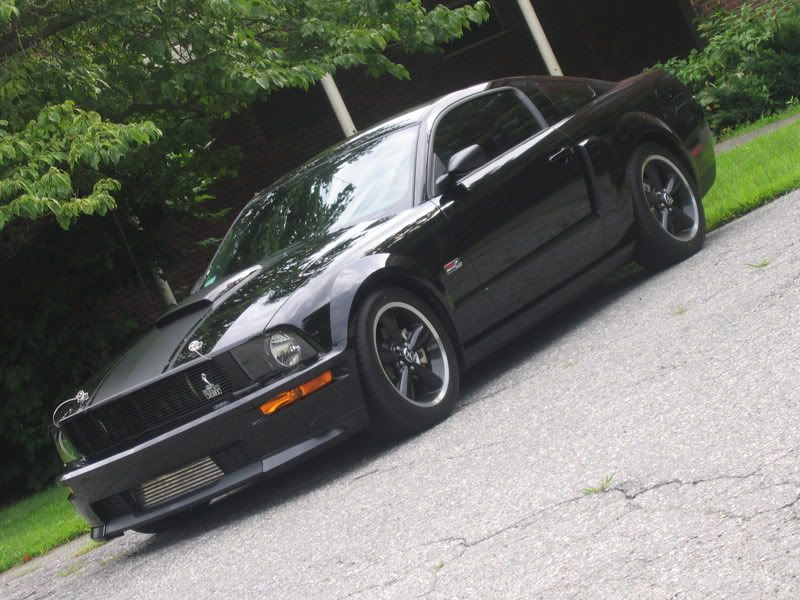
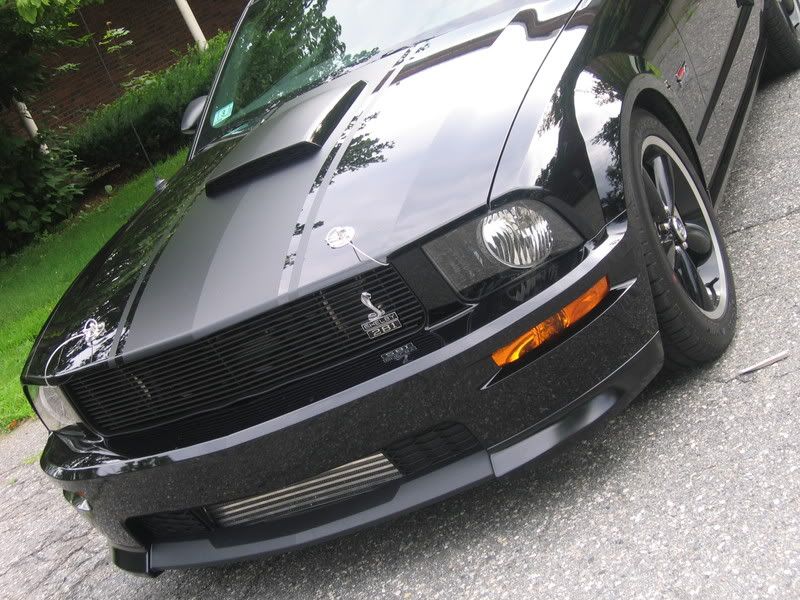
Installed the Paxton 2200 H.O. over the weekend; took me about 4 hours on the first day, working alone, and about 12 hours the second day, working with a friend. Of course, a lot of that time on the second day included hanging out, drinking (not too much, as we didn’t want to screw-up), grilling and eating.
Wish I’d taken more pics, but these will give you a basic idea of how it all went down…
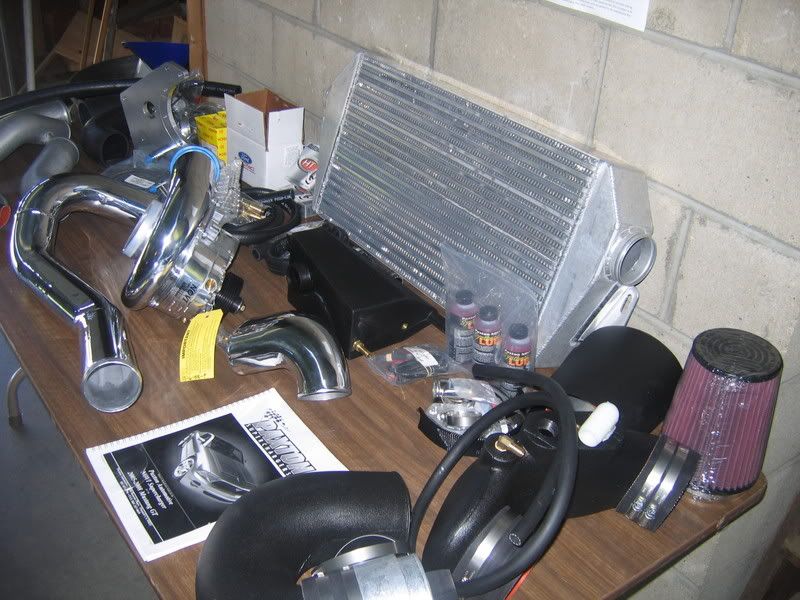
Day one: Laid everything out…
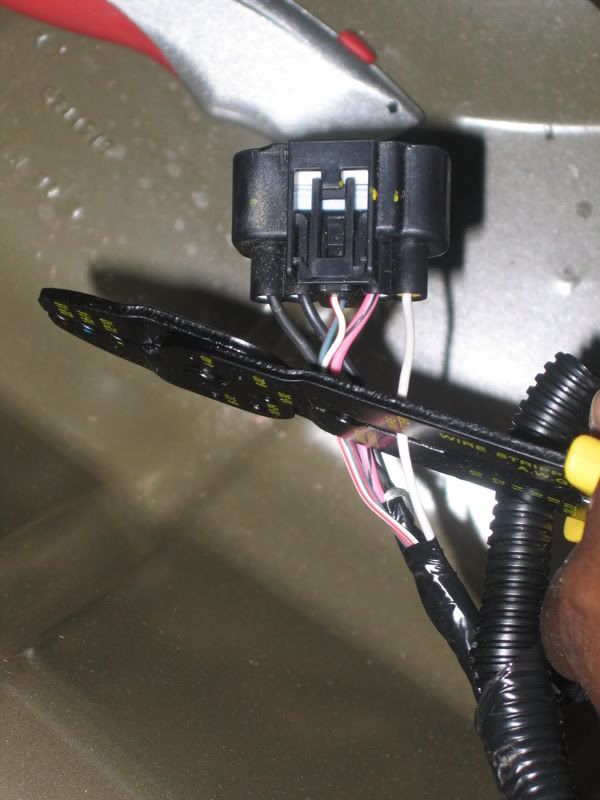
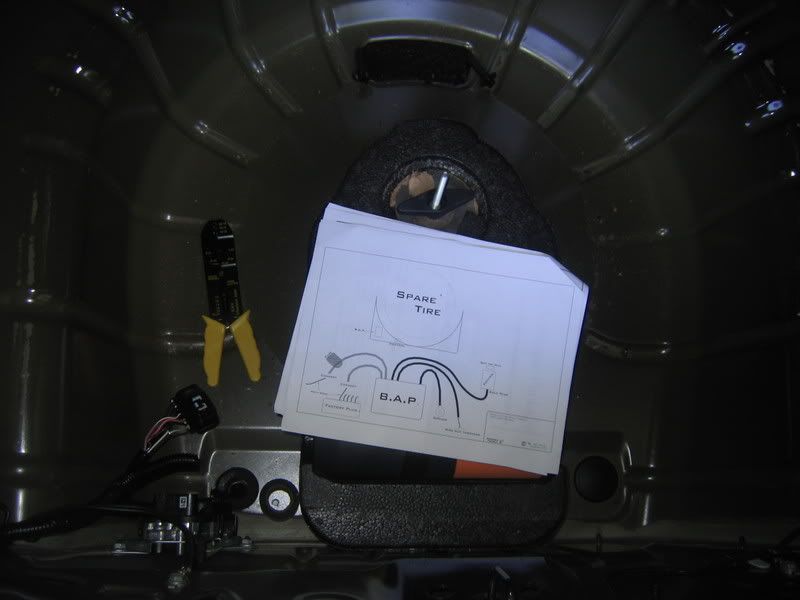
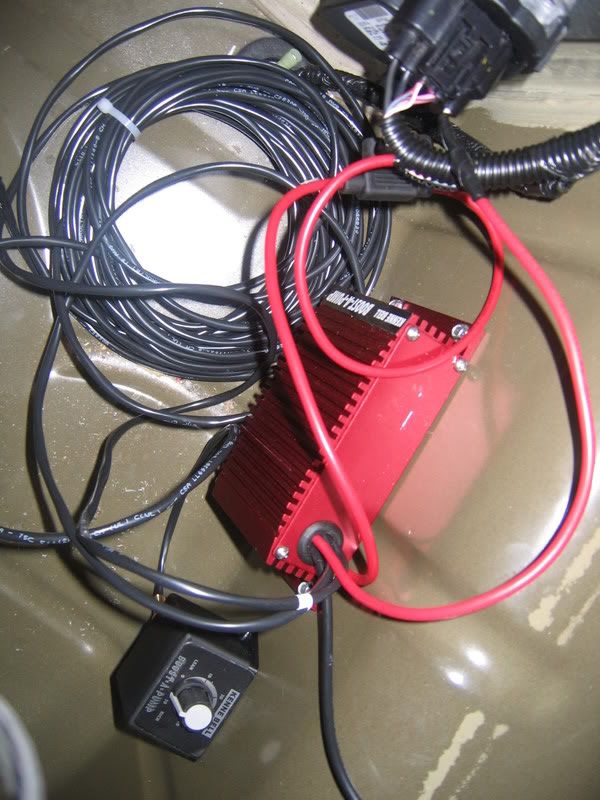
Installed the Brenspeed program with the supplied SCT tuner, then wired-up the BAP and gave it the “noise test” (seemed to be working)…
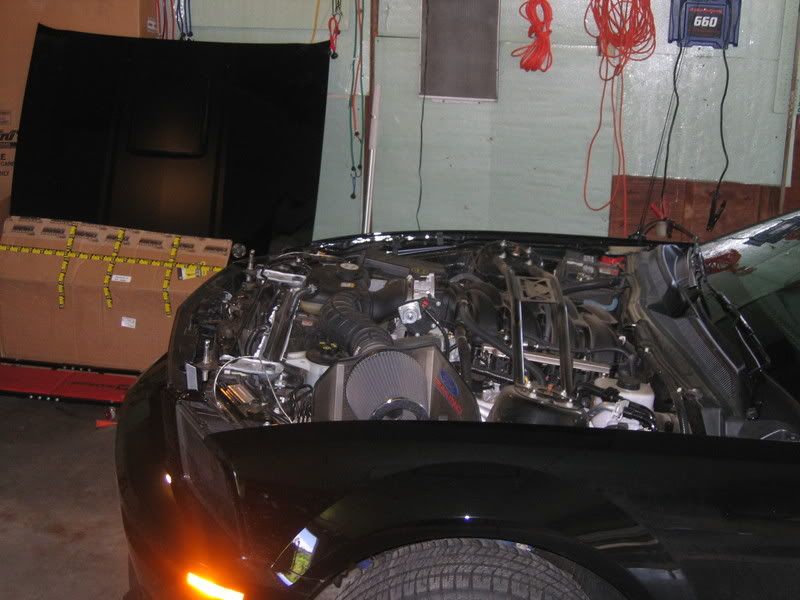
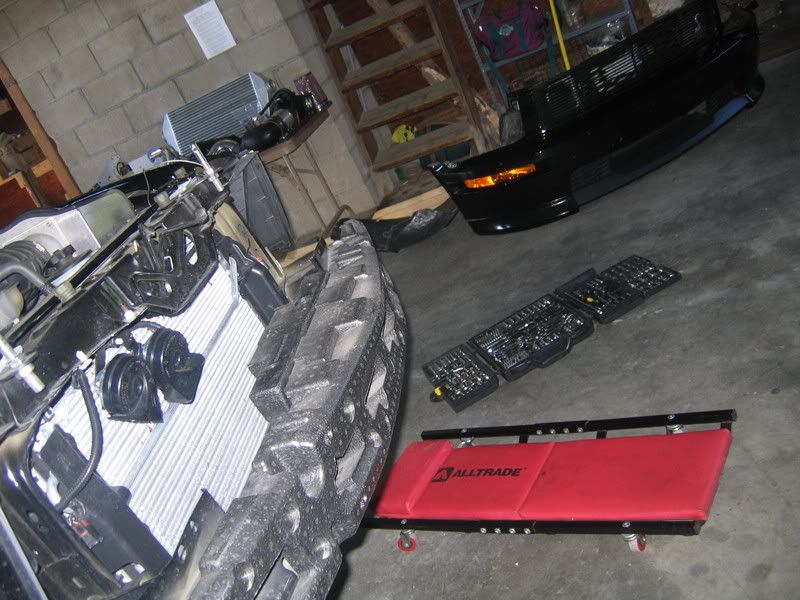
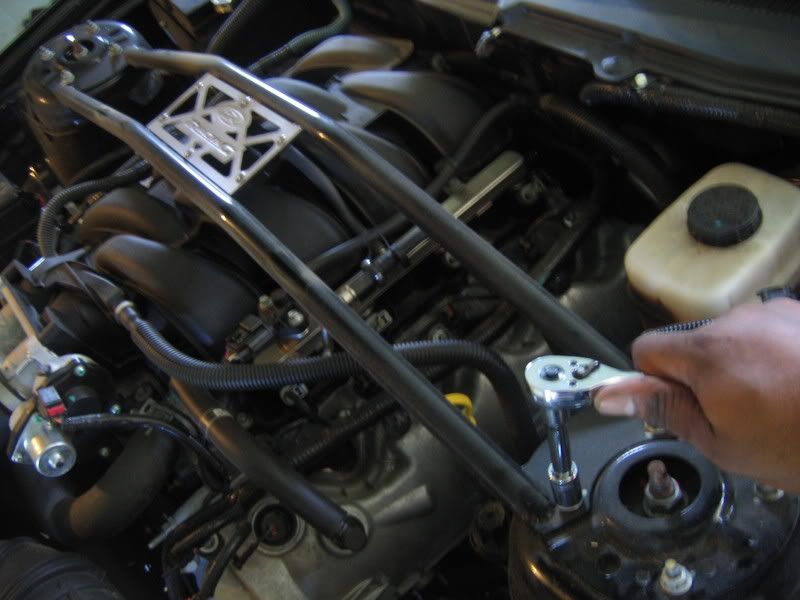
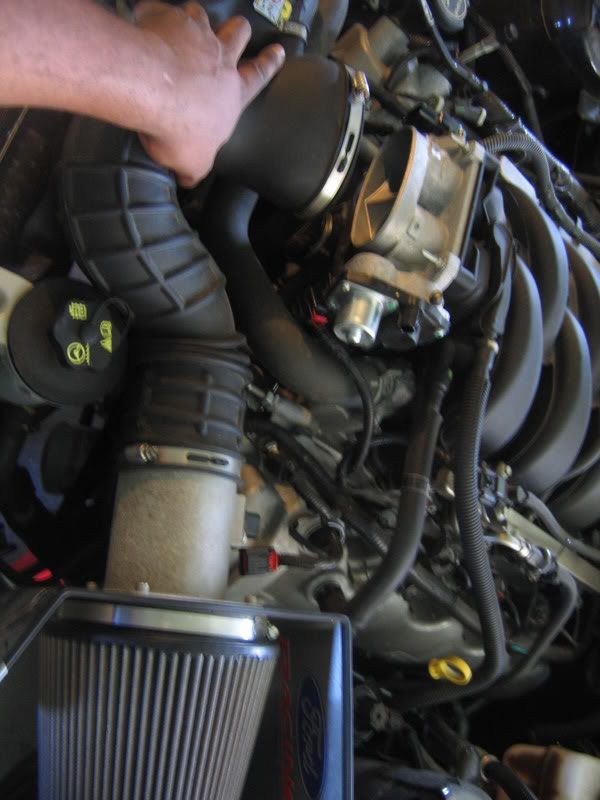
Put the nose in the air, removed the hood, bumper cover, cross brace and CAI…
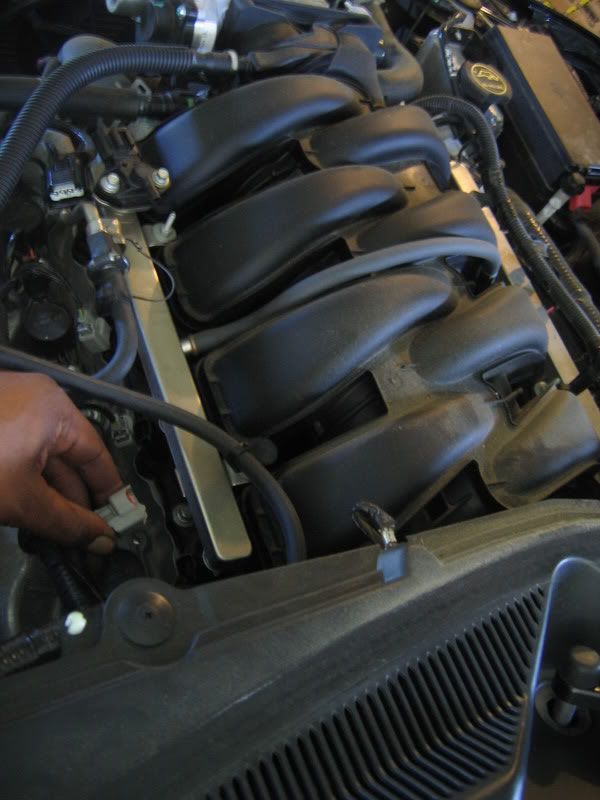
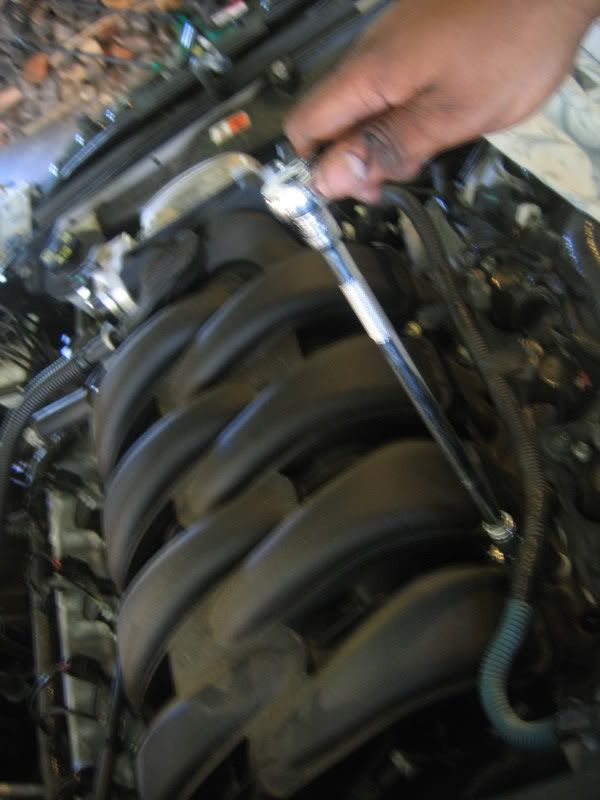
Disconnected the injectors, removed the fuel rails and unbolted the intake manifold to gain access to the thermostat housing…
Drained the coolant and enjoyed a smoke with a refreshing alcoholic beverage …
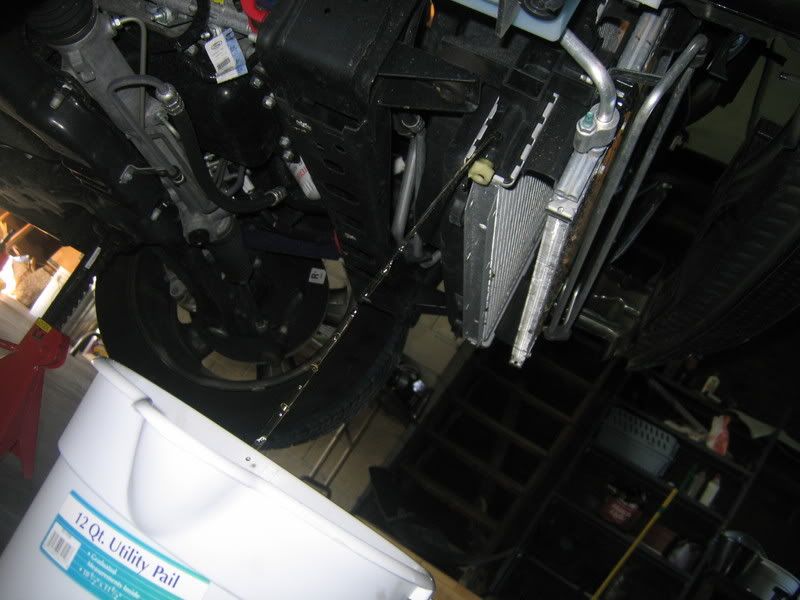

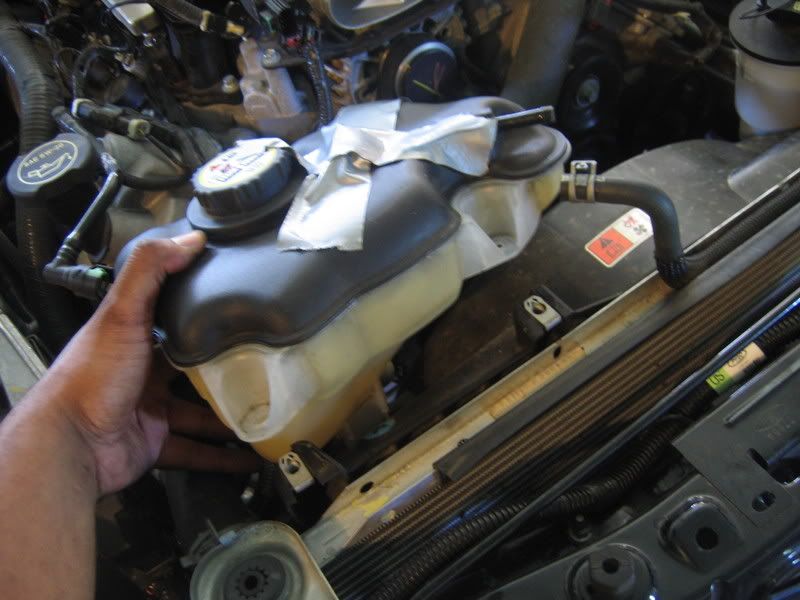
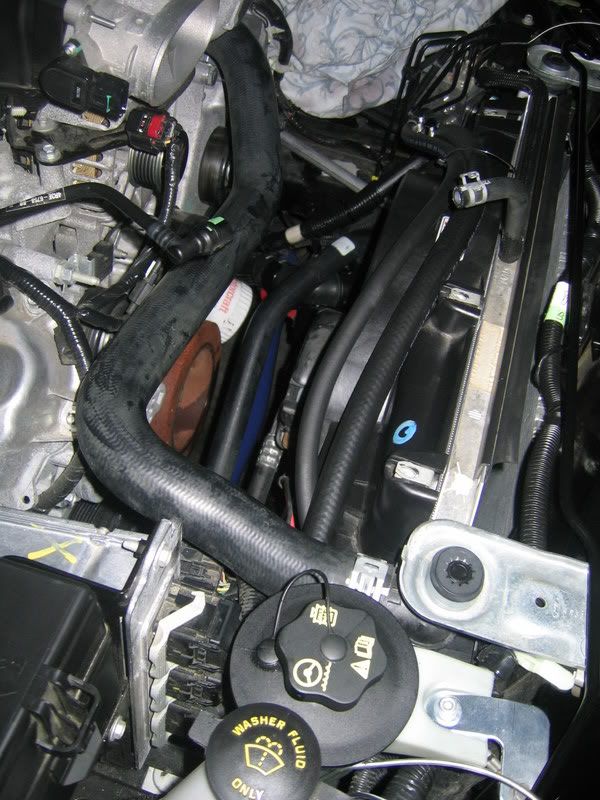
Drained the power steering reservoir and moved it from the right side of radiator to the left (no pics, but the bracket provided made it a very easy task), removed the coolant reservoir and the belt…
Already starting to see some room in there…

Wish I’d taken more pics, but these will give you a basic idea of how it all went down…
Day one: Laid everything out…
Installed the Brenspeed program with the supplied SCT tuner, then wired-up the BAP and gave it the “noise test” (seemed to be working)…
Put the nose in the air, removed the hood, bumper cover, cross brace and CAI…
Disconnected the injectors, removed the fuel rails and unbolted the intake manifold to gain access to the thermostat housing…
Drained the coolant and enjoyed a smoke with a refreshing alcoholic beverage …
Drained the power steering reservoir and moved it from the right side of radiator to the left (no pics, but the bracket provided made it a very easy task), removed the coolant reservoir and the belt…
Already starting to see some room in there…
 07-30-2008, 06:26 PM
#2
3rd Gear Member
Thread Starter
Join Date: Feb 2008
Location: western ma
Posts: 732
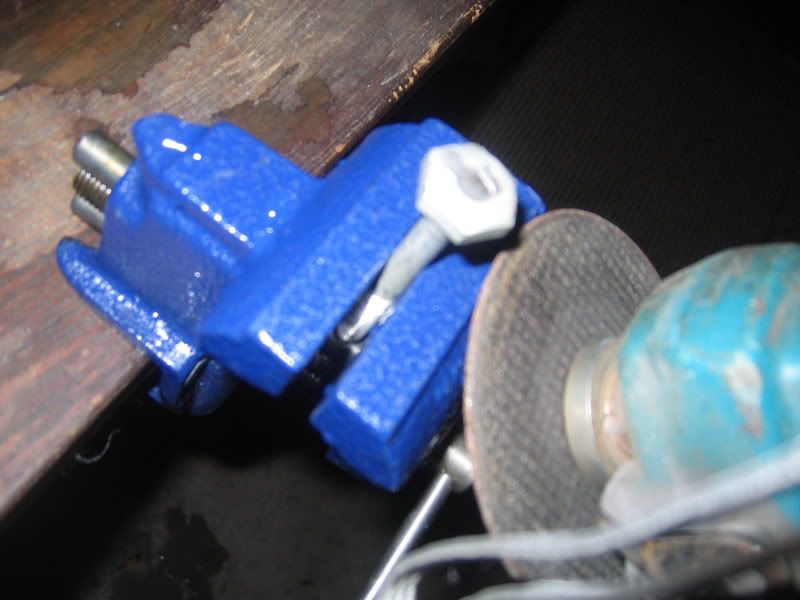
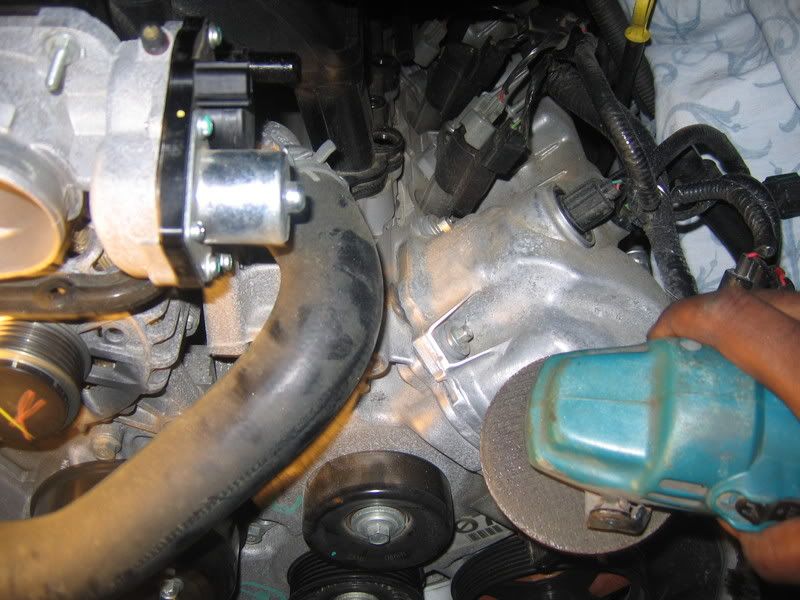
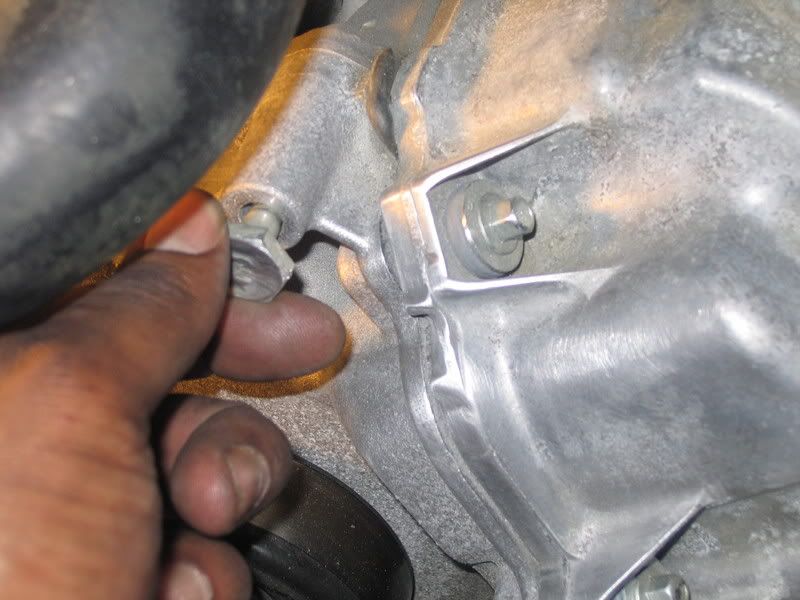
Removed the right side alternator bolt and three bolts from the front of right side head, including this one, which had to be cut down (directions didn’t say anything about relocating that ground, but I found a good spot on the fender well)…
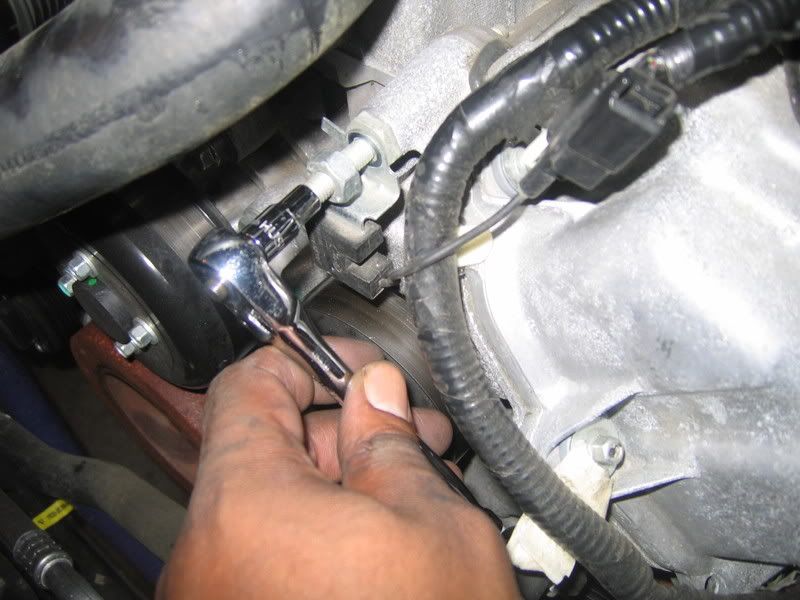
Cut the bolt and shaved the protruding lip, which was just there to hold a harness in place. Shaving these two items provided room for the SC pulley…
Good enough for one day; enjoyed another refreshing beverage and a smoke…

Cut the bolt and shaved the protruding lip, which was just there to hold a harness in place. Shaving these two items provided room for the SC pulley…
Good enough for one day; enjoyed another refreshing beverage and a smoke…
07-30-2008, 06:29 PM
#3
3rd Gear Member
Thread Starter
Join Date: Feb 2008
Location: western ma
Posts: 732
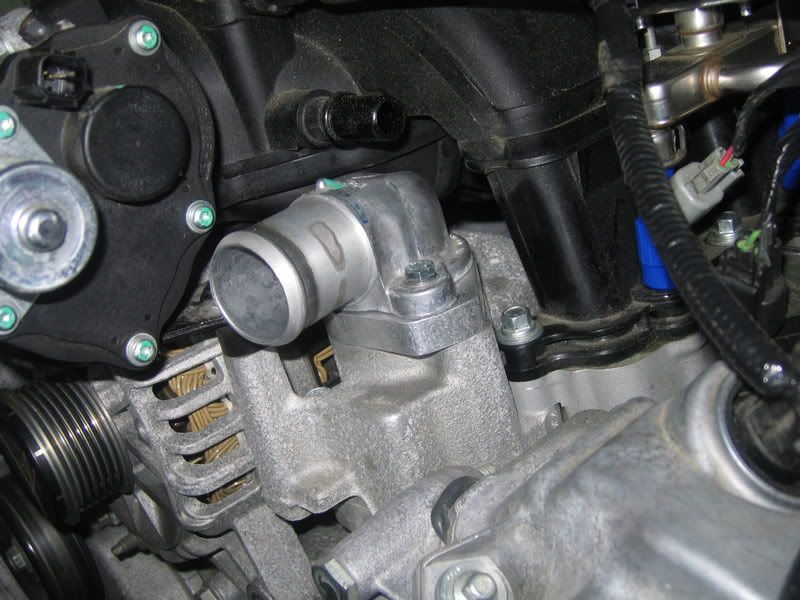
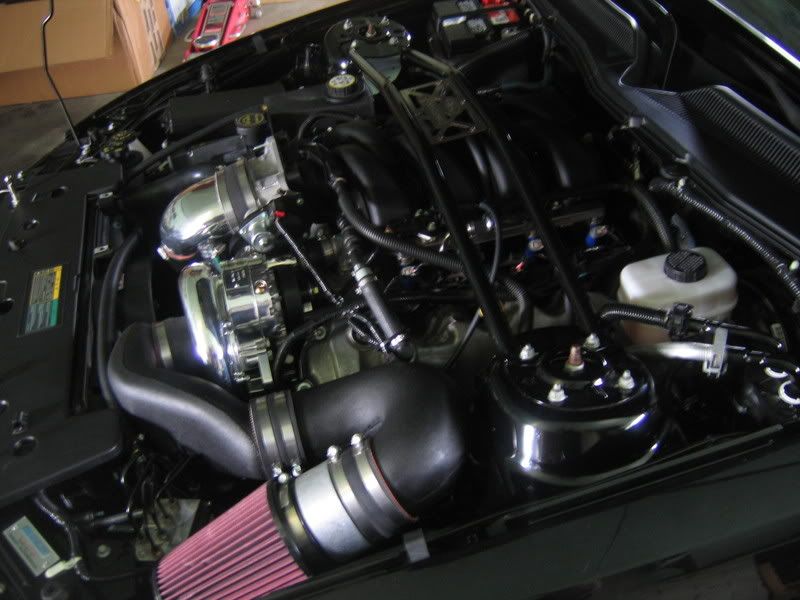
Day two: Installed the billet spacer under the t-stat housing and the very shiny coolant hose extension…
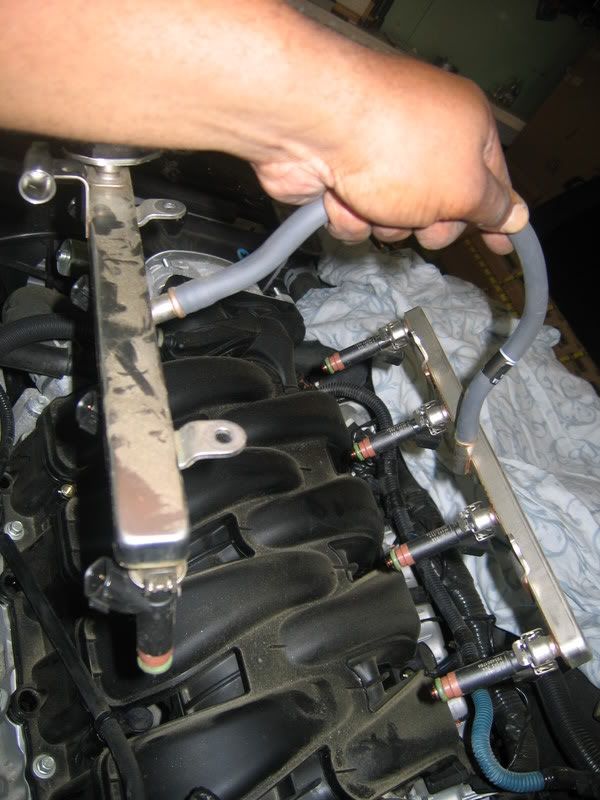
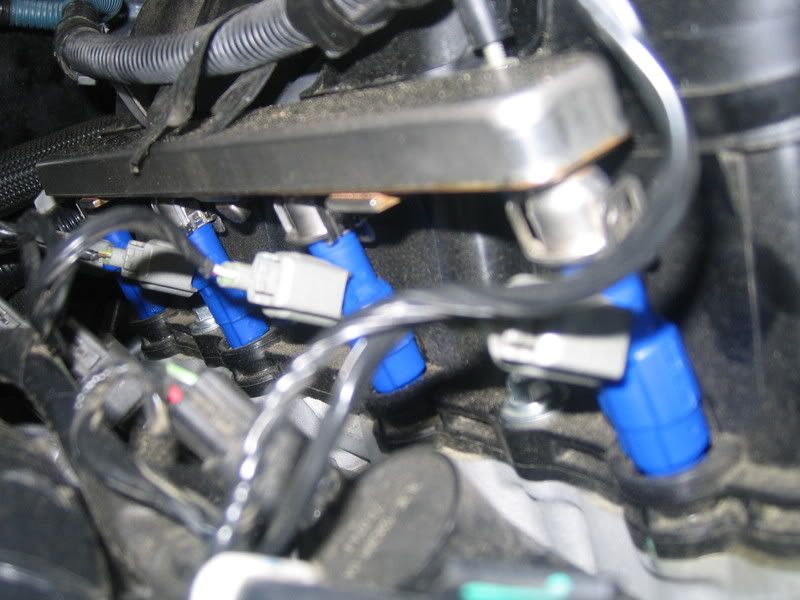
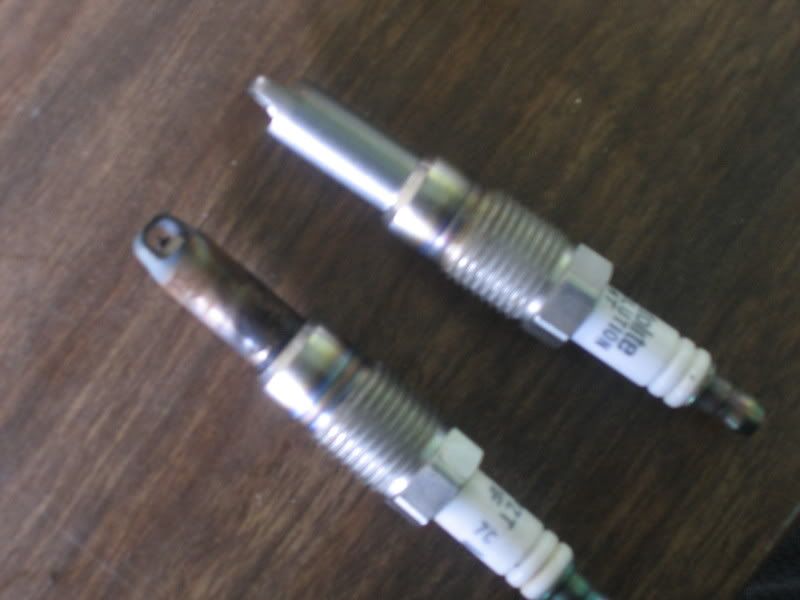
Swapped the injectors for the 39 lb units and replaced the plugs with the HT0’s (didn’t gap them, as Seth had informed me that it wasn’t necessary with the linear power that pax puts out). All of the original the plugs came out fine, but I was surprised at the amount of corrosion they had at just over 6K miles…
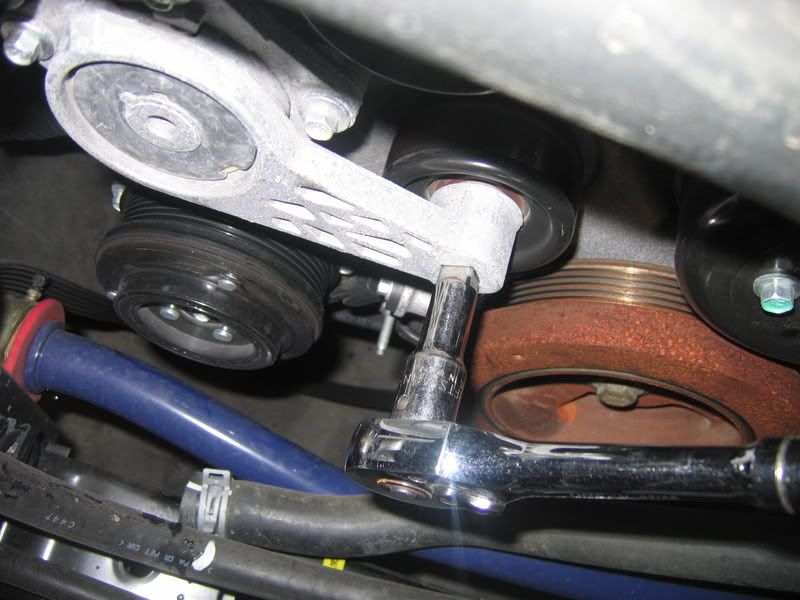
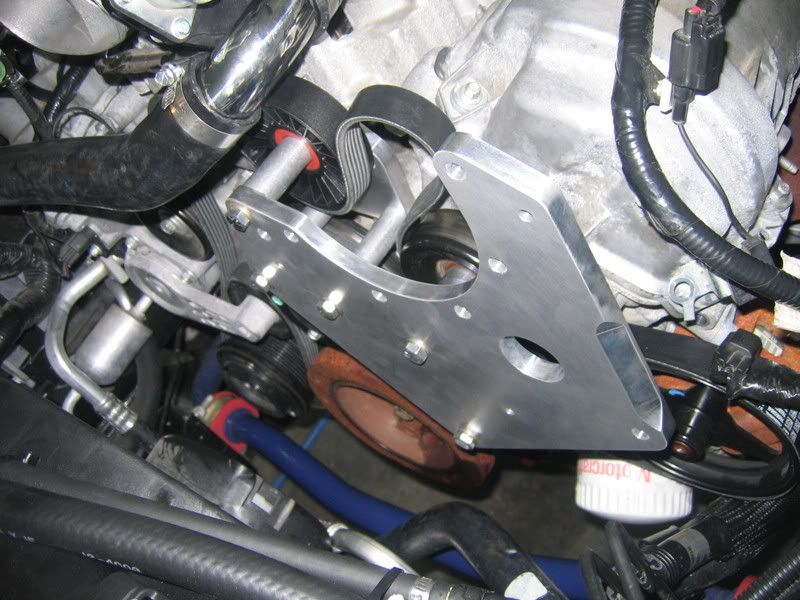
Mounted the blower bracket/pulley, along with the belt. Replacing the belt is NOT going to be fun, as the blower has to be removed and there’s one mounting bolt at the bottom that is an absolute PITA to get at. Anyway, after some swearing, we got the blower mounted as well…
Swapped the injectors for the 39 lb units and replaced the plugs with the HT0’s (didn’t gap them, as Seth had informed me that it wasn’t necessary with the linear power that pax puts out). All of the original the plugs came out fine, but I was surprised at the amount of corrosion they had at just over 6K miles…
Mounted the blower bracket/pulley, along with the belt. Replacing the belt is NOT going to be fun, as the blower has to be removed and there’s one mounting bolt at the bottom that is an absolute PITA to get at. Anyway, after some swearing, we got the blower mounted as well…
07-30-2008, 06:31 PM
#4
3rd Gear Member
Thread Starter
Join Date: Feb 2008
Location: western ma
Posts: 732
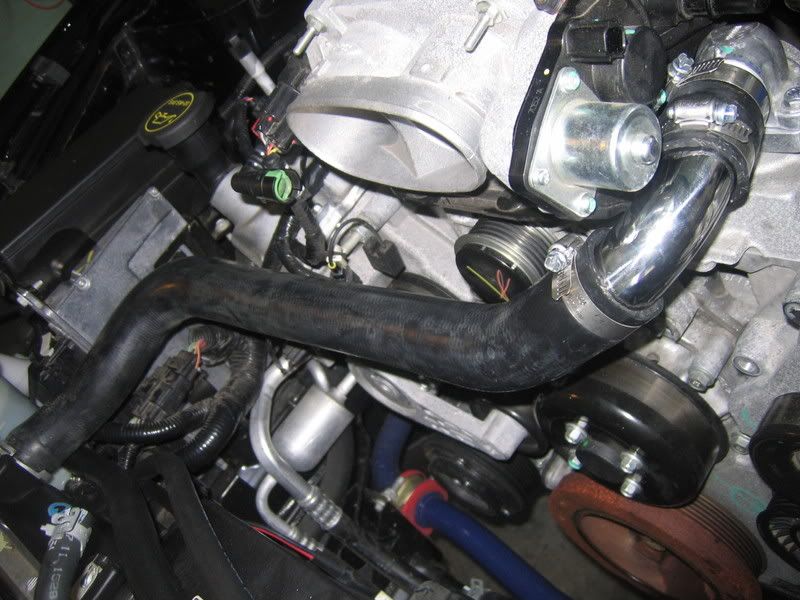
Mounting the air cooler was pretty cut & dry, but installing the tubing was a little confusing at first, though once we figured out the configuration, everything went in like they belonged there…
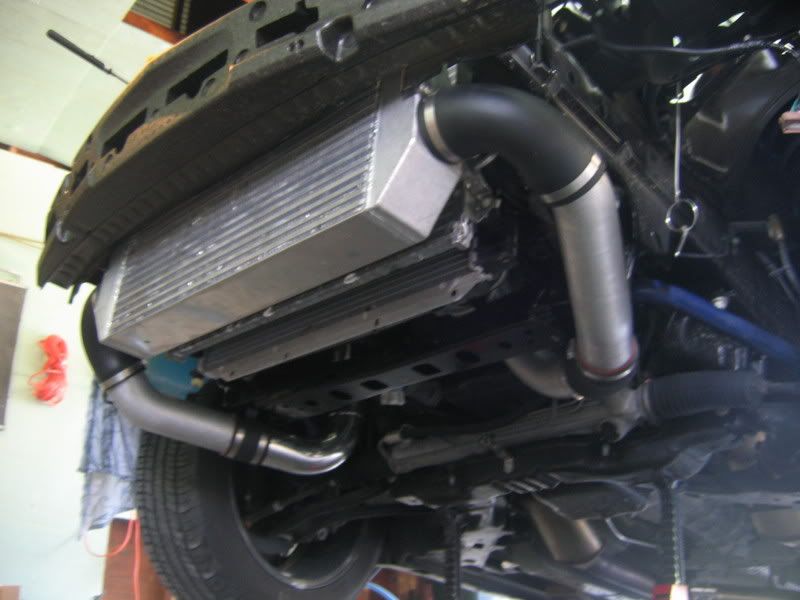
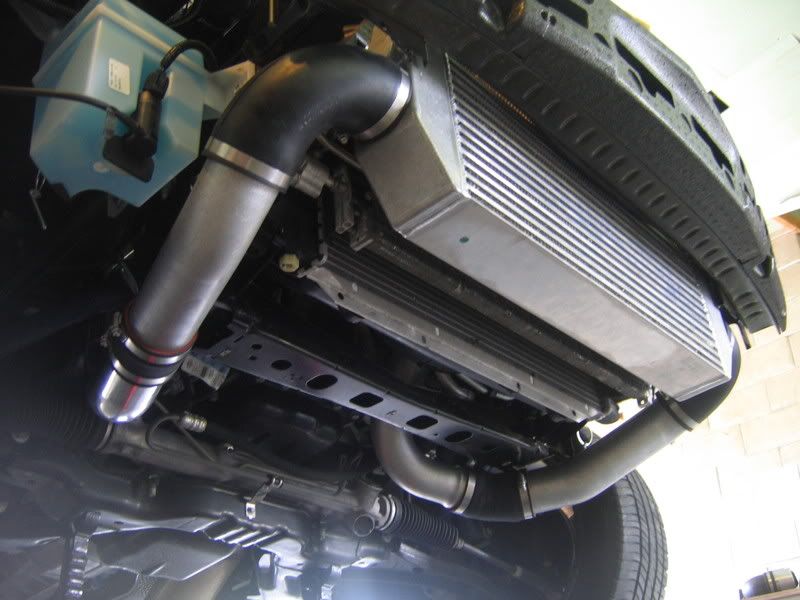
All that was left was to install the bypass valves and associated hoses and vacuum lines, as well as the new coolant reservoir and extended hoses.
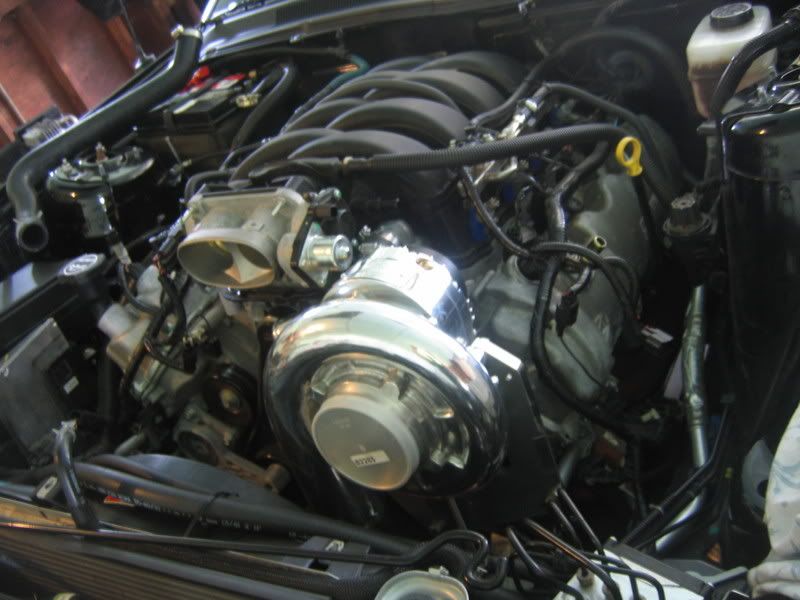
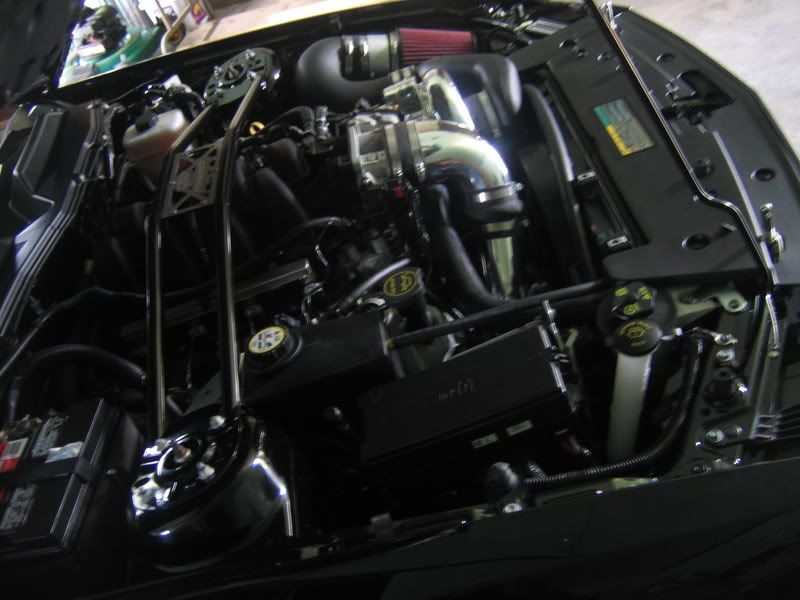
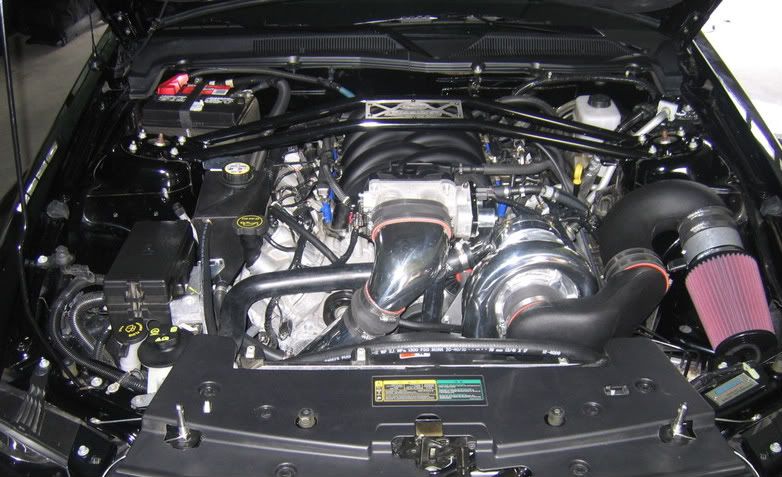
Started ‘er up and she purred like a kitten. This weekend I’ll be installing the gauges (boost, fuel and water). All said and done, the SGT is now a beast (I can’t keep my foot out of it!), thanks to Brenspeed’s excellent package. Can’t wait to get to the dyno/track and see what kind of numbers she’s putting down.
All that was left was to install the bypass valves and associated hoses and vacuum lines, as well as the new coolant reservoir and extended hoses.
Started ‘er up and she purred like a kitten. This weekend I’ll be installing the gauges (boost, fuel and water). All said and done, the SGT is now a beast (I can’t keep my foot out of it!), thanks to Brenspeed’s excellent package. Can’t wait to get to the dyno/track and see what kind of numbers she’s putting down.