
Official Boost Brothers LT Review! 56k GTFO!
 03-21-2009, 02:45 PM
#1
Alright guys, you've all been waiting patiently. First I want to thank everyone so far for their input and help. I want to also thank ChiDiddy and MF.com. I wouldn't have found out about these headers had it not been for those two. On with the review and pics.
First a breakdown of total parts and cost:
Boost Brothers LT's with o/r H, metal gaskets, and all hardware - $300 shipped
4 O2 extensions (from American Muscle) - $65.78 (including forum discount)
Stage 8 header bolts (from ebay) - $44.95
Prothane Motor Mounts (from ebay) - $125.99
Installation - $500
Total: $1036.72
Now, if you ask me, just over $1,000 bucks for all parts and install is a hell of a price.
Here's what the setup looks like out of the box:
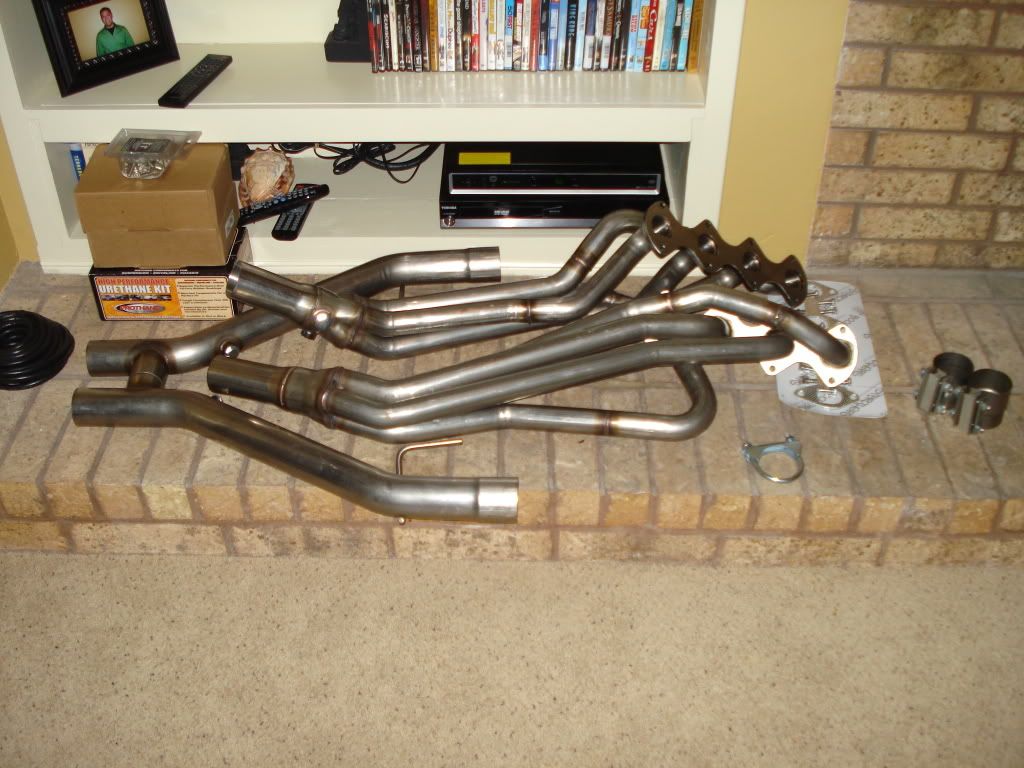
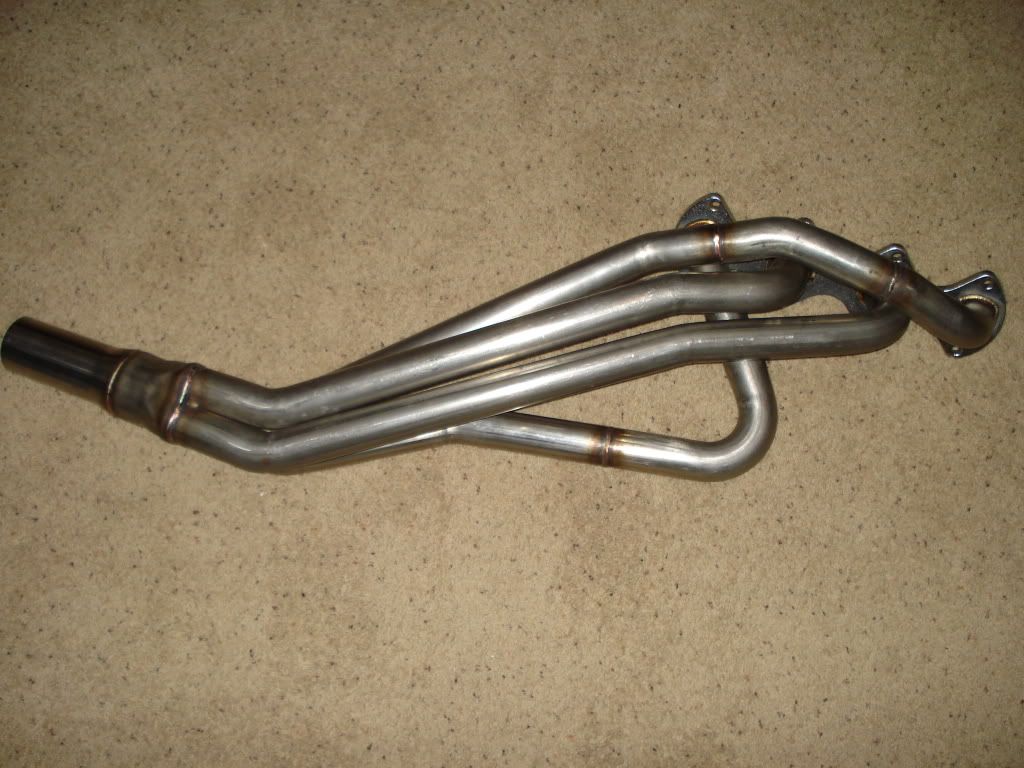
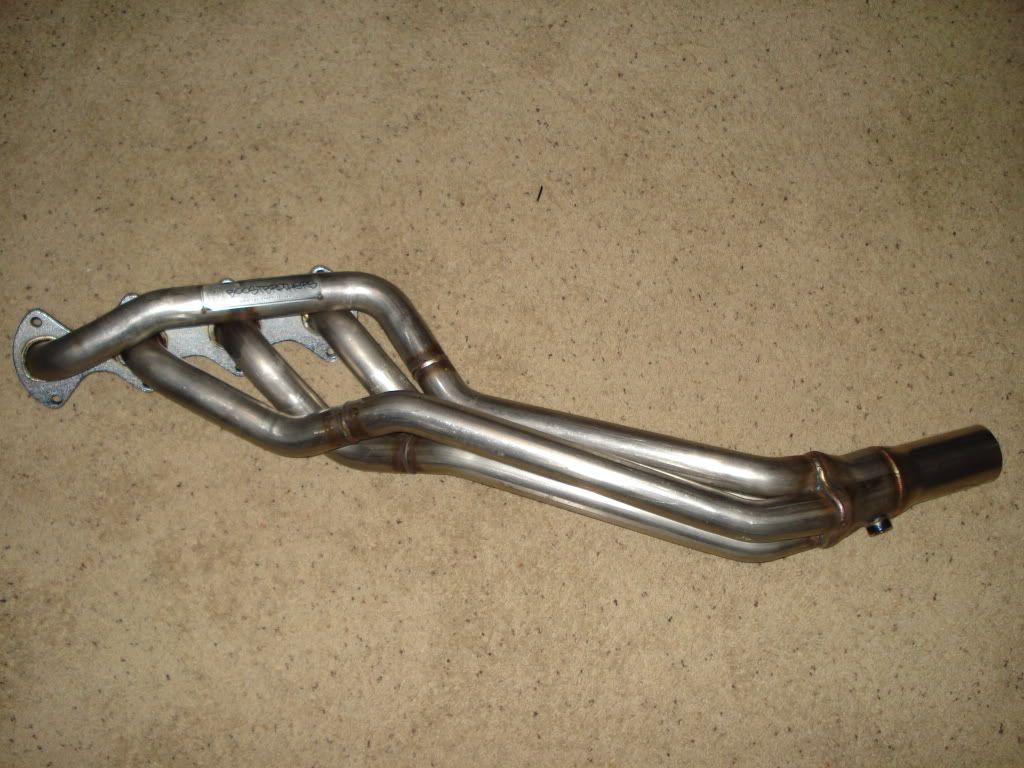
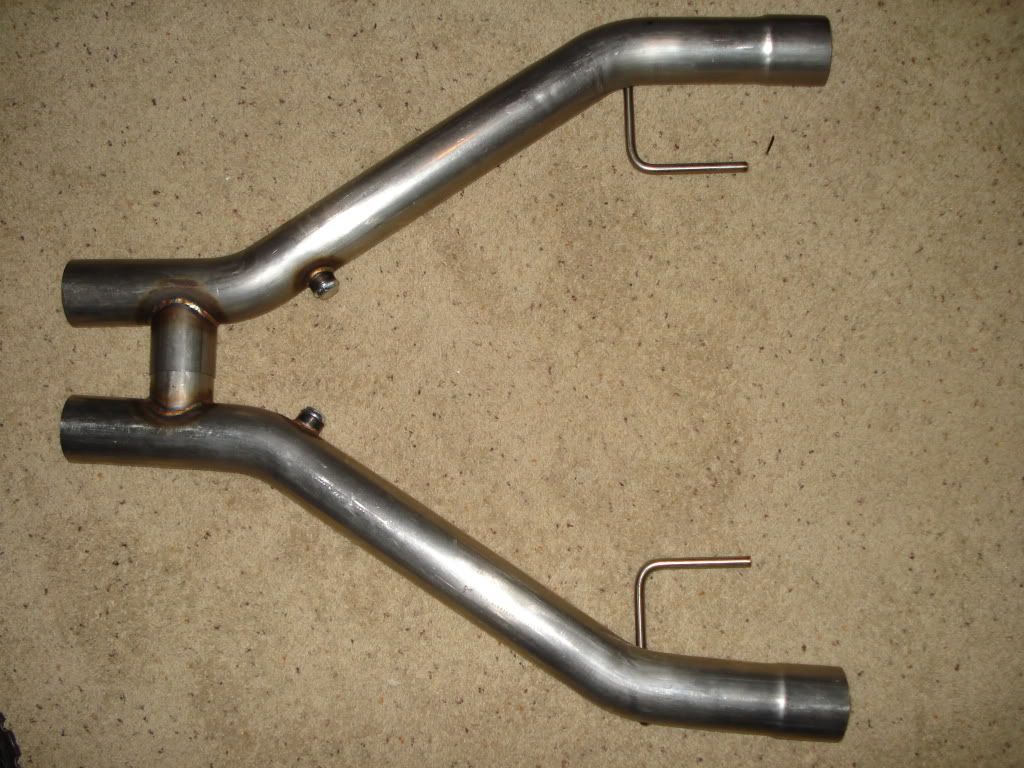
Notice the good welds and thick flanges. Also, they include metal gaskets. You would think all those high dollar LT's would all include these as well.
Now, on with the install pics.
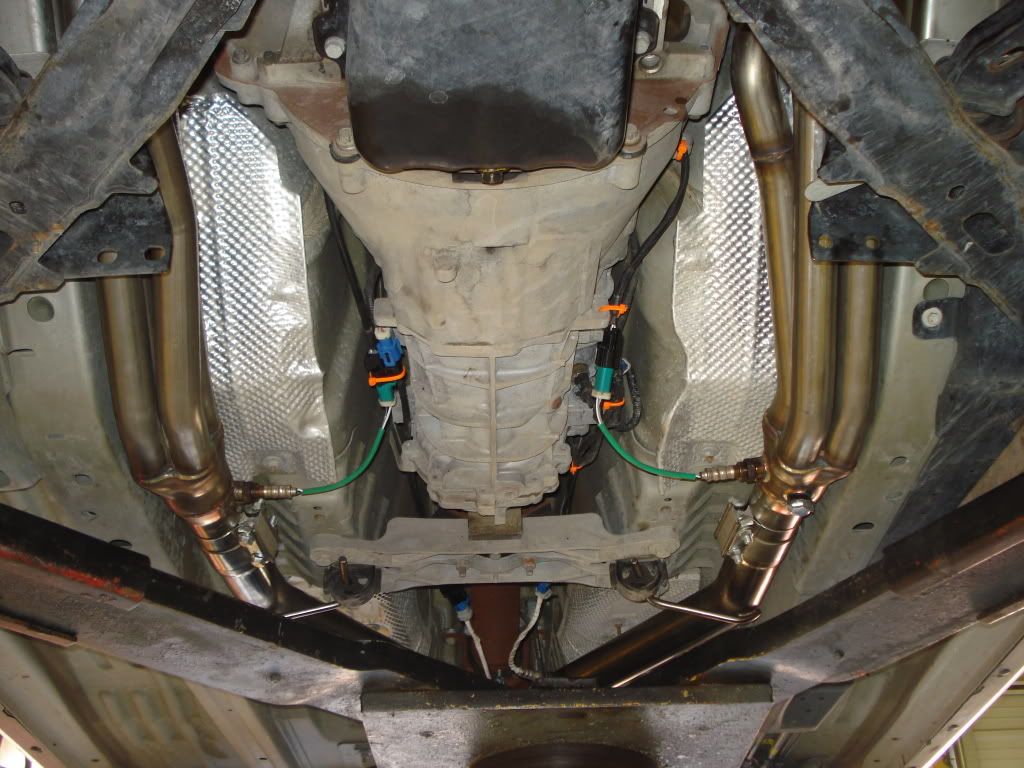
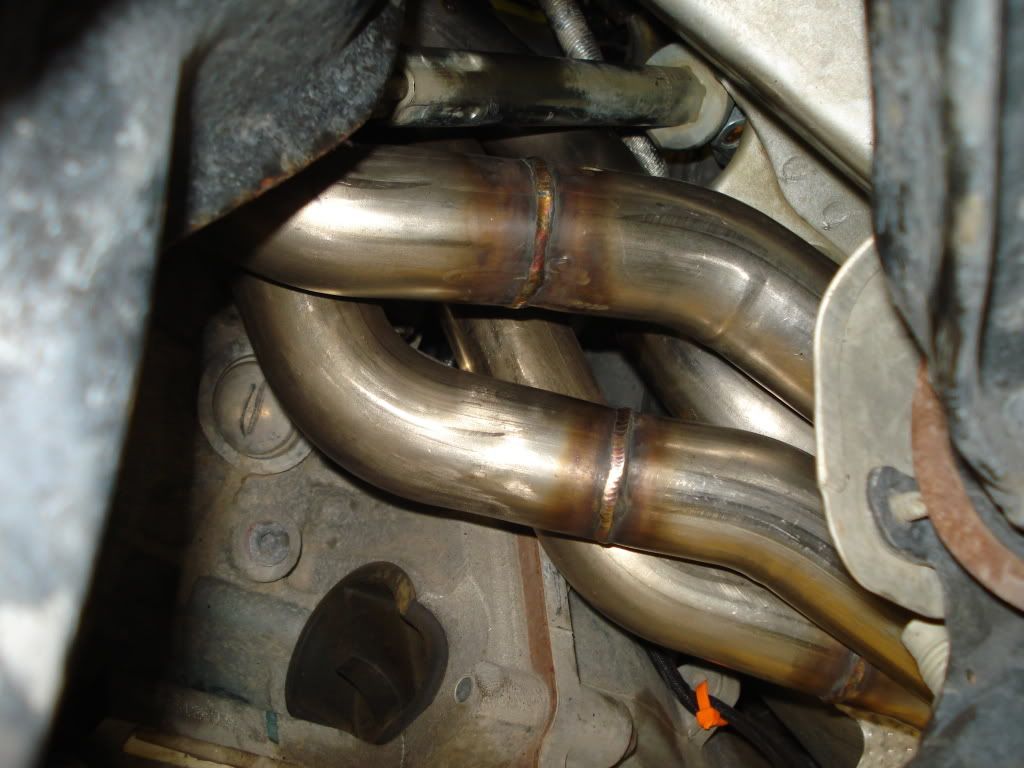
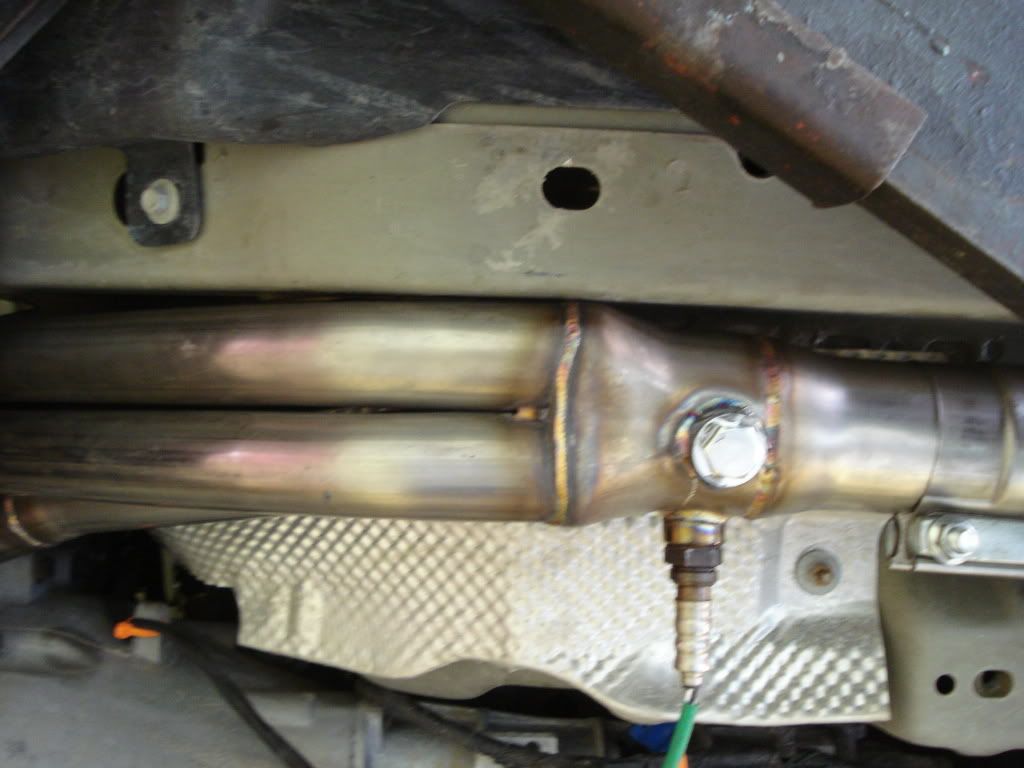
First, a view from the bottom with everything in:
For those asking how these uncoated headers would look like, notice that they turn a nice bronze color.
Here is where the 2 piece H pipe bolts up to the stock (ugly and rusted) pipe
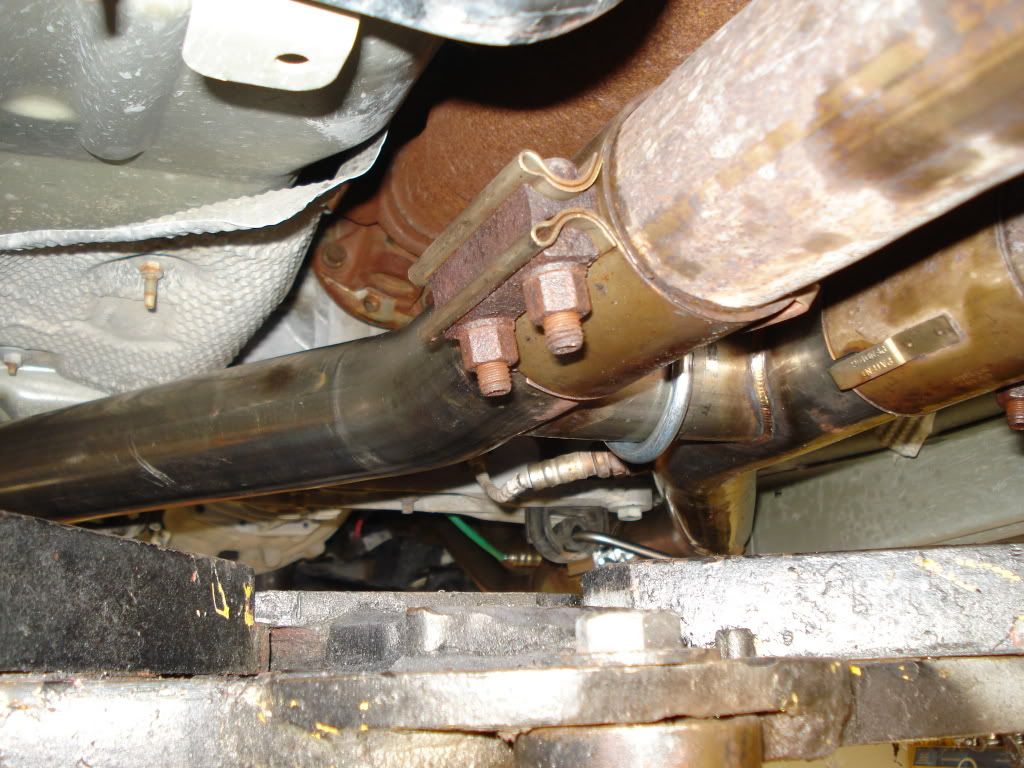
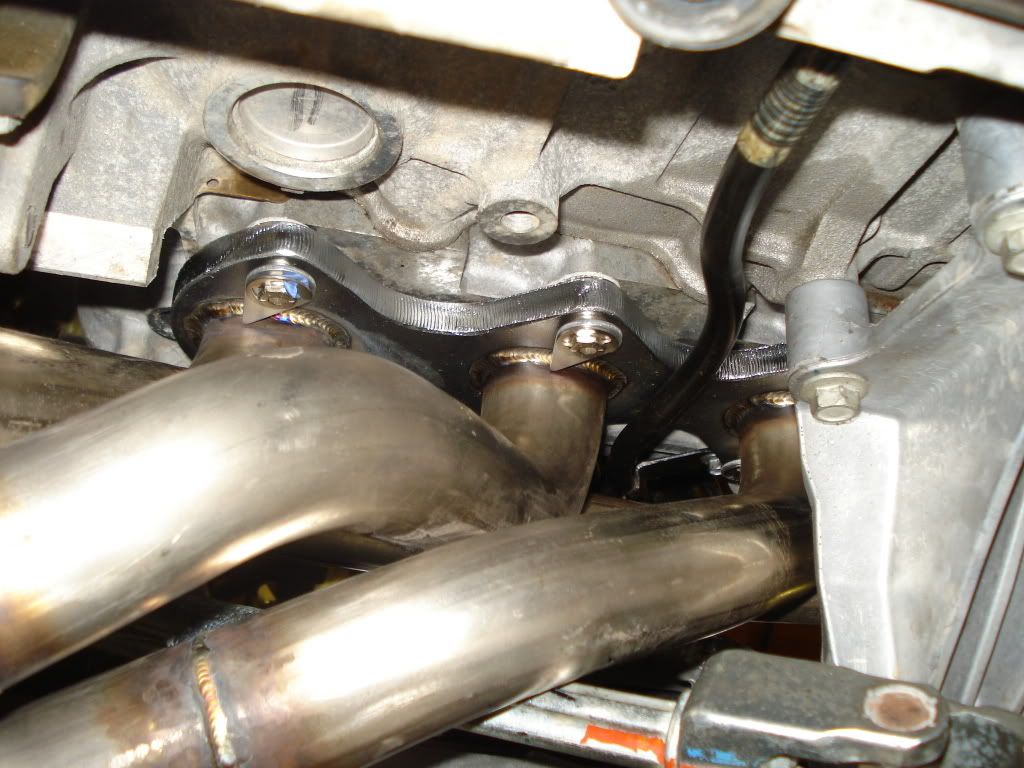
Here is a shot showing how the Stage 8 header bolts work
Random shot
Passenger side with a glimpse of the Prothane MM
Drivers side MM
Another shot of one of the MM's
Now, on to where they rubbed:
Some of you might get discouraged from this picture, so get ready...
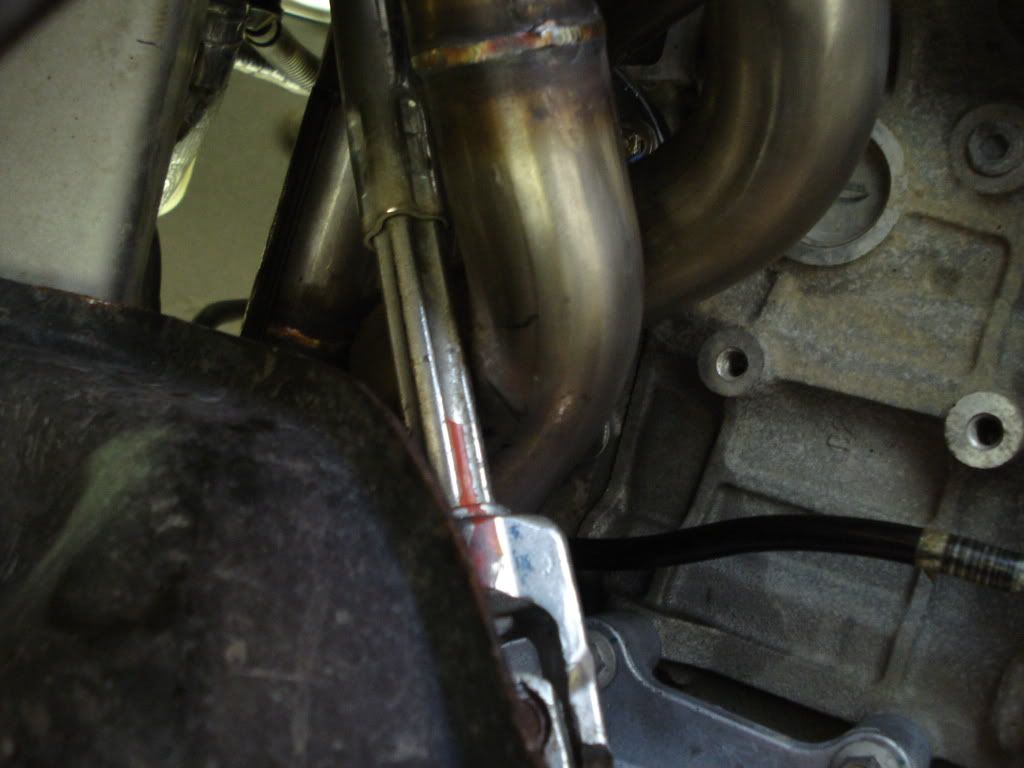
Another shot
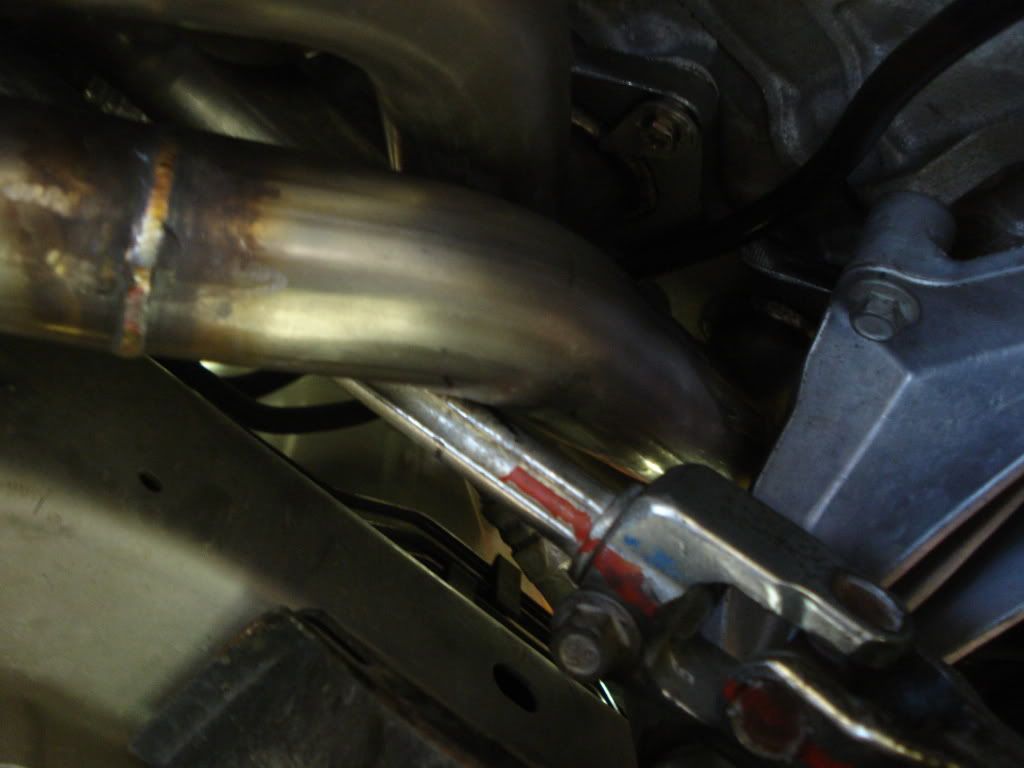
Ok, now that you've seen it, I'll put my two cents in. The install guy said once he lowered the motor back down, it sat right on top of the steering linkage. The car was driveable, but barely. It was very hard to steer the car. Looking at it, the pipe needed to be bent a mere 1/4" to clear it. There was plenty of room, however, it made it difficult to heat it up and bend it with everything on.
Here's my dad helping me get it to clear
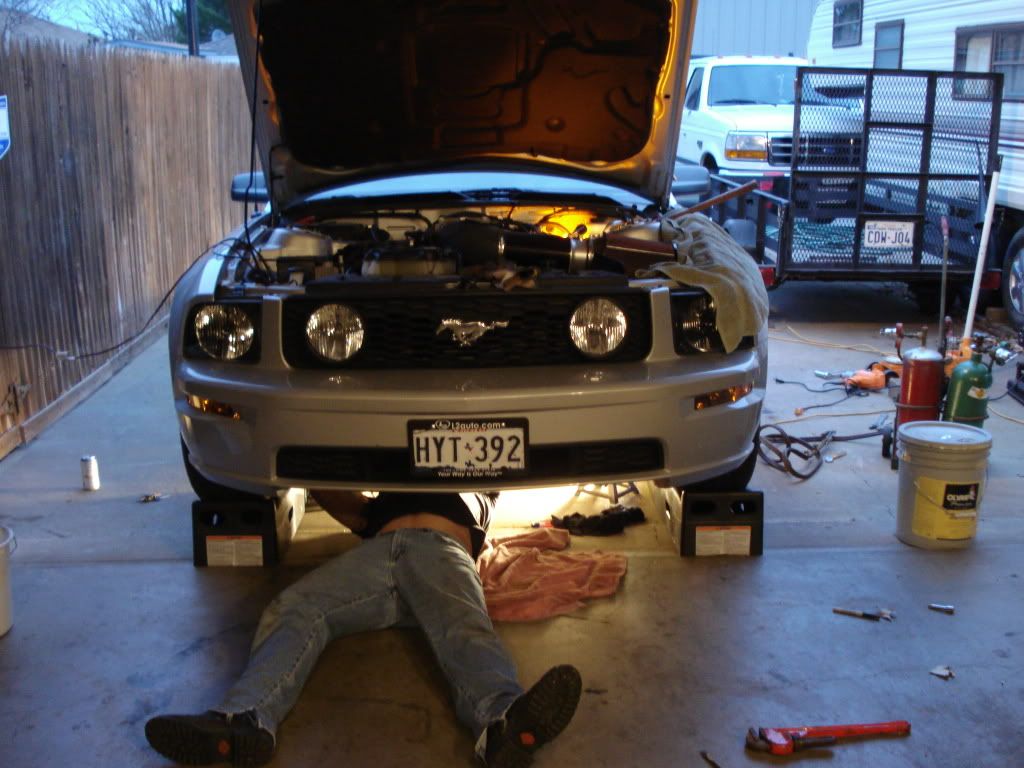
If you think you can heat the header tube up on the car and bend it, well, forget about it. These headers are stainless steel, and dissipate heat pretty fast. We tried for about 2 hours to get it to bend, and it was a no go. My dad said it would be very easy to fix this with the headers off of the car, or on the car with the removal of the steering linkage. However, once they are in, it is pretty much impossible to remove the steering linkage.
Now I find this party very important. I did email Mark at Boost Brothers explaining the linkage rub. He replied this morning:
Hello Brandon,
Thanks for the feedback, I have already changed the jig to ensure there is more clearance around the steering shaft. If you would send me as many pics as you can I'd appreciate you taking the time to do so.
Thanks,
Mark
So apparently it's been fixed. However, some of you might still get a set that has not been revised. If you do, bolt the drivers side header on, and see if it clears. If not, take it off, heat it up with a torch, and bang it a few times until it moves. There is plenty of room for it to move, so don't think it won't. It will make more sense once you see it.
So, you might ask, "How the hell did you get it to clear?"
Some of you might look down on what me and my dad had to do, but at this point was the only option. I could not afford to take the car back, have them remove everything, bend the pipe, and put it back on.
We did try to heat the pipe up, as I said before. However, since the steering shaft is on the header pipe, it's impossible to heat it up too. I'll be the first to let you know that the steering shaft is weaker than the header tube. We noticed it only needed about 1/4" clearance, and running out of options, turned to the Dremel. My dad grinded down the steering shaft on all sides until it finally cleared. Now, the shaft itself is still pretty strong, so it took about an hour to do this. Little by little, I would turn the wheel, while he grinded. End result, it works. The steering is now at 98% without rub. We ran out of grinding wheels, so we'll get more and finishing touching it up on sunday. When that's done, I know the steering will feel 100% back to normal. Now, the shaft itself again looks very strong, and with power steering, I feel can be grinded down a little. I feel this is not going to affect anything in anyway.
Now on to the other clearance issues, which seem very minor to me and can be easily fixed.
Here we have the drivers side collector barely touching the frame
I'm not 100% sure if it is actually touching, but I'm pretty positive. My dad just wants to put some asbestos between the two, so they don't rub, since it's heat proof. We're probably gunna end up doing this if we can't bend it.
Last, we have one of the passenger side tubes rubbing on the frame
Now, that happens to be the one header tube that is kind of separate from the others, and has the most room to play with. Of the 3 issues I addressed, this looks like the easiest fix of them all. You should be able to heat this up on the car, and bend it just a tad to clear.
Ok, bottom line:
I am very happy with the end result. It took a little extra time to get the shaft to clear, but now it's done. They sound great, in fact, are way louder than I thought. Let me rephrase that: THEY ARE VERY DAMN LOUD compared to just the axle backs.
If your going to install these yourself, I recommend contacting Boost Brothers directly and ensuring you get one of the revised sets. Hopefully it will correct this issue. Hell, if you do the install yourself, you can have LT's for around $500 including all parts. You can email them here:
sales@boostbrothers.com
Feel free to ask any questions
First a breakdown of total parts and cost:
Boost Brothers LT's with o/r H, metal gaskets, and all hardware - $300 shipped
4 O2 extensions (from American Muscle) - $65.78 (including forum discount)
Stage 8 header bolts (from ebay) - $44.95
Prothane Motor Mounts (from ebay) - $125.99
Installation - $500
Total: $1036.72
Now, if you ask me, just over $1,000 bucks for all parts and install is a hell of a price.
Here's what the setup looks like out of the box:
Notice the good welds and thick flanges. Also, they include metal gaskets. You would think all those high dollar LT's would all include these as well.
Now, on with the install pics.
First, a view from the bottom with everything in:
For those asking how these uncoated headers would look like, notice that they turn a nice bronze color.
Here is where the 2 piece H pipe bolts up to the stock (ugly and rusted) pipe
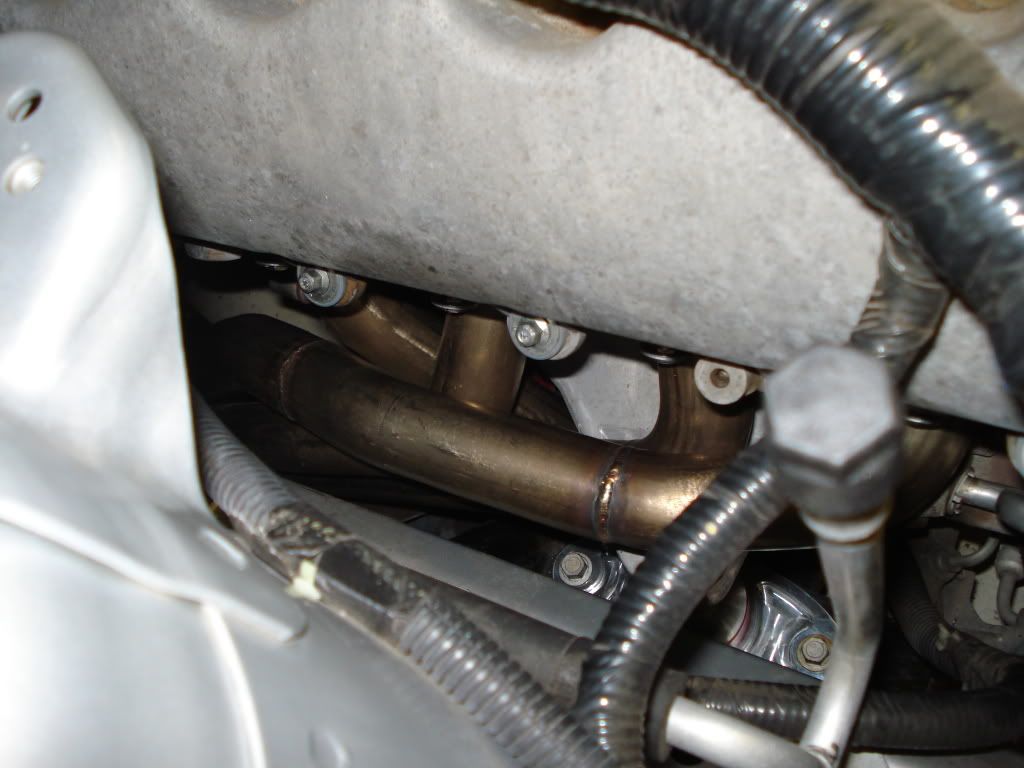
Here is a shot showing how the Stage 8 header bolts work
Random shot
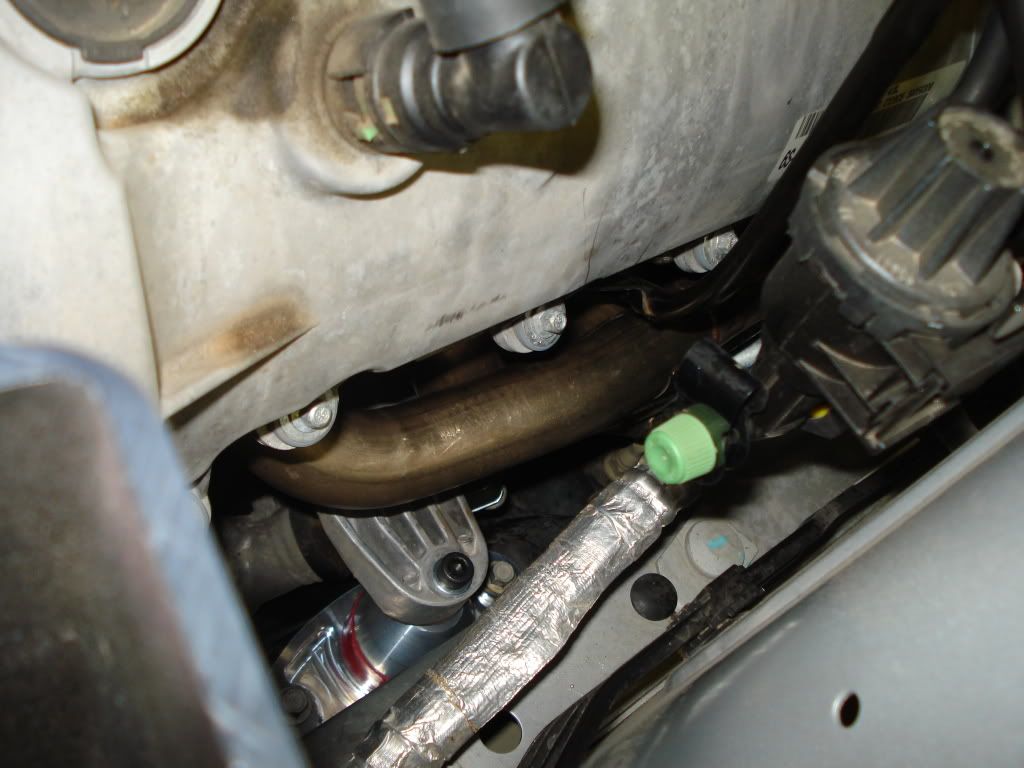
Passenger side with a glimpse of the Prothane MM
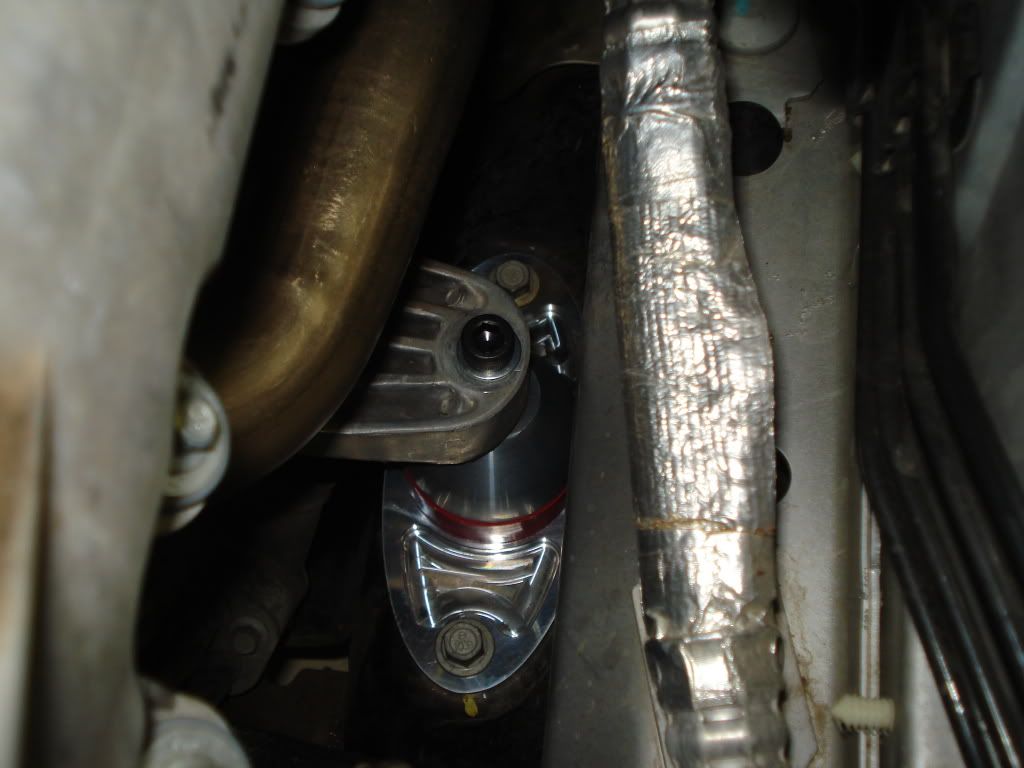
Drivers side MM
Another shot of one of the MM's
Now, on to where they rubbed:
Some of you might get discouraged from this picture, so get ready...
Another shot
Ok, now that you've seen it, I'll put my two cents in. The install guy said once he lowered the motor back down, it sat right on top of the steering linkage. The car was driveable, but barely. It was very hard to steer the car. Looking at it, the pipe needed to be bent a mere 1/4" to clear it. There was plenty of room, however, it made it difficult to heat it up and bend it with everything on.
Here's my dad helping me get it to clear
If you think you can heat the header tube up on the car and bend it, well, forget about it. These headers are stainless steel, and dissipate heat pretty fast. We tried for about 2 hours to get it to bend, and it was a no go. My dad said it would be very easy to fix this with the headers off of the car, or on the car with the removal of the steering linkage. However, once they are in, it is pretty much impossible to remove the steering linkage.
Now I find this party very important. I did email Mark at Boost Brothers explaining the linkage rub. He replied this morning:
Hello Brandon,
Thanks for the feedback, I have already changed the jig to ensure there is more clearance around the steering shaft. If you would send me as many pics as you can I'd appreciate you taking the time to do so.
Thanks,
Mark
So apparently it's been fixed. However, some of you might still get a set that has not been revised. If you do, bolt the drivers side header on, and see if it clears. If not, take it off, heat it up with a torch, and bang it a few times until it moves. There is plenty of room for it to move, so don't think it won't. It will make more sense once you see it.
So, you might ask, "How the hell did you get it to clear?"
Some of you might look down on what me and my dad had to do, but at this point was the only option. I could not afford to take the car back, have them remove everything, bend the pipe, and put it back on.
We did try to heat the pipe up, as I said before. However, since the steering shaft is on the header pipe, it's impossible to heat it up too. I'll be the first to let you know that the steering shaft is weaker than the header tube. We noticed it only needed about 1/4" clearance, and running out of options, turned to the Dremel. My dad grinded down the steering shaft on all sides until it finally cleared. Now, the shaft itself is still pretty strong, so it took about an hour to do this. Little by little, I would turn the wheel, while he grinded. End result, it works. The steering is now at 98% without rub. We ran out of grinding wheels, so we'll get more and finishing touching it up on sunday. When that's done, I know the steering will feel 100% back to normal. Now, the shaft itself again looks very strong, and with power steering, I feel can be grinded down a little. I feel this is not going to affect anything in anyway.
Now on to the other clearance issues, which seem very minor to me and can be easily fixed.
Here we have the drivers side collector barely touching the frame
I'm not 100% sure if it is actually touching, but I'm pretty positive. My dad just wants to put some asbestos between the two, so they don't rub, since it's heat proof. We're probably gunna end up doing this if we can't bend it.
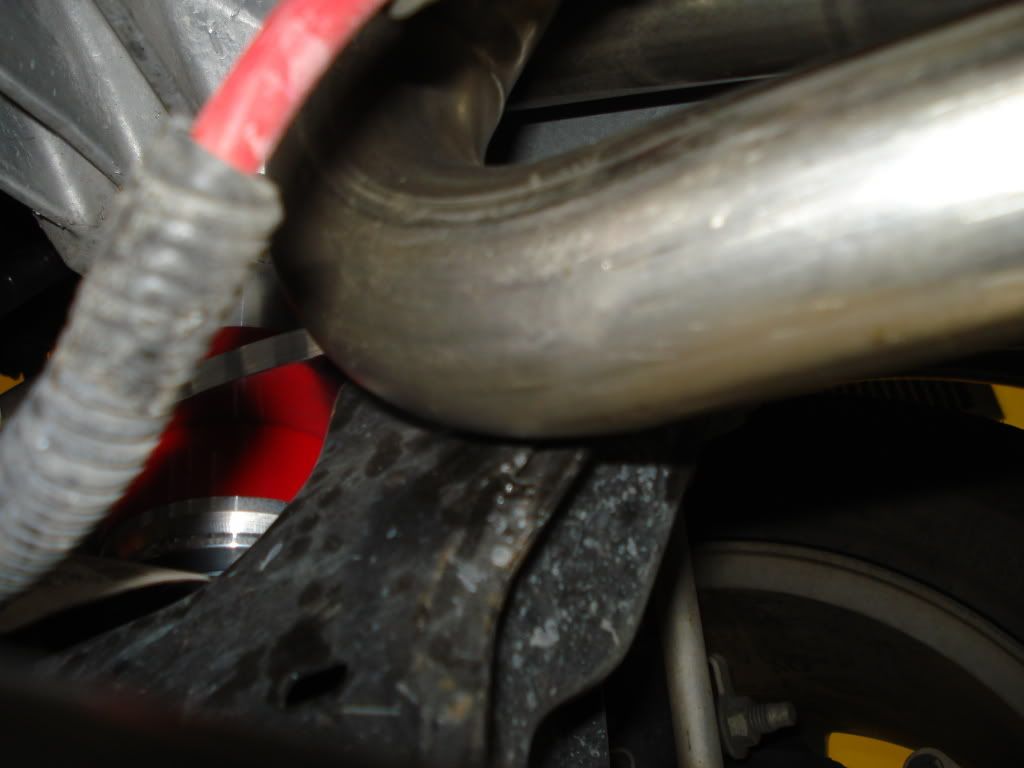
Last, we have one of the passenger side tubes rubbing on the frame
Now, that happens to be the one header tube that is kind of separate from the others, and has the most room to play with. Of the 3 issues I addressed, this looks like the easiest fix of them all. You should be able to heat this up on the car, and bend it just a tad to clear.
Ok, bottom line:
I am very happy with the end result. It took a little extra time to get the shaft to clear, but now it's done. They sound great, in fact, are way louder than I thought. Let me rephrase that: THEY ARE VERY DAMN LOUD compared to just the axle backs.
If your going to install these yourself, I recommend contacting Boost Brothers directly and ensuring you get one of the revised sets. Hopefully it will correct this issue. Hell, if you do the install yourself, you can have LT's for around $500 including all parts. You can email them here:
sales@boostbrothers.com
Feel free to ask any questions
 03-21-2009, 02:57 PM
#2
6th Gear Member
Join Date: Dec 2007
Location: Long Island, moving to arizona soon
Posts: 7,386
nice write up man glad your happy with them and good to see boost brothers fixing the problom so others will be okay. how does the power feel and did you get a cel light, now time for some sound clips man ahah
03-21-2009, 05:38 PM
#5
Multi-Tasking Moderator!
Join Date: Nov 2006
Location: Detroit Rock City!
Posts: 15,618
OK for the price and what you get the LT's seem to be worth it....only thing I do not like is the fact that they are not Ceramic coated? They can and will get surface rust unless they are made of 304SS as opposed to what many use which is 409SS.....hope it gets cleared up and dont they have a kit that can give you clearance for the steering linkage?...other then that congrats and looks like a great setup....and vids for sound would be appreciated by all I am sure!
 03-21-2009, 06:14 PM
#7
Thanks for all the input guys. As for the price, not sure, so contact them via email. I do fee the extra power gain, but need to drive some more to understand where its impacting the most. The greatest satisfaction is how many heads are turning when I roll by. Today alone ive gotten thumbs up from a dozen people, and a car full of hotties pulled up next to me and were complimening it. The sound is night and day cmpared to stock. Ill get sound clips up once I find a camera. The graphic design dept at my school checks out HDD camcorders so ill get one of those.
EDIT
No CEL!
EDIT
No CEL!
Last edited by kingsofcrunk; 03-21-2009 at 06:19 PM.
03-21-2009, 07:22 PM
#10
6th Gear Member
Join Date: Jul 2007
Location: Honolulu, HI
Posts: 6,130
you getting any vibration from the pipes touching the frame? bc the pipes will move slightly as you throttle, and if they are touching the frame, could have vibration. after my DS loop went in it was touching the x pipe just slightly and i was getting vibration, so i had to have it bent to get some clearance.
very nice write up on the headers tho. very informative.
very nice write up on the headers tho. very informative.