
Pic Heavy: Painted Interior & LED Footwell Lighting


 02-18-2011, 04:29 PM
#20
5th Gear Member
Thread Starter

Join Date: Nov 2006
Location: Alabama
Posts: 2,935
Onto the write-up. As a warning, by no means am I a professional, and I am the king of rigging things up with tape. Also, sorry I don't have a bunch of pictures for a full write-up... I just took half of them with my cell phone a minute ago. Hopefully you will get the gist of it.
First of all, I would go ahead and remove the center console (which takes all of 3 minutes). If you don't already know how to get it out, you can watch this video starting @ 1:15 and they show you exactly how it's done.
http://www.youtube.com/watch?v=FP3jtuNXrrk
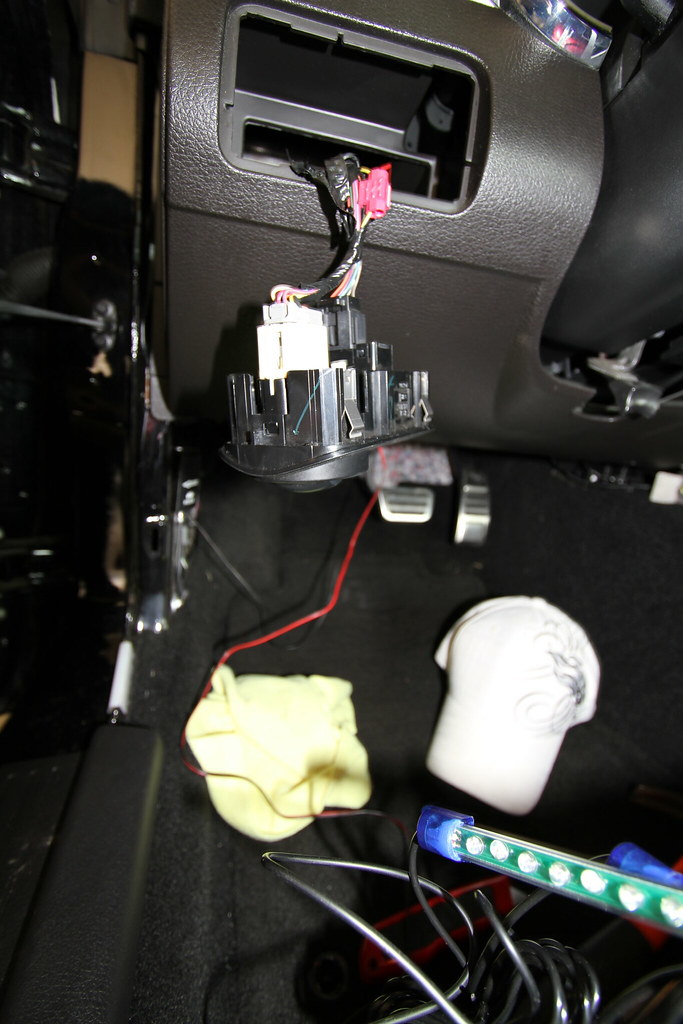
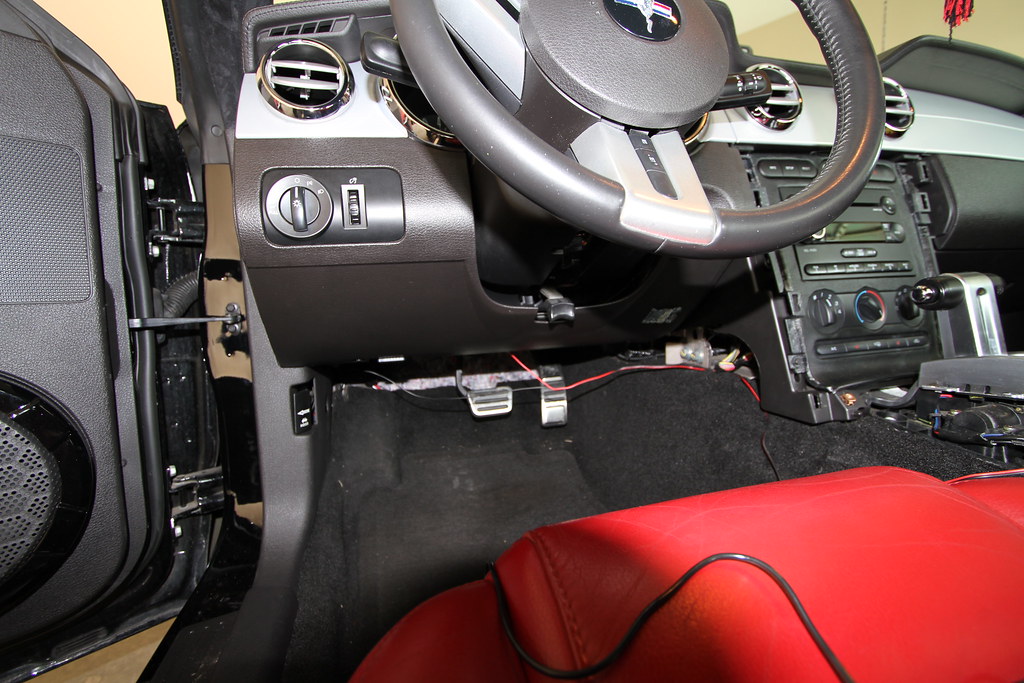
Now, since we are tapping into the parking lamps, you will need to take the headlight switch panel off. Super easy, get a flashlight, lay on your back in the driver's floor board, find the back of headlight switch connector and push out on it. This will cause the entire switch assembly to pop out of the dash. It is held in using metal clips, so I didn't worry about breaking anything.
This is how it will look hanging out of the dash.
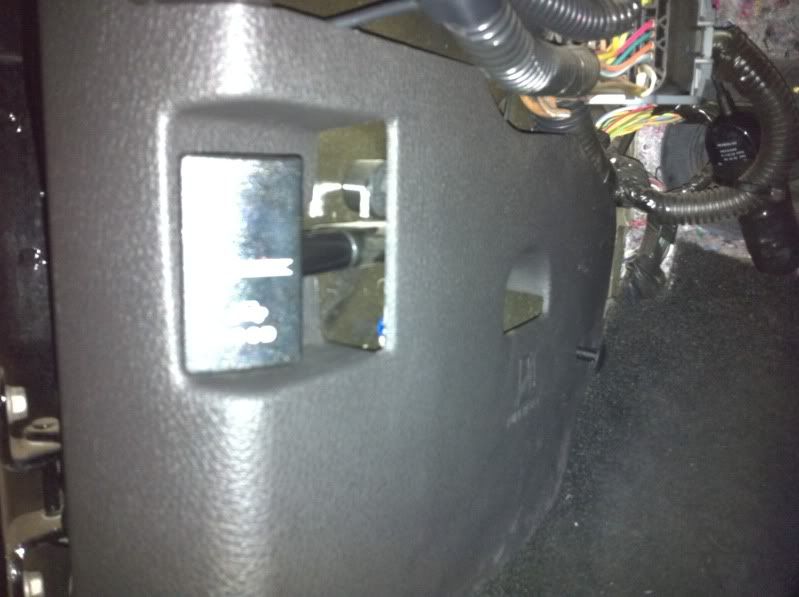
Next, you will need to remove the plastic panel that is located around the hood release latch. There is a little trim "pin" type thing you have to pull out. It's pretty much a PITA. I used a flat head to pry it up, then took the reverse end of a hammer to pry it out. This picture shows the pin sticking out a little bit, so you can see it's location: (in the back)
Next, you will need to pop up the driver's side kick plate. Just grab a hold of it from behind and pull up. Sometimes the front is glued down to the car, so you don't have to take it off all the way. Like so:
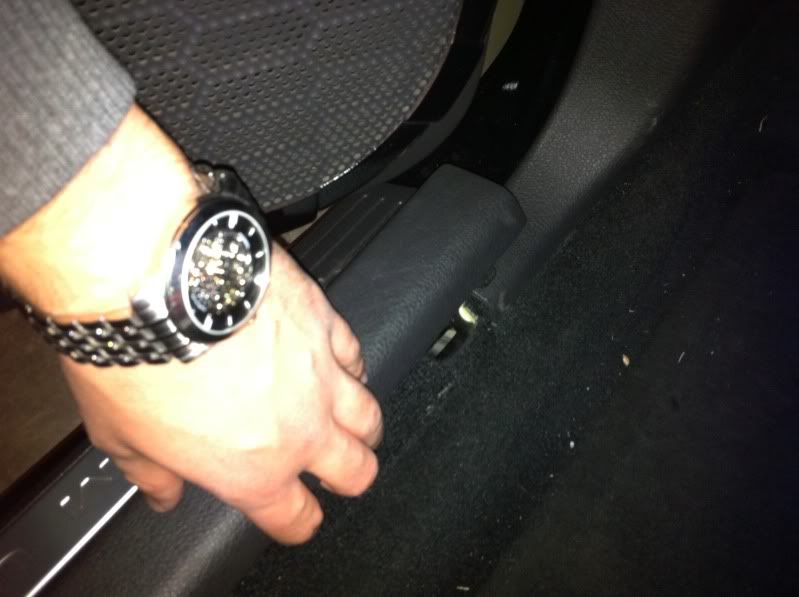
Then you will be able to slide out the whole piece from around the hood release.
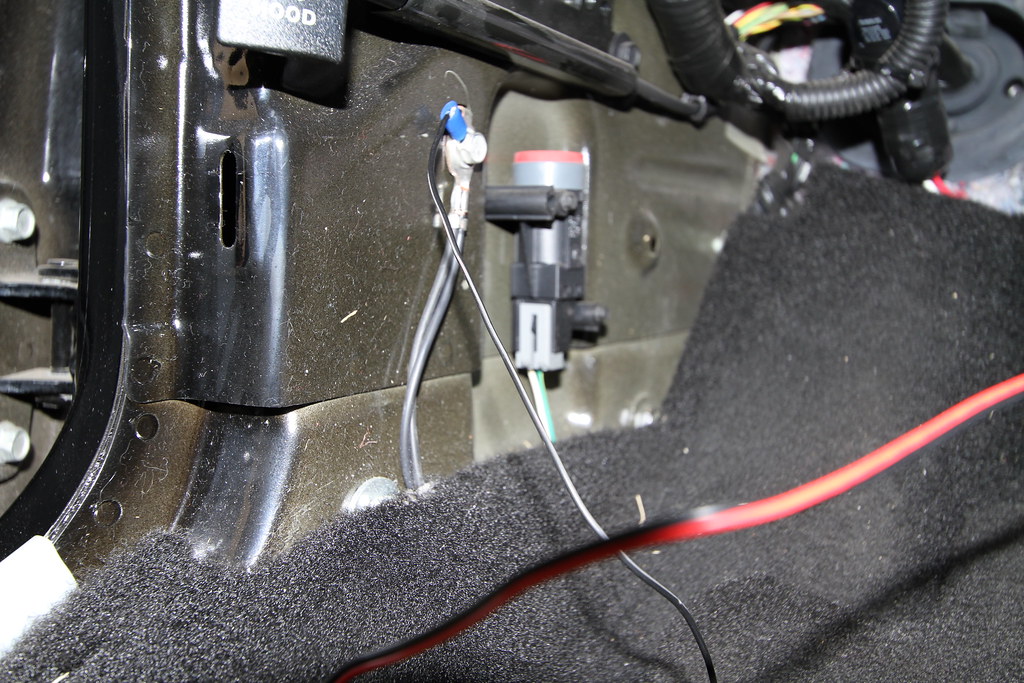
Underneath, you will find an official ground that Ford already has something grounded to from the factory. Loosen the bolt slightly. Now, take the black wire coming from the top of the LEDglow receiver and attach it to the ground. I used one of these solderless terminal thingies:

but you could probably just strip off a little more wire and wrap it around the bolt, then tighten the bolt back down. Now your lights have a very safe ground. Here is how mine looks:
To make things easy for the next step, I bought some little electrical connector/splice in things at Auto Zone. This was in a variety pack with all different colors. Use a red one. These allow you to place 2 wires in a connector, fold over a flap, which pushes down a metal blade into both wires, wiring them together. Makes the job easy and clean.

Now, run the red and black wire coming from the top of the LEDglow receiver up through the back of the dash and out where the headlight switch was. You will place this wire and the YELLOW wire with a blue stripe inside your connector. Squeeze your connector shut hard, preferably with pliers so you get a good connection. Now, I know for sure on an early '07 GT the wire is yellow, however it could have been a different color for 05, 06, 08, 09, V6, etc. It's probably the same, but I'm not positive on that. (You can test it with a multi-meter)
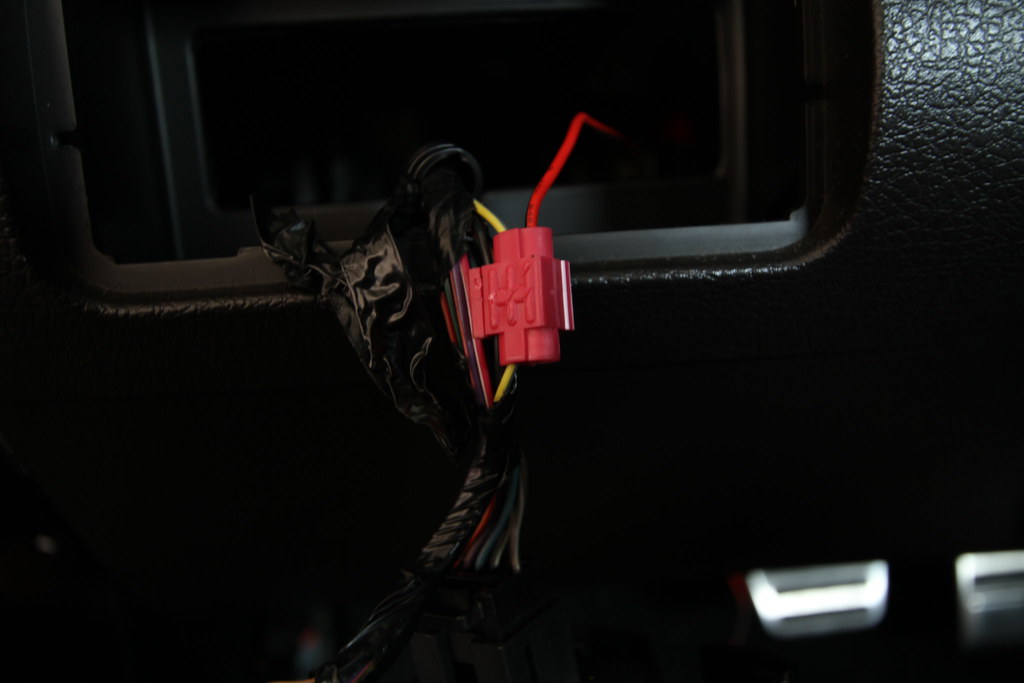
(you will have to cut some of the factory electrical tape to gain good access to the yellow wire.)
Now, turn on your parking lamps and you should have light!

Now wrap the connector tight with electrical tape and push the headlight switch assembly back into the dash. Put the plastic piece around the hood latch back on (with the ground wire coming out the top) and you are finished with the whole electrical part! Should be looking something like this:
Next, layout the tubes and wires where they are going to go. It's a real mess until you get everything situated. You can probably be a lot neater than I was.
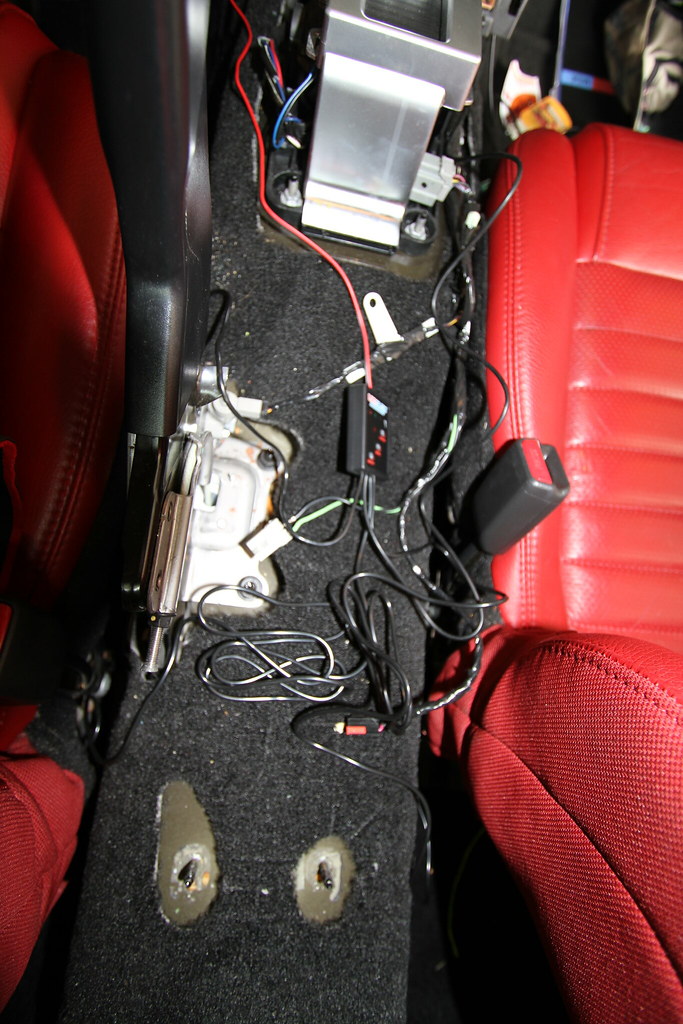
Keep this in mind... I was going to mount the receiver in the center console, but the wires weren't quite long enough, so I ended up putting mine here.
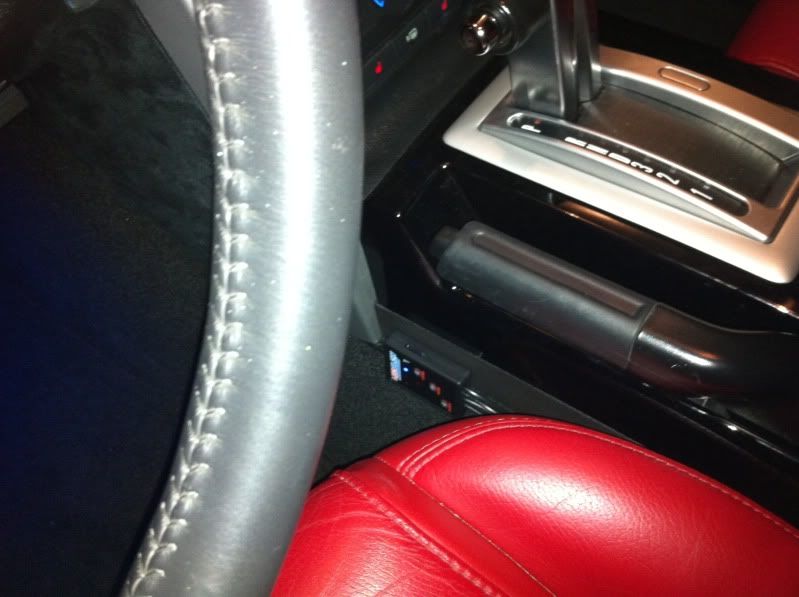
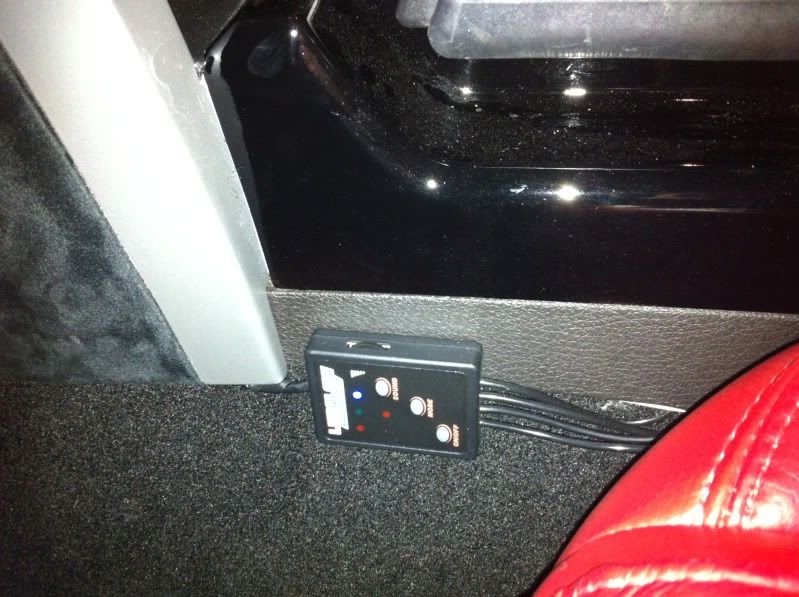
I don't notice it when I have my seat pushed up in driving position. It's a little hard to change the colors without pushing the seat back, but I don't play with it much anyway. I didn't want it to be noticeable.
Once you have everything halfway organized, sit the base of the console back in the car. Make sure you have enough slack for everything (especially for moving the back seats forward and back.)
***MAKE SURE the wires are tucked away from the E-brake assembly***. I used electrical tape to secure the wires away from the e-brake. Wires are easily shredded by the e-brake moving up and down.
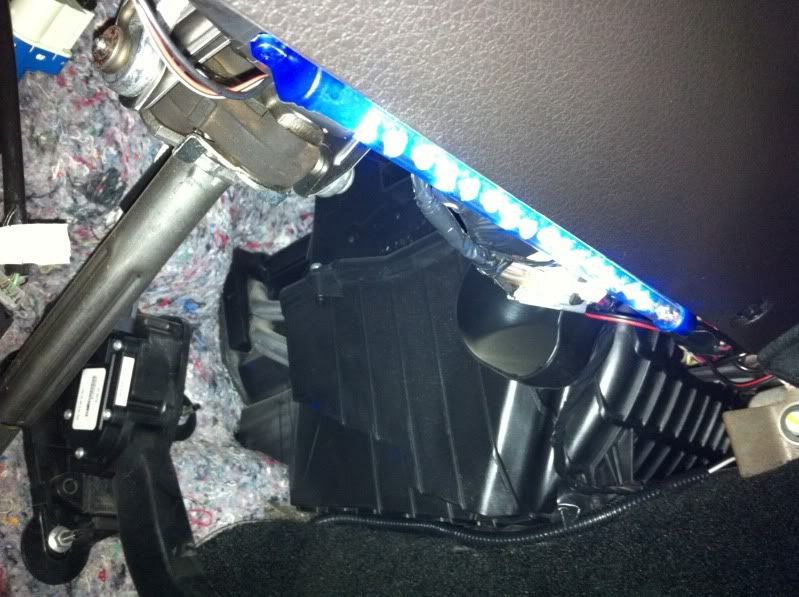
Once everything is decently wire-tied or taped halfway neatly, you can go ahead and re-assemble the console. Then you basically just mount the tubes and hide the wires. I did all of that with electrical tape. I would have screwed them into the dash like I am supposed to, but then the tubes would have been showing. RICE. Tubes showing is an epic fail, so I used my handy tape to wrap around the ends of the tube and attach it to a solid section of wires that Ford has running just above the bottom of the dash. It is surprisingly sturdy, but I am going to wire tie them when I get a chance. They don't jiggle or anything, but I'm sure the tape will un-stick itself once it warms up.
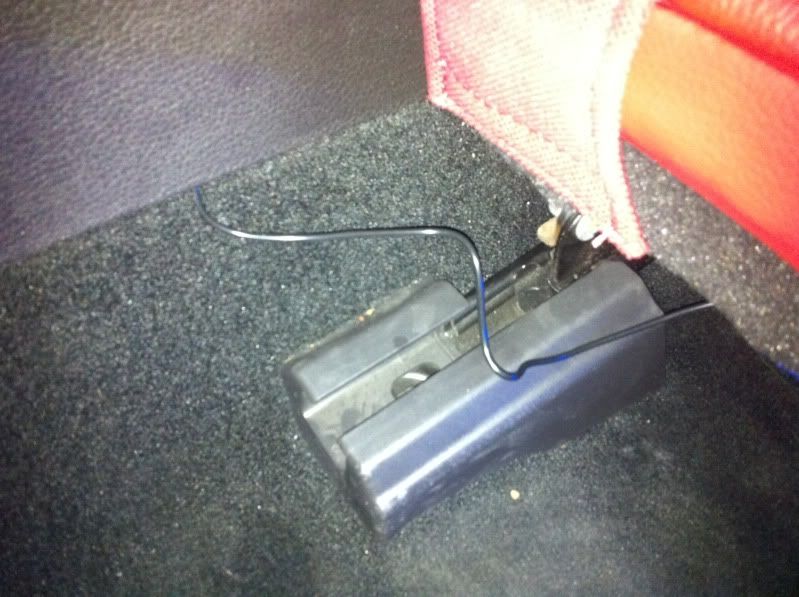
Back seats: I taped them facing backward from a bar that was way under the seat.
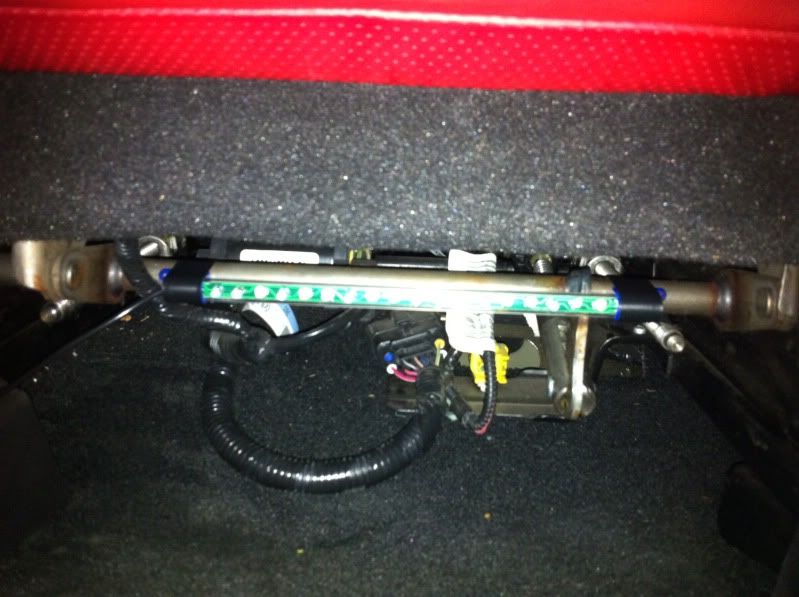
We'll see how long those last before some stupid broad kicks them.
Well that is all folks, I'm sure you can find a better way to mount them, but I hope you can make sense out of all the electrical mumbo jumbo... that is the important part.
*edit* Oh, and I almost forgot. Here is a link to the kit:
http://www.amazon.com/Multi-Color-Co...Z2XFAJ3DB60YCQ
Last edited by 07BLACKGT; 02-18-2011 at 04:49 PM.