
2013 v6 with hood vents *PIC HEAVY*
 01-02-2014, 02:47 PM
#1
So I finally pulled the trigger and cut into my hood to apply some gt hood vents. The idea was inspired by a guy I found on Instagram who goes by the name of @wesmathew who did the same thing to his Kona blue v6. It required lots of prep in measurement, a pneumatic cutting tool, and some careful hands.
I got help from my brother (Lethaldosage423) whos a mechanic, cutting into body work was kinda new for both of us. Ill cut to the chase.
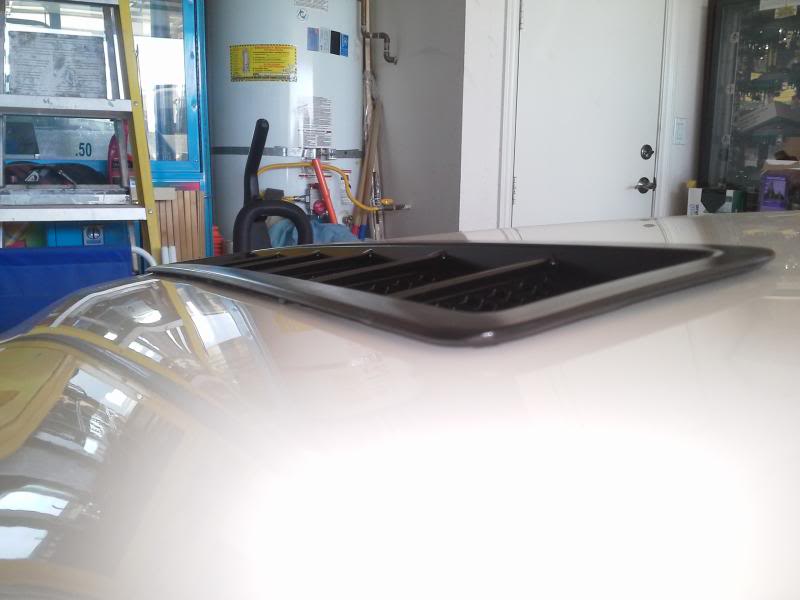
Got these on ebay for about $160
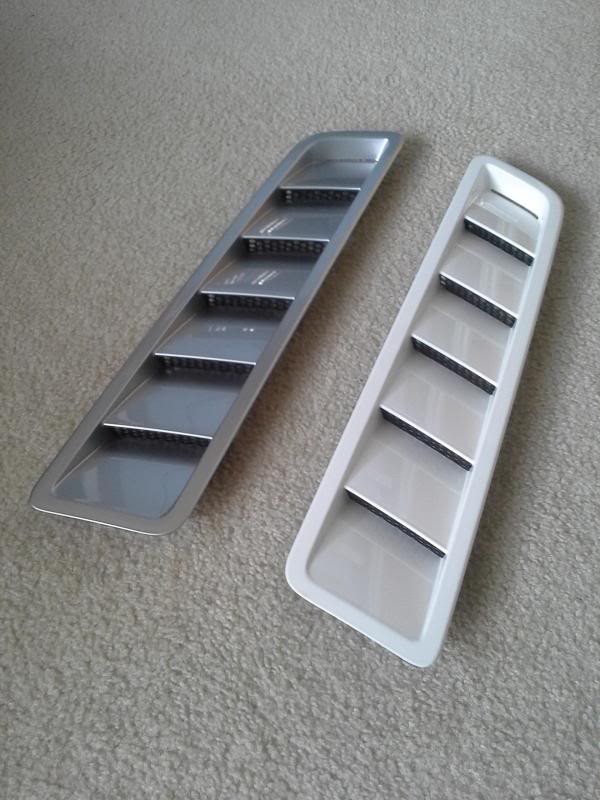
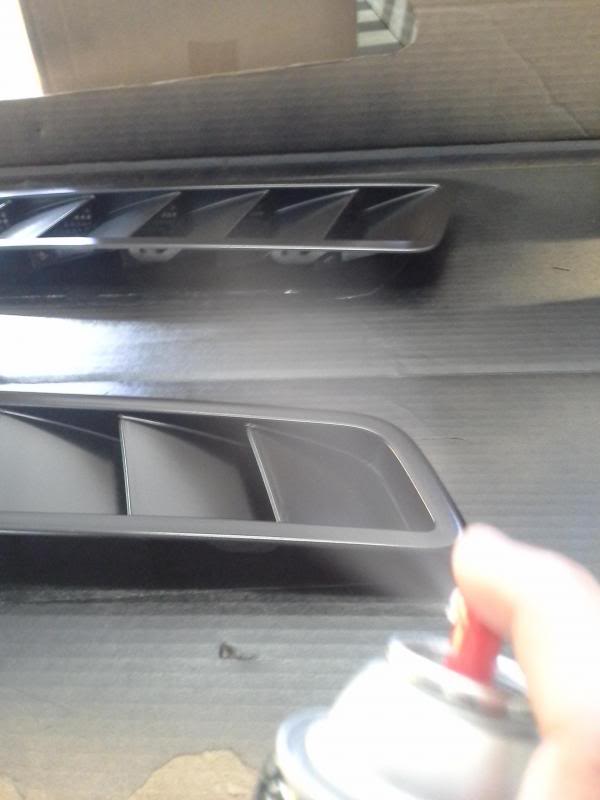
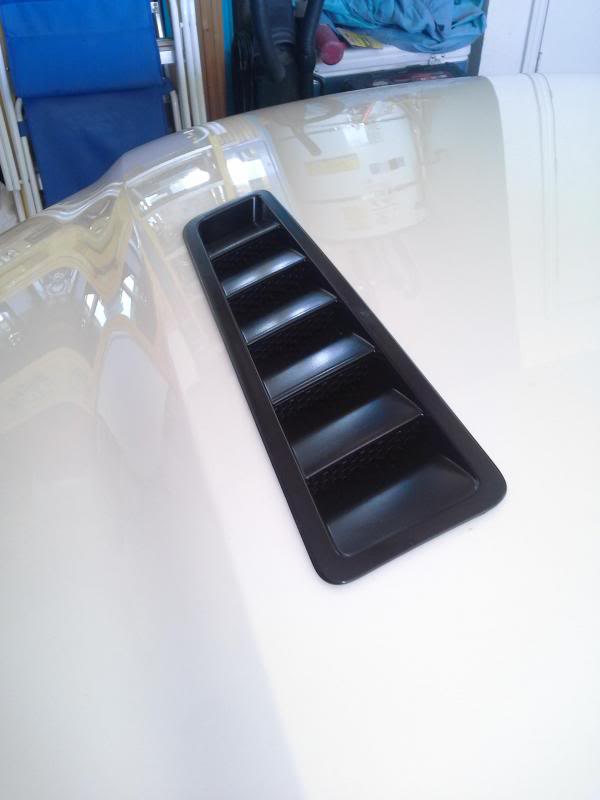
Painted them with plastidip, 4 coats
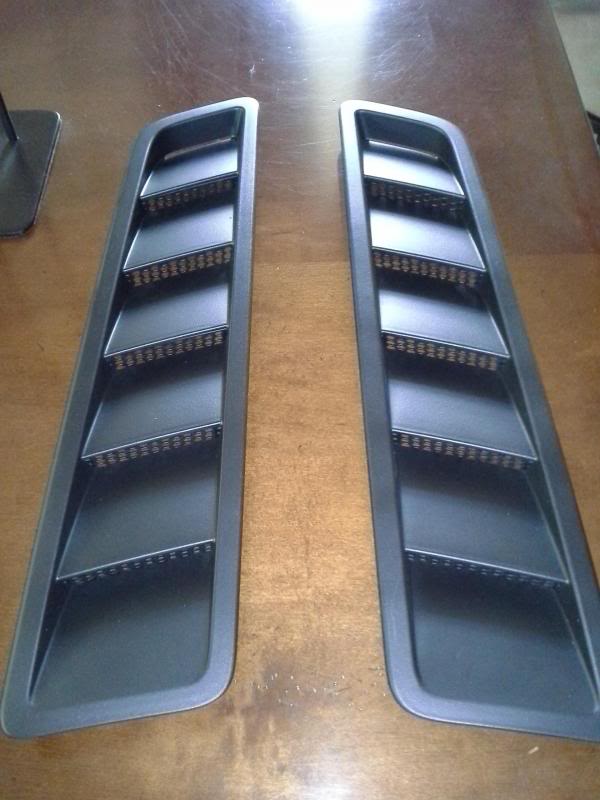
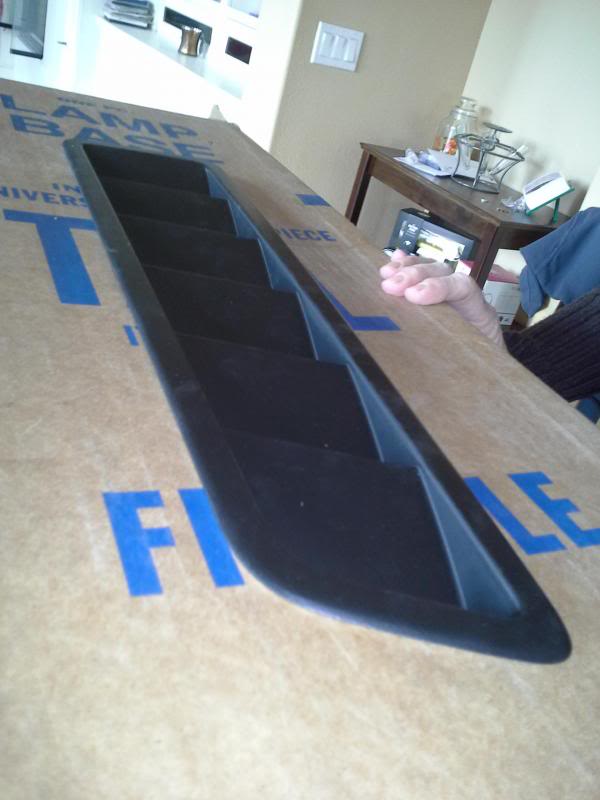
Decided against the plastidip in the end, and painted them with krylon satin black plastic paint, finish was remarkable
This part took the most time, getting the accurate measurements. Used some cardboard to work out the measurements
Luckily, the underside of the hood already had a slight template, so i matched the inside of the vents to the cardboard, and the inside of the hood to the outside of the cardboard.
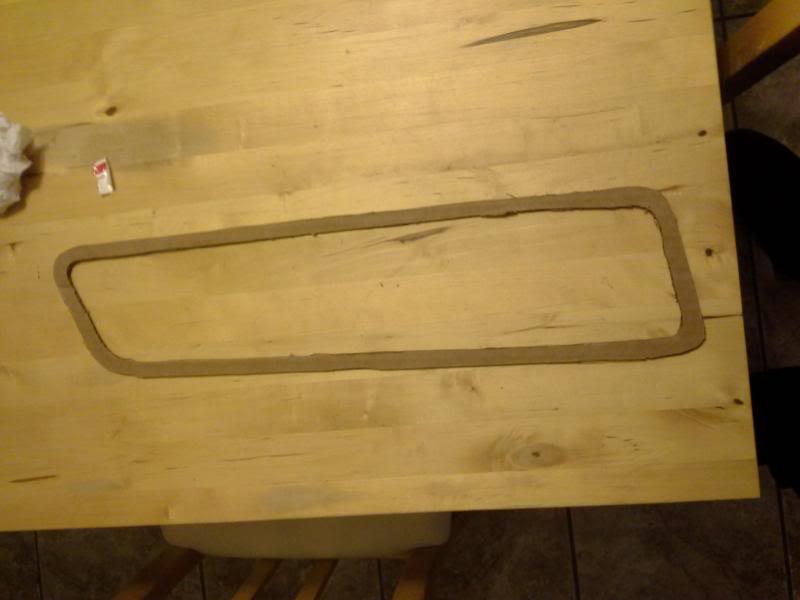
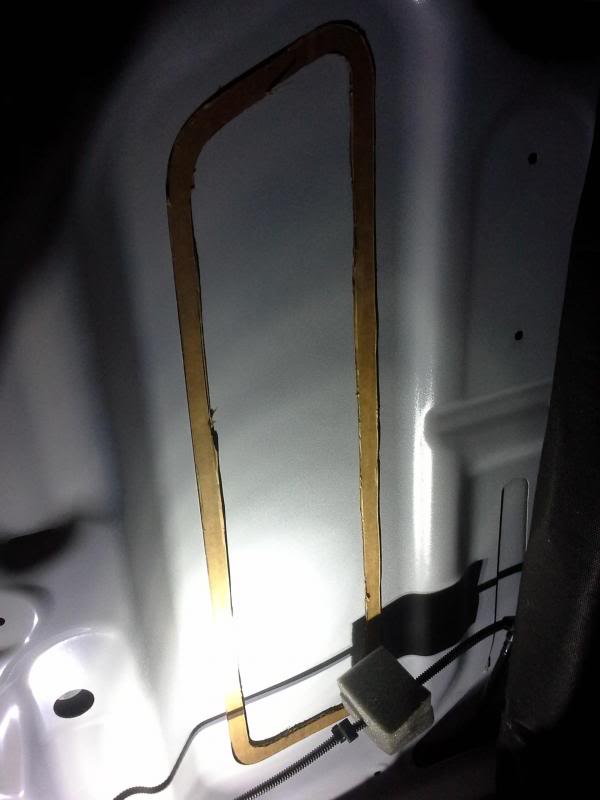
Marked the template
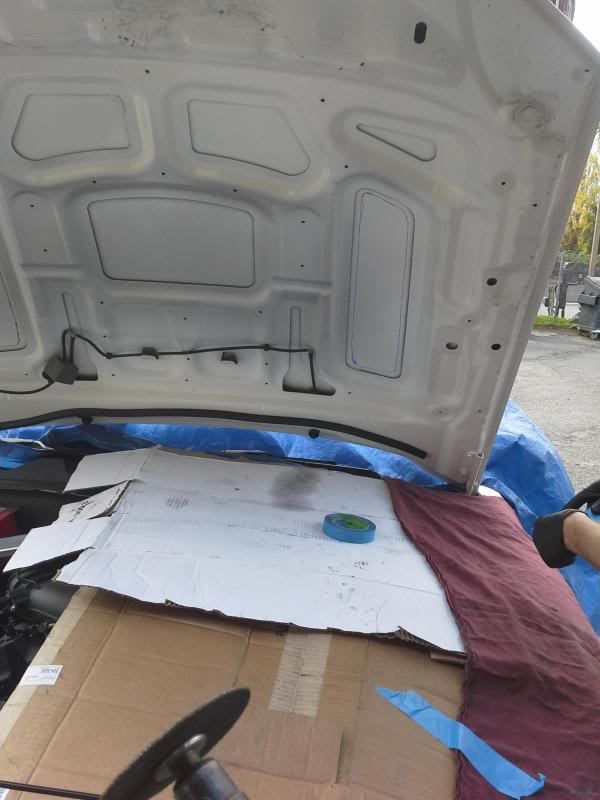
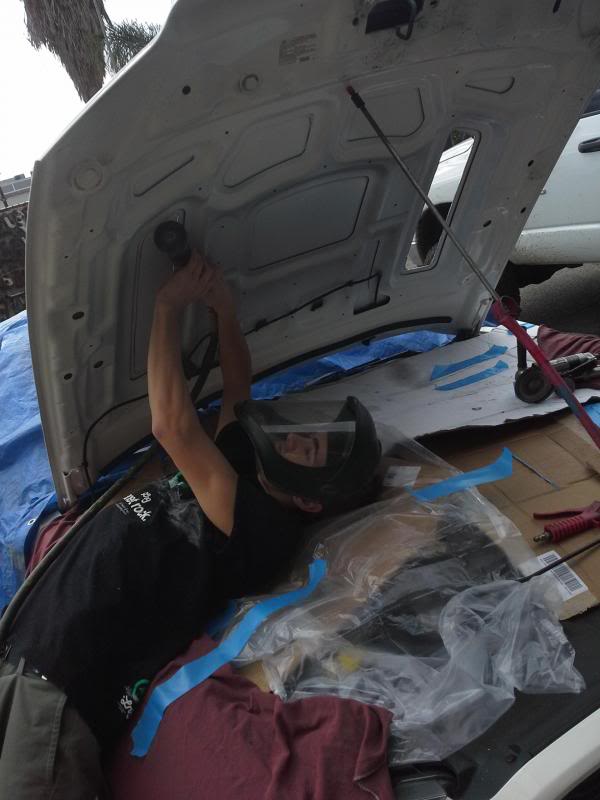
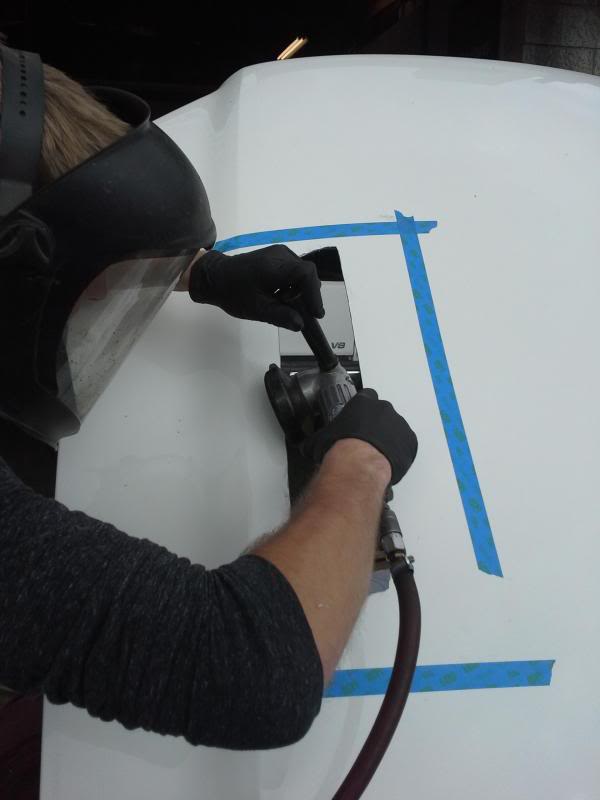
Next came the cutting, i was recommended to cut from the top, but i knew if i slipped, I'd need a new hood. My brother getting his hands dirty:
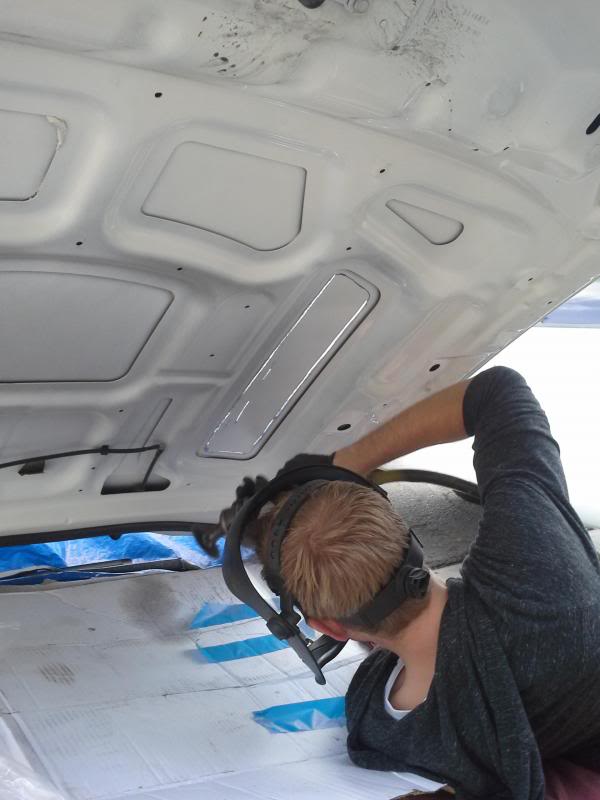
Myself, cutting the other side. We used my brothers shop for the tools and air.
The holes:
Cleaning up the edges
The result (without vents)
We applied seam sealer before applying the vents into place.
Then, once we applied the vents, We then masked off the edges on the hood, and applied more sealant under the over-lap of the vents on the hood.
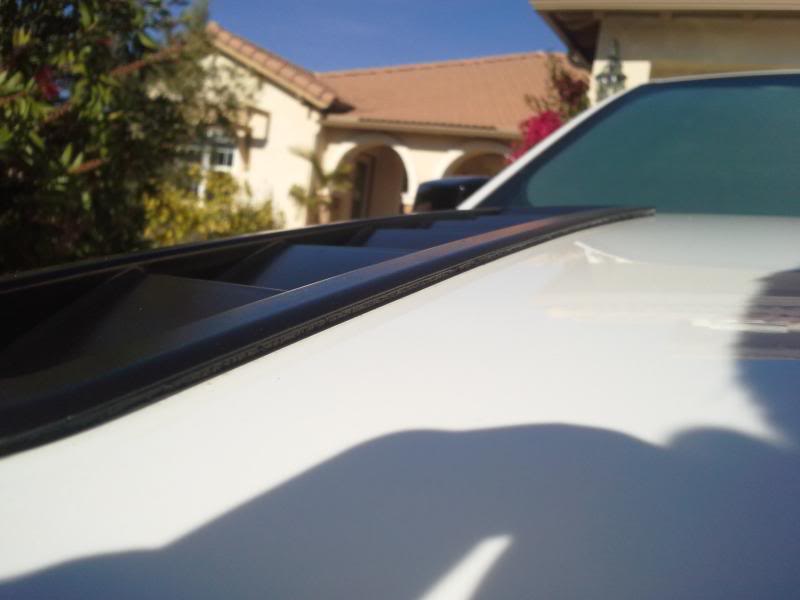
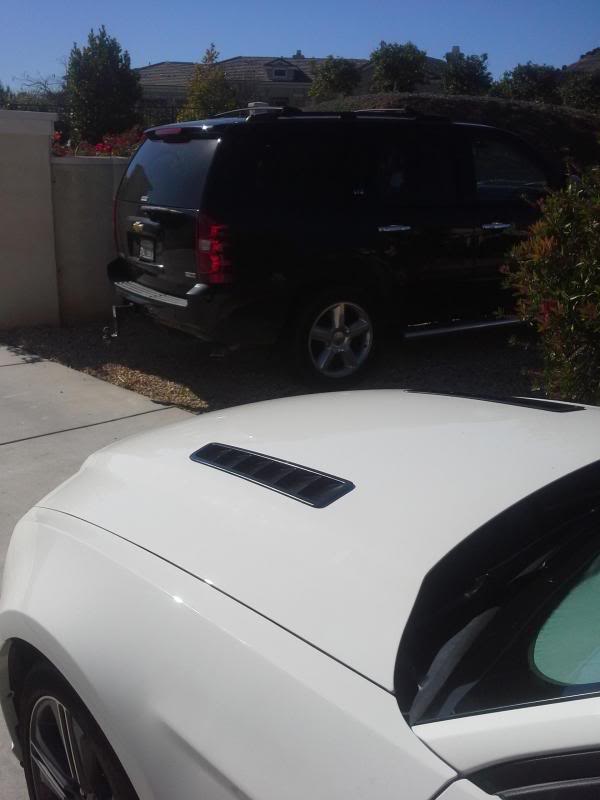
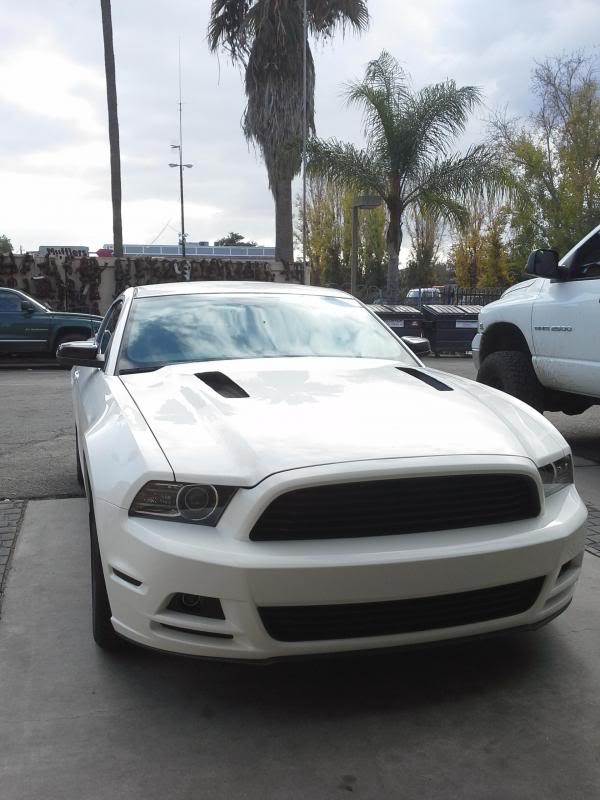
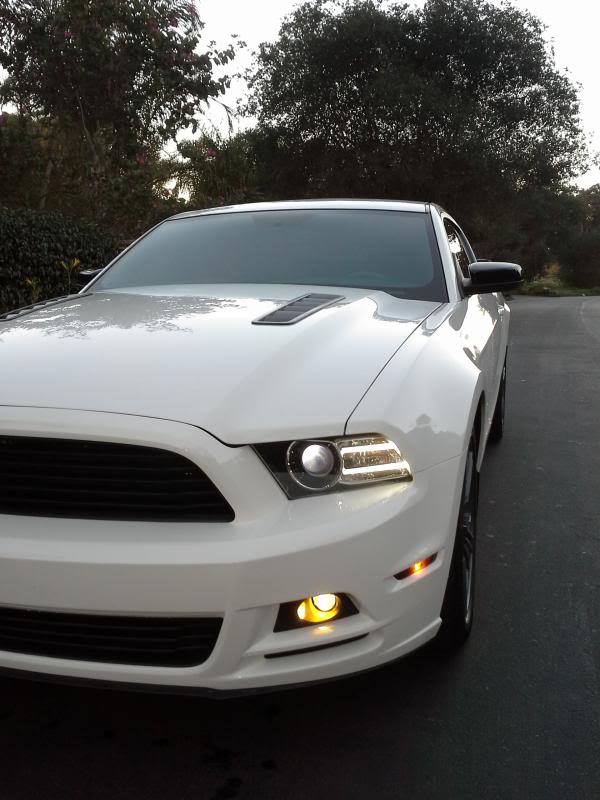
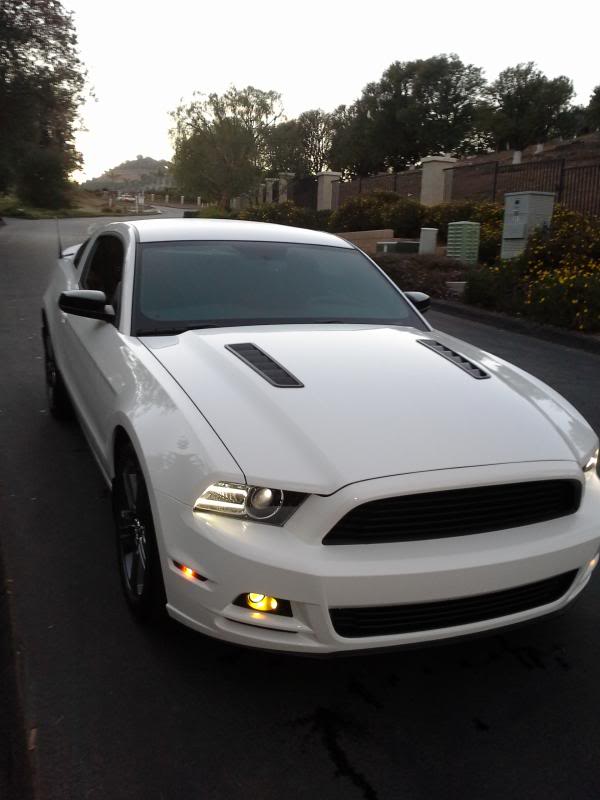
Theyre not completely flush with the body like the 5.0, but I like how they sit.
(this was before applying the sealant under the over-lap)
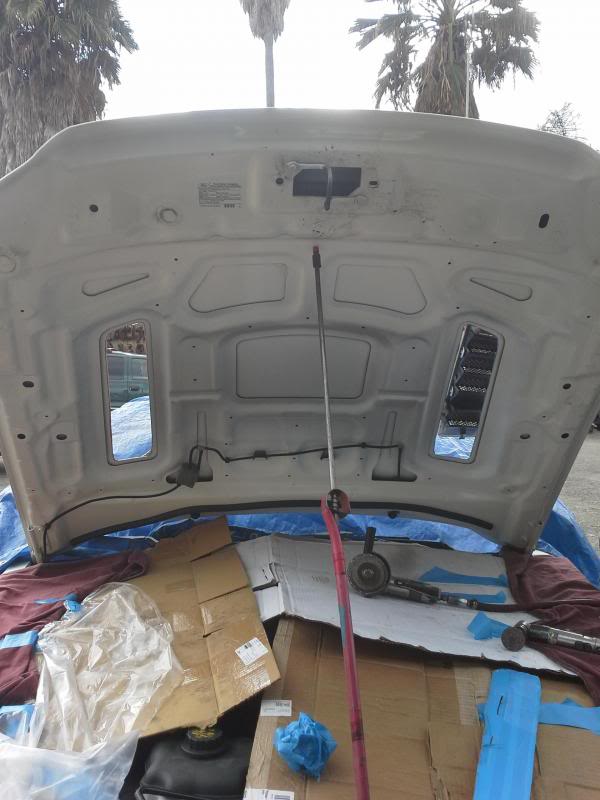
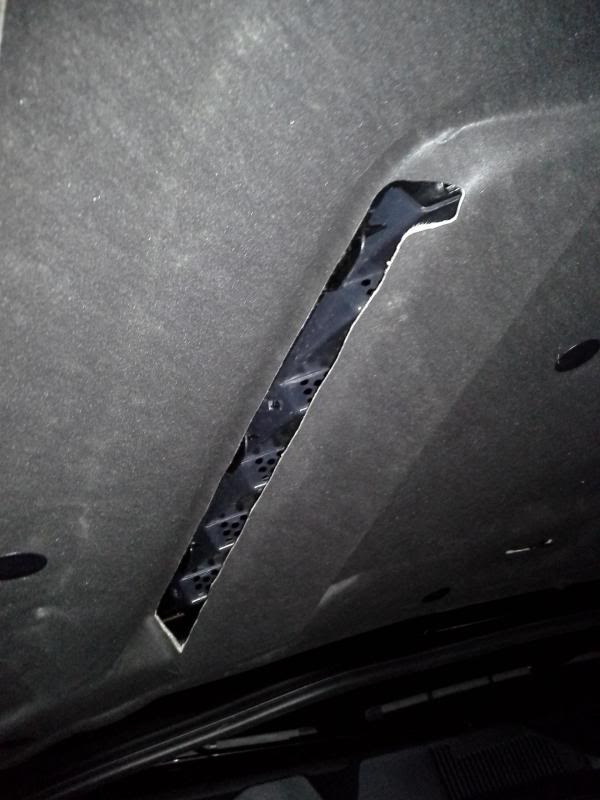
I also cut the underside hood blanket to make the vents, well, functional
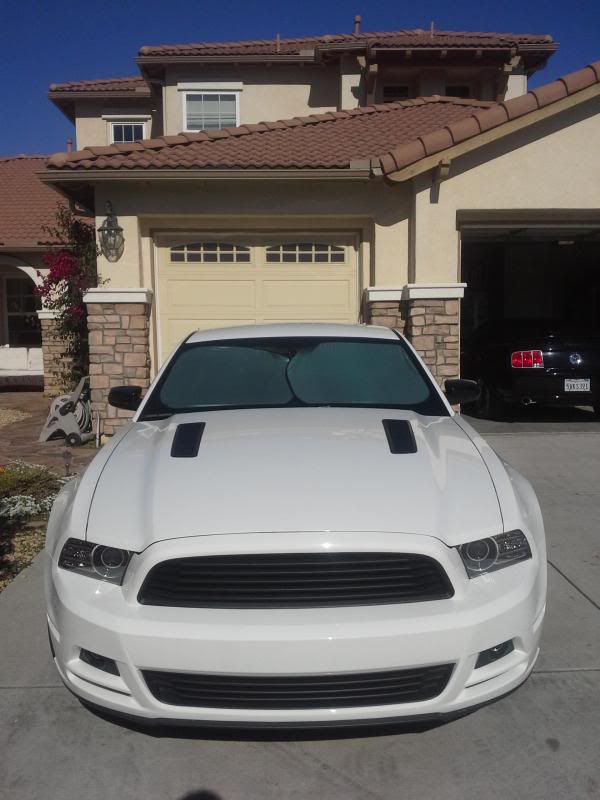
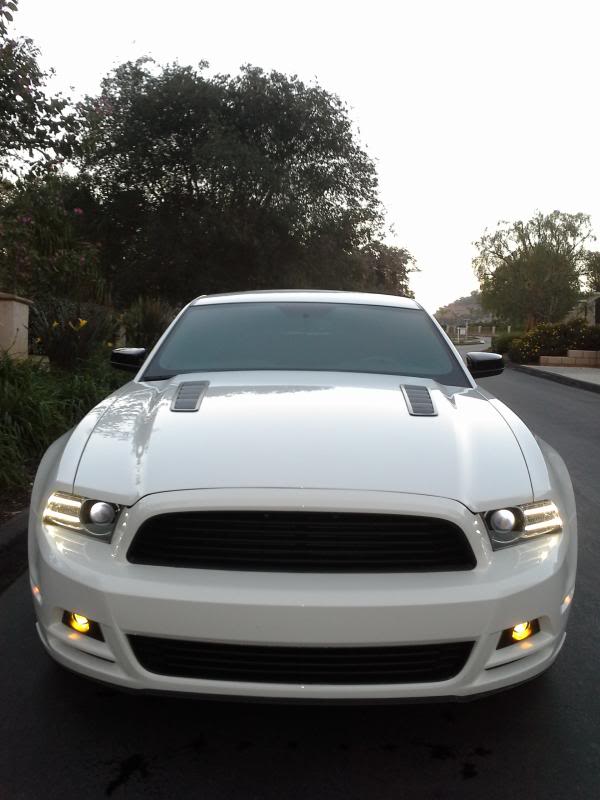
The finale, with a clean car:
I got help from my brother (Lethaldosage423) whos a mechanic, cutting into body work was kinda new for both of us. Ill cut to the chase.
Got these on ebay for about $160

Painted them with plastidip, 4 coats

Decided against the plastidip in the end, and painted them with krylon satin black plastic paint, finish was remarkable

This part took the most time, getting the accurate measurements. Used some cardboard to work out the measurements

Luckily, the underside of the hood already had a slight template, so i matched the inside of the vents to the cardboard, and the inside of the hood to the outside of the cardboard.


Marked the template

Next came the cutting, i was recommended to cut from the top, but i knew if i slipped, I'd need a new hood. My brother getting his hands dirty:

Myself, cutting the other side. We used my brothers shop for the tools and air.

The holes:

Cleaning up the edges

The result (without vents)

We applied seam sealer before applying the vents into place.
Then, once we applied the vents, We then masked off the edges on the hood, and applied more sealant under the over-lap of the vents on the hood.


Theyre not completely flush with the body like the 5.0, but I like how they sit.

(this was before applying the sealant under the over-lap)

I also cut the underside hood blanket to make the vents, well, functional

The finale, with a clean car:


