99-04 seat rack in 96-98 how to
 12-11-2012, 05:06 PM
#1
Thread Starter

Join Date: May 2012
Location: Ca
Posts: 34
My seat motors went out on me in the worst position, all the way back. Being only 5'7 this was an issue. So at the junk yard i found a 2000 mustang v6 in great condition and took the seat with motors. Well when it got home and took my seat out i realized that there are different connectors. I figured as long as i can get power i should be good. So this is how to make the swap work.
Tools needed:
3/8 ratchet
15mm deep socket
10mm deep socket
Wire cutters/strippers
Volt Meter
Patience
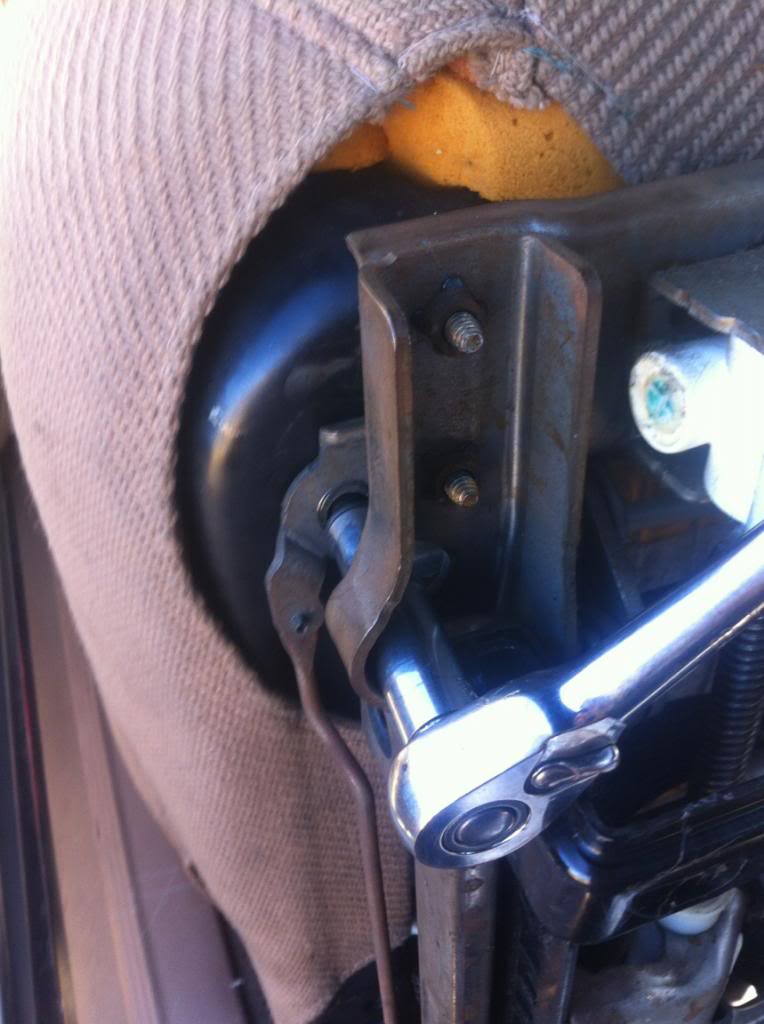
First, take out the seat rack and motors and do not forget this wire harness. Take the controller because the old controller will not work to operate the motors. I forgot the connector and had to go back to the junk yard to get.
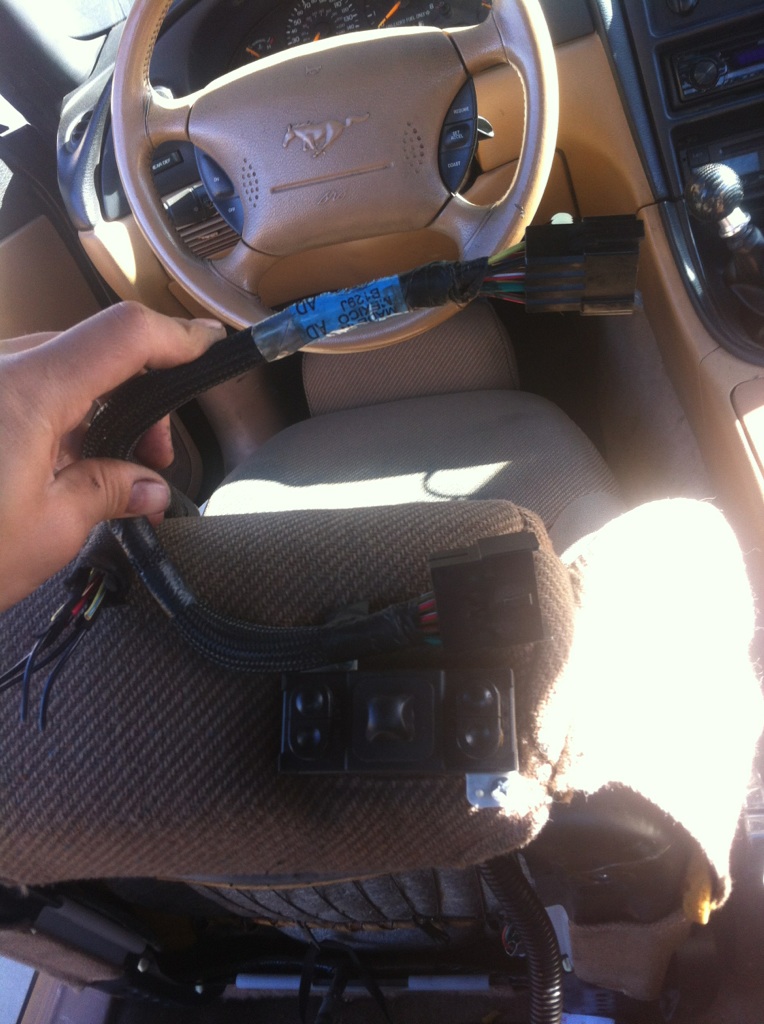
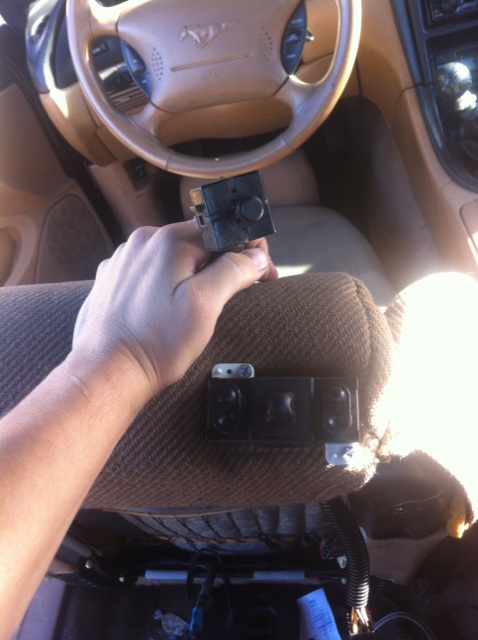
Next remove your seat rack and controller from your seat. Save the controller, we will be needing all the connectors. I removed the new controller from its plastic housing and just screwed it into where the old controller was.
New Controller
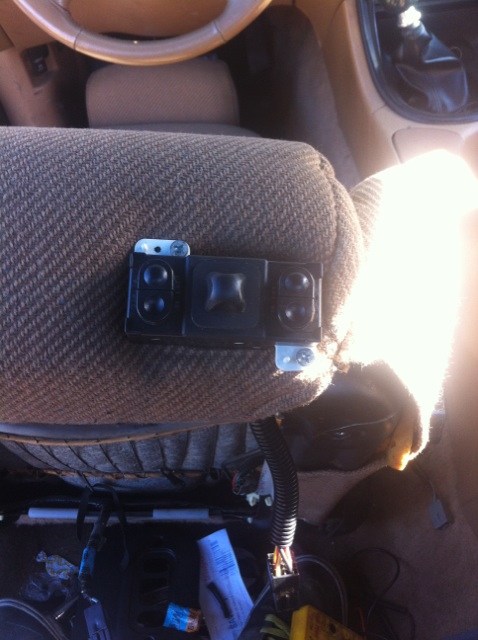
Old Controller
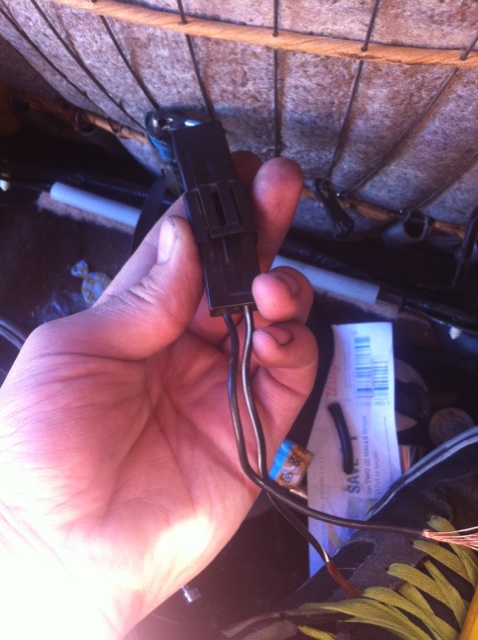
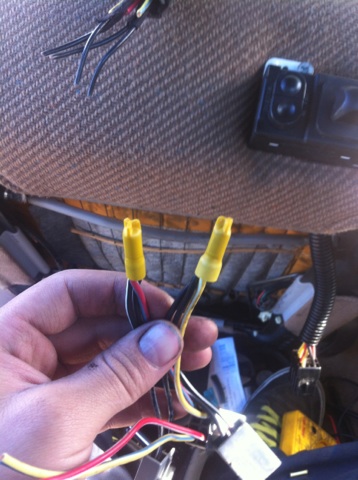
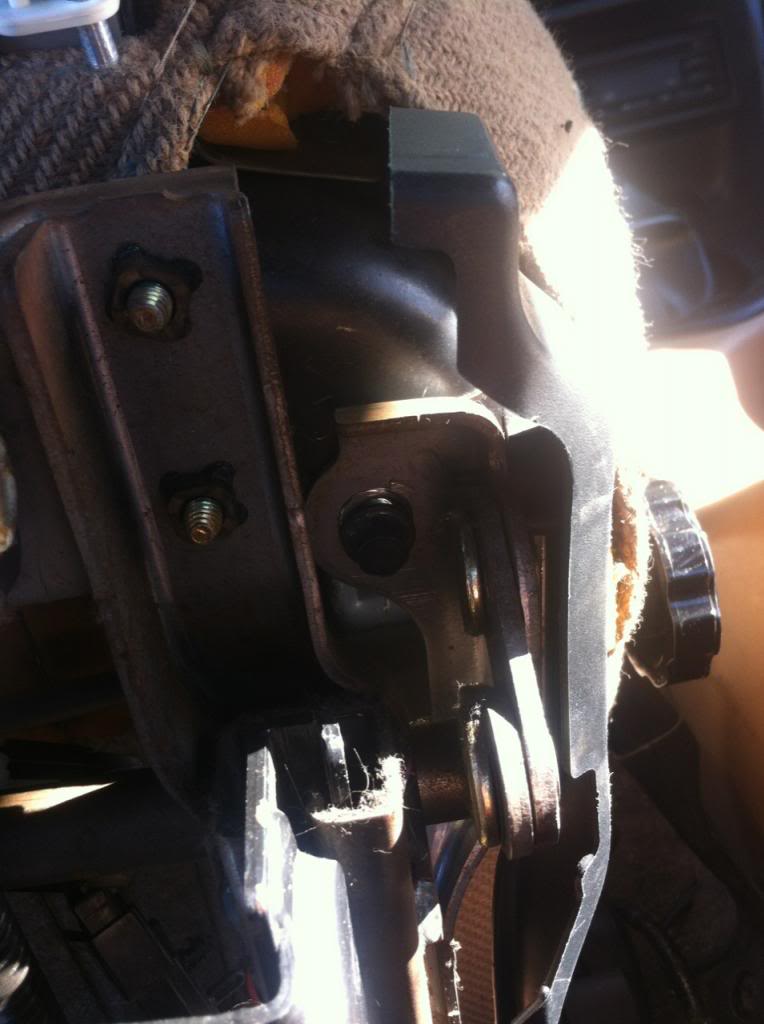
Next you will be cutting off all the connectors off the old harness. For me with both 2 prong connectors, the Black was always negative and the Black/white was always positive. Also i cut them pretty long and I was glad i did, you might need some extra slack.
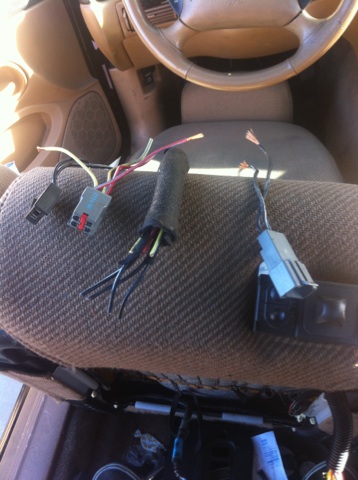
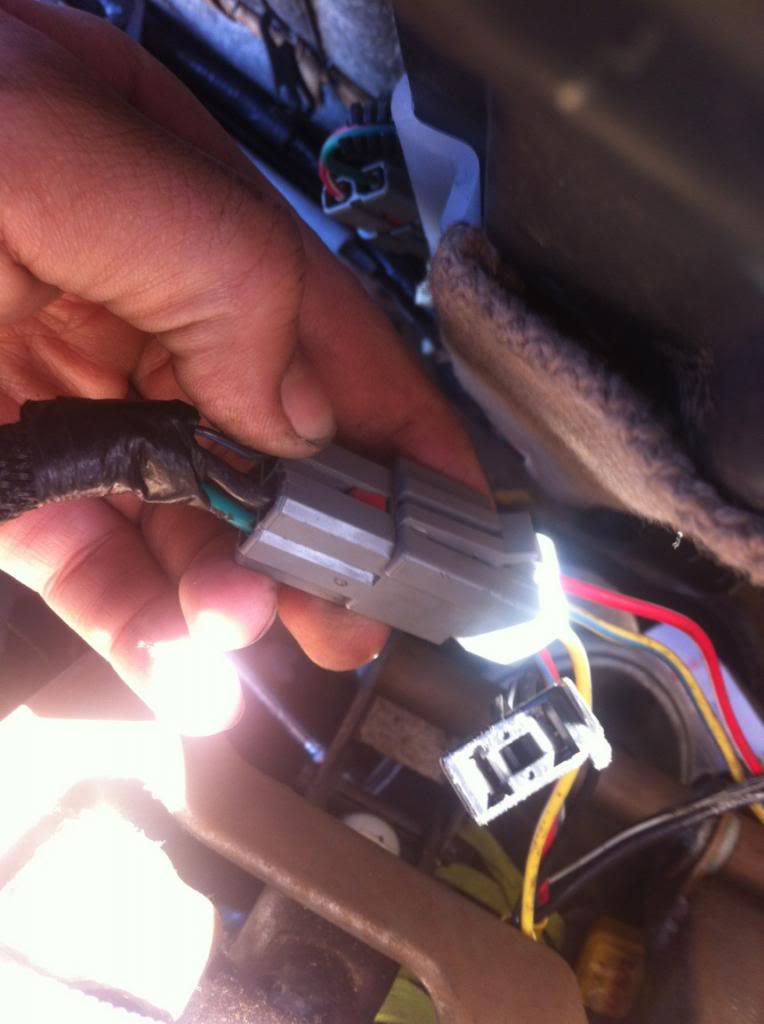
Each connecter will plug right back into the original connectors and make everything a lot easier to install. Next is on the new seat rack there is a 4 prong connector, my wires were a thick green one for positive and a thick black one for negative. The other two wires are useless. On the 4 prong connector you cut off, figure out which two wires mate up with the positve and negative. mine were yellow/white for negative and red/blue for positive.
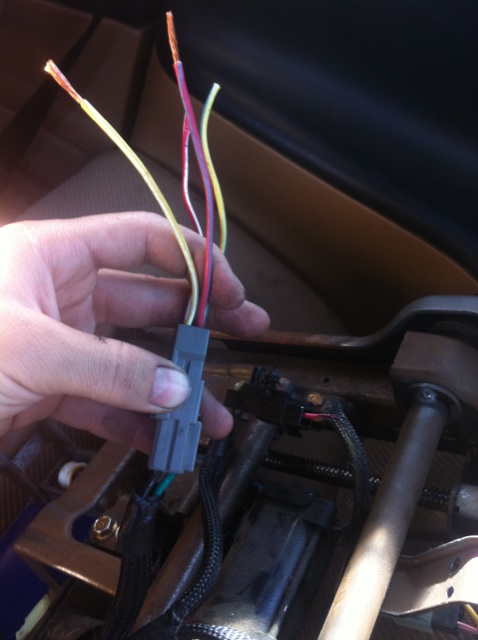
Next figure out which is positive for your Lumbar support connector. My wires were black for negative and blue/white for positive. This is the connector you didn't cut.
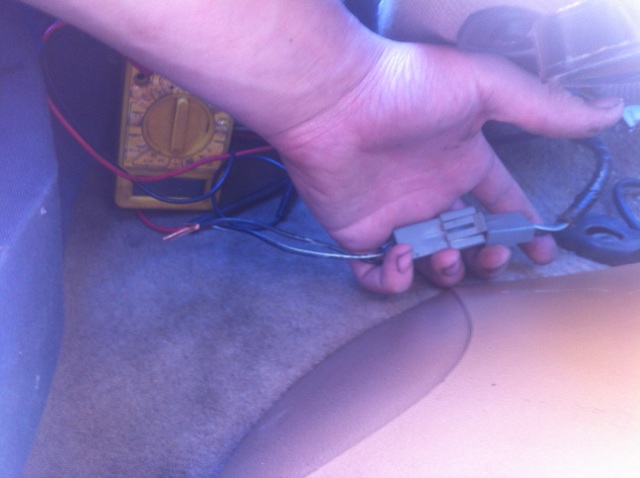
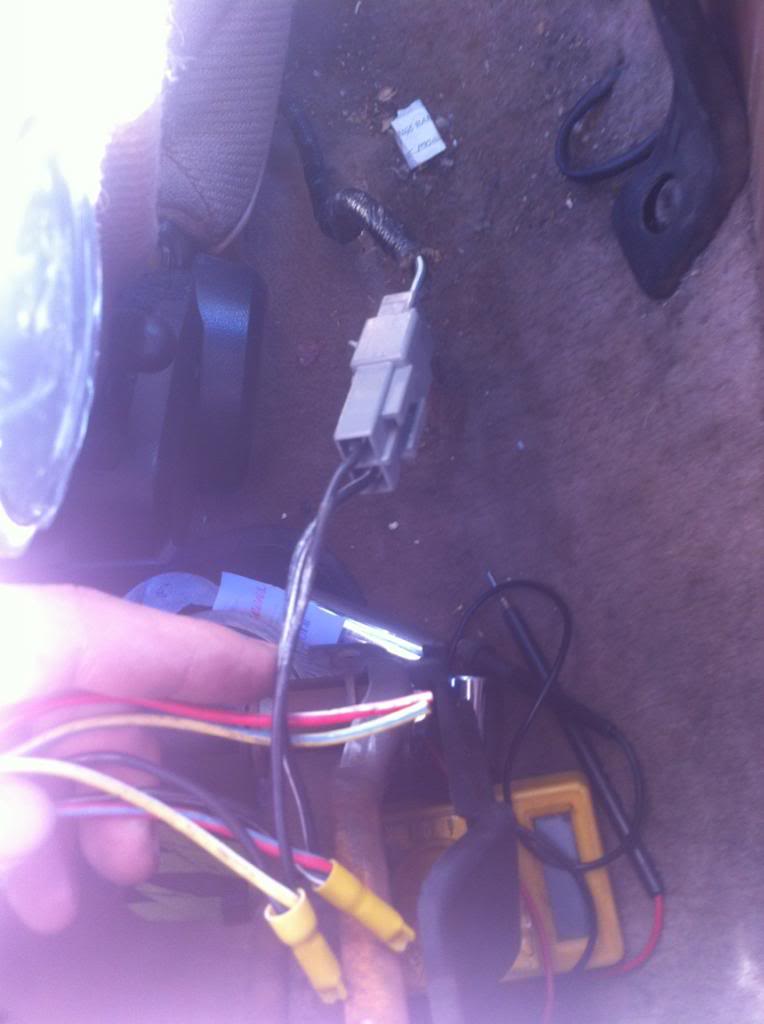
Next you will be figuring out which is positive and negative from the power supply connector coming from the floor of the car. Mine was Blue/white for positive and black for negative. I used my volt meter to make sure. If you cross wires dont worry too much, you will just blow a 25 amp fuse under the hood, the first small fuse you see towards the motor.
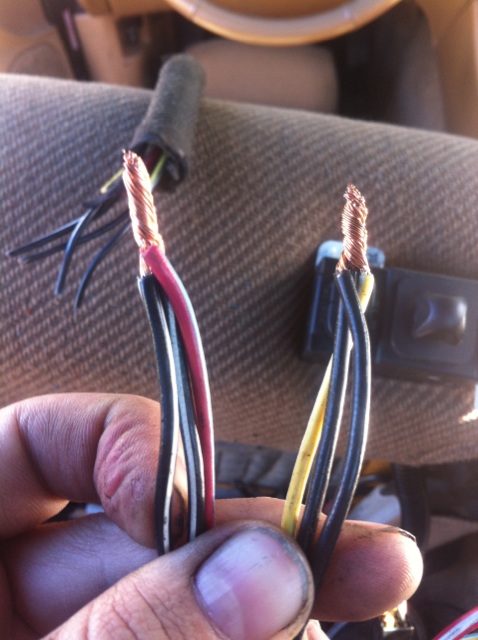
Now take all the positives and negatives and twist them together and cap them off. Or which ever method you prefer.

After that all you have to do is plug everything in and do a test to make sure you got everything right. Also make sure the seat rack you got is fully functional.
Main power
Lumbar support
4 prong connector, remember only two wire will used.
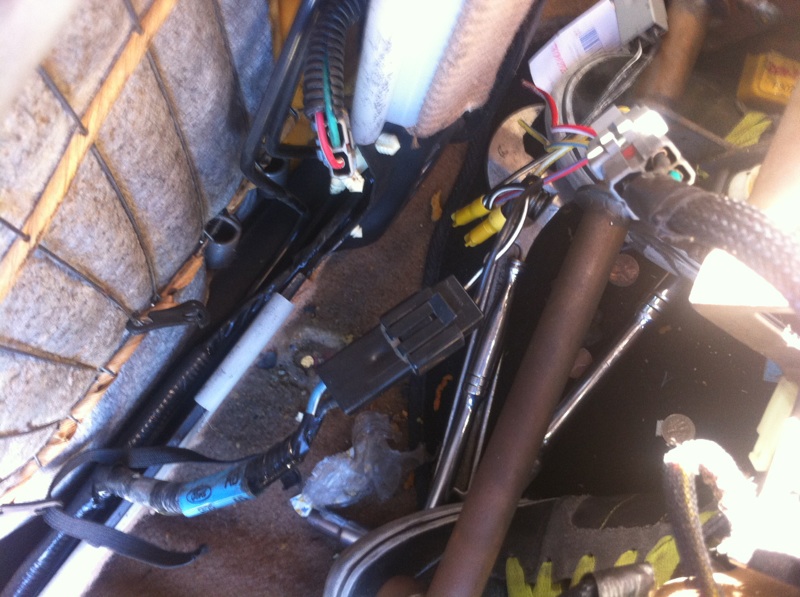
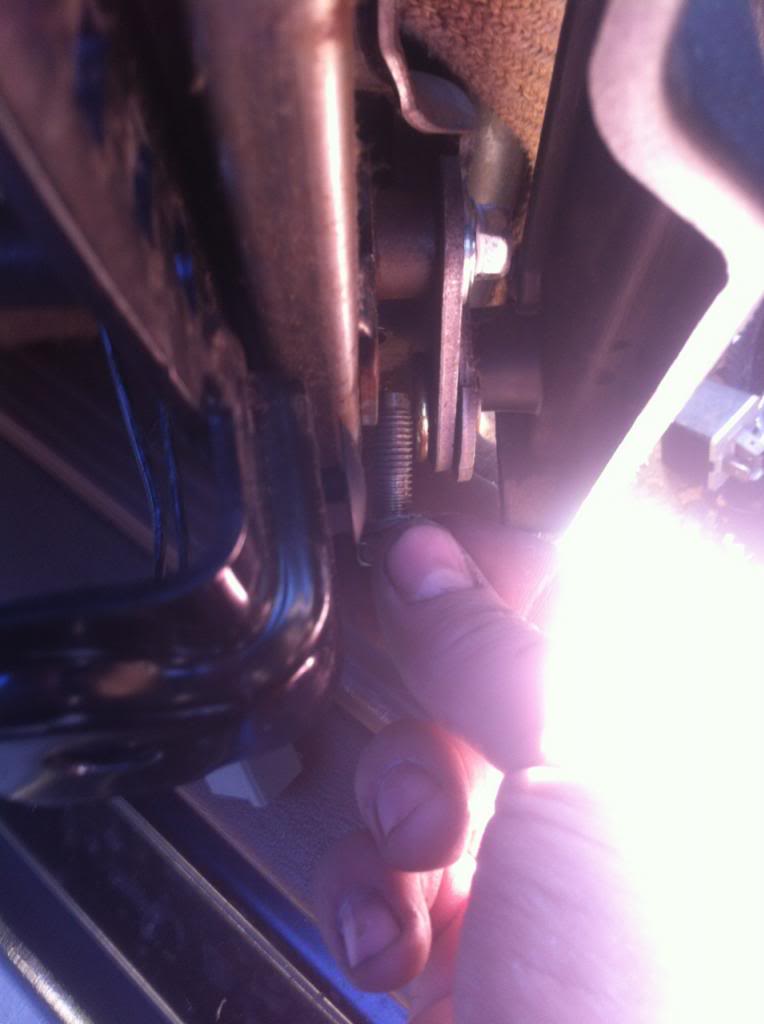
From here on out most of everything just bolts right back into place, but i can see some bolts not fitting into place, so you might need to drill the holes in the rack bigger or slot the holes. For me everything went in fine. Also remember to move the seat forward and backward to reach the bolts with a ratchet, also do not tighten the bolts down until all bolts are in.
Issue number 1 is the bolt on the bottom right corner is too short and you'll need to replace it with a longer bolt. Its a very common size
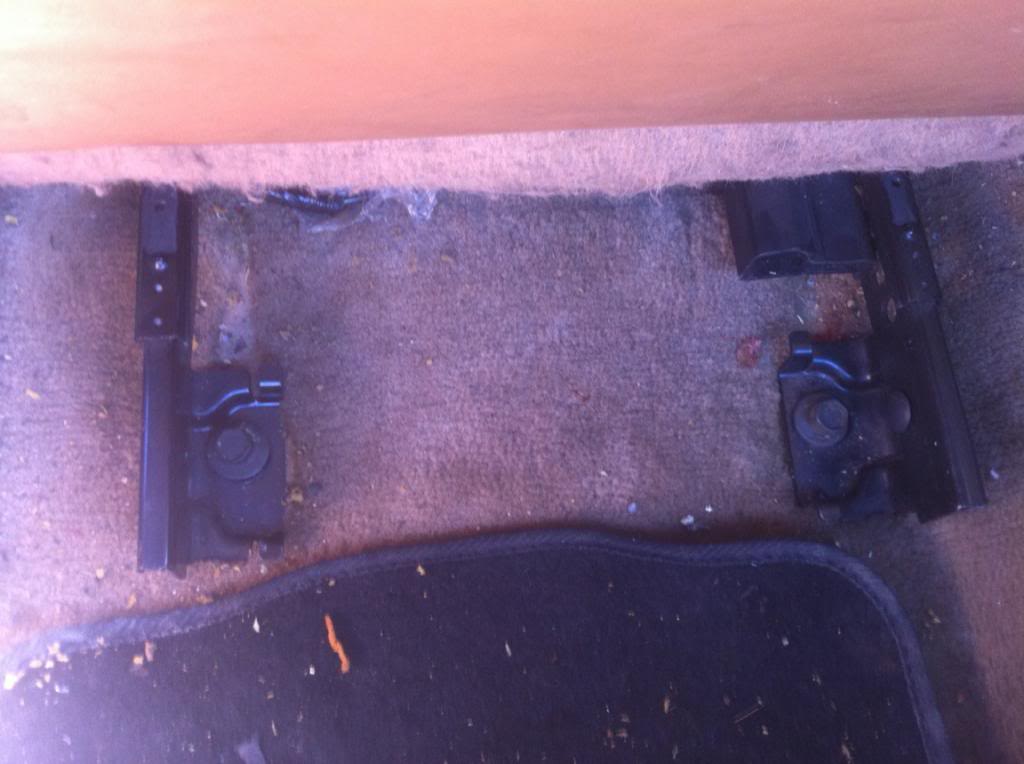
The front rack mounts to the floor fit perfectly for me.
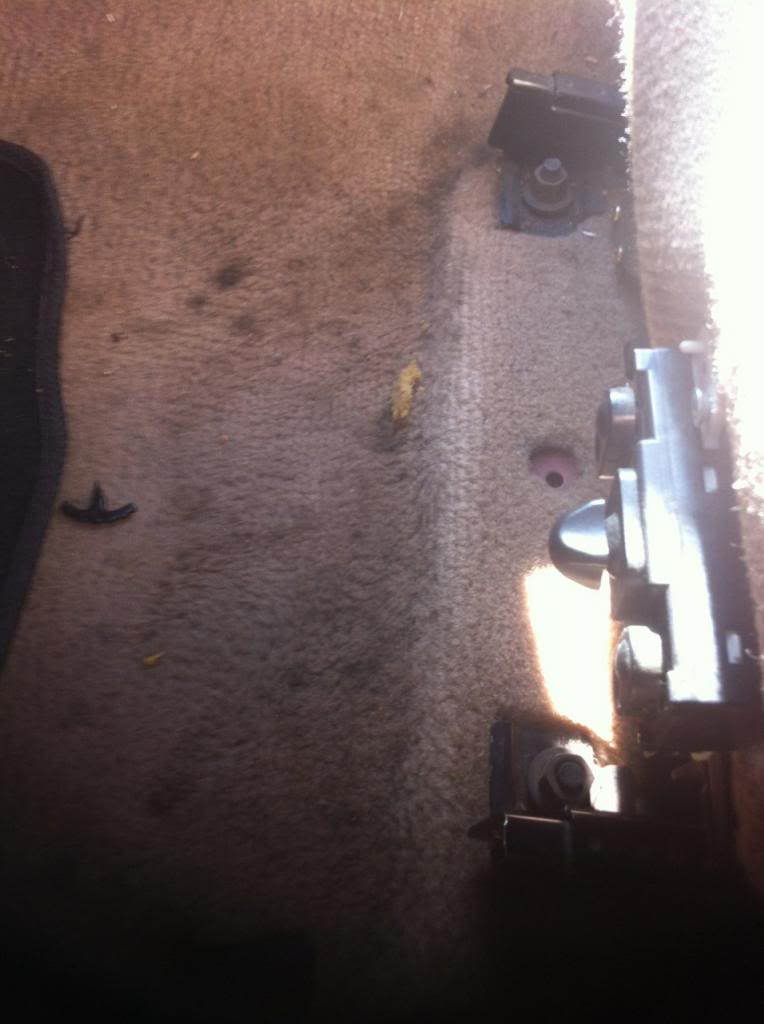
The back mounts where just a bit off

But instead of drilling a hole you can squeeze it until you can see the hole and just put the bolt in. Its just barely off. Other than that it was nearly a direct fit
The outcome was very satisfying. There are more controls on the newer seat rack then my 96 seat rack had.
Tools needed:
3/8 ratchet
15mm deep socket
10mm deep socket
Wire cutters/strippers
Volt Meter
Patience
First, take out the seat rack and motors and do not forget this wire harness. Take the controller because the old controller will not work to operate the motors. I forgot the connector and had to go back to the junk yard to get.
Next remove your seat rack and controller from your seat. Save the controller, we will be needing all the connectors. I removed the new controller from its plastic housing and just screwed it into where the old controller was.
New Controller
Old Controller
Next you will be cutting off all the connectors off the old harness. For me with both 2 prong connectors, the Black was always negative and the Black/white was always positive. Also i cut them pretty long and I was glad i did, you might need some extra slack.
Each connecter will plug right back into the original connectors and make everything a lot easier to install. Next is on the new seat rack there is a 4 prong connector, my wires were a thick green one for positive and a thick black one for negative. The other two wires are useless. On the 4 prong connector you cut off, figure out which two wires mate up with the positve and negative. mine were yellow/white for negative and red/blue for positive.
Next figure out which is positive for your Lumbar support connector. My wires were black for negative and blue/white for positive. This is the connector you didn't cut.
Next you will be figuring out which is positive and negative from the power supply connector coming from the floor of the car. Mine was Blue/white for positive and black for negative. I used my volt meter to make sure. If you cross wires dont worry too much, you will just blow a 25 amp fuse under the hood, the first small fuse you see towards the motor.
Now take all the positives and negatives and twist them together and cap them off. Or which ever method you prefer.
After that all you have to do is plug everything in and do a test to make sure you got everything right. Also make sure the seat rack you got is fully functional.
Main power
Lumbar support
4 prong connector, remember only two wire will used.
From here on out most of everything just bolts right back into place, but i can see some bolts not fitting into place, so you might need to drill the holes in the rack bigger or slot the holes. For me everything went in fine. Also remember to move the seat forward and backward to reach the bolts with a ratchet, also do not tighten the bolts down until all bolts are in.
Issue number 1 is the bolt on the bottom right corner is too short and you'll need to replace it with a longer bolt. Its a very common size
The front rack mounts to the floor fit perfectly for me.
The back mounts where just a bit off
But instead of drilling a hole you can squeeze it until you can see the hole and just put the bolt in. Its just barely off. Other than that it was nearly a direct fit
The outcome was very satisfying. There are more controls on the newer seat rack then my 96 seat rack had.


Thread
Thread Starter
Forum
Replies
Last Post
MustangForums Editor
GT350 S550 Tech
1
09-29-2015 03:29 PM

