Resto-mod project
 04-26-2010, 07:20 AM
#21
4th Gear Member
Thread Starter
Join Date: Apr 2010
Location: Madison, Georgia
Posts: 1,643
The 6cyl specific forum website is http://fordsix.com/forum/ and http://classicinlines.com/ has 6cyl specific performance parts if you want to take the route.
Good luck, keep us posted on your progress, and don't be afraid to ask questions as we were all mustang newbies at one point in time.
Good luck, keep us posted on your progress, and don't be afraid to ask questions as we were all mustang newbies at one point in time.
 04-26-2010, 08:00 AM
#22
2nd Gear Member

Join Date: Jan 2009
Location: NC
Posts: 307
Last night I took out the wiring to the back. So I wouldn't get confused, I put pieces of painting tape on each end of the wire (where it connects in the dashboard) and numbered them correspondingly so I wouldn't get them confused when re-installing. I also recorded their locations on a sheet of paper. Simple way to add some re-assurance. 
Since I'm working from front to back, my next problem would be the doors. What should I do about them? I'm sure I need to remove the glass, but what would be the best process of disassembling the door? The door panel and cranks are already removed.
Since I'm working from front to back, my next problem would be the doors. What should I do about them? I'm sure I need to remove the glass, but what would be the best process of disassembling the door? The door panel and cranks are already removed.
as for the door, you do have a ford factory manual, right? it tells you how. you basically remove the rubber trim from the rear of the door, remove the rubber and felt from the top of the door, remove the glass from the regulator and the door (3 screws; this might be optional, it's been a while), remove several bolts and a screw or two and the regulator, rear and bottom rails all come out of the hole in the door. then you can remove the vent window and front rail.
be prepared to have to drill out the screws that hold the glass to the regulator. they're very soft and very easy to strip.
04-26-2010, 08:10 PM
#23
4th Gear Member
Thread Starter
Join Date: Apr 2010
Location: Madison, Georgia
Posts: 1,643
next time you're at the parts store, look for the strips of numbers made for marking connections. buy several packs and use those instead of masking tape and pencil or pen (they're usually under $1 each). masking tape gets dry and the adhesive stops working and pencil fades or wears off.
as for the door, you do have a ford factory manual, right? it tells you how. you basically remove the rubber trim from the rear of the door, remove the rubber and felt from the top of the door, remove the glass from the regulator and the door (3 screws; this might be optional, it's been a while), remove several bolts and a screw or two and the regulator, rear and bottom rails all come out of the hole in the door. then you can remove the vent window and front rail.
be prepared to have to drill out the screws that hold the glass to the regulator. they're very soft and very easy to strip.
Question:
What is the name for the rubber stuff that sat between the window and outside of the door? The strip that was attached to the door.
I had to tear it out and subsequently broke it, although it was in bad condition anyways.
Second Question:
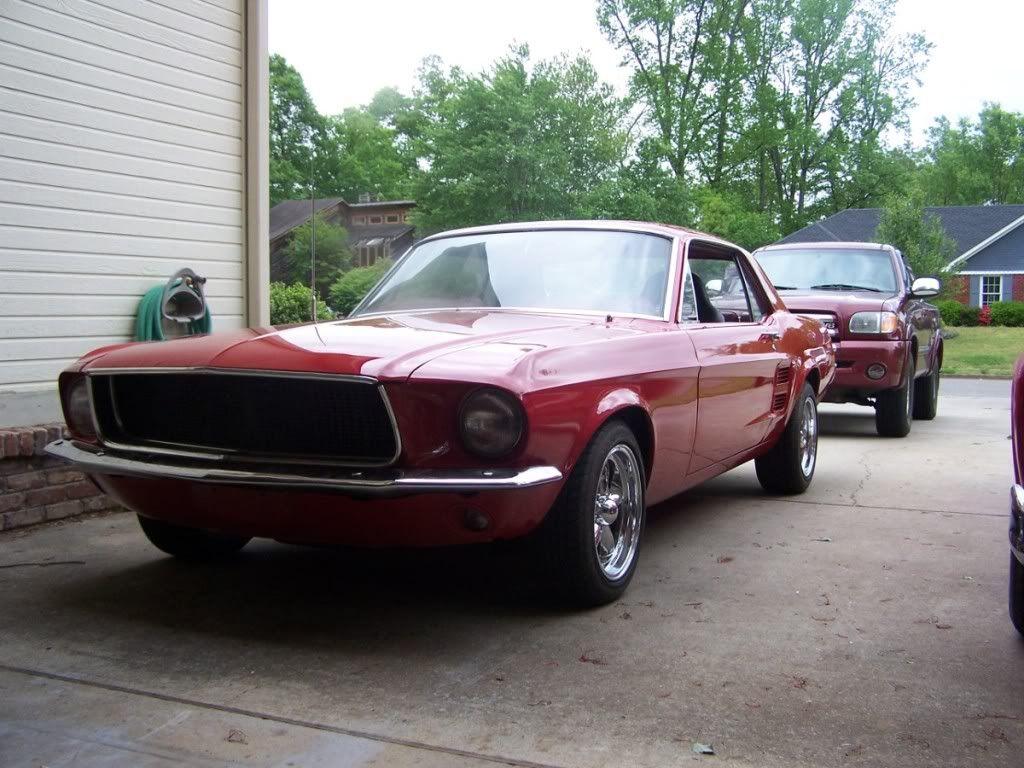
How do I get the chrome trim off the frame (above the doors in picture). I can't find an easy solution and don't want to break it. It could just be hard to pull off, if so, let me know, I just don't want to do it wrong and break it.
Re-installing those windows is probably going to be one of the largest pains in putting it back together.
Progress:

Last edited by hightower2011; 04-26-2010 at 08:22 PM.
04-26-2010, 09:32 PM
#24
3rd Gear Member
Join Date: Jul 2005
Location: El Paso, TX
Posts: 630
I love seeing more and more coupes being brought back. Looks like you're off to a good start. Subscribing to this thread. Wifey has been bugging me for a 68 coupe for months. Closest thing I have found is one for $800 with no title. If I can get the title, I will probably end up picking it up.
04-26-2010, 09:40 PM
#25
4th Gear Member
Thread Starter
Join Date: Apr 2010
Location: Madison, Georgia
Posts: 1,643
I love seeing more and more coupes being brought back. Looks like you're off to a good start. Subscribing to this thread. Wifey has been bugging me for a 68 coupe for months. Closest thing I have found is one for $800 with no title. If I can get the title, I will probably end up picking it up.
That sounds like a good deal to me. I almost got a '67 for $800, as I posted in another thread, but it sold the day I was going to look at it.
But now I've got this '68 to restore.

And I'm starting to lean towards keeping the I6 engine now. Sure I'd like the V8, but like some of you guys mentioned, it's less common to see an I6, which I kinda like.
04-26-2010, 09:47 PM
#26
3rd Gear Member
Join Date: Jul 2005
Location: El Paso, TX
Posts: 630
Are you planning on getting all new suspension pieces from either M+ or something similar? If so, converting to a V8 wouldn't be all that hard. What kind of money are you looking at to drop in this thing?
BTW, if you can I would recommend picking up a blast cabinet for smaller parts. You would be amazed at the results they give you in cleaning up old parts as opposed to buying new ones.
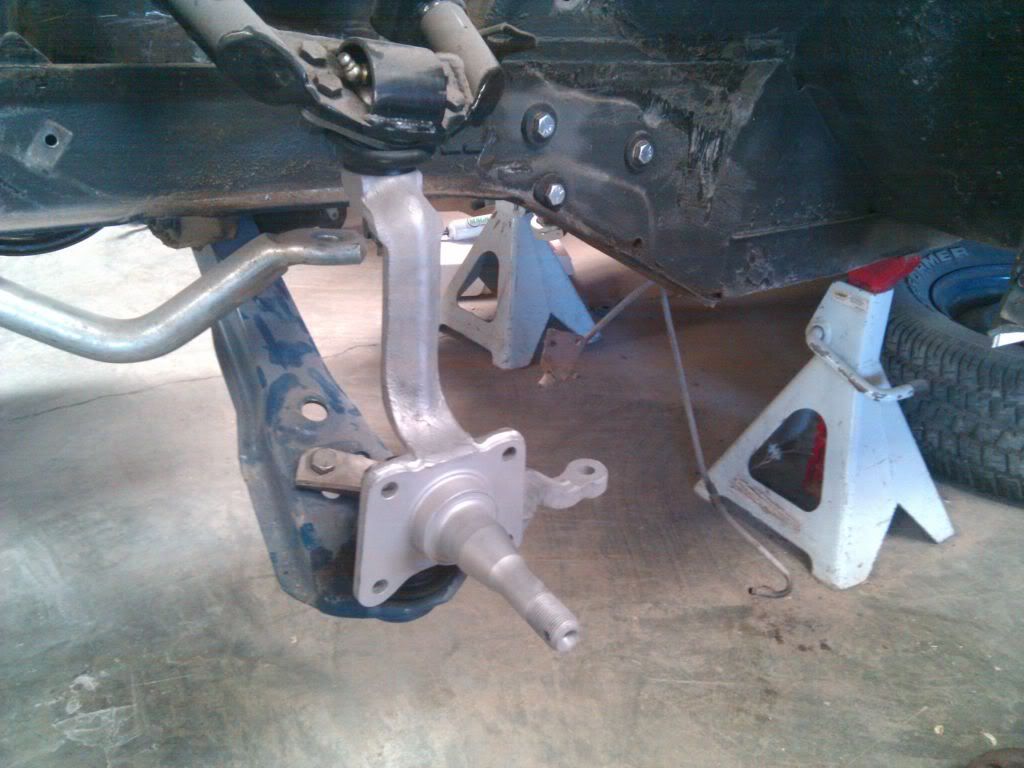
Before:

After:
Before:
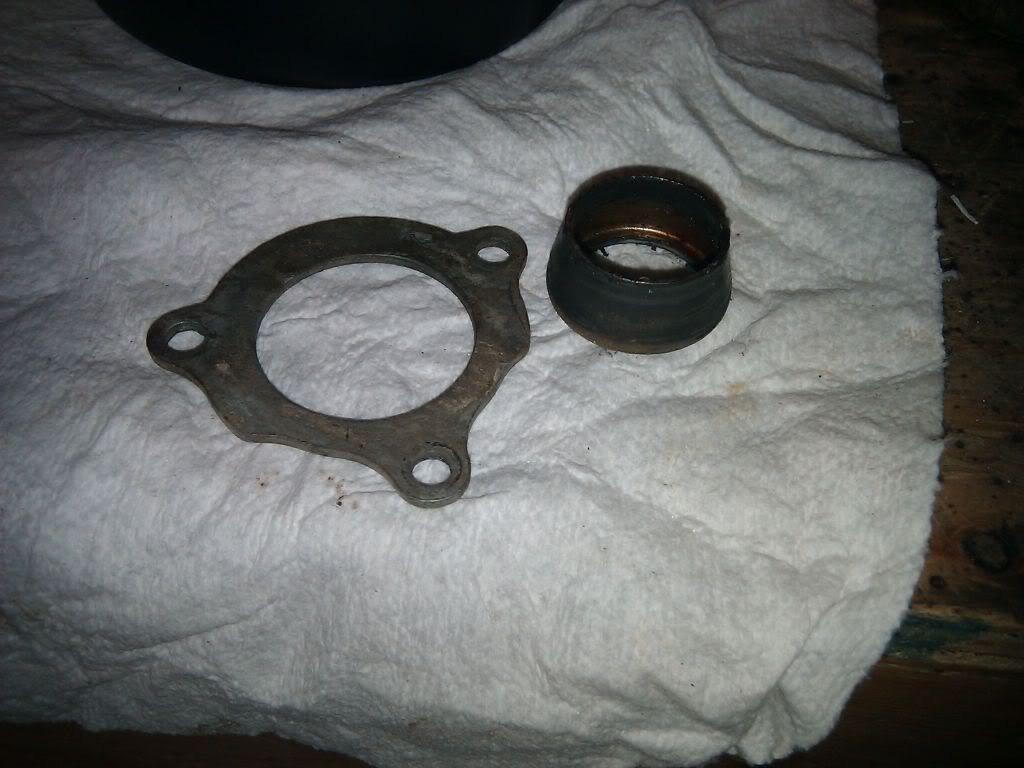
After:

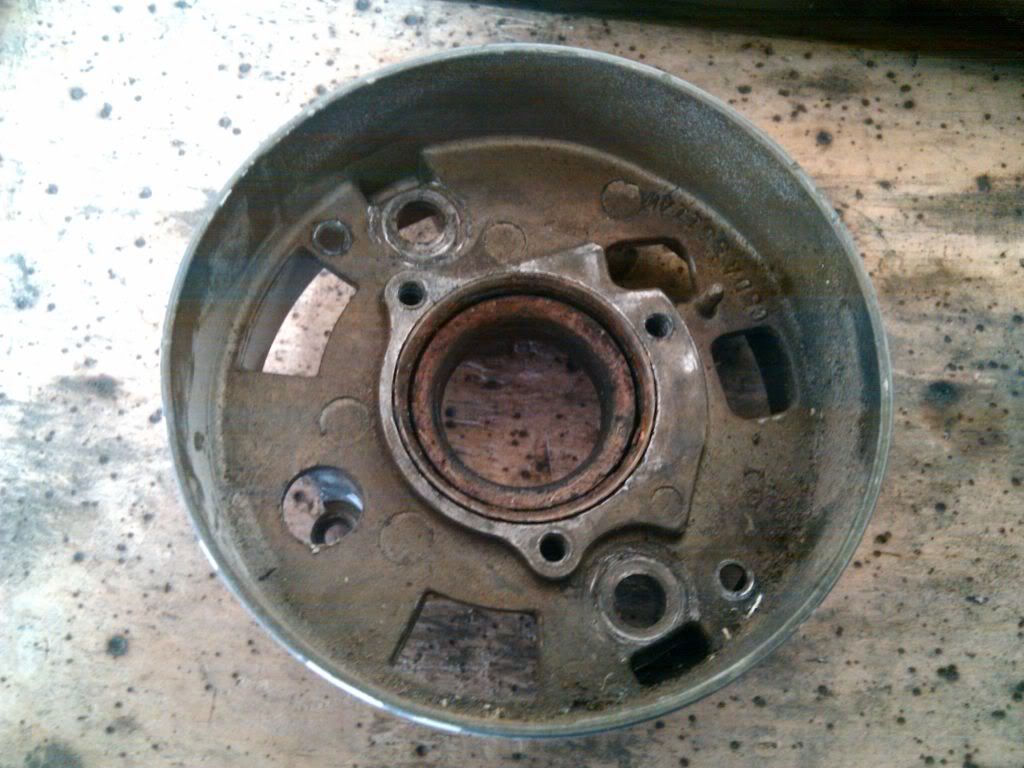
Before:
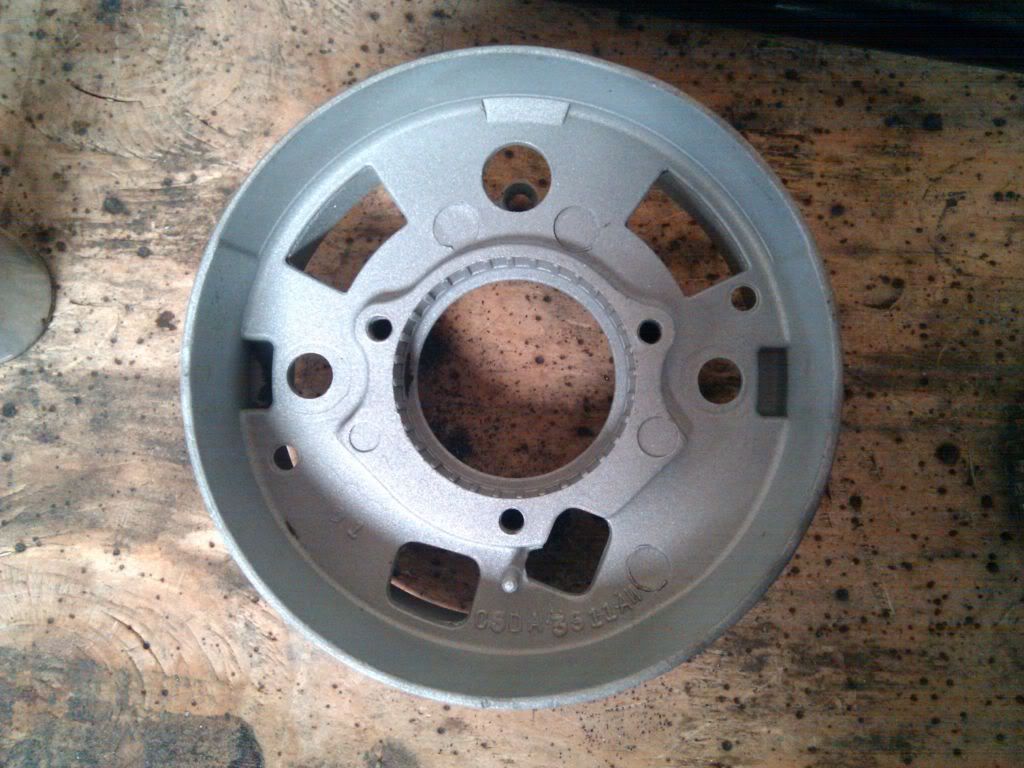
After:
BTW, if you can I would recommend picking up a blast cabinet for smaller parts. You would be amazed at the results they give you in cleaning up old parts as opposed to buying new ones.
Before:
After:
Before:
After:
Before:
After:
04-26-2010, 10:01 PM
#27
4th Gear Member
Thread Starter
Join Date: Apr 2010
Location: Madison, Georgia
Posts: 1,643
IF I get a good deal on that guy with the V8 engine, and I mean a GREAT deal, then I'll be getting some suspension parts from him. If not, I'm sticking with my I6. The reason being is that yes, I'm on a low budget, even when I get a job in the summer, and I have a ton of interior work to do, so I'm gonna try to save money where I can (who wouldn't? haha).
And I was considering a sandblaster but stopped short because I knew it wouldn't be a good idea to use it on the body.
However, I've been loooking into soda blasters. What do you think of them? Would it remove rust and old paint like your blaster did on those parts?
Until the end of May I'm in school, but in June I will have a full time summer job working for my dad in Atlanta.
Right now I haven't had any expenses but the car itself, but my parents lined me up with a loan. They know I can easily pay the loan, which is a good thing because in the future it'll make my credit look better.
And one of the best things is that my dad said he'd pay for all the tools and equipment.
I already have a bunch of tools on hand though. Basic tools I mean. My dad owns an interior contracting business so I get access to a bunch of tools.
But, when he said he'd pay for the tools, he said he'd be glad to get stuff like a sandblaster and new welder because he knows he can use those in future applications.
He even talked of getting a lift in the barn. That would be a godsend right now! Haha, but for now I'll have to work without it.
Last edited by hightower2011; 04-26-2010 at 10:04 PM.
04-26-2010, 10:05 PM
#28
My 67 I just got repainted is an I6 car. However I've modded it so you would actually think its a V8 car.

My 200 has been bored .040 over, 2bbl carb setup, newer distributor with electric ignition. I have a port divider to install for the exhaust, and will be running GT exhaust out the back to finish off the look. If you do keep the I6 I would also recommend doing the T5 conversion as well as the 5 lug conversion.
My 200 has been bored .040 over, 2bbl carb setup, newer distributor with electric ignition. I have a port divider to install for the exhaust, and will be running GT exhaust out the back to finish off the look. If you do keep the I6 I would also recommend doing the T5 conversion as well as the 5 lug conversion.
Last edited by 1slow67; 04-26-2010 at 10:20 PM.

