When you click on links to various merchants on this site and make a purchase, this can result in this site earning a commission. Affiliate programs and affiliations include, but are not limited to, the eBay Partner Network.
global west suspension 13" disk brake upgrade adventure
I had been running 10.5 or 11" rotors on my 66 mustang that came with the SSBC kit for 14" wheels. These worked quite well with 14" wheels. After switching to 17" and running UHP tires (pilot super sports) they became inadequate. It takes much more pedal effort to get okay stopping distance and at 60mph the feel like they are giving up a bit right at the last 15 mph.
So enter Global west suspension c5f-6466-13-6 front disk brake kit using Wilwood 13" rotors and 6 piston Aluminum calipers with some trick GWS billet machined brackets, hubs and accessories. kicking down 2,000s door so it better be trick.
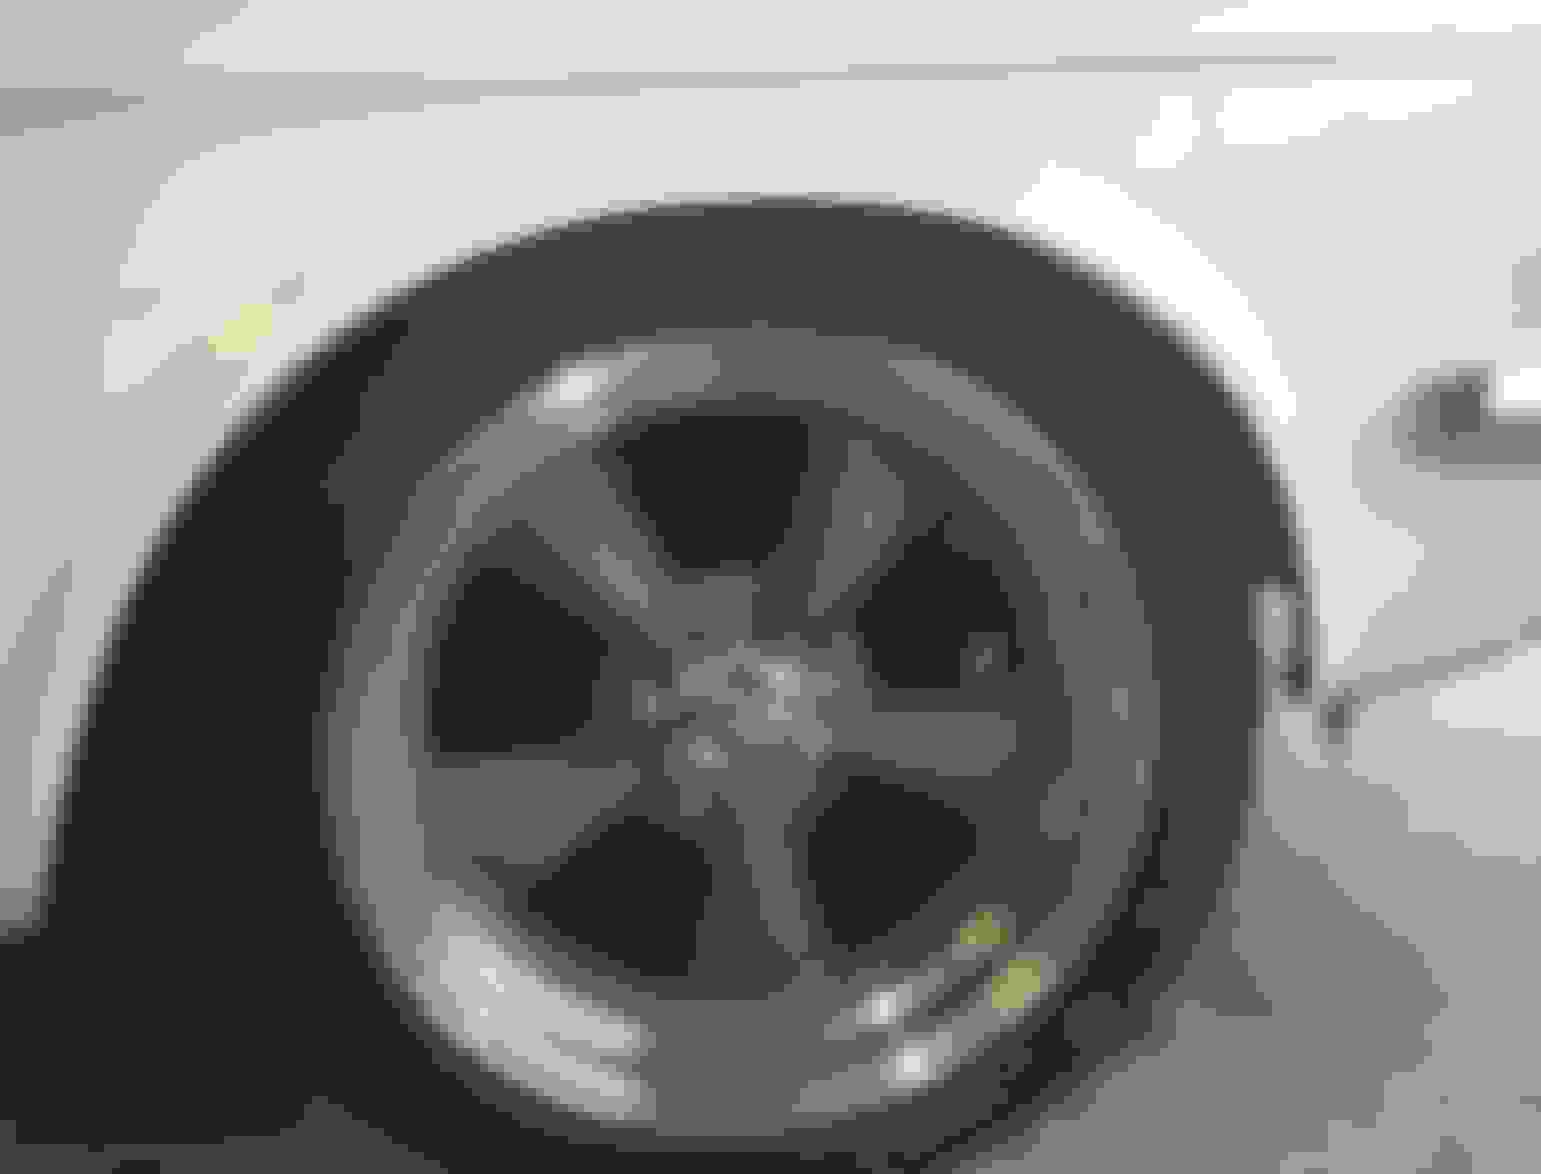
So here is what I was currently running.
They filled up 14" wheels a lot better than the 17s I have on there now.
Opened up the box and set the parts out for inspection
"**** ME DEAD....red Calipers ****ing cool!!! the picture showed black and they actually sent me red score!!!!" and no more than 5 seconds after opening the box with the calipers and saying the above line which is a dead nutz quote. I get a call from Global west ..."hey dude you didnt happen to get a set of red calipers with your brake kit did you???" ".......uhhhh...**** me dead...." well apparently those were meant for someone else and are not compatible with my kit / car. They promised to send the proper ones out direct and will "will call" the fancy red ones. :/ I was hoping this would go as smooth as a youtube video and I wouldn't get the **** kicked out of me by this project which i found is common for any project over 500.00 bucks. So far we are on par for a fair dinkum *** beating but we shall see.
Got all the old stuff off no problem (the never seze I used 15 years ago was still on point) the bracket which I think I installed proper fit great as did the caliper bracket....dont pay no nevermind to the old one dangling there. Had to use a 7/16 drill to enlarge the 3 holes in the spindle flange to mount the bracket
Got the bearings packed and the fancy hub installed on the spindle.
Now its time for panic...dry fit the rotor and bolt on a wheel and hope it doesnt move the wheel in or out. I have very very little room one way or the other. Set the car down and bounce on the suspension an bit. I started by taking a rough measurement from the fender apex to the base of the rim where the tire bead sits on the bottom of the wheel. I then compared this to the other side and found about .390 difference it appeared that the new brake system had moved the wheel out .390 to .400...I was like "****" I worried about just how ****ed i might be. I then hoped that perhaps the fenders were a **** idea for measurement and probably not symmetrical per side. I figured the best indicator would be the distance between the upper ball joint and the inside of the wheel. This was always a close fit like .250" also so I took a 1/4" drill bit and used the shank as a feeler gauge it fit with little play on the side with the new brake system and the fit was the same on the old side. Hell yes! there is no way it could move the wheel out and not change that distance. So I am quite certain that it did NOT move the wheel and noticeable amount. So if I have to pick between that or getting the wrong set of calipers...I'll gladly take a miss shipment of calipers. Moving the wheel in or out would have been a huge disaster. Im hoping that im correct that it did not...I believe the upper ball joint is a solid measurement and I am on point with that method.
The proper calipers might be here by tomorrow so thats awesome!
Have both sides done and waiting for calipers pretty easy install so far its been about 1hr per side of careful work...Its really about a 30 min job per side up to this point if you put some hustle into it.
The kit does not move the wheels in or out I've confirmed that so hell yeah!
Here is how it looks minus the caliper at this point.
Cool thread, I had a few questions for you GunJam, I can see your bilstein front shocks, what brand upper arm is that? perches?
Once you get the correct calipers I bet you will feel a noticeable difference right away from the extra heat dissipation. If you look back at one of my old threads when I did a cobra 13" brake conversion, I mention how its the last 15 or so mph that you know it made a difference.
What I would like to know once its up and running is how the initial bite feels with 6 piston calipers. Are you running power brakes?
The upper arm is is global west plus 3 (3 deg built in caster)
the lower arm is Global west tubular also uses tubular adjustable strut rods for fine tuning of caster
That is a roller perch I think I got it from mustangs unlimited...but I dont know. Ive been happy with all the global west items (and the perch) that car handles really well.
The shocks are custom valved maier bilstein setups purchased from maier racing valved for 650 rate springs. quite smooth and provide a quality ride despite stiff springs
I am not running power brakes and will do everything possible to avoid that
Got the calipers in the mail today...a kind of boring flat black but it probably matches better...however they did fit quite well and thats what I really care about! Super easy install. Slide them on and check to see that they do fit just below the rotor. These maybe if anything sit about 0.10" below the top edge of the rotor. Perhaps i should have used 3 spacing washers and not 4.
Checking this is a bit of a pain in the *** because despite all the CNC machining they couldnt drill and tap one last hole to screw the rotor to hub so it wobbles all over the place until the wheel gets put on.
Bleeding them wasnt too bad at all nothing that isnt something we've all done before. Got good pedal feel after a few cycles on each of the 4 bleed valves. Put max effort on the pedal for a good 30 secs checked for leaks...none. All the fittings supplied seemed to seal well with reasonable torque values! The supplied AN brake line was a proper lenght as well...maybe it could have been an inch shorter in my case.
Drove it out and did my first 2mph stop and it worked well! got onto the street and did some 10mph stops the first one squeaked a bit by the 3rd one it was horrible I could feel the vibration and it was really really loud even at 12ish mph. I was like **** I got a pad in backwards...thats gotta be metal on metal...It was only 110f out today so maybe it was a heat issue? Drove it back and check..Nope all good. Okay so I didnt screw the pooch. I also noticed that the black coating was wearing off so I blamed it on that! This time I got up to 35 and hammered them a few times with a cool off cycle per the bed in directions and soon enough the squeek went away and was replaced with a bit of a clunking sound...after a few more heat cycles that went away as well.
I then moved on to the 60mph stop test and got a few cycles on them...probably kicked down 700 to 800f+ I could smell that paint stuff burning did cool down cycles per instructions.
They do have good initial bite and even stopping power I do not feel them giving up. But I am still unable to reach max braking performance because of rear brake issues. Mostly the prop valve needs more front bias and I have **** drums in the back that are not supplying even pressure one side is locking up before the other in the back. We'll start with valve adjustments and then move onto replacing the rear drums with disk.
So at this point braking performance went from marginal to okay leaning to good. This is not an issue with the kit as far as I can tell this is an issue with prop vale and bad rear drums.
As far as carb setup goes is there a float setting to use when the engine dies under heavy braking or is that a known carb issue and its heal toe time? Im unclear about what issue is occurring in the carb causing the engine to die.
Here is a picture of them after a few decent heat cycles.
Could be a float issue, could also be incorrect idle mixture settings. What carb?
My Edelbrock carb had that issue and I never got it ironed out, but I also could never get it running right under 2500rpm with my aggressive cam. Now that I have my "new" (used) Summit carb properly regulated and semi-tuned, I don't have that issue anymore. I'm blaming it on idle mixture settings that I couldn't get quite right on the Edelbrock.
This carb is a QFT (a holly 4150 I think) Floats dont really make sense because there is plenty of fuel in them for the engine to live off of until the gforce subsides. This is in effect the same issue that would occur with ol **** spitfire MK I. they fall on their faces in a -g dive because the G force cuts off the floats and probably pulls fuel away from the jets and it literally floats in the bowl. I would think in my case the fuel is still making contact with the bottom of the bowl and should be capable of being sucked in. Revving the engine up using heal toe works but somewhat complicates the barking process and isnt something im likely to pull off in a emergency situation. I can pull it off well if I plan to use it but outside that I doubt it.
I know exactly what you mean. I had to drive like that until about a month ago when I finally got the new carb set up. It would even die in corners if I didn't have it in gear and heel/toe it.
I was actually thinking the floats are set too high, and/or the idle mix is off and variations in the fuel level under hard braking cause the idle mix to richen up enough to kill the motor. Just brainstorming...
There was suggestions of extending the breather tubes perhaps fuel slosh is exiting the vent tubes and flooding the engine...lowering floats below factory recs was another and whistle vent baffles are another.
What carb did you get thats NOT giving you this issue?
 06-14-2017, 11:57 PM